Sublimation transfers are pre-printed designs on sublimation paper, made with special inks to produce vibrant colors. Crafters use heat and pressure to bond the transfer's sublimation ink directly into a coated surface, such as a tumbler.
While you can design and print your own transfers using a sublimation printer and ink, many crafters use pre-printed sublimation transfers to customize polymer-coated drinkware. This coating allows the dye-sublimation print to activate under heat and embed into the material.
Applying a sublimation transfer to a tumbler is a straightforward process, but you need to know the steps and best practices for getting professional results. When you handle each step correctly, you will achieve vibrant and permanent prints on your drinkware.
In this comprehensive guide, you will learn how sublimation transfers work and how to apply them to tumblers for consistent, professional results
 What Are Sublimation Prints and Transfers?
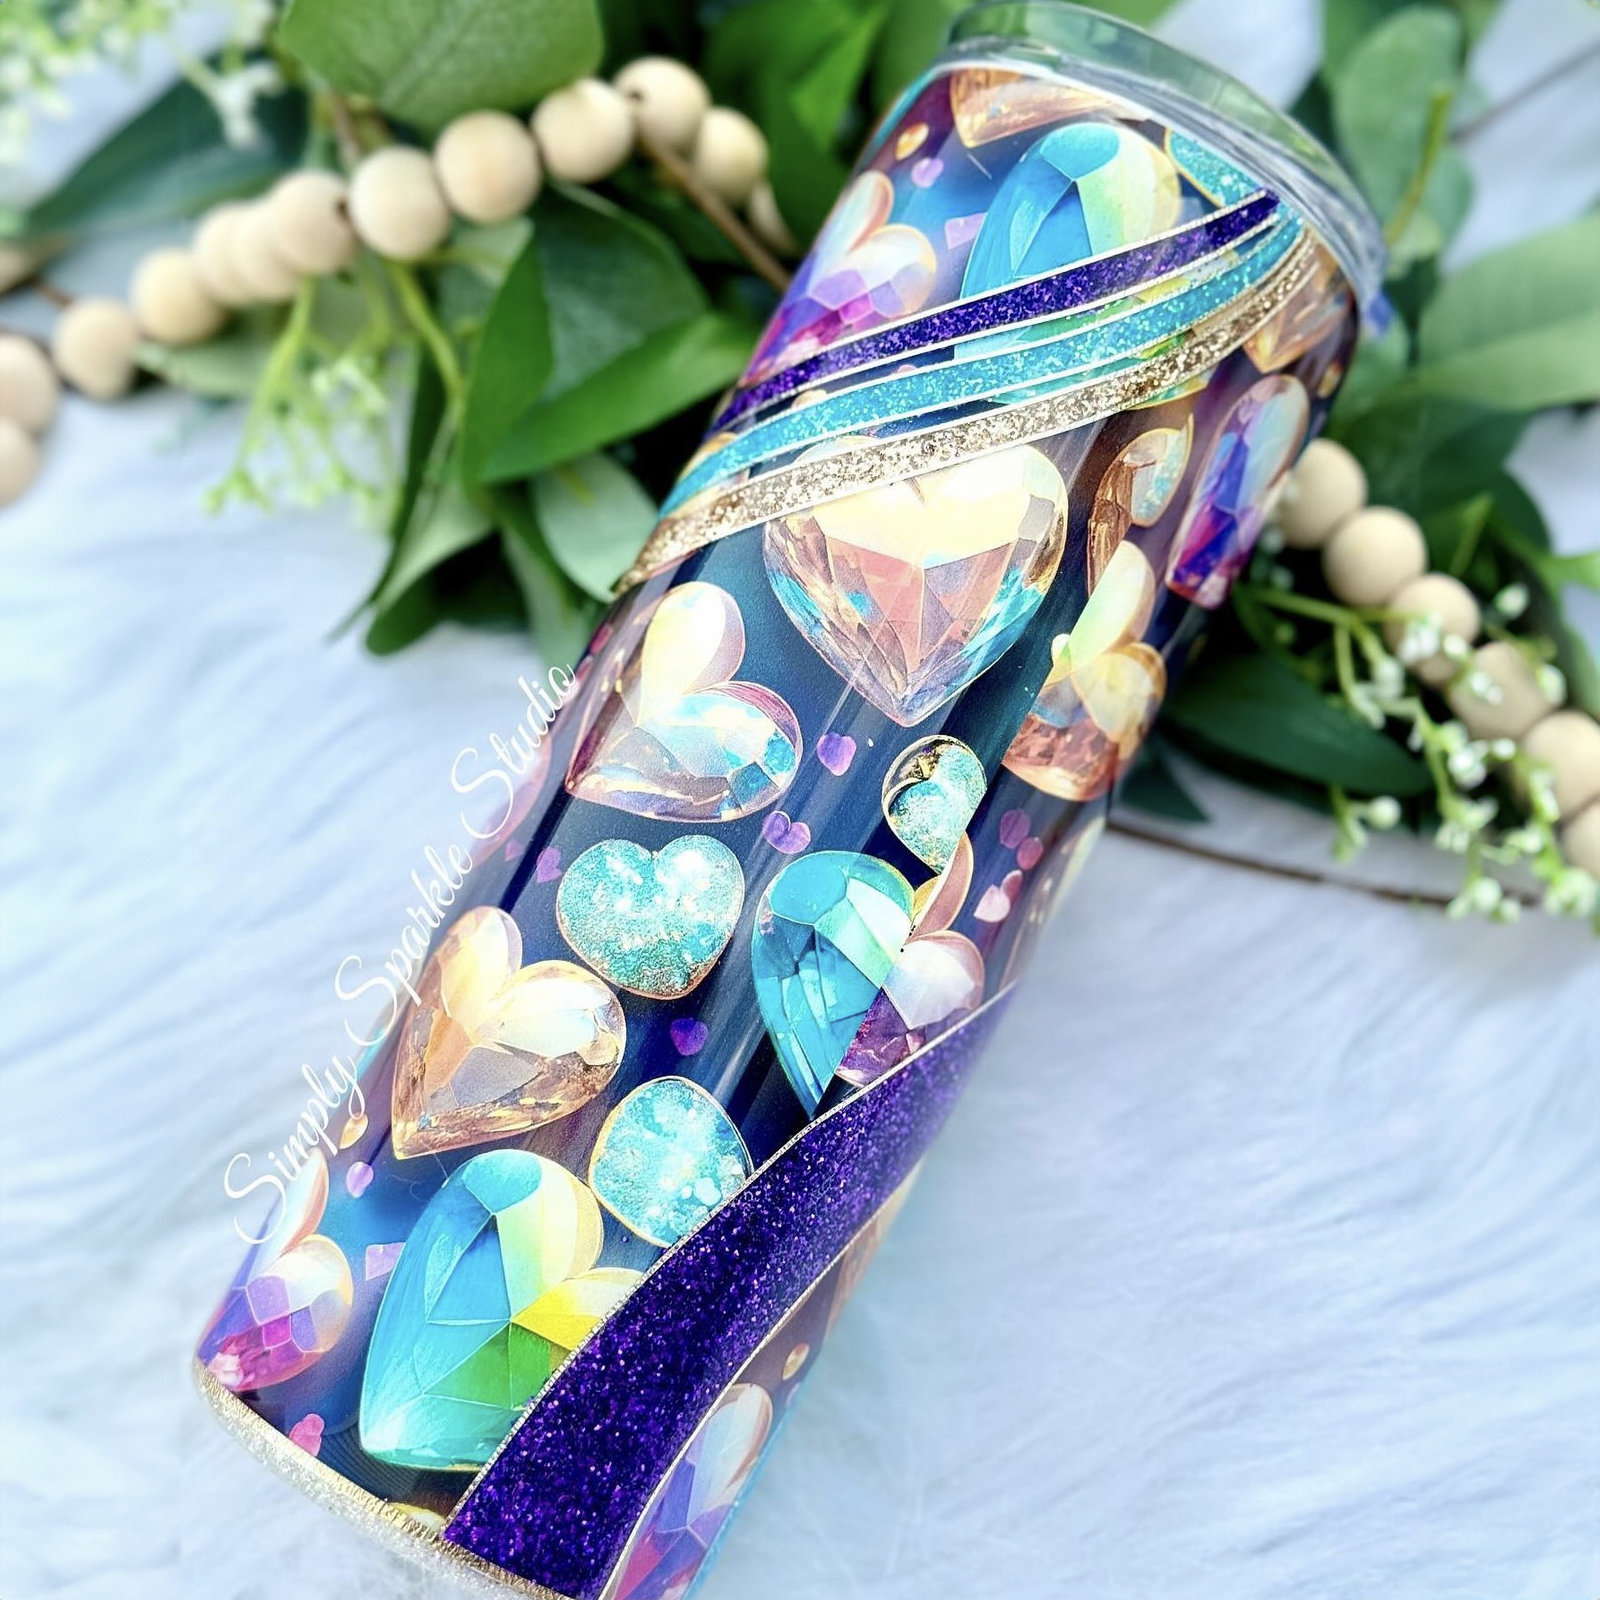
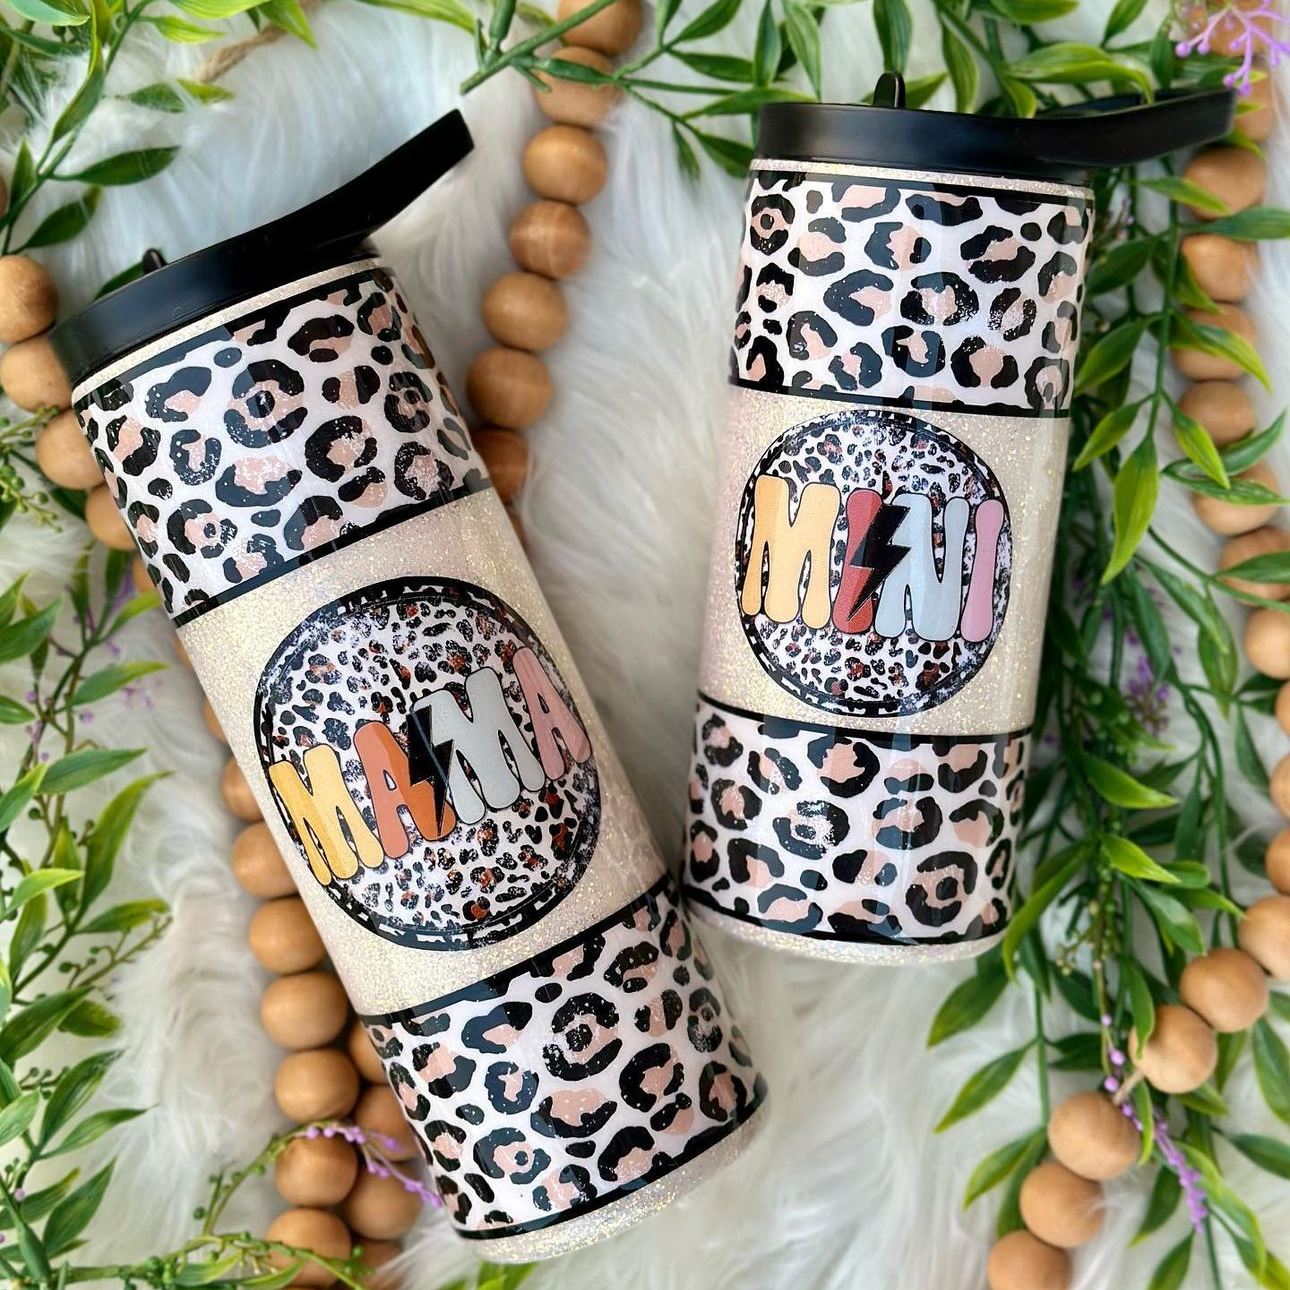
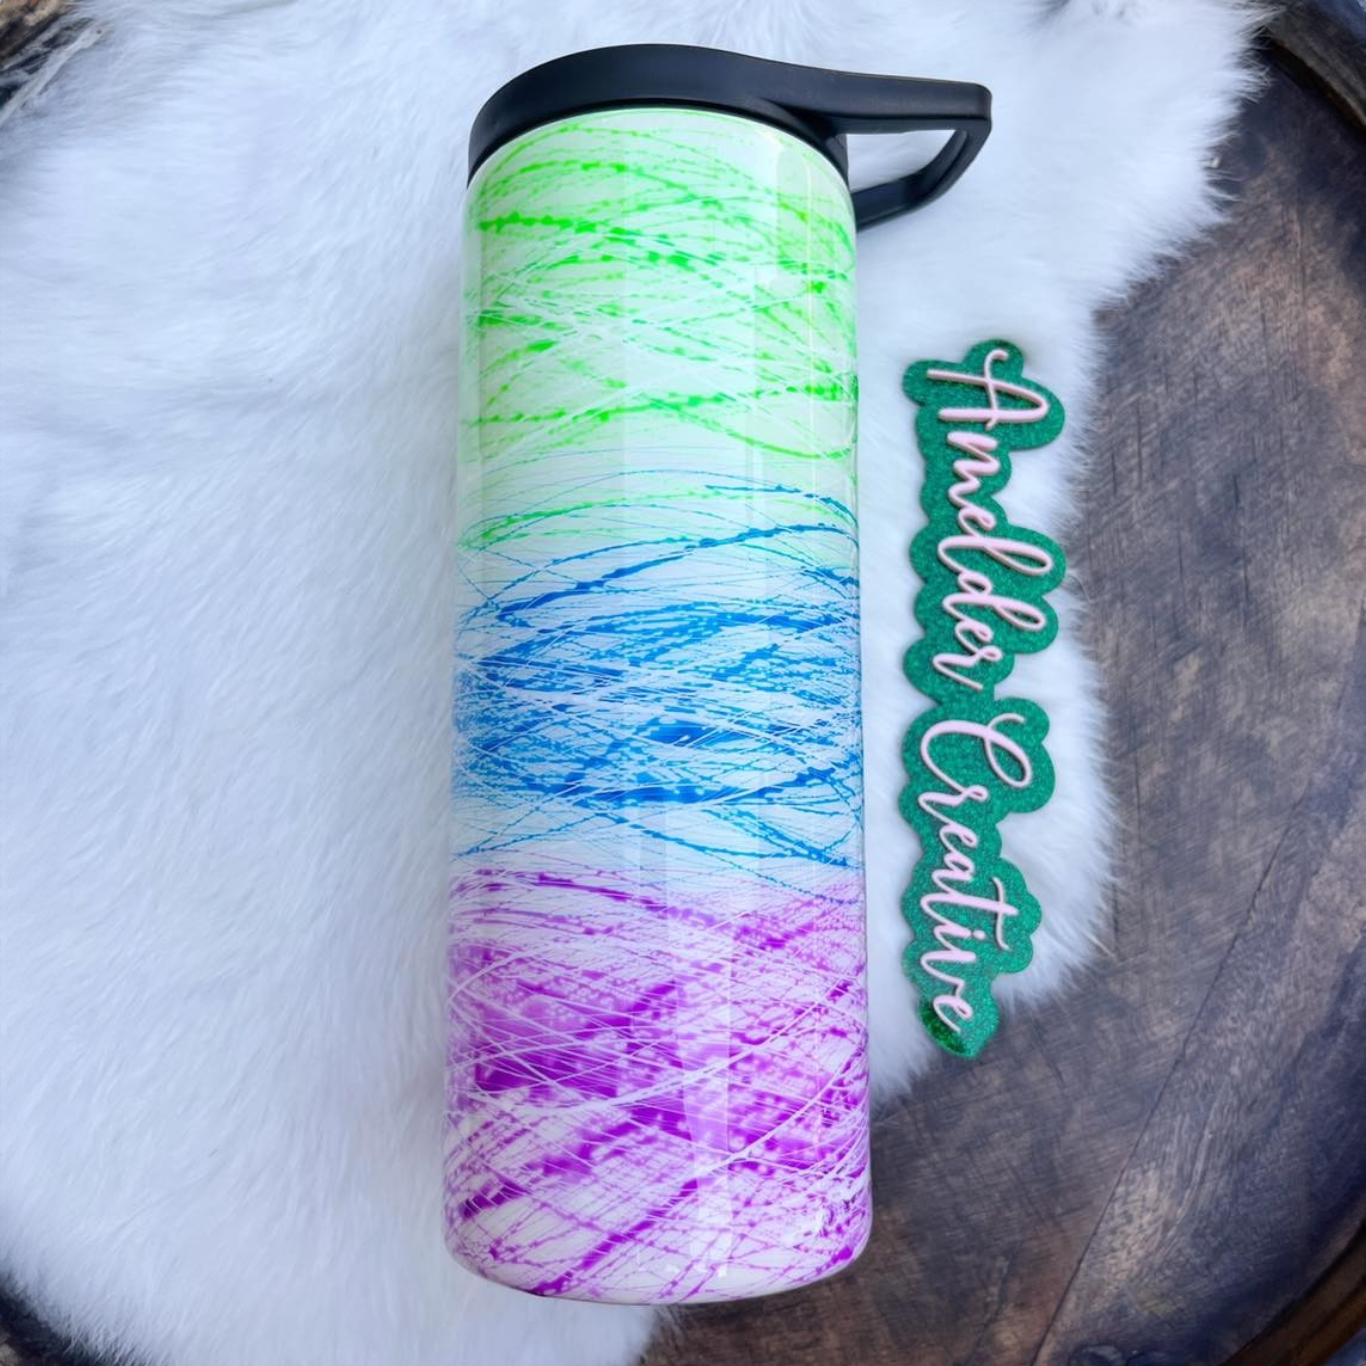
Sublimation transfers, also called sublimation prints, are pre-printed designs created with sublimation ink on sublimation paper. You can use these prints to apply full-color graphics to coated surfaces through heat and pressure.
During a sublimation heat transfer, crafters place the printed design against a compatible surface, such as a polymer-coated stainless steel tumbler. With heat and pressure, the ink changes into a gas and bonds with the polymer coating. The result is a smooth finish that becomes part of the material itself rather than sitting on top of it.
While some crafters print their own designs, many purchase sublimation prints that are ready to press, meaning the design is already printed and sized for application. This allows you to skip the design and printing stages and move directly into production. High-quality sublimated prints deliver sharp detail, multiple colors, and long-lasting durability.
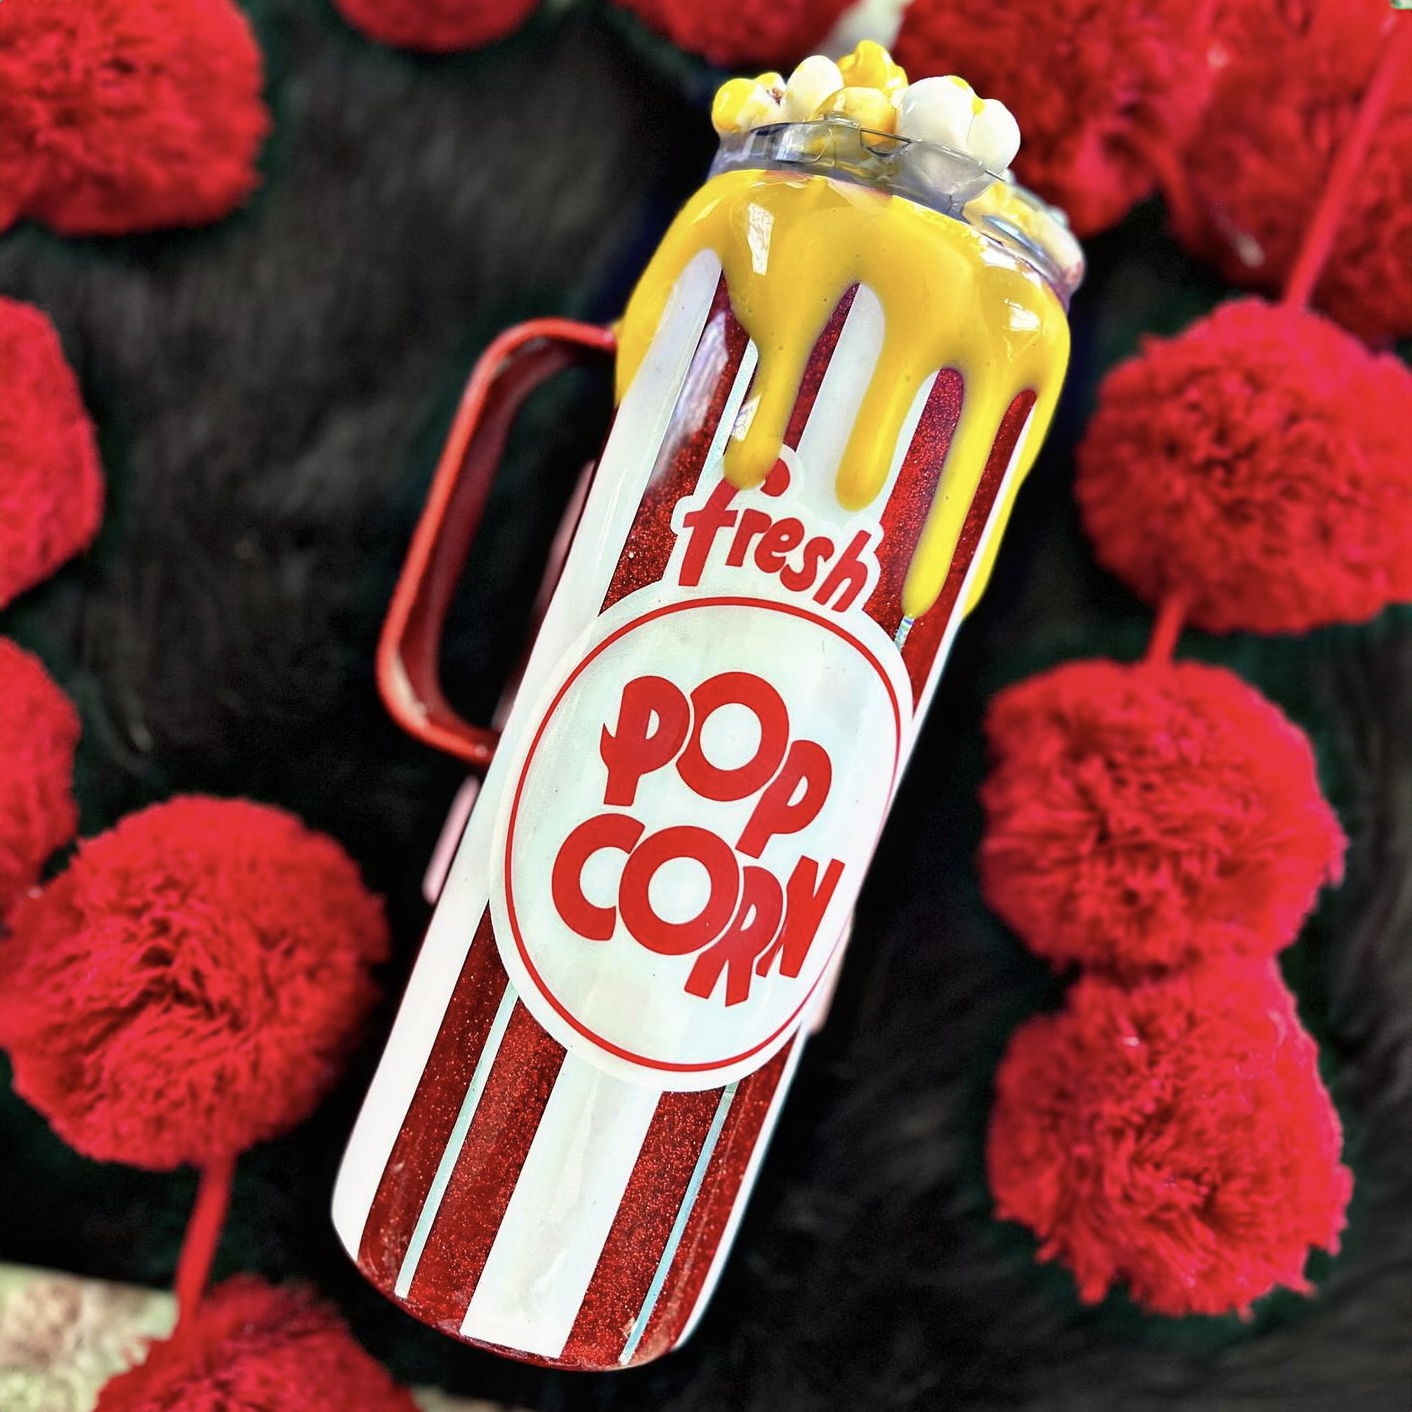
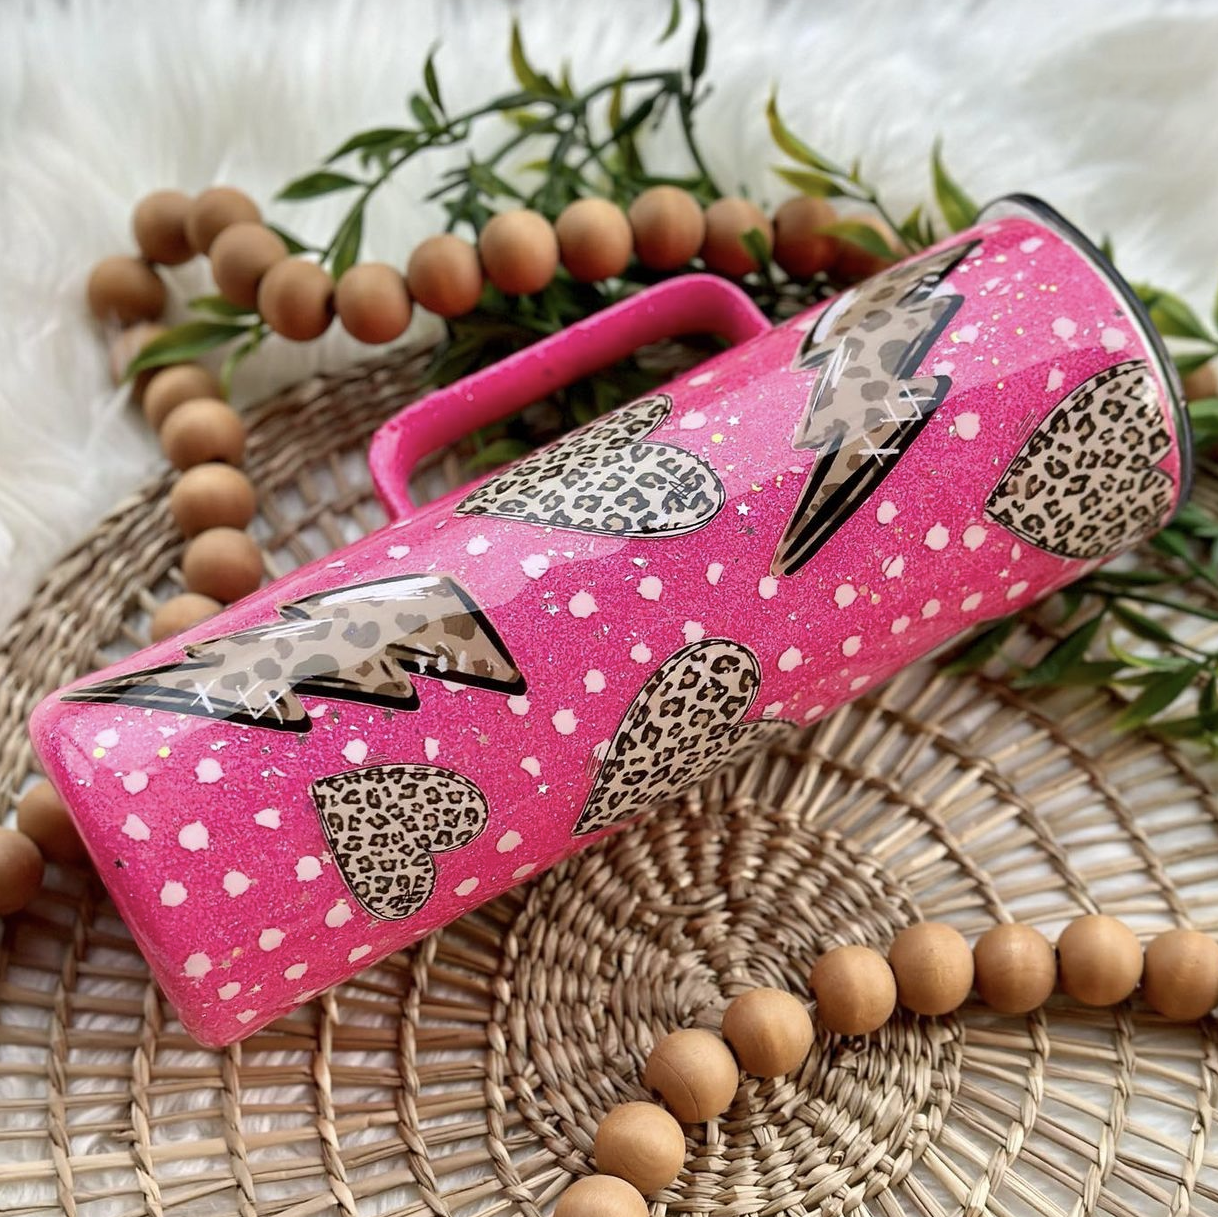
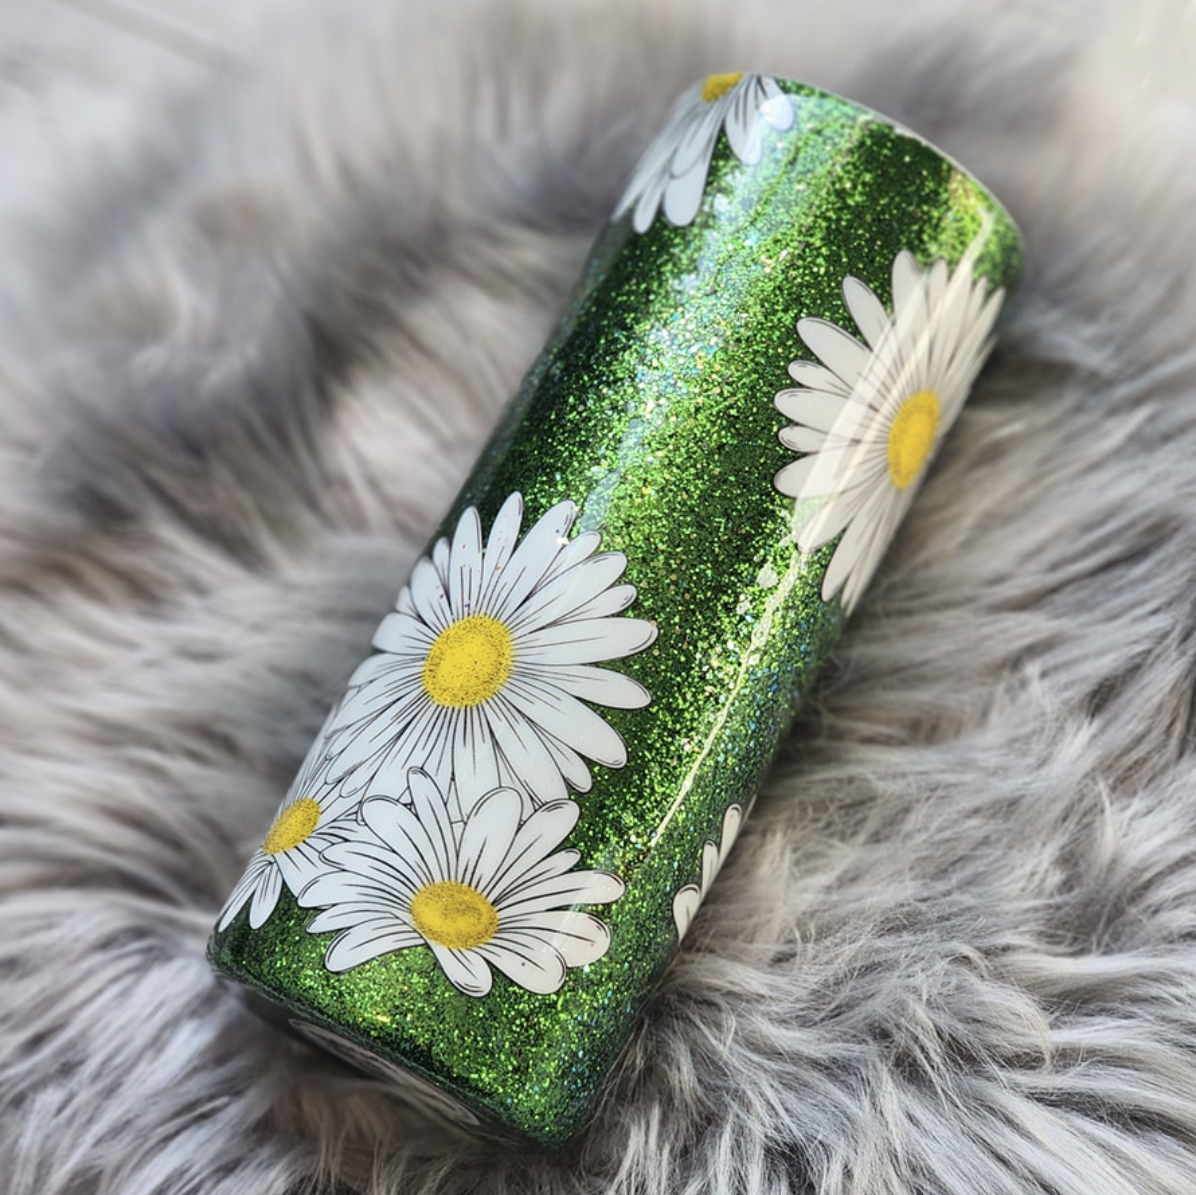
In addition to customizing tumblers, crafters use pre-designed and custom sublimation transfers to decorate polyester fabrics and everyday items, such as coated phone cases and coasters.
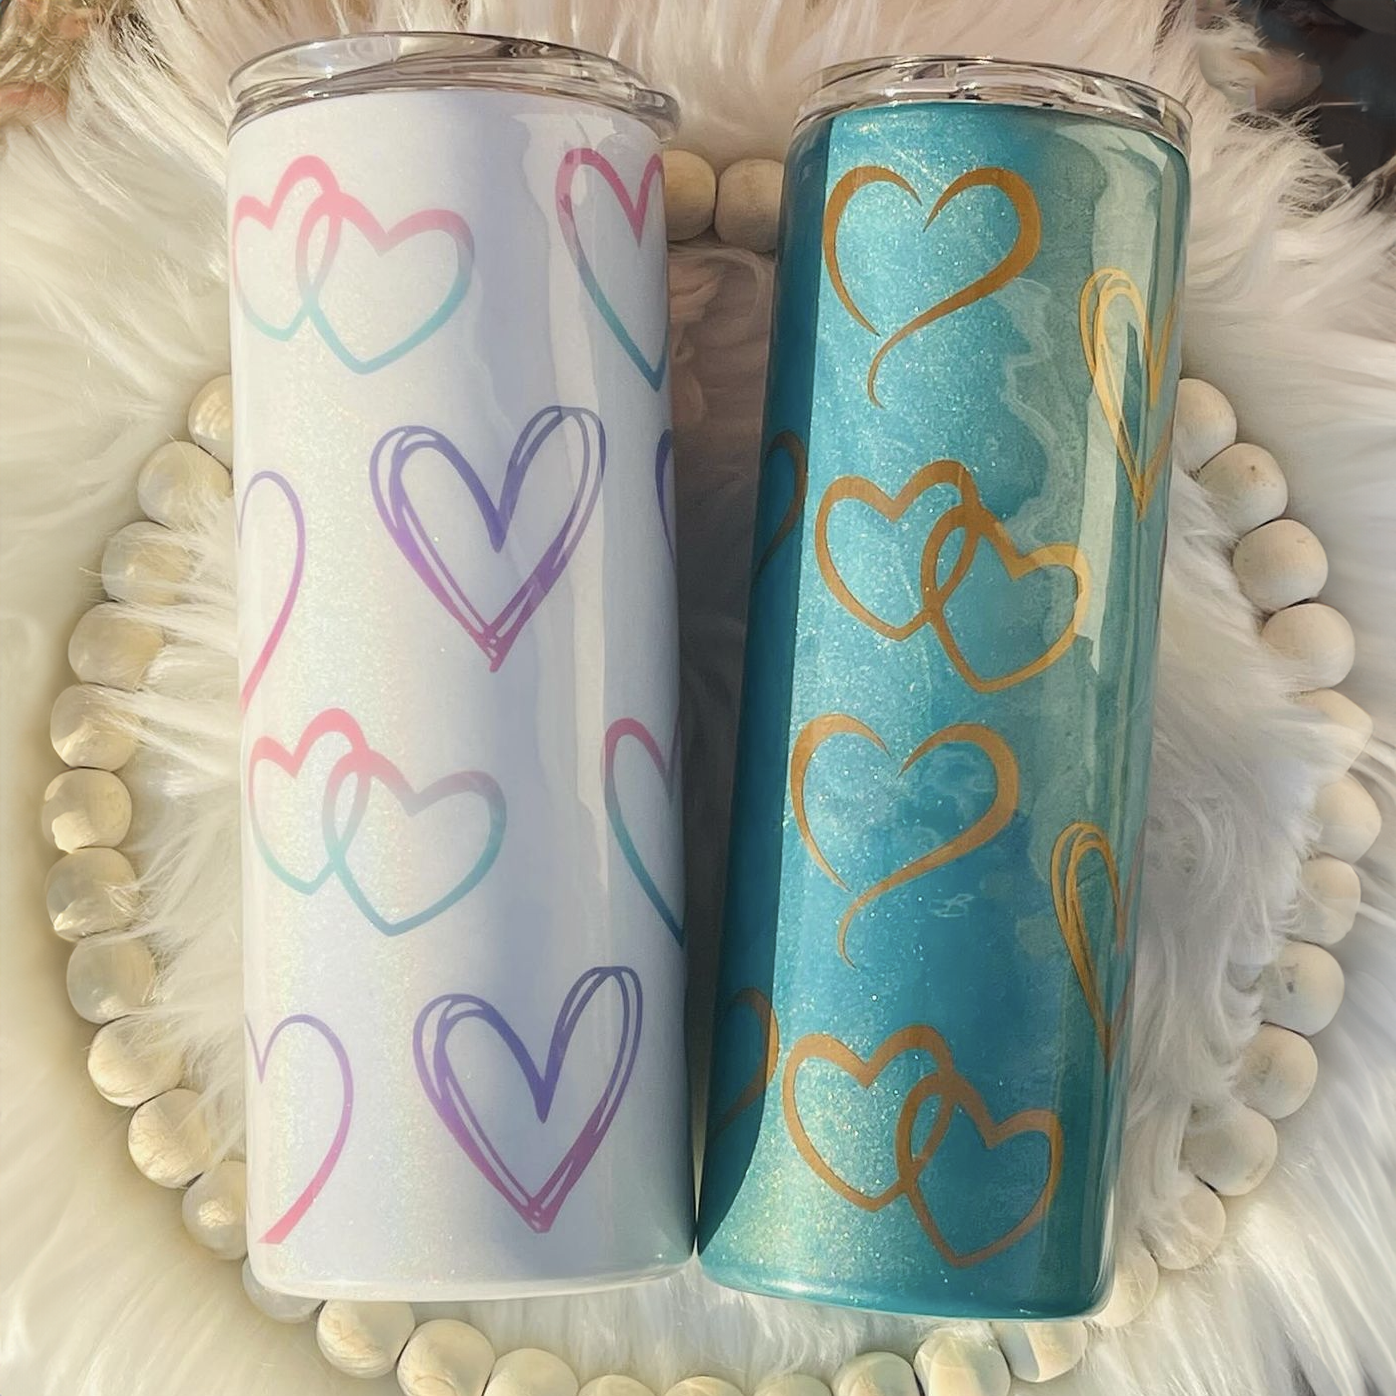
Overall, using sublimation transfers is a reliable and easy way to craft custom drinkware and other personalized products with professional-quality results.
Next, we will unpack what you need to apply sublimation transfers to your tumblers, then move on to the step-by-step process for achieving stunning results.
What You Need to Apply Sublimation Transfers
Applying a sublimation transfer to a tumbler requires a small set of tools that work together to produce consistent results. Each item plays a direct role in how well the sublimation print bonds to the surface.
To start, you'll need a sublimation tumbler and a pre-printed sublimation transfer sized for your cup.
For the tumbler to accept the transfer, it must feature a special polymer coating designed for sublimation. This coating allows the dye to bond during the pressing process and ensures the final design remains permanent.
Next, you'll need a heat source to apply your sublimation transfer. Your options are:
-
Sublimation heat press for direct, consistent pressure
OR
-
Sublimation oven for batch processing and flexible sizing
Both methods activate the dye-sublimation print through controlled heat. The right one for you will depend on your workflow and production volume. You can also compare these choices with our guide "Sublimation Oven vs Heat Press: Which Is Better For Tumblers?"
In addition to your heat source, you'll need a few other critical supplies, including:
-
Heat-resistant tape to hold the sublimation transfer in place
-
Heat-resistant gloves for safe handling after pressing
-
Shrink wrap sleeves or silicone wrap if you use a sublimation oven
These tools and supplies will help you achieve clean, professional transfers on your tumblers. They help ensure your sublimated prints come out sharp and evenly applied, making your custom tumblers perfect for personal use, gifting, or resale.
Now that you know what you'll need for crafting, let's dive into how to apply your sublimation transfers.
 How to Apply a Sublimation Transfer to a Tumbler
Applying a sublimation transfer to a tumbler is a controlled process where your placement, pressure, and heat all contribute to the quality of the final product.
Follow these essential steps to get the best results:
Step 1: Position the Sublimation Transfer
Begin by wrapping the sublimation transfer around the tumbler and evaluating how the design sits on the surface. This step sets the foundation for the entire application, so it is critical to align it accurately before moving forward.
Here are some tips to achieve the proper position and even alignment:
- Check that the top and bottom edges are evenly spaced
- Align the seam so the edges meet cleanly without overlap or gaps
- Rotate the tumbler slightly to confirm the design appears straight from multiple angles
A well-positioned sublimation print helps ensure the final design looks balanced and professional after you apply heat and pressure.
Step 2: Secure the Sublimation Print
After positioning the design, secure the sublimation print to ensure it remains stable throughout the heating process. If the transfer shifts during sublimation, the final image on the tumbler may appear blurry or ghosted.
Follow these steps for creating firm, even contact between the sublimation transfer and the tumbler surface:
- Apply heat-resistant tape along the seam first to lock the design in place
- Add additional tape along the top and bottom edges if needed
- Press the transfer firmly against the tumbler to remove any air gaps
- Smooth out wrinkles so the paper sits flush against the surface
A tight, secure wrap will help ensure the transfer embeds ink evenly into your substrate, producing sharp, consistent results on your custom tumblers.
Step 3: Wrap the Tumbler in Shrink Wrap or Silicone Wrap (Sublimation Oven Only)
If you plan to apply your transfer with a sublimation oven, you will need to secure the design tightly around the tumbler using shrink wrap or a silicone wrap.
Unlike a heat press, an oven does not apply direct pressure, so this step ensures the sublimation transfer stays in full contact with the surface during heating.
When wrapping your tumbler, use the following approach to create consistent pressure:
- Slide a shrink wrap sleeve or silicone wrap over the tumbler so it fully covers the sublimation print
- If you're using shrink wrap, use a heat gun to shrink the sleeve evenly until it fits tightly around the surface
- Check that the transfer remains smooth and does not shift during shrinking
A tight wrap is essential for even heat distribution and proper ink transfer. Without it, the sublimation print may develop faded areas or inconsistent color during the sublimation heat transfer process.
Step 4: Embed the Transfer with a Sublimation Heat Press or Oven
With the transfer secured, it is time to apply heat to embed the sublimation ink into the tumbler. This stage is about proper positioning and adjusting the heat source to the best settings, whether you're using a heat press or oven.
Here's how to apply heat and pressure effectively using a sublimation heat press:
- Place the tumbler inside the heat press and close it securely
- Adjust pressure so the tumbler is held firmly with even contact
- Set the temperature and time based on the tumbler material and the heat press manufacturer's guidelines
- Start the press and allow the full cycle to complete without interruption
- Rotate the tumbler and repeat the process for full coverage
Alternatively, here is how you apply heat with a sublimation oven:
- Preheat the oven to the recommended temperature for your tumbler type
- Place the wrapped tumbler inside the oven on a heat-safe tray
- Set a timer based on the material and oven manufacturer requirements
- Allow the tumbler to heat evenly without opening the oven during the cycle
As you apply heat with a press or oven, the ink converts into a gas and penetrates the tumbler's polymer coating, embedding the colors beneath the surface. Soon, you'll have a custom tumbler with a vibrant image that resists peeling, cracking, and fading over time.
Step 5: Remove the Transfer and Reveal the Design
After your sublimation heat press or oven completes its heat cycle, remove the tumbler carefully using heat-resistant gloves. Be careful with handling the tumbler to avoid affecting the final print.
Allow the tumbler to cool briefly for about 1–2 minutes. This short cooling period helps stabilize the transfer and reduces the risk of ghosting or image distortion.
While the tumbler is still warm, carefully peel away the heat-resistant tape and sublimation paper in one smooth motion. Removing the paper while the tumbler is warm helps preserve sharp details and prevents the design from shifting.
Inspect the tumbler surface for full coverage, proper alignment, clean edges, and consistent colors. The tumbler should appear vibrant, with sharp detail, and be ready for use or resale.
Now that you know the steps to achieve professional results with sublimation transfers, let's unpack common mistakes to avoid during the process.
Avoid These Mistakes When Applying Sublimation Transfers
Even with the right tools, small mistakes can affect how your sublimation transfer turns out on your tumbler. Most issues come from inconsistent heat, poor contact, or improper setup.
Identifying these potential problems before you get started can help you avoid wasting your time and materials.
Here are the most common mistakes that crafters make during this process:
-
Low Temperature: Results in dull or incomplete sublimated prints because the ink does not fully bond to the coating
-
Excessive Heat: Can cause colors to look washed out or lead to slight ink spreading across the surface
-
Uneven Pressure: Creates inconsistent color where parts of the sublimation print appear lighter than others
-
Poor Alignment: Leads to crooked designs or uneven spacing
-
Transfer Movement: Causes ghosting or shadowing when the sublimation transfer shifts during heat application
-
Loose Wrapping: Prevents full contact, reducing the clarity and sharpness of the design
-
Low-Quality Blanks: Surfaces without smooth, consistent coatings will not accept the sublimation ink correctly
-
Surface Contamination: Dust or oils can block sections of the transfer and create blank spots
Each of these mistakes affects how the sublimation transfer bonds to the tumbler, ultimately leading to disappointing final products.
By identifying and addressing these potential issues early, you can correct them to achieve professional results. With the right placement, pressure, and machine settings, you can craft one-of-a-kind custom tumblers with vibrant, long-lasting designs.
 Sublimation Transfers FAQs
How Much Do Sublimation Transfers Cost?
The cost of a sublimation transfer depends on size, design complexity, and whether you purchase in bulk. Most sublimation prints for tumblers are priced per sheet, with simple designs costing less and full-wrap or custom designs costing more. Buying in larger quantities often reduces the cost per transfer, allowing you to produce multiple tumblers at more affordable prices.
How Do You Do Sublimation Transfers?
To create your own sublimation transfers, start by designing your artwork in graphic design software and then mirroring it. Next, print the design with a sublimation printer and ink on sublimation transfer paper. Once printed, trim the transfer if necessary to ensure it fits your tumbler.
What Tumblers Work Best for Sublimation Transfers?
The best tumblers for sublimation transfers feature high-quality polymer coatings designed for sublimation. Uncoated tumblers cannot accept dye-sublimation prints, so choosing the right sublimation blank is essential for achieving clean, long-lasting designs.
What Materials Do Sublimation Transfers Not Work On?
Sublimation transfers do not work on non-polymer-coated surfaces or non-polyester garments. Natural fabrics like cotton cannot hold sublimation ink long-term because the ink cannot bond to the fibers. Dark fabrics and surfaces also pose limitations, as sublimation prints rely on lighter surfaces for color visibility. For best results, sublimate on white or light-colored polyester fabrics or polymer-coated surfaces.
How Long Do Sublimation Transfers Last on Tumblers?
With the right supplies and proper heat and pressure, the sublimation transfer will become part of the tumbler itself, as the ink bonds directly with the polymer coating. For that reason, the design is permanent and will not peel or crack.
Produce Stunning Tumblers Today With Sublimation Transfers
Sublimation transfers are a highly effective way to decorate drinkware with full-color, permanent designs without requiring a sublimation printer and ink. When applied correctly, sublimation prints create stunning, permanent designs on your drinkware with sharp details and vibrant colors. The process is an easy way to create professional drinkware that is perfect for resale.
If you are shopping for high-quality transfers to get started, explore The Stainless Depot Company's wide selection of sublimation prints. These transfers are ready to press, professionally printed, and designed to deliver consistent, high-quality results on a wide range of drinkware.
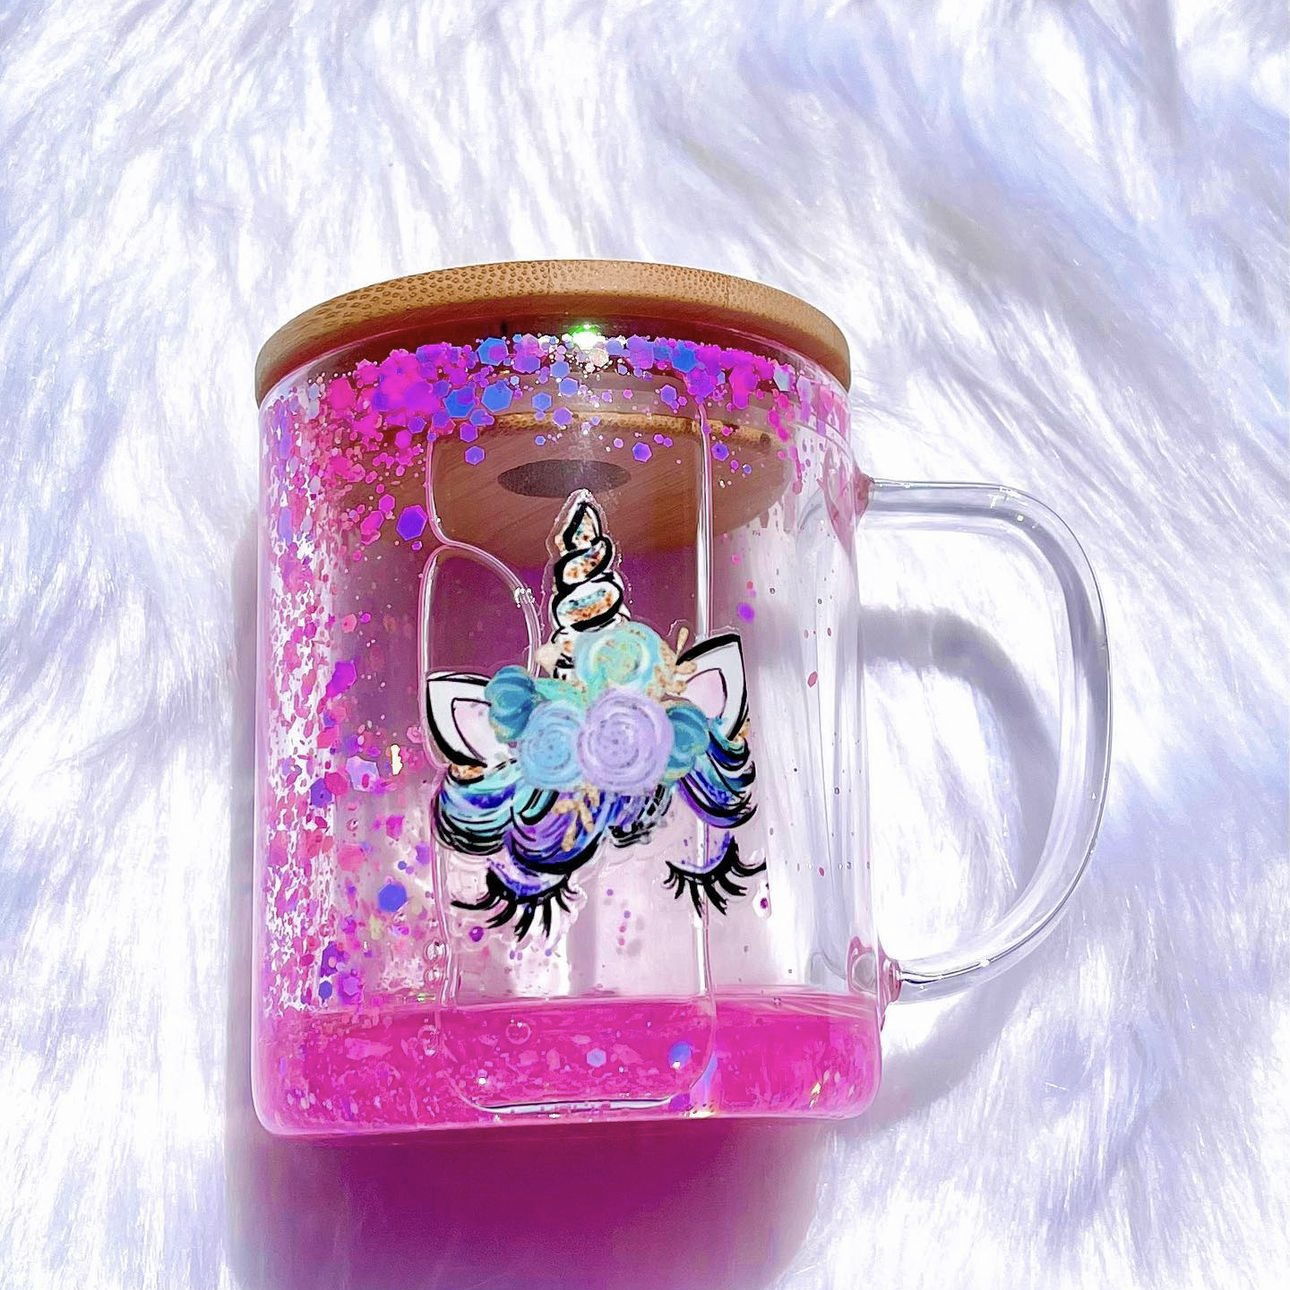
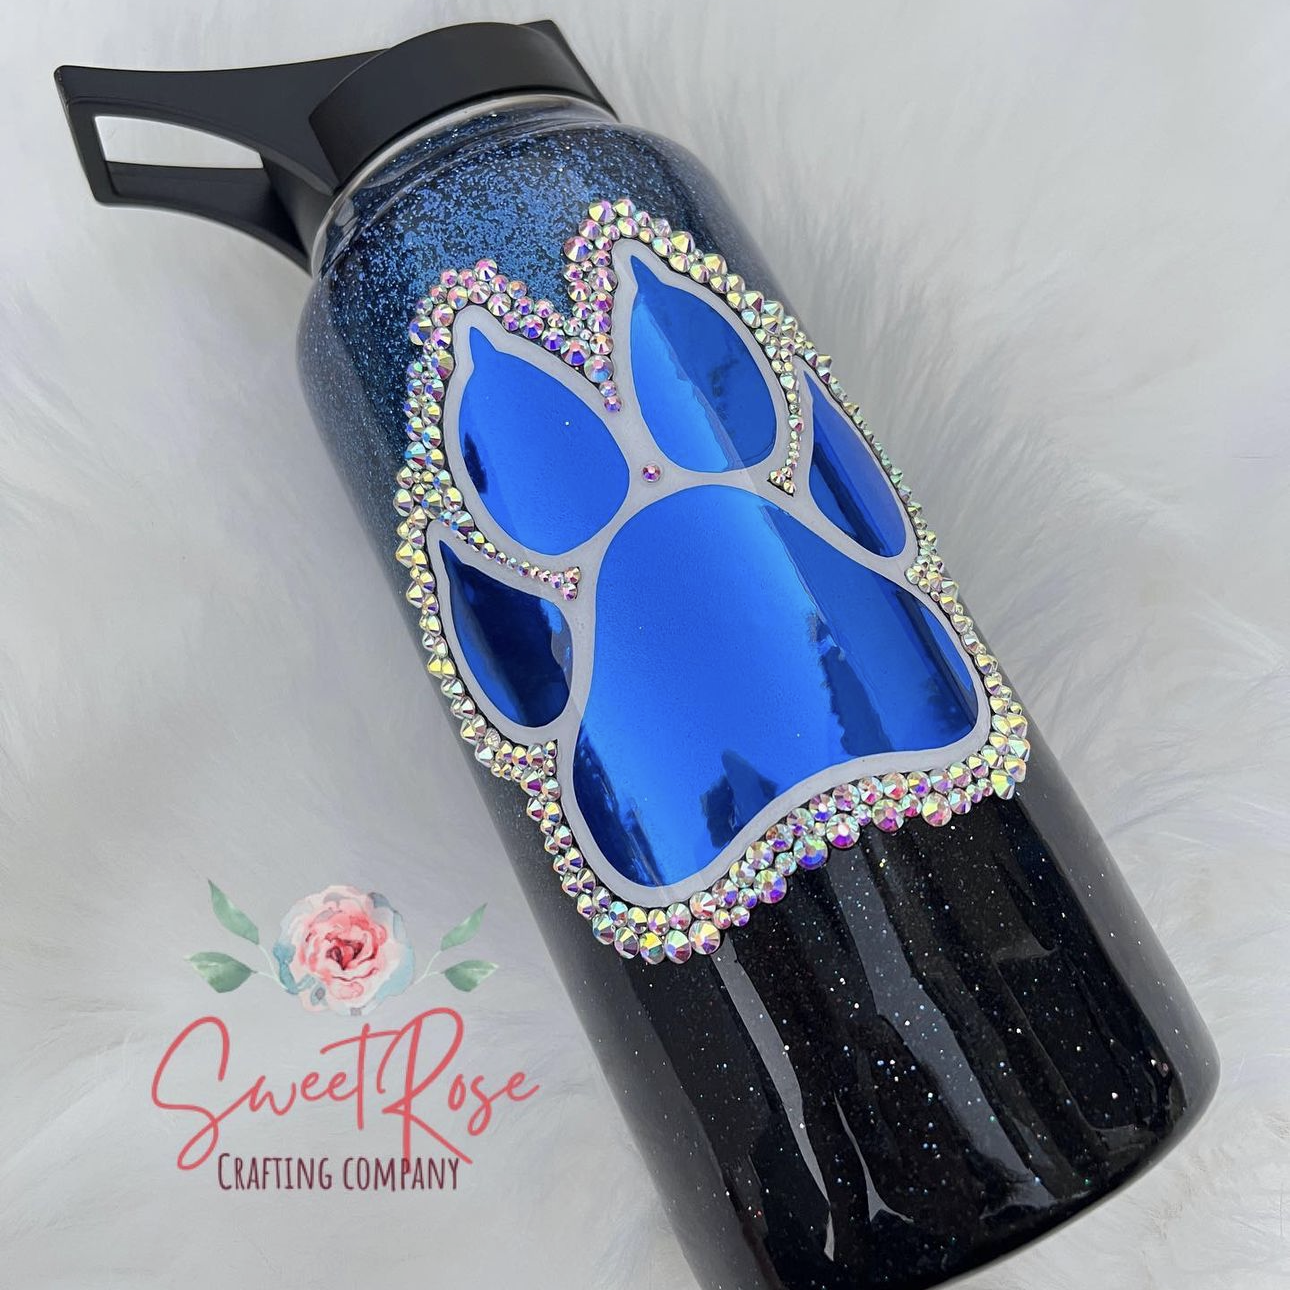
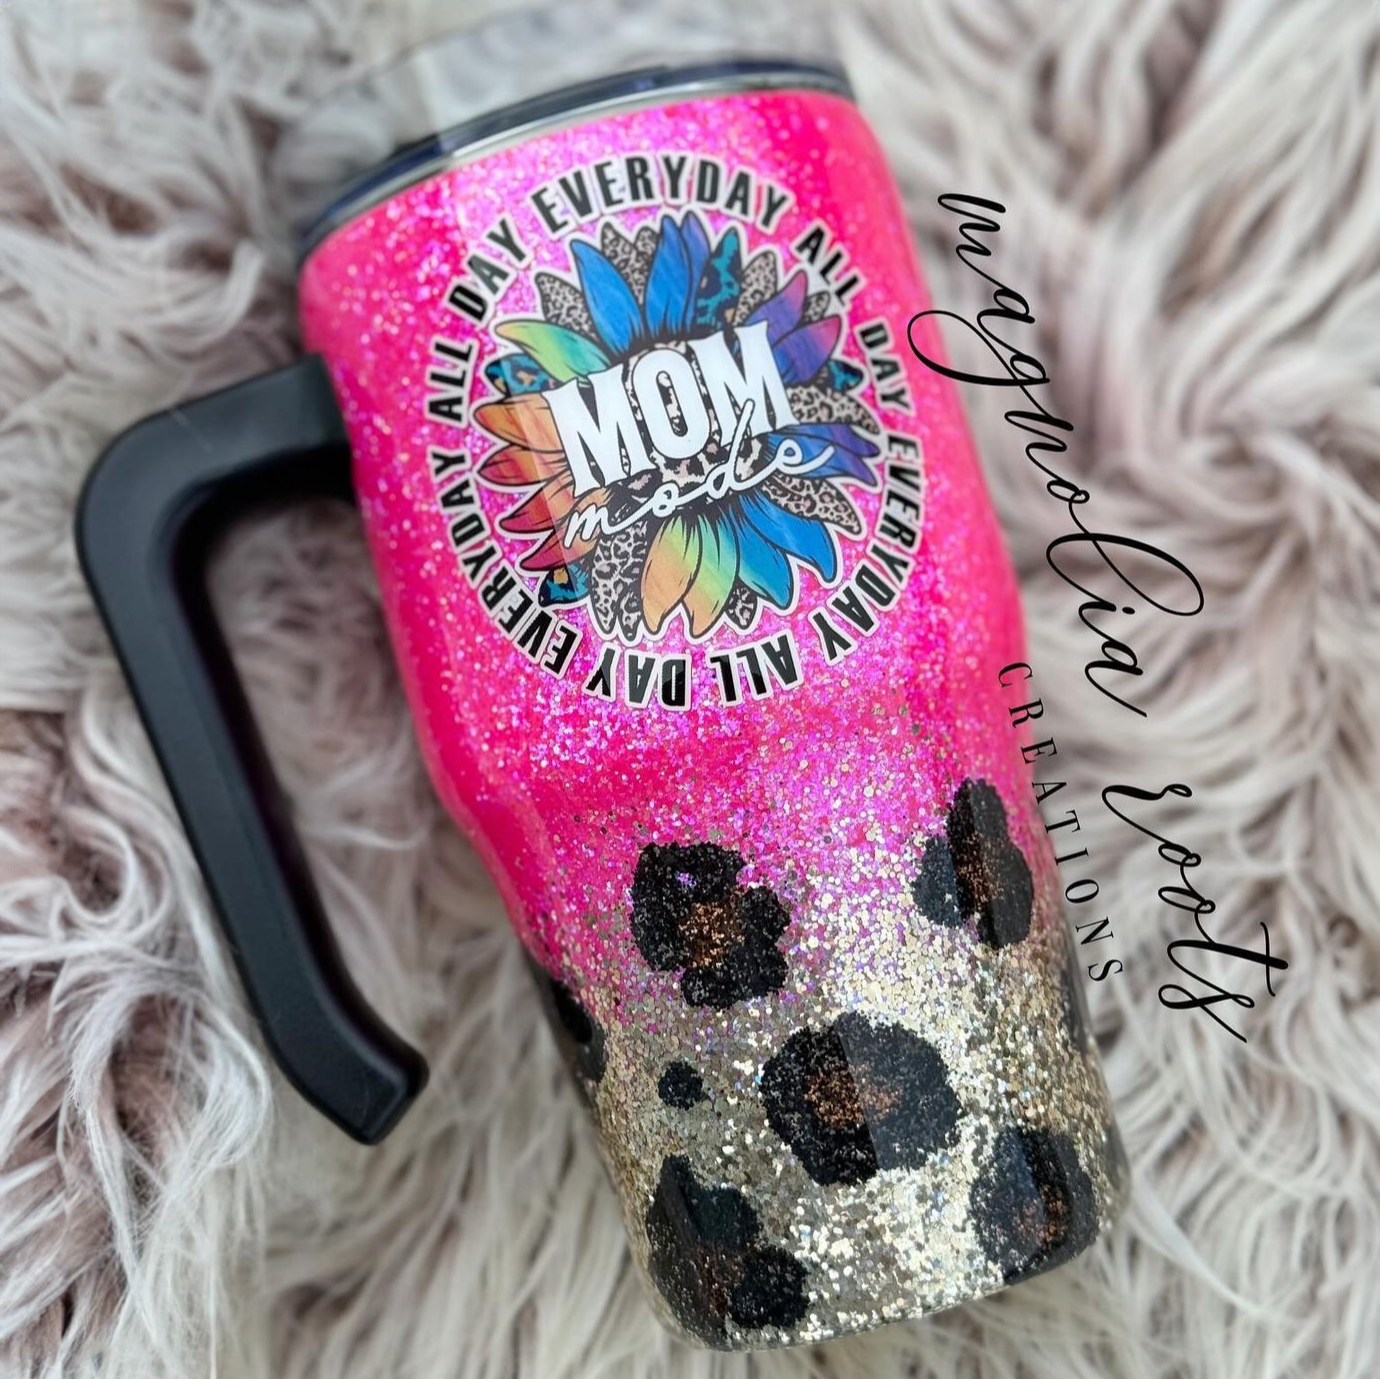
The Stainless Depot Company also offers a wide selection of high-quality and affordable sublimation blanks, including tumblers, ceramic mugs, and stainless steel water bottles, all designed for reliable, professional results.
Plus, we offer a host of other supplies and equipment for professional crafting, including sublimation printers and ink, sublimation heat presses, sublimation ovens, sublimation paper, and more.
With the right materials and equipment, you can produce stunning custom tumblers that stand out with vibrant colors, clean details, and long-lasting durability. The Stainless Depot Company has everything you need to start creating professional drinkware today.