Learning how to make a vinyl decal at home is one of the easiest ways to create personalized drinkware, signs, accessories, home décor, and many other custom products.
With the right supplies and a reliable cutting machine, you can make professional-looking vinyl decals for personal use or resale. Modern cutting machines make it easy to cut detailed designs, while adhesive vinyl lets you apply them to a wide range of smooth surfaces, from a stainless steel tumbler to a car window.
The process of making a vinyl decal involves creating a design, cutting the vinyl, removing excess material, and transferring the finished decal onto your surface. While the workflow is beginner-friendly, using the right supplies and crafting techniques can make a major difference in your final results.
In this guide, we’ll explain how to make a vinyl decal step by step, starting with the tools and supplies you will need for professional results. Whether you want to create custom products for yourself or start a crafting business, learning how to make vinyl decals can open the door to countless creative opportunities.
 What Is a Vinyl Decal?
A vinyl decal is a design made from adhesive vinyl that you can apply to smooth surfaces, such as tumblers, mugs, windows, laptops, outdoor signs, and vehicles.
Unlike traditional paper stickers, vinyl decals are made from thin, flexible vinyl that delivers stronger adhesion and longer-lasting durability. When cut and applied properly, high-quality vinyl decals can resist moisture, fading, and peeling for long-lasting results.
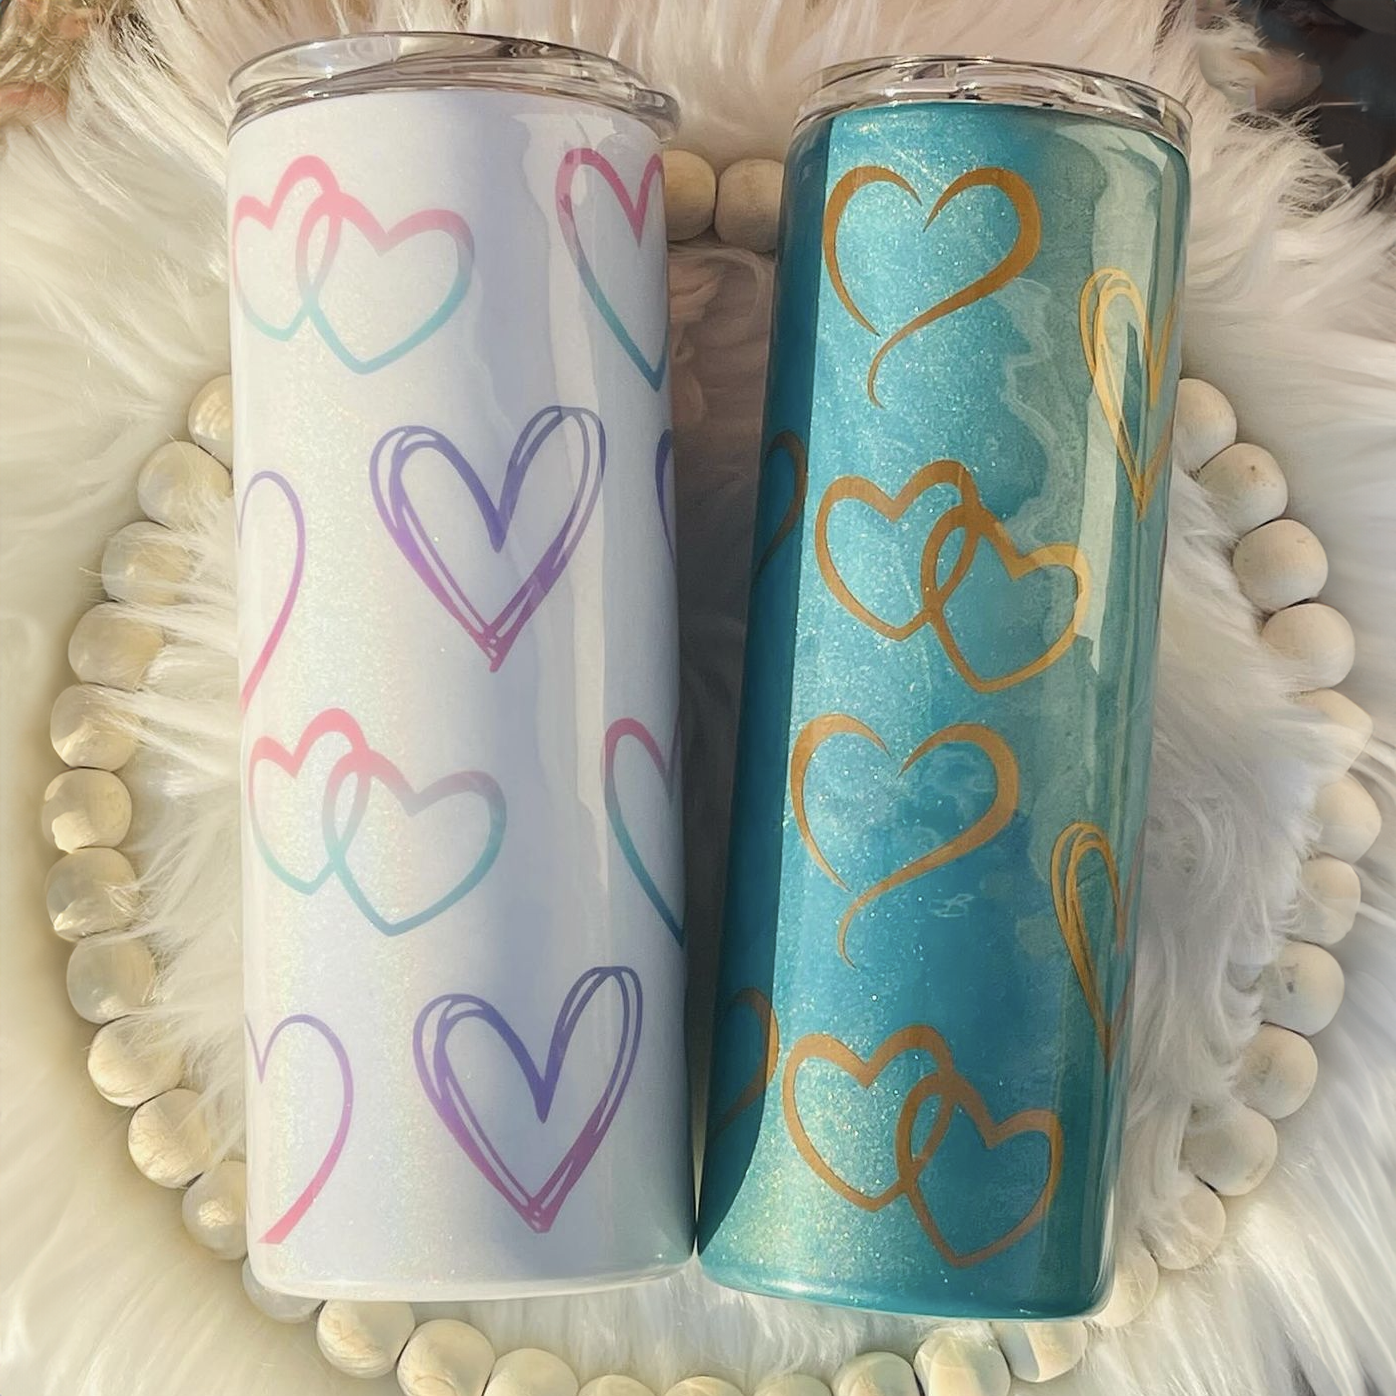
Crafters frequently create vinyl decals with a cutting machine, shaping adhesive vinyl into shapes, letters, logos, or artwork. This adhesive vinyl is typically a single solid color, but you can layer different colors of vinyl to create multi-colored designs.
While often confused with vinyl stickers, these decals differ in a few important ways. Vinyl decals are typically made from individual cut vinyl pieces that are transferred and applied to a surface. By comparison, vinyl stickers are usually printed on a single sheet of material with a built-in backing and adhesive layer. Crafters often prefer decals to vinyl because they allow for cleaner application and more durable results on smooth surfaces.
Now that you know the basics of this valuable customization process, let's unpack what you will need to make your own vinyl decals at home.
What Do I Need to Make My Own Vinyl Decals?
To make your own vinyl decals at home, you need a vinyl cutting machine, adhesive vinyl, transfer tape, basic weeding tools, and a smooth surface for application.
Let's take a closer look at each of these essential tools and materials.
Vinyl Cutting Machine
A vinyl cutting machine is the most important tool for making custom decals. These machines use small precision blades to cut shapes, text, and artwork from adhesive vinyl sheets.
Popular cutting machines include Silhouette Cameo, Brother ScanNCut, and Cricut machines. Beginners often choose user-friendly cutting machines, like the Cricut Explore 4. However, more advanced machines, like the Cricut Maker 4, can handle larger designs and more detailed cuts, making them useful for serious crafters and small business production.
A reliable cutting machine improves cutting accuracy and consistency, which is critical for producing professional-looking decals.
What Kind of Vinyl Do You Use to Make Decals?
The most common material for making decals is adhesive craft vinyl. This vinyl features a sticky backing that allows it to bond to a variety of smooth surfaces, empowering you to customize a variety of products.
There are two main types of adhesive vinyl used for decals: permanent vinyl and removable vinyl.
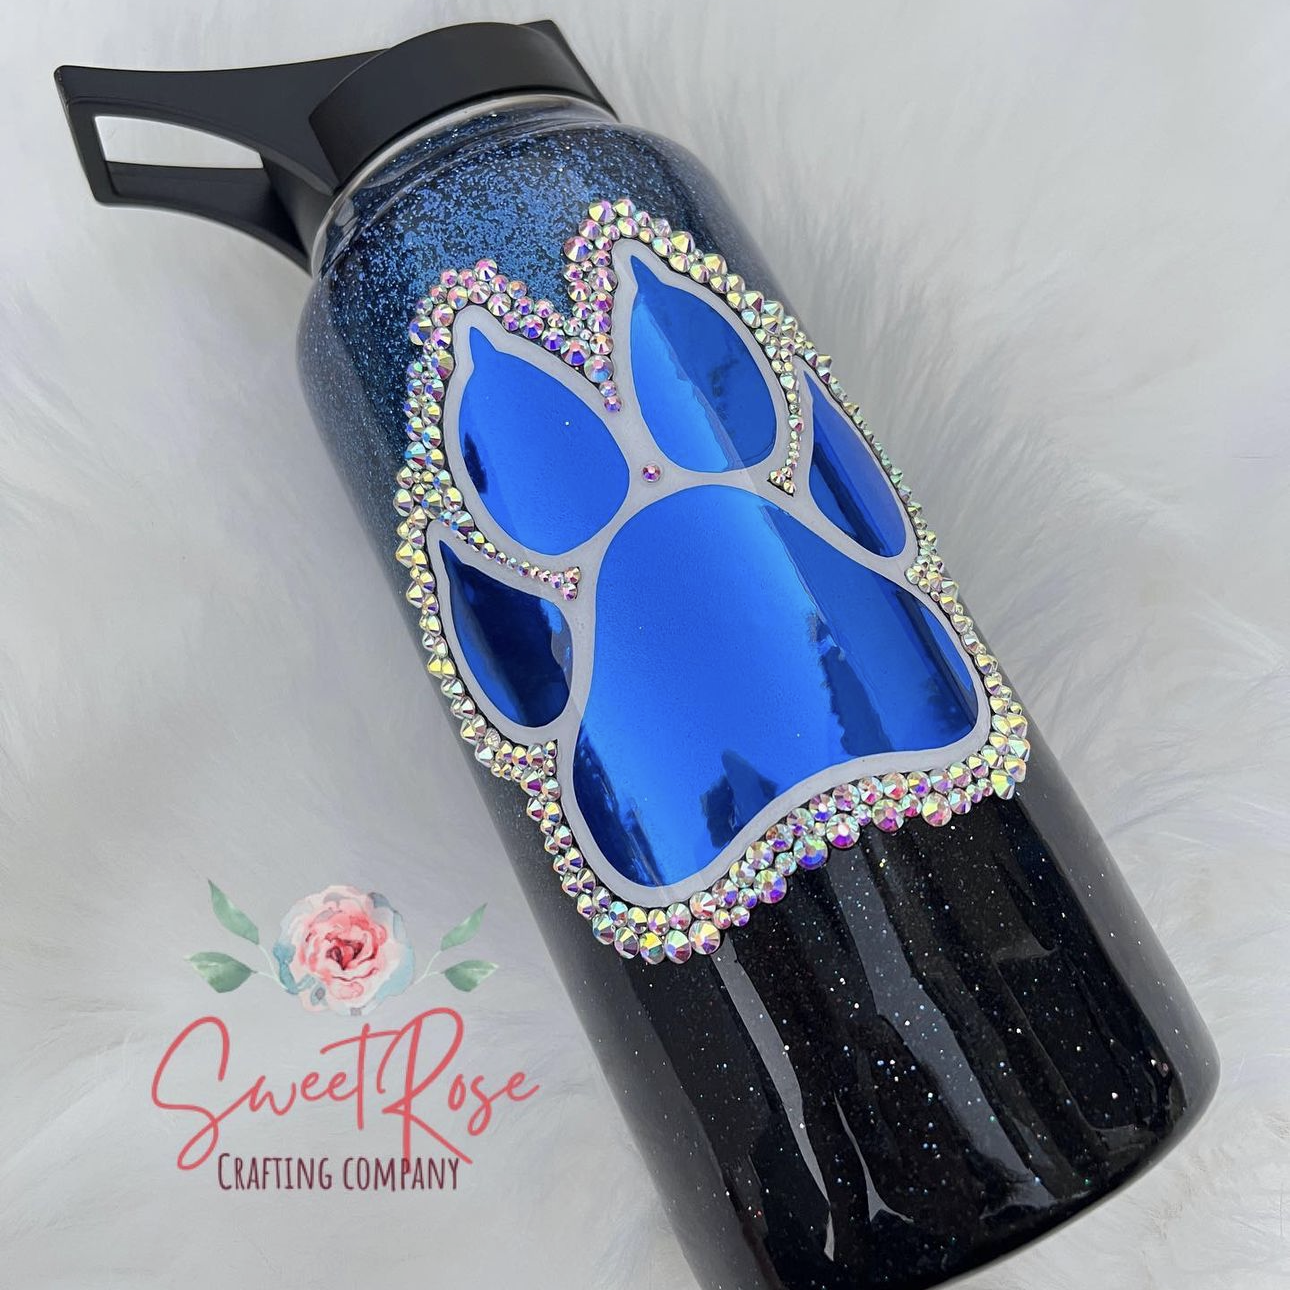
Permanent vinyl is the preferred option for many crafters because it offers stronger adhesion, better moisture resistance, and longer durability. Crafters often use it for drinkware, car decals, outdoor signs, and other long-lasting applications.
Removable vinyl works better for temporary applications, such as wall decals and seasonal decorations. While it can still create attractive designs, it typically does not last as long on drinkware and other frequently handled products.
In addition to these two main types, adhesive vinyl also comes in many finishes and specialty styles, including glossy, matte, holographic, metallic, glitter, shimmer, fluorescent, and patterned options.
Choosing the right vinyl depends on your project, your desired appearance, and the surface you plan to customize. Just remember that you will need permanent adhesive vinyl if you intend to decorate a product that will be used frequently.
Cutting Mat
A cutting mat holds the adhesive vinyl in place while the cutting machine works. Mats help prevent shifting during cutting, improving design accuracy. This stability matters most when you work with detailed designs, small lettering, or layered graphics that require precise alignment.
Most cutting mats use a light, standard, or strong grip, depending on the material you use. Light-grip mats work well for thinner vinyl, while standard-grip mats support most everyday vinyl projects. Strong-grip mats help hold thicker materials in place, but they can sometimes make delicate vinyl harder to remove cleanly if used improperly.
Weeding Tools
Crafters use weeding tools to remove excess vinyl after cutting their designs. Most weeding tools feature fine metal hooks or pointed tips that help lift small vinyl pieces without damaging the decal itself.
Common examples of weeding tools include tweezers, scrapers, and hook tools designed for crafting.
Using proper weeding tools is especially important when creating intricate designs, script lettering, or multi-color decals. Sharp, precise tools help improve efficiency and reduce mistakes while making more complex decals.
Transfer Tape
Transfer tape allows you to transfer your vinyl decal from its backing paper onto the final surface without disrupting the design. After weeding away the excess vinyl, you will apply transfer tape over the decal to lift the full design in one piece.
Using this tape is critical when working with detailed lettering and layered graphics. Without it, small sections of vinyl can shift or become misaligned during application.
Additionally, crafters often use clear transfer tape because it improves visibility during placement, making it easier to align decals accurately on surfaces.
Smooth Surface or Blank
Vinyl decals perform best on smooth, clean surfaces. For that reason, it's important to avoid applying your decals to heavily textured surfaces, as this may reduce adhesion, especially with intricate designs or small lettering.
For best results, use high-quality blanks intended for crafting, especially when customizing drinkware. These surfaces allow the adhesive vinyl to bond more evenly, reducing the risk of bubbling, lifting, and peeling over time.
With the essential tools and materials for vinyl crafting in place, you are ready to bring everything together and start creating your own designs.
 How to Make Vinyl Decals With a Cutting Machine
Once you have the right supplies, using a cutting machine to make vinyl decals is an easy process.
Most vinyl decal projects follow the same general workflow, whether you use a Cricut, Silhouette Cameo, Brother, or another cutting machine brand.
You will create or upload a design, cut the vinyl, remove excess material, add transfer tape, and move the finished decal onto your surface.
Here are the step-by-step instructions to make a vinyl decal with professional results:
Step 1: Create or Upload Your Design
Before cutting your vinyl, you need a digital design file. Many crafters use software such as Cricut Design Space, Silhouette Studio, Canva, Adobe Illustrator, or CorelDRAW to create custom decals.
To prepare your design:
- Open your design software and create your artwork or text
- Separate each color (if working with multiple) into its own layer
- Upload SVG, PNG, or compatible design files if using pre-made graphics
- Resize the design to fit your surface
- Double-check spacing, alignment, and lettering thickness
- Mirror the design if your project requires it
Simple designs work best for beginners because they are easier to cut, weed, and apply. Thin lines and intricate details can increase the risk of tearing or misalignment during application.
Additionally, multi-colored designs require extra planning at this stage because each color layer must align correctly after cutting. When you organize your layers carefully in the design phase, you reduce errors later and create a cleaner finished vinyl decal.
Step 2: Place the Vinyl on the Cutting Mat
After preparing your design, load your adhesive vinyl into the cutting machine. Proper material placement helps improve cutting accuracy and prevents shifting during the cutting process.
When loading the vinyl, make sure to:
- Place the vinyl onto the cutting mat with the colored vinyl side facing upward
- Ensure each color of vinyl is loaded separately if working with a multi-color design
- Smooth the vinyl firmly onto the mat to remove wrinkles or air pockets
- Insert the mat into your cutting machine
- Select the correct material setting for your vinyl type
- Adjust blade depth or pressure settings if necessary
Using incorrect material settings can lead to incomplete cuts, jagged edges, or overcutting, where the blade slices through the backing paper. These issues can make weeding more difficult and reduce the quality of the finished decal.
Step 3: Cut the Vinyl Decal
Once you ensure your machine settings are correct, it is time to cut your decal. This stage is where your digital design becomes a physical product, so precision and consistency are extremely important.
Here's how to make a vinyl decal with a cutting machine:
- Send each color layer from your software to the cutting machine one at a time
- Monitor the first few moments of the cut to ensure proper alignment
- Allow the machine to finish the full cutting process
- Carefully unload the cutting mat when complete
- Inspect the design to confirm clean cuts throughout the vinyl
The quality of your decal will depend on how cleanly the blade follows the design paths. Clean cuts ensure that small details, inner shapes, and lettering remain intact and easy to separate from the excess vinyl.
Clean cuts also make the weeding step much smoother and reduce the risk of tearing or lifting delicate pieces.
Step 4: Weed the Excess Vinyl
Next, you will weed the decal to remove unwanted vinyl from around your design. This step reveals the finished decal that you will transfer onto your chosen surface.
Make sure to use good lighting at this stage to help with the weeding process, especially for intricate decals or script fonts.
Use tweezers, a scraper, or a hook to:
- Peel away the larger outer sections of the excess vinyl first
- Use a weeding hook or tweezers to remove small interior pieces
- Work slowly around detailed shapes and lettering
- Weed each color layer separately before assembly
- Inspect the decal carefully for missed vinyl fragments
- Avoid pulling too aggressively to prevent lifting parts of the design
Weeding is a critical step in the vinyl decal process because it determines how clean and professional the final design will look before you apply it. When you weed carefully, you will prepare the decal for a smooth transfer, ensuring only the intended design remains on the backing sheet.
Step 5: Apply Transfer Tape
Transfer tape allows you to lift the finished, weeded decal from its backing paper while keeping the design aligned and intact. It serves as a temporary carrier layer, allowing you to move the decal as a single piece and apply it accurately to the final surface.
This step is especially important for lettering, multi-piece designs, and any decal that features precise spacing and alignment.
To apply transfer tape to a multi-layered design, you will need to:
- Cut a piece of transfer tape slightly larger than your decal
- Place the transfer tape over the first weeded vinyl layer
- Use a scraper or squeegee tool to press the tape firmly onto the vinyl
- Smooth out any bubbles or wrinkles
- Slowly peel the vinyl layer away from the backing paper using the transfer tape
- Align the lifted layer carefully over the next vinyl color layer
- Press the layers together gradually to maintain proper alignment
- Repeat the process for additional layers if necessary
- Smooth bubbles or wrinkles between the layers
- Burnish more firmly on layered sections to help bond the vinyl pieces together
- Slowly peel the transfer tape upward once you have assembled every vinyl layer
If you only have a single layer, simple:
- Cut a piece of transfer tape slightly larger than your decal
- Place the transfer tape over the weeded vinyl design
- Use a scraper or squeegee tool to press the tape firmly onto the vinyl
- Smooth out any bubbles or wrinkles
- Slowly peel the transfer tape upward to lift the vinyl decal from the backing paper
- Make sure all parts of the design remain attached to the transfer tape before application
Applying transfer tape is the step that brings the decal together as a single, transferable design. When you apply the tape correctly, you will ensure that every element of the vinyl stays aligned and intact as you move it from the backing paper to the final surface.
Step 6: Apply the Vinyl Decal to Your Surface
The final step is applying the vinyl decal to the tumbler, window, sign, or other surface. It is critical for the blank object to have a consistent, smooth surface, as this will help produce the best adhesion and the cleanest final appearance.
Here's how to apply your decal with the best results:
- Clean the surface thoroughly with rubbing alcohol and allow it to dry
- Position the decal carefully before pressing it down
- Apply the decal slowly from one side to the other
- Use a scraper tool to smooth out air bubbles and improve adhesion
- Slowly remove the transfer tape while keeping the vinyl in place
- Allow the adhesive vinyl to cure for up to 24 to 48 hours before washing or heavy handling
With careful application, you can use vinyl decals to produce durable, professional-looking results on a variety of surfaces.
Now that you know how to apply a vinyl decal for professional crafting, let's explore the difference between vinyl and another popular crafting method: sublimation printing.
Using Vinyl Decals vs Sublimation
Both vinyl decals and sublimation printing are popular choices for customizing tumblers, mugs, and other drinkware. Each technique creates a distinct finish, so the right option often depends on your style preferences.
As we've seen, you create vinyl decals by cutting adhesive vinyl into a design and applying it directly onto a surface. This method is simple to learn and does not require heat transfer beyond basic application tools. Vinyl works well for bold designs, lettering, and logos.
Using vinyl decals provides flexibility in crafting, as you can apply them to a wide range of smooth surfaces. Still, applying designs with multiple colors can be challenging, as each color requires its own adhesive vinyl layer. Intricate designs can also be difficult because they require detailed weeding.
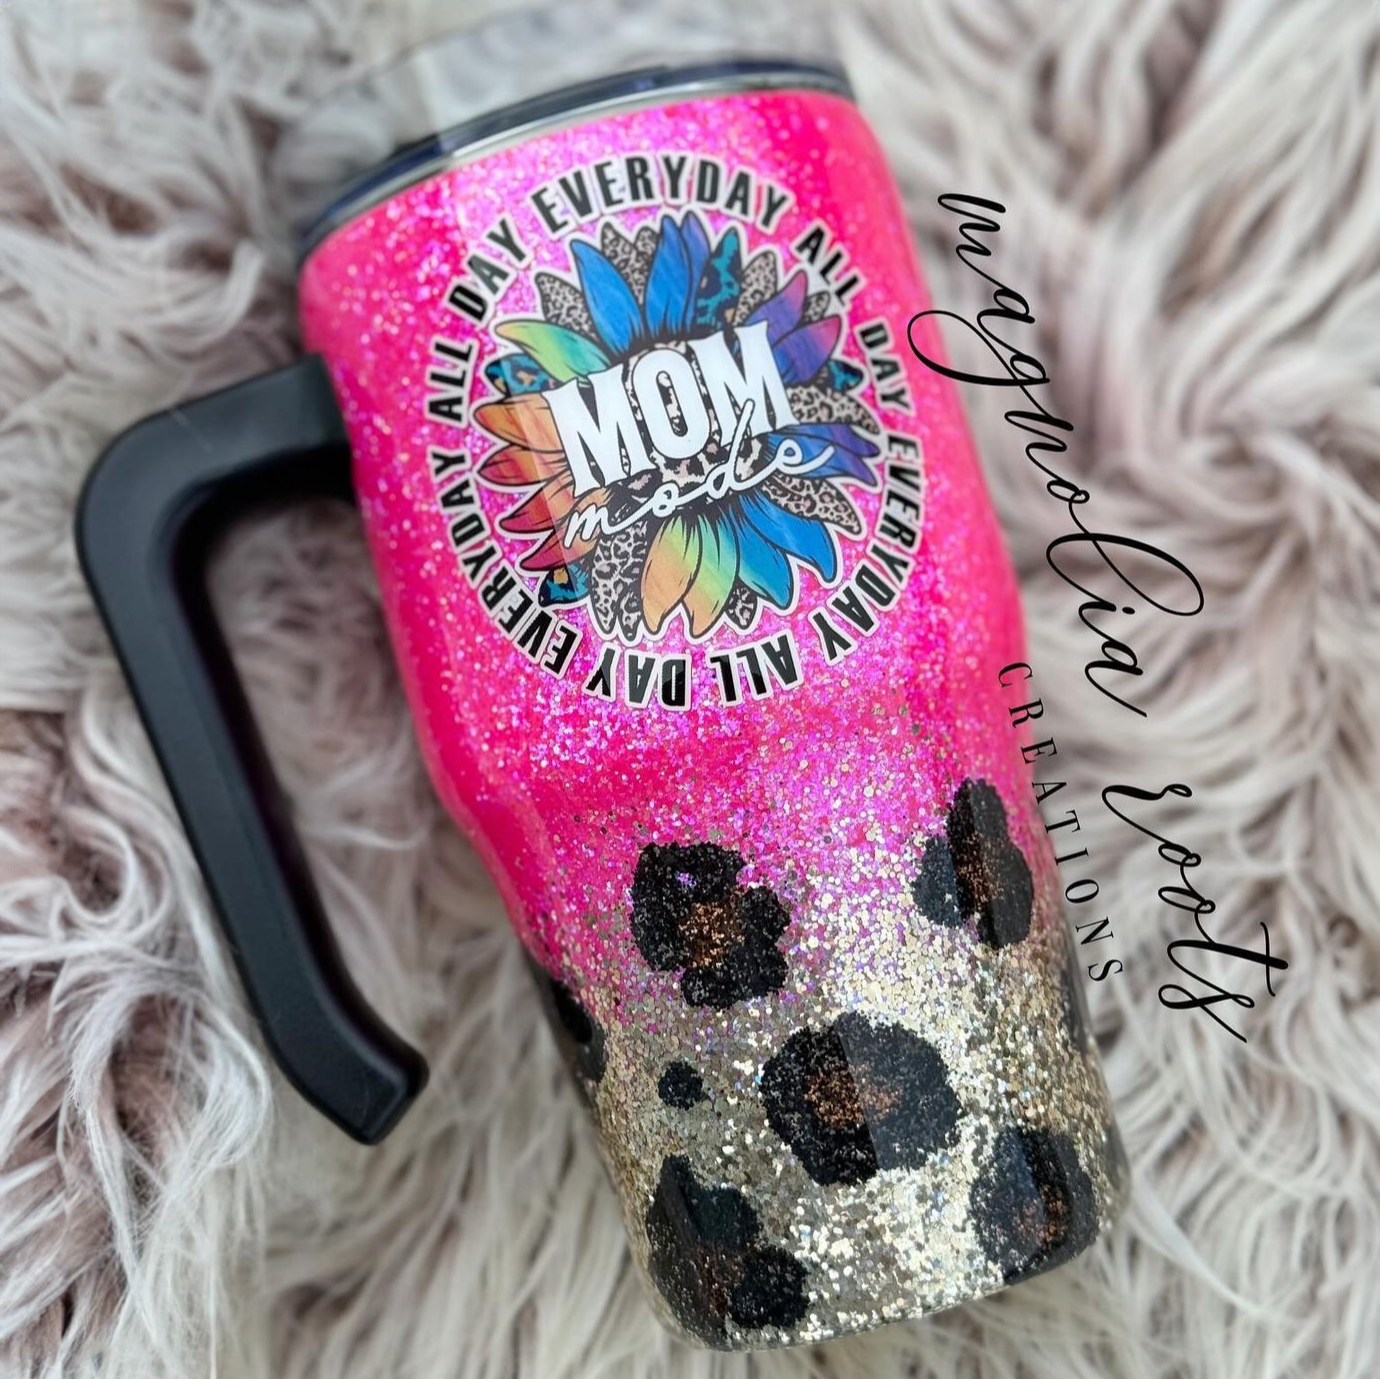
Sublimation, on the other hand, uses heat and pressure to permanently infuse ink into a coated surface. Instead of sitting on top of the material like vinyl, sublimation becomes part of the surface itself. This creates a smooth, seamless finish that will not peel or lift over time. The sublimation process also makes it easy to decorate drinkware and other surfaces with vibrant, multi-colored designs without extra hassle.
While you can achieve stunning, professional results with sublimation, the process only works on polyester fabrics and polymer-coated surfaces. Products with this polymer coating are often called sublimation blanks.
In summary, sublimation is great for crafters who want more durable, multi-colored, and intricate designs, but vinyl decals are better for those who want to customize non-polyester or non-polymer-coated surfaces.
Get High-Quality Tumblers and Drinkware for Vinyl Decals
Whether you choose vinyl or sublimation, you need high-quality blanks to help ensure professional-looking results.
High-quality blanks are essential when using decals because the product's surface affects how well the vinyl adheres and how long the design lasts. Smooth, consistent finishes help prevent lifting, bubbling, and peeling, especially when using permanent adhesive vinyl.
In contrast, poor-quality surfaces can cause application issues and inconsistent results. Textured or uneven coatings make it harder for vinyl to bond properly, reducing the durability of your finished product.
If you decorate drinkware using vinyl decals, consider buying high-quality tumblers designed for crafting. Here at The Stainless Depot Company, our tumblers feature smooth coatings that are ideal for vinyl decals. These blanks can help you achieve clean, professional designs on drinkware every time.
Plus, each stainless steel tumbler boasts double-wall vacuum insulation for maximum temperature retention.
On top of offering the best blanks for crafting, we feature affordable wholesale pricing on individual tumblers, bulk discounts, and free shipping on orders over $99.
Whether you create custom tumblers as a hobby or produce inventory for a growing shop, our tumblers and drinkware will help you achieve the best results with vinyl decals.
 How to Make a Vinyl Decal FAQs
Can I Make Vinyl Decals Without a Cricut?
Yes, you can make vinyl decals without a Cricut by using other cutting machines, such as a Silhouette Cameo or a Brother ScanNCut. Some crafters also hand-cut simple designs, but this method is less precise and more time-consuming compared to using a cutting machine.
What Is the Best Vinyl for Tumblers?
The best vinyl for tumblers is permanent adhesive vinyl because it bonds strongly to smooth surfaces, like stainless steel and glass. It also offers greater durability, moisture resistance, and long-term adhesion than removable vinyl.
How Long Do Custom Vinyl Decals Last?
Vinyl decals can last several years when applied correctly to a clean, smooth surface. To make these vinyl decals last as long as possible, hand-wash your custom products to preserve the design.
Are Vinyl Decals Waterproof?
Vinyl decals are water-resistant but not fully waterproof. Permanent vinyl can withstand light moisture and regular handling, but prolonged soaking or dishwasher use can weaken the adhesive over time.
How to Make Money Selling Vinyl Decals?
You can make money selling vinyl decals by creating custom products or by selling the decals themselves for customers to apply at home. Many sellers use platforms like Etsy, craft fairs, social media, or their own websites to offer stunning, one-of-a-kind decals. The amount of money you can make from cutting vinyl will depend on your creativity, design quality, workflow efficiency, and blank quality. Achieving professional results will help you attract new customers and generate repeat sales.
Get the Best Tumblers and Drinkware for Vinyl Decals Today
Learning how to make a vinyl decal comes down to a few core steps. You create a design, cut it with a vinyl machine, remove the excess material, use transfer tape, and apply it to a clean surface. With the right tools and a bit of practice, beginner crafters can produce stunning custom decals for drinkware, vehicles, home décor, and a wide range of other personalized products.
Creating eye-catching products with vinyl decals becomes even easier when you pair these techniques with high-quality materials, such as reliable, smooth blanks. Smooth blanks help improve vinyl decal adhesion and can deliver a more professional-looking finish for every project.
If you are interested in using vinyl decals to customize drinkware, you can get affordable, high-quality blanks at The Stainless Depot Company.
Our tumblers, ceramic mugs, glassware, and other products are designed for smooth application and professional results, empowering you to create stunning custom drinkware using vinyl decals.
Whether you are crafting your first custom cup or your 1000th, you can count on The Stainless Depot Company to provide what you need to achieve the best results. Get started on your next vinyl project today with reliable blanks you can count on.