Creating eye-catching designs on tumblers with epoxy resin starts with choosing the right base. Not every tumbler is suitable for epoxy. The wrong tumbler can lead to uneven finishes, curing issues, and wasted time and materials. For small businesses and crafters, selecting the best epoxy tumbler is just as important as choosing the right epoxy resin itself.
In this epoxy tumbler guide, we'll unpack which tumbler is best for epoxy crafting. We'll also explain what makes a tumbler suitable for epoxy, which tumbler specifications matter most, and even share a brief overview of how to epoxy a tumbler.
Whether you are experimenting with epoxy for the first time or refining your production process, this guide is designed to empower you make informed purchasing decisions and create consistent, professional-looking epoxy tumblers.
What Is an Epoxy Tumbler?
An epoxy tumbler is a tumbler that can be safely coated with epoxy resin for a smooth, durable finish. Crafters use epoxy resin to create glossy coatings on metal surfaces, enhancing the metal's appearance while sealing and protecting the design underneath. Creative entrepreneurs often use epoxy to decorate drinkware as well as jewelry, decor, and other crafts.
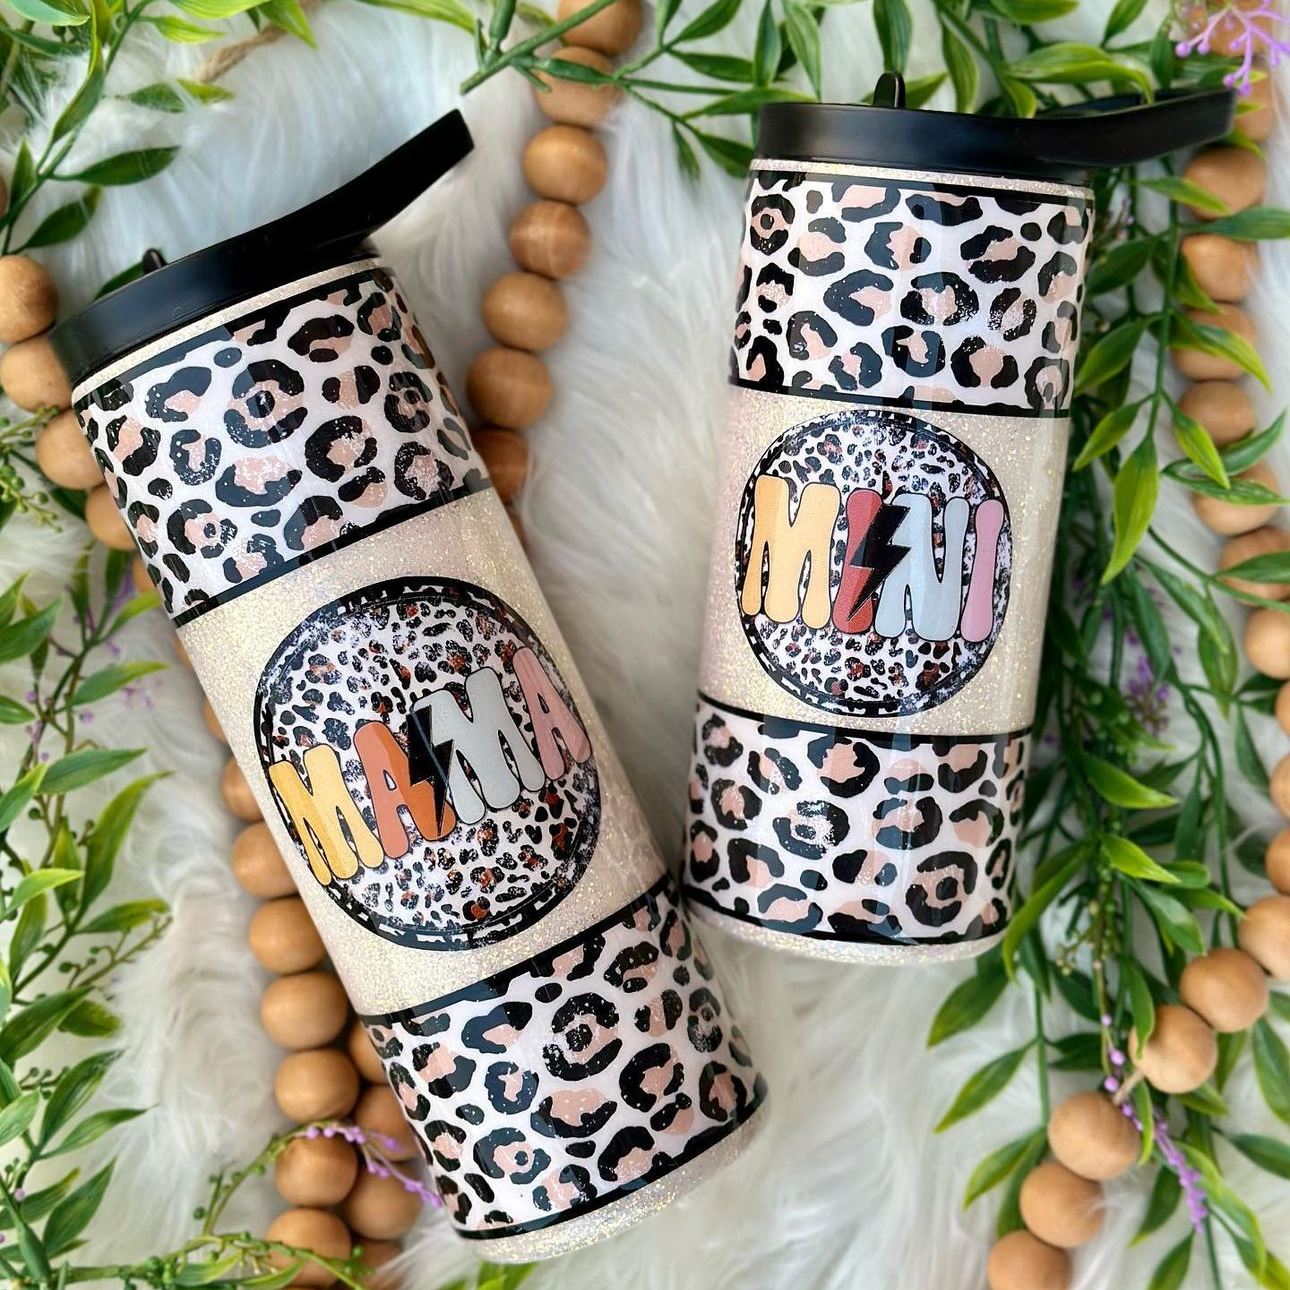
Drinkware crafters also use epoxy combined with other crafting methods, such as sublimation and laser engraving. Creatives use epoxy resin alongside these customization methods to adorn their cups with glossy finishes and smooth designs. Those who sell drinkware sometimes even position their epoxy resin tumblers as premium offerings due to the added time and materials involved.
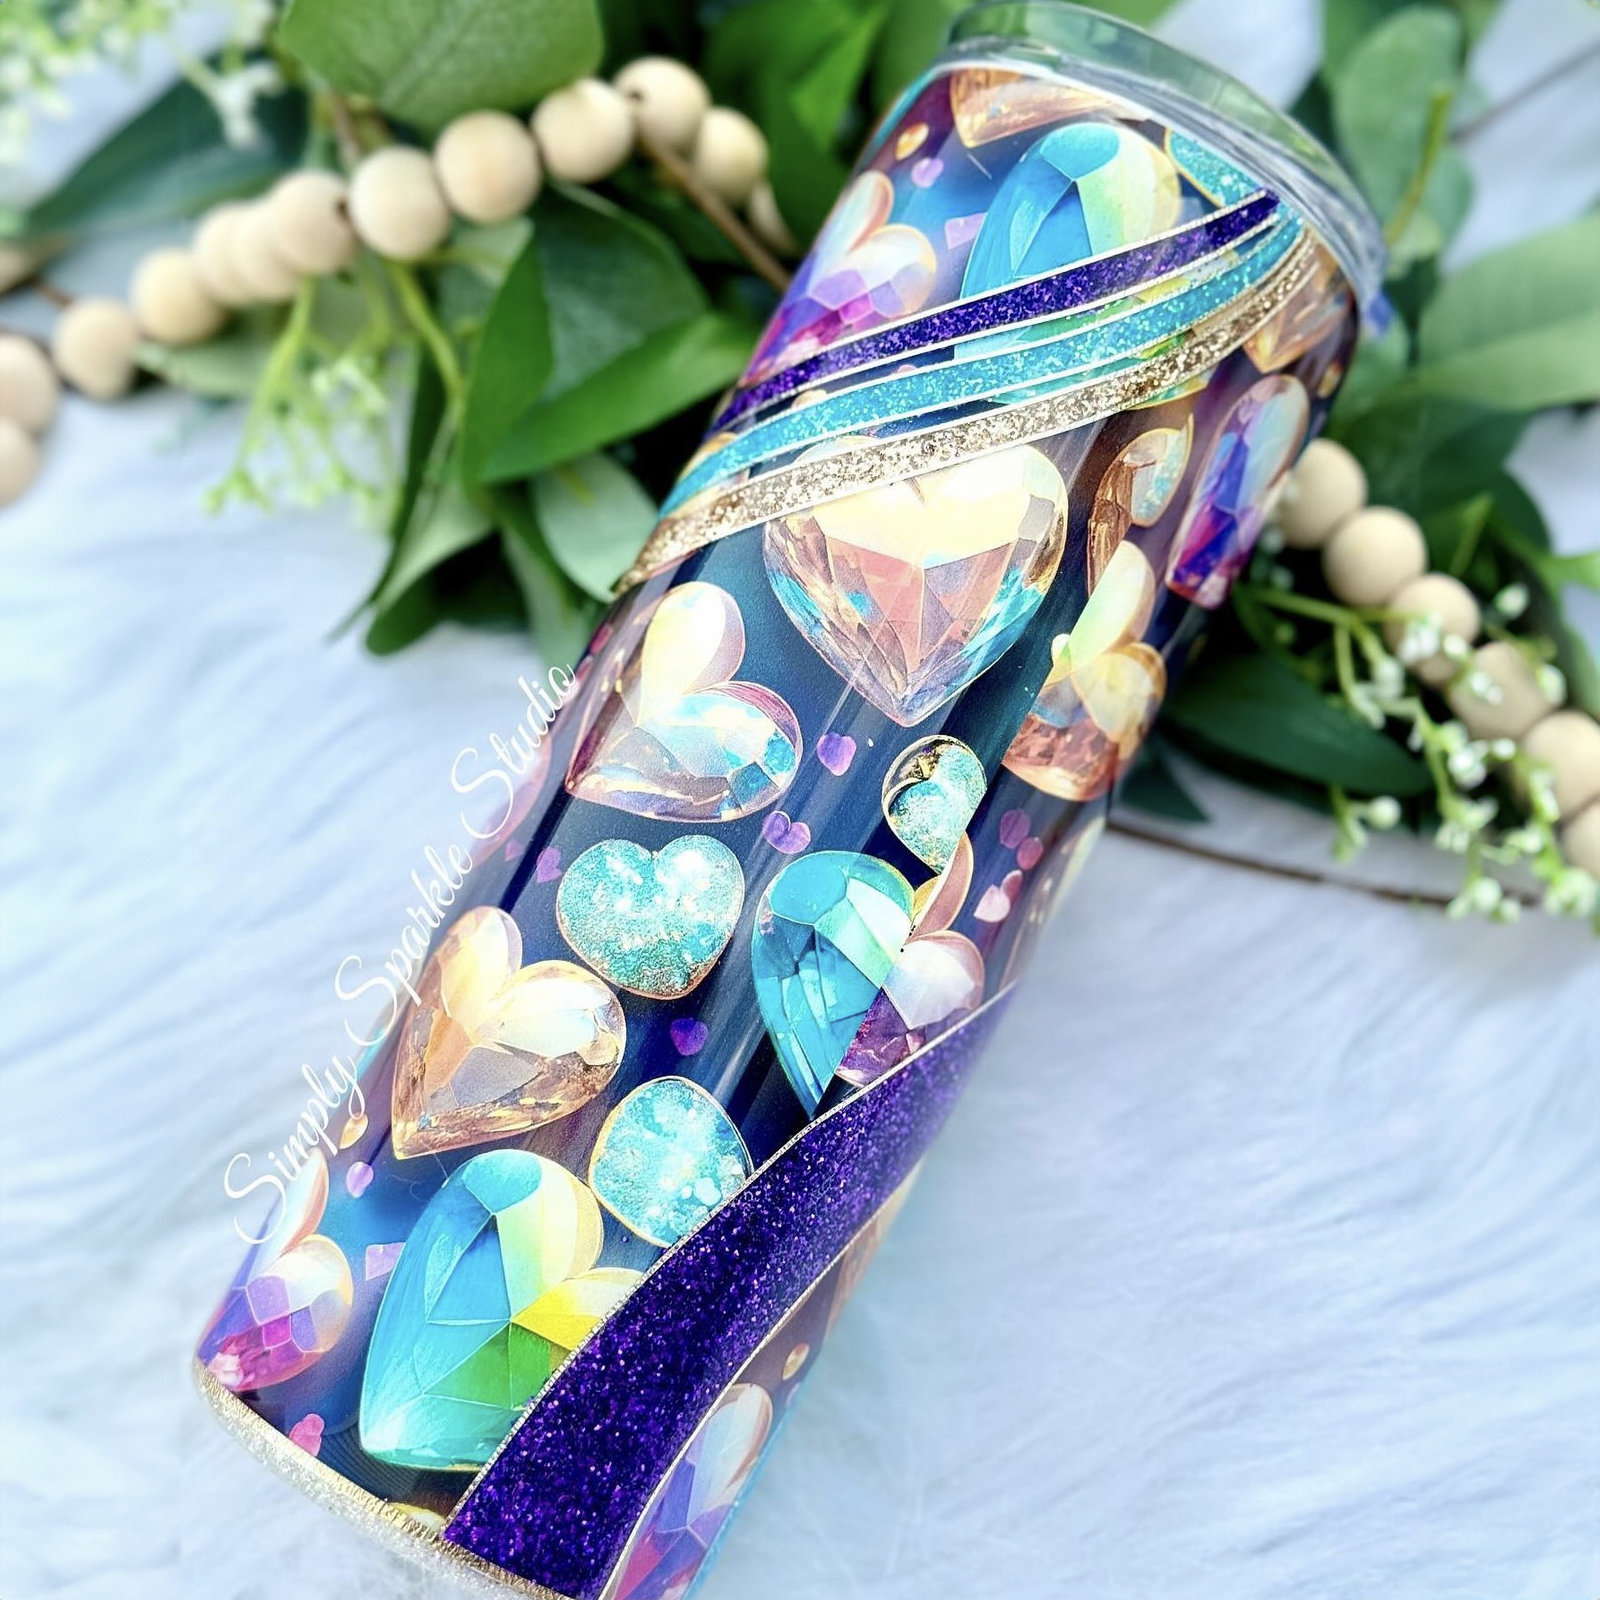
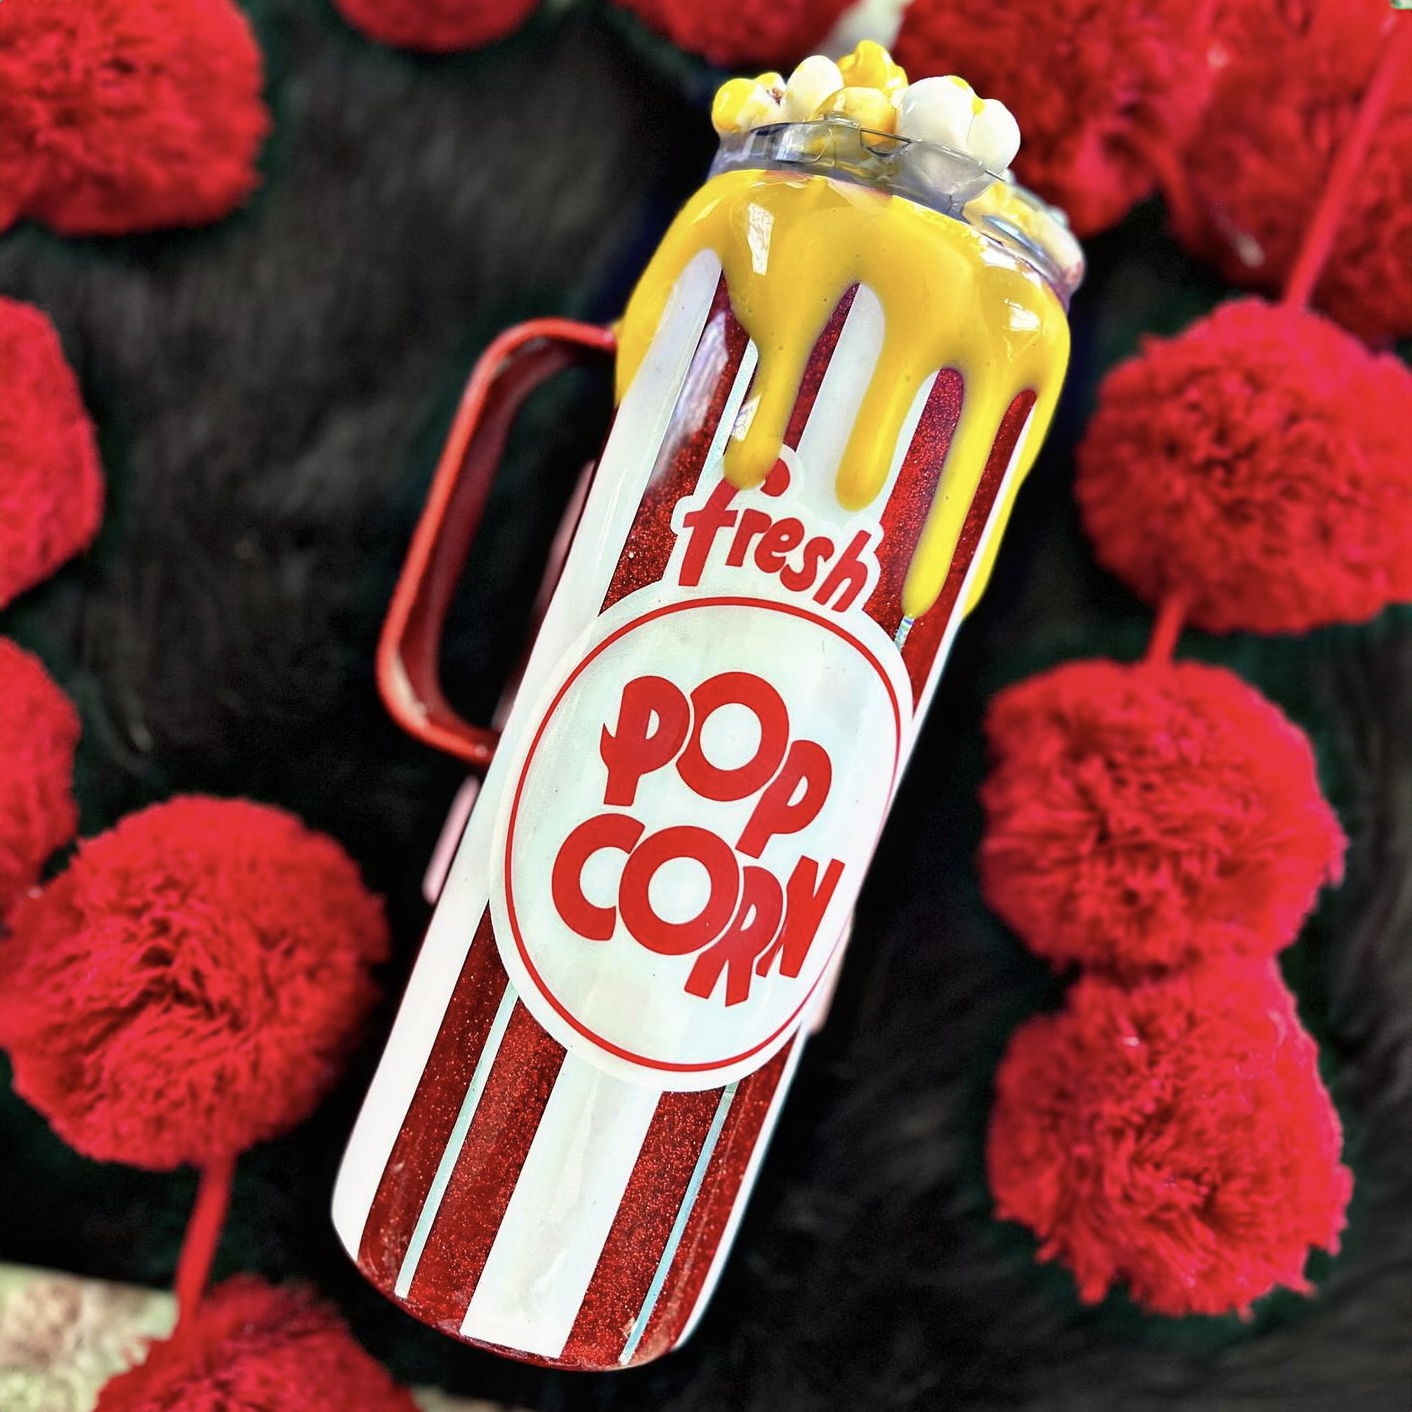
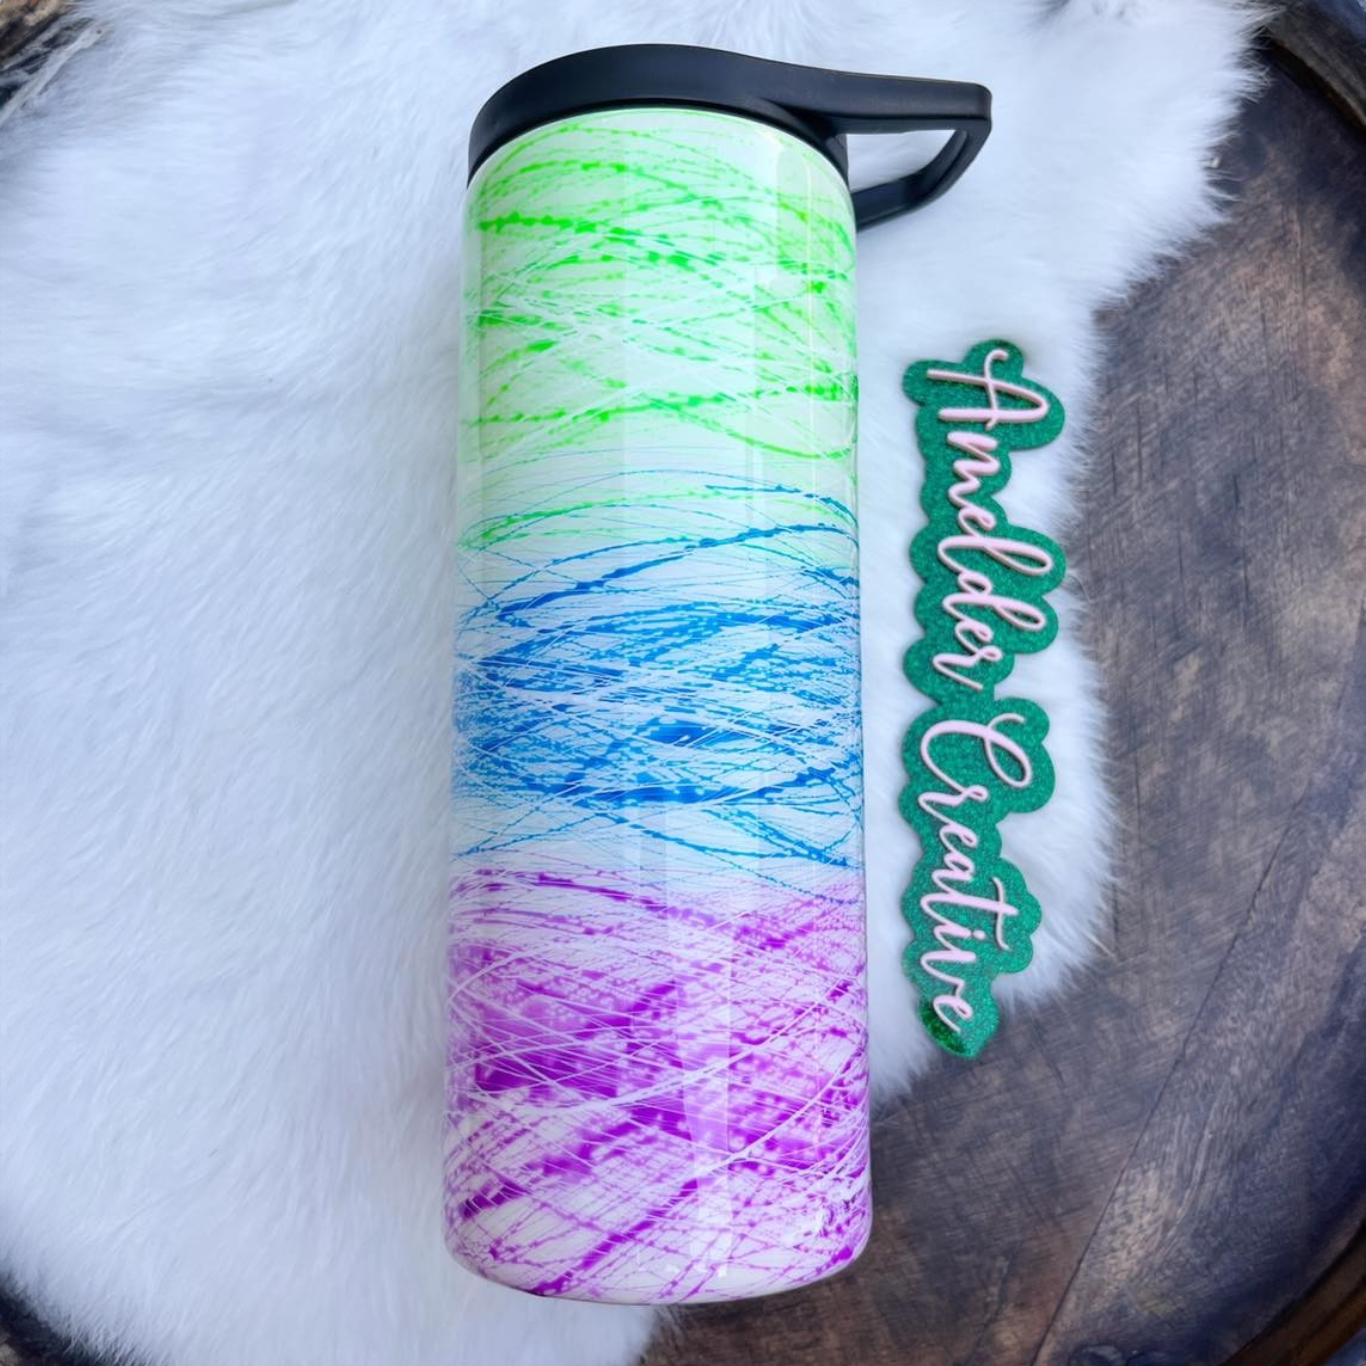
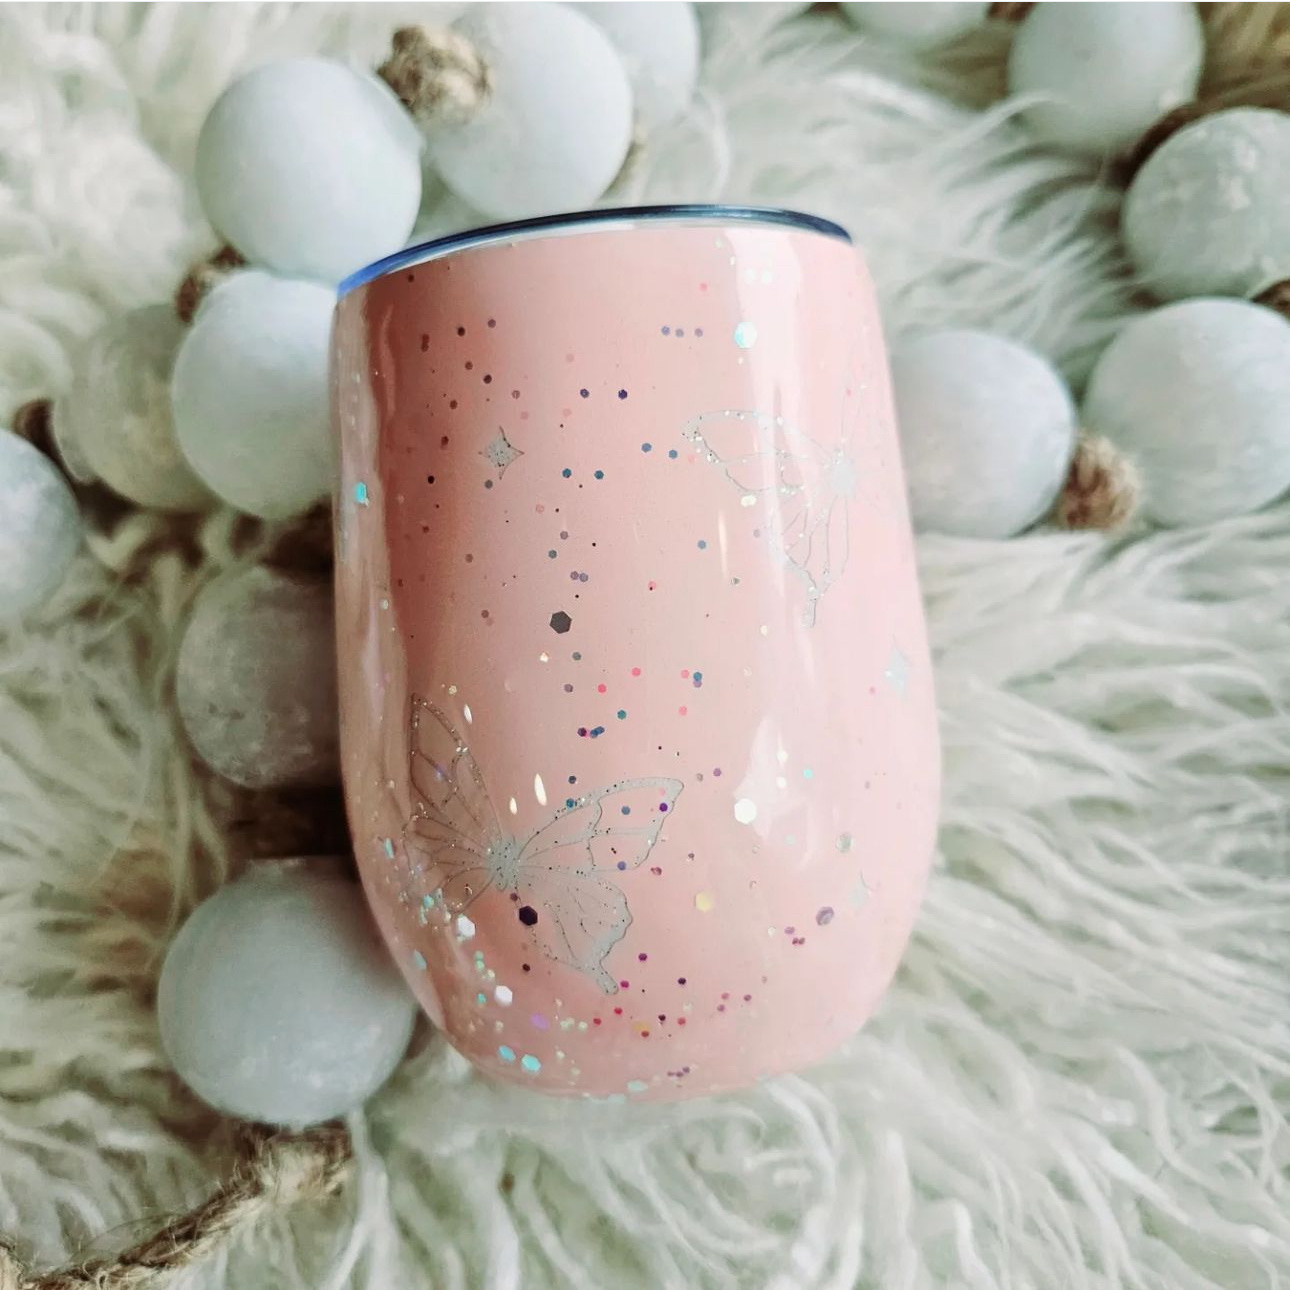
Tumblers with this smooth coating are also great for personalized gifts and fun DIY projects. When paired with proper tools and techniques, epoxy resin tumblers can produce stunning results with layered colors and glitter that are sure to impress your loved ones or customers.
Now that you understand the basics of epoxy tumblers, let's unpack the qualities that make a tumbler ideal for epoxy resin crafting.
 What Kind of Tumblers Can You Epoxy?
Epoxy resin does not work the same on every tumbler. A cup's material, surface finish, and coating all affect how well epoxy adheres and cures. Choosing the right tumbler blank helps prevent common issues like separation, fisheyes, and uneven coverage.
Here are essential qualities to look for when choosing your tumbler blank for epoxy crafting:
#1. Stainless Steel Constructions: Epoxy tumblers should always be made from 304 stainless steel. Stainless steel provides a rigid base that does not flex during rotation or curing. This stability allows the epoxy to level evenly and reduces the risk of ripples or weak spots.
#2. Smooth Exterior Surface: Smooth walls allow epoxy resin to self-level as it cures. Tumblers with texture, uneven coatings, rubberized finishes, or heavy paint often cause epoxy to separate or form fisheyes. These non-smooth surfaces require excessive prep yet still typically produce inconsistent results.
#3. Consistent Shape and Wall Thickness: Straight wall tumblers or lightly tapered tumblers are easiest to epoxy. Extreme tapers can cause epoxy to drift and pool during rotation. Consistent wall thickness also helps epoxy cure evenly by reducing temperature variation across the tumbler surface.
#4. Balanced Weight for Rotation: Weight distribution matters when using an epoxy tumbler turner. A well-balanced tumbler spins smoothly, preventing epoxy resin from pooling at one end. Lightweight or uneven tumblers are more likely to wobble, leading to uneven coating and sagging.
#5. Bare or Lightly Coated Exterior: Tumblers designed for epoxy should have bare stainless steel or a light factory coating that can be sanded easily. Thick coatings increase prep time and raise the risk of adhesion failure. A lightly prepped surface allows epoxy resin to bond securely.
#6. Flat Base Design: A flat base improves stability during handling and curing. An uneven base construction can cause the epoxy to overflow or result in uneven buildup.
Tumblers that meet these specifications reduce prep time, improve epoxy adhesion, and deliver more consistent epoxy resin finishes.
Can You Put Epoxy on a Sublimation Tumbler?
Yes, you can use sublimation blanks for epoxy designs. A sublimation blank can be epoxied like any standard stainless steel tumbler. The sublimation coating does not prevent epoxy from bonding as long as the surface is properly sanded and cleaned before application.
You can also epoxy a tumbler that features a sublimated image, but this can be more difficult to get the best results. While light sanding is necessary during preparation, aggressive sanding can break through the sublimation coating and damage or dull the printed image.
For that reason, you should lightly scuff the surface just enough to reduce gloss and promote adhesion. You'll then clean the surface to remove dust, oils, and residue.
It's also important to note that epoxy results can vary depending on the sublimation coating quality. Some coatings are more consistent, making them better for epoxy. If the coating is inconsistent or poorly prepped, you may have difficulty achieving proper adhesion, and peeling can also occur.
For the best results, crafters should test epoxy on a sample tumbler and only buy from reputable sublimation blank suppliers, such as The Stainless Depot Company.
As long as you have high-quality blanks and prep them correctly, adding epoxy over a sublimated tumbler can enhance its durability and visual appeal, giving your finished design a professional, long-lasting finish.
 The Best Epoxy Tumblers
The best epoxy tumbler is one that supports strong adhesion and predictable curing. Tumblers that are ideal for epoxy reduce surface prep, limit rework, and make it easier to achieve a smooth, professional finish.
The tumblers below from The Stainless Depot Company work well with epoxy crafting, as they feature smooth stainless steel exteriors, stable shapes, and balanced weight. Each option works well for different epoxy styles and experience levels.
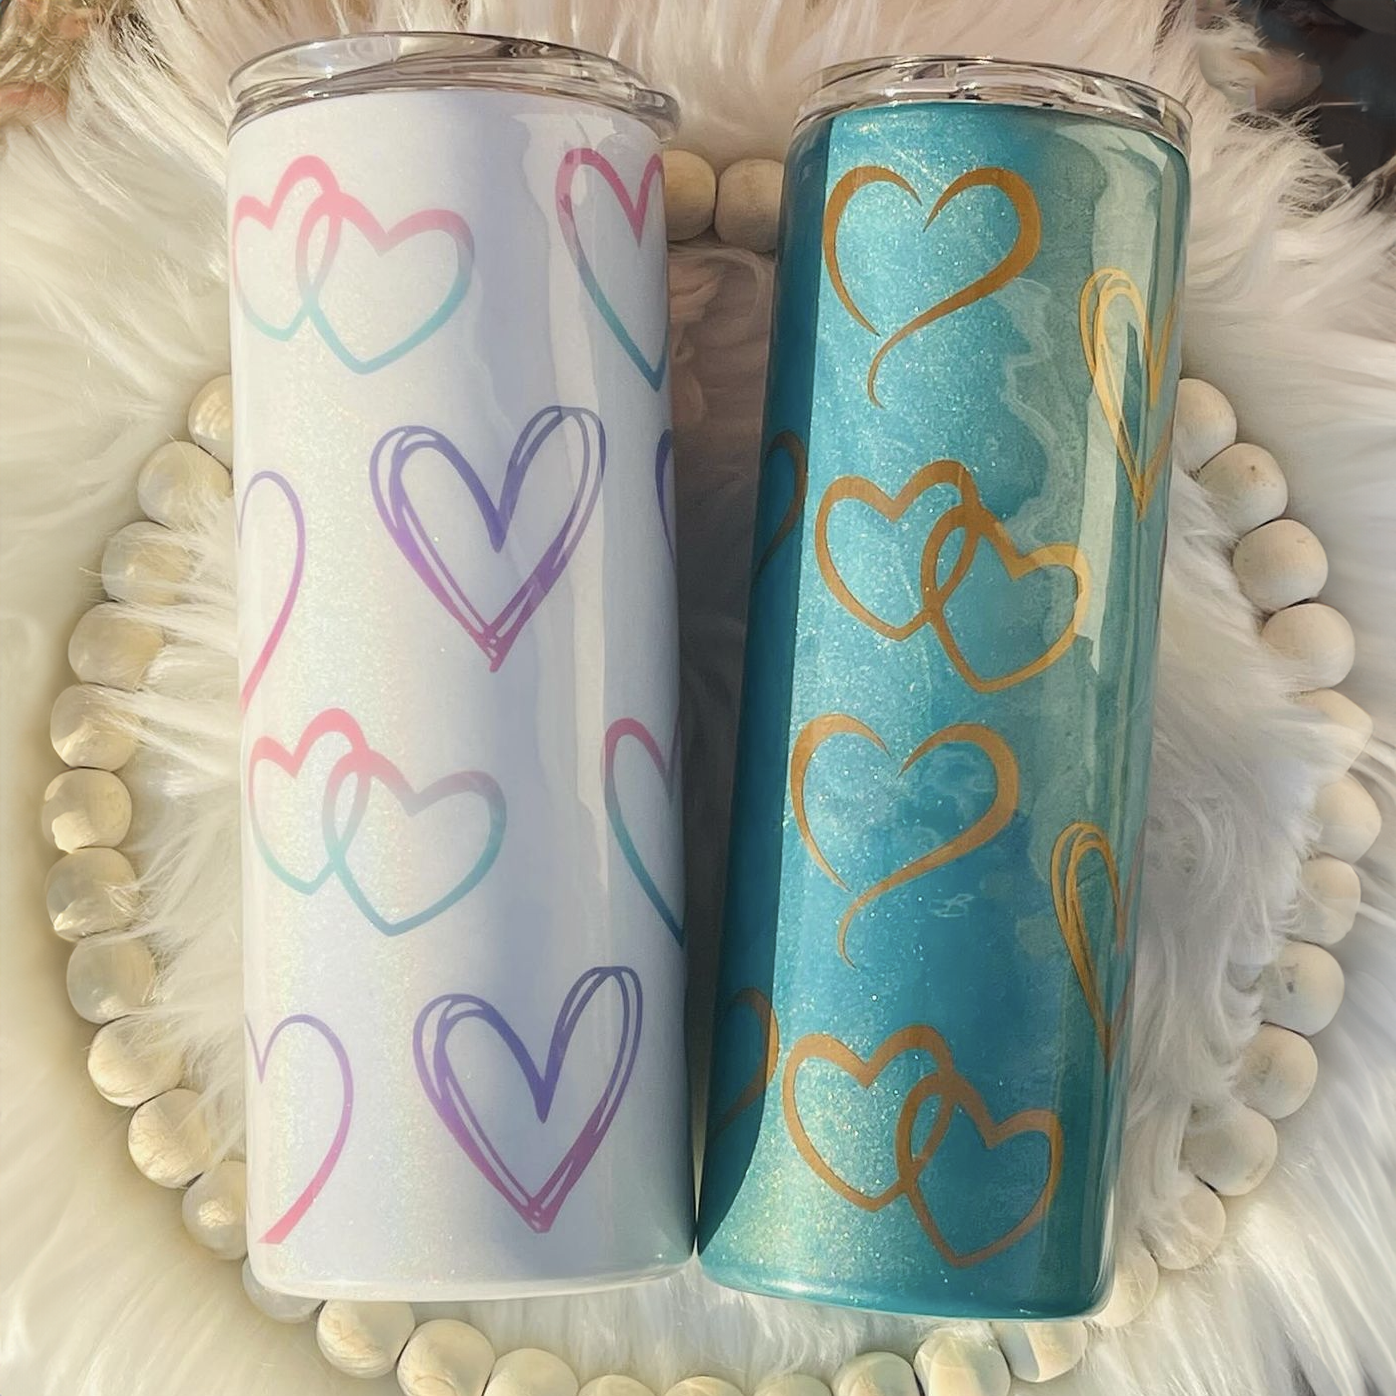
20-oz Skinny Tumbler
The 20-oz skinny tumbler is a commonly used blank for epoxy work. Its slim and consistent size and shape make it great for beginners while still empowering crafters to achieve high-quality results.
This tumbler offers a great starting point for crafters because it allows epoxy resin to level evenly during rotation, and the straight walls help prevent drifting and pooling.
Why it works well for epoxy:
- Straight wall design supports even epoxy flow
- Smooth stainless steel exterior requires minimal prep
- Balanced size spins evenly on cup turners
To see real examples of this epoxy tumbler in action, visit the 20-oz skinny tumbler product page and browse the customer photos in the Reviews section.
24-oz Tumbler
This 24-oz tumbler provides a generous surface area for crafting without being difficult to manage. Its size is ideal for crafters and small business owners who want room for detailed designs while maintaining control over the epoxy coating.
This tumbler has a smooth, powder-coated exterior that allows epoxy to self-level evenly. Its moderate taper and consistent weight make it stable on a cup turner, helping reduce drips and uneven buildup during the curing process.
Key epoxy-friendly features:
- Smooth, powder-coated exterior ideal for epoxy resin
- Moderate taper for manageable leveling
- Stable weight for smooth rotation on a turner
- Durable stainless steel construction for consistent results
The 24-oz tumbler works well for epoxy glitter tumblers or layered designs that require multiple coats. Its balance of size, weight, and surface quality makes it a reliable choice for both beginners and experienced crafters.
30-oz Skinny Tumbler
The 30-oz skinny tumbler is a popular choice for premium epoxy tumblers and high-end designs. Its tall, straight profile provides ample design space, making it ideal for full glitter coverage or layered epoxy finishes.
Its high-quality 304-grade stainless steel exterior makes it highly functional and easy to decorate. Applying epoxy to this tumbler is simple since it features straight walls and even weight distribution.
Why many epoxy crafters prefer this option:
- Tall, straight profile for even epoxy coverage
- Smooth, powder-coated exterior suitable for crafting epoxy
- Stable weight for smooth rotation on a turner
- High-quality stainless steel promotes reliable results
The 30-oz skinny tumbler is especially suited for upscale epoxy glitter tumblers or designs that require multiple layers. This tumbler is highly durable and can withstand multiple epoxy coats, making it ideal for creating breathtaking, professional tumblers.
40-oz Tumbler
The 40-oz sublimatable traveler tumbler is a larger option that works well for epoxy designs when properly prepared. Its size provides ample space for bold epoxy glitter designs or layered finishes, and it's great for large artwork and premium custom tumblers.
Because of its non-straight shape, this tumbler is more challenging for epoxy application and may not be the right choice if you're a beginner. Still, more experienced crafters can achieve remarkable designs.
Great epoxy-friendly characteristics:
- Large surface area for bold or layered epoxy designs
- Smooth powder-coated exterior that allows epoxy to self-level
- Heavier weight provides stability on a tumbler turner
- Stainless steel construction ensures durability and consistent results
- Removable handle allows for even weight distribution on a turner
Important considerations for epoxy use:
- The substantial surface requires more epoxy per coat
- Non-straight walls can make leveling more difficult
- Stable turner and careful rotation help prevent drips or sagging
This tumbler is ideal for experienced crafters, especially those who want to combine sublimation designs with epoxy finishes or glitter layers. With proper technique, you can produce premium, eye-catching custom drinkware that stands out to your customers.
Overall, the best epoxy tumbler depends on your design goals, experience level, and production needs. Smaller, straight-walled tumblers offer more control and faster learning. On the other hand, larger sizes provide more space for detailed designs but often require additional preparation and careful epoxy management.
 What Else Do You Need to Epoxy a Tumbler?
While choosing the right epoxy tumbler is a critical first step for creating stunning custom drinkware, you'll also need the right tools and supplies to get the best results.
These items help epoxy resin level evenly, cure properly, and produce a professional finish:
Epoxy Resin
The most important item you'll need to get started is high-quality epoxy resin. Not all epoxy is suitable for tumblers, so make sure you find epoxy resin that's intended for crafting.
Look for a formula that is food-safe once cured, self-leveling, and designed for art and tumbler projects. Additionally, two-part epoxy systems are common because they're easy to mix and provide predictable results.
Cup Turner
Cup turners can make customizing your tumblers far more convenient. A cup-turner machine spins the tumbler while the epoxy cures, and this rotation prevents drips, sagging, and uneven surfaces.
It's especially beneficial to have a cup turner if you sell customized tumblers, as the turner can help ensure you achieve professional results.
Turners come in single-cup and multi-cup models, saving time and improving consistency compared to manually rotating the tumbler.
Additional Epoxy Supplies
Having additional supplies on hand can make the application process smoother and prevent mistakes. These supplies are necessary for preparing your blank tumbler and achieving the best results:
- Epoxy mixing bowls and spatulas for precise epoxy measurement
- Epoxy brushes for applying the resin to the tumbler surface
- Gloves to protect your hands from the sticky epoxy resin
- Sandpaper to lightly prep the tumbler surface before applying epoxy
- Painter's tape for creating clean lines and protecting areas from epoxy
The Stainless Depot Company Epoxy Tumbler Kits and Bowls
If you're just getting started with epoxy crafting, you can get almost everything you need from our online store. We provide crafters with fast-dry craft resin epoxy as well as bundles that include both resin and high-quality epoxy tumblers.
Additionally, our store features epoxy mixing bowls that come with free items: a mixing spatula and two application brushes. The items in this package are made from high-quality polypropylene (PP) and silicone, ensuring that you can mix 2-part epoxy solutions safely and effectively.
Using the right epoxy resin along with helpful tools ensures you achieve a polished, durable finish. You can get started with epoxy crafting today with these quality supplies, or shop around from other reputable epoxy crafting suppliers.
 How To Epoxy a Tumbler
Now that you know everything you need to get started with epoxy crafting, let's explore the fundamentals of applying epoxy to a tumbler.
Epoxying a tumbler involves several essential steps that help achieve correct adhesion, even coverage, and a smooth finished surface.
Follow these nine critical steps:
#1. Clean the tumbler thoroughly. Wash with warm soapy water to remove dirt, oils, and dust, then dry with a lint-free cloth so the epoxy bonds properly.
#2. Lightly sand the surface. Use fine-grit sandpaper (around 220 grit) to create tiny grooves that help epoxy and glitter adhere evenly.
#3. Remove sanding dust. Wipe with a lint-free cloth or use compressed air to eliminate any remaining particles before applying epoxy.
#4. Tape off areas you do not want to epoxy. Use painter’s tape on the rim, base, or other sections you plan to keep epoxy-free to prevent unwanted seepage.
#5. Mix the two-part epoxy resin. Measure and combine equal parts resin and hardener according to the manufacturer’s mixing instructions, stirring slowly to reduce bubbles.
#6. Apply the first coat of epoxy evenly. Use a silicone brush or the pour method to spread a thin, even layer over the entire tumbler surface.
#7. Spin the tumbler on a turner while the epoxy cures. A consistent rotation helps the epoxy self-level and prevents drips or sagging.
#8. Inspect and address imperfections. Once the first coat cures, check for spots that need adjustment. Lightly sand and clean before adding another coat if necessary.
#9. Apply additional coats as needed. For a smooth, high-gloss surface, repeat the epoxy application and curing process until you achieve the desired finish.
Following these steps ensures a smooth finish and prevents common issues such as drips, bubbles, or uneven coverage.
 Common Epoxy Issues and Solutions
Even experienced crafters can run into challenges when working with epoxy resin, but most issues have straightforward solutions:
Fisheyes in the Epoxy
Cause: Small crater-like imperfections caused by surface contaminants like oils, dust, or residue that prevent epoxy from coating evenly.
Fix:
- Clean the surface thoroughly with an alcohol-based cleaner before applying the epoxy.
- Apply a primer or sealant under glitter/decals to give the epoxy a smooth base.
- Work in a clean environment to avoid dust getting on wet epoxy.
- If fisheyes form, lightly sand the area, clean it again, and apply a fresh epoxy coat.
Stray Particles in the Epoxy Coat
Cause: Dust, hair, or debris landing on wet epoxy and embedding as it cures.
Fix:
- Keep your workspace clean and protected.
- Check supplies for debris before use.
- After curing, sand out particles with fine-grit sandpaper, clean, and reapply a thin epoxy layer.
Epoxy Separating from the Tumbler After Curing
Cause: Improper surface prep, incorrect epoxy mixing ratios, or uneven application can cause areas of epoxy to lift from the tumbler.
Fix:
- Remove the lifted epoxy with a plastic scraper.
- Clean the area with alcohol to remove residue.
- Reapply a thin coat of properly mixed epoxy.
- If needed, sand back to the bare surface and start over.
Decals Bleeding Color Under the Epoxy
Cause: Ink from decals dissolving into the epoxy due to solvent interaction.
Fix:
- Use waterproof decals designed to resist bleeding under epoxy.
- Seal decals with a clear sealant spray and let them fully dry before epoxy.
- If bleeding occurs, remove the epoxy and decal, clean, replace the decal, seal it, and reapply epoxy.
Clumping and Imperfections in Glitter Layers
Cause: Uneven glitter application or applying excessive glitter without proper drying and sealing.
Fix:
- Apply glitter gradually and brush off excess once dry.
- Seal the glitter layer with a clear coat before epoxy.
- If clumps form, gently sand the affected area, apply more glitter, then coat it with another layer of epoxy.
For more information regarding common epoxy problems and their fixes, you can check out our article "The Best Fixes for Your Epoxy Tumbler Problems."
Cleaning and Maintenance for Epoxy Tumblers
To keep your epoxy tumblers looking beautiful and lasting for years, a little care goes a long way.
Follow these cleaning and maintenance instructions to ensure your epoxy designs last for years to come:
- Avoid placing epoxy tumblers in the dishwasher, as high heat can damage the epoxy resin.
- Dry tumblers thoroughly after washing to prevent water spots and preserve the glossy finish.
- Use a soft cloth with a bit of rubbing alcohol for deeper cleaning or stubborn marks.
- Handle epoxy tumblers with care to help maintain the resin surface over time.
Following these care tips can help ensure your epoxy tumblers retain their finishes and remain pristine after long-term use.
Additional Resources For Epoxy Resin Projects
If you’re eager to learn more about epoxy resin and expand your creative horizons, we feature a wealth of resources on our website for your epoxy resin projects.
Our blog features how-to guides, tips, and tricks for getting the best epoxy results. You can get step-by-step guidance to achieve professional results with our articles:
- What Is Epoxy? Pros and Cons Every Crafter Should Know
- How to Epoxy a Tumbler: Tips and Tricks
- The Best Fixes for Your Epoxy Tumbler Problems
Explore these resources to build your skills, avoid common mistakes, and create stunning custom epoxy tumblers with confidence.
 Best Epoxy Tumbler FAQs
How Much Epoxy Do I Need for a Tumbler?
The amount of epoxy you'll need will depend on the tumbler’s size and the number of coats. Smaller tumblers around 20–24 ounces typically require about 10–15 milliliters of mixed epoxy per coat, while larger tumblers like 30–40 ounces may need 15–25 milliliters. Glitter or layered designs require multiple coats, so it’s important to mix extra epoxy to ensure full coverage and avoid running short mid-application.
Can You Epoxy a Tumbler Without a Turner?
It is possible to epoxy a tumbler without a turner, but it requires careful manual rotation. The tumbler must be rotated every few minutes during curing to prevent pooling or sagging. This method takes more time and may be less consistent than using a turner. For small businesses or high-volume production, a turner is strongly recommended to save time and ensure uniform results.
How Long Does Epoxy Take to Cure on a Tumbler?
Curing time depends on the epoxy brand, temperature, and thickness of the coat. Most two-part epoxy resins are dry to the touch within 6–12 hours. Full curing, which creates a hard and durable finish, typically takes 24–72 hours. Tumblers should not be stacked or handled during curing to avoid dents, uneven surfaces, or imperfections in the epoxy layer.
Can You Make a Glitter Tumbler After Applying Epoxy?
Adding glitter after the epoxy has started curing is possible, but not ideal. You can sprinkle loose glitter onto the tumbler for a custom look after the initial epoxy layer, but you will need to seal it with an additional layer. Glitter can also be embedded between multiple epoxy layers to create a polished, even surface. Always seal glitter under at least one coat of epoxy to protect the design and achieve a glossy finish.
Order High-Quality Tumbler Blanks for Epoxy Crafting Today
Creating high-quality epoxy tumblers starts with choosing the right blanks and using the proper tools and materials. A smooth, durable stainless steel tumbler combined with high-quality epoxy resin, a reliable turner, and the right supplies will empower you to create stunning custom tumblers with consistent, professional results.
If you're getting started with epoxy crafting or sublimation printing, The Stainless Depot Company has everything you need to ensure your venture is a success. From high-quality stainless steel blanks to epoxy resin, our selection supports beginners and experienced crafters alike.
By starting with reliable blanks and quality materials, you can create epoxy resin tumblers that stand out, delight customers, and grow your craft. Begin your epoxy journey today by exploring our extensive selection of supplies and resources.