Crafting an epoxy tumbler takes precision and creativity. If you let your creative side loose without a plan, you may not achieve the best results with your epoxy resin. Epoxy requires proper techniques to achieve a professional, high-gloss look. Once you master the right epoxy techniques, you’ll achieve stunning, long-lasting results.
In this article, we'll guide you through transforming blank tumbler cups into shimmering color displays by breaking it down into manageable steps. You’ll learn the basics on how to prep your tumbler, apply glitter and decals, and how to use resin epoxy.
But we're not just going to show you the steps. We're also going to share insider tips and tricks to help you avoid common mistakes and solve those pesky problems that can trip up even the most seasoned crafters. We’ll also answer common questions people have when customizing crafts with epoxy, including how to remove epoxy and how to color epoxy resin.
By the end of this guide, you'll have a thorough understanding of how to use epoxy resin to craft one-of-a-kind tumblers. Let’s dive into the sparkling world of epoxy tumblers!

Step #1: Prepare Your Tumbler for Epoxy
Before you bring out the glitter and epoxy, it's crucial to lay a solid foundation by properly preparing your tumbler. Think of it as setting the stage for a memorable performance. Every detail matters, and even the slightest misstep can throw off your entire project.
Select the Right Tumbler for Your Project
The first step in creating a glittery masterpiece is choosing the right canvas. There are countless tumbler options available, including stainless steel, acrylic, and glass. Each material has unique characteristics, so it's essential to consider the desired end result and usage of your tumbler.
Stainless steel cups are a popular choice for tumbler epoxy projects because the finish is easy to work with, and they offer excellent durability and insulation. They're also available in various shapes and sizes, including 20-oz and 40-oz tumbler blanks, providing plenty of options for your epoxy crafts.
The Importance of Tumbler Cleaning and Sanding
Once you've selected the perfect tumbler, it's time to give it a thorough cleaning.
Any traces of dirt, dust, or oils can interfere with glitter and epoxy adhesive, so starting with a squeaky-clean surface is vital. To clean your tumbler, use a gentle dish soap and warm water, then dry it completely with a lint-free cloth.
Next, it's time to sand your tumbler. This might seem like an unnecessary step, but sanding creates tiny grooves that provide a better grip for the glitter and epoxy, ensuring a smooth and even application. Use fine-grit sandpaper (around 220-grit) and lightly sand the entire surface of the tumbler.
Then, wipe away any dust with a lint-free cloth. If you’re concerned about dust clinging to the tumbler after sanding, you can also use compressed air to remove any possible contaminants before moving on to the next step.
Tape Off the Parts You Don't Want to Customize
Before you unleash your inner artist, you must protect the areas of your tumbler that you want to keep epoxy-free. This is where painter's tape comes to the rescue! Painter's tape is purpose-built to create clean, sharp lines and can be easily removed without leaving residue or damaging the surface.
Carefully tape off the areas you want to protect, such as the rim, the base, and any other places you want to keep glitter and epoxy-free. Make sure the tape is securely adhered to prevent any unwanted seepage during the glitter and epoxy application.
With your tumbler prepped and ready, you've set the stage for a successful epoxy project. Now it's time to bring on the glitter and decals and let your creativity shine!
Step #2: Apply Glitter to Your Tumbler
After your tumbler is prepped and ready, it's time to add some sparkle!
Applying glitter is like sprinkling a little magic onto your epoxy tumbler, transforming it from ordinary to extraordinary. But just like any spell, it needs to be cast correctly for the magic to work. Let's take a look at the right way to add glitter to your project.
Choose the Right Type of Glitter for Your Project
Not all glitters are created equal, and the type you choose can significantly impact the final look of your epoxy tumbler. From fine to chunky, holographic to metallic, the world of glitter offers a dazzling array of choices to fit your project’s unique needs.
In the case of fine and chunky glitter, the difference you’ll see is in the texture. Fine glitter gives a smooth, almost velvety appearance, while chunky glitter adds dimension and depth.
On the other hand, holographic and metallic glitters affect the tone of your colors. Holographic glitter offers a stunning rainbow effect, while metallic glitter provides a sleek, polished look.
As you get ready to start your project, choose a glitter that complements your design vision, and don't be afraid to mix different types and colors for a unique effect in your epoxy crafts!
Give Your Glitter a Boost: Spray Paint Your Tumbler
You might think that after choosing your glitter, it’s time to start sprinkling away. But to maximize your sparkle, it’s best to color-match your glitter with spray paint!
For instance, if you want to create a pink cup, applying pink glitter to a raw stainless steel background will keep it from shining to its fullest potential. By priming and spray painting your cup before adding glitter, your glitter won’t have to do all the work when it comes to color.
Apply Glitter Evenly
Applying glitter is an art in itself, and you want even coverage for the best results. To achieve this, you'll need a suitable adhesive, a soft brush, and some favorite tunes to get you in the zone.
Start by applying a thin layer of adhesive, such as Mod Podge, to your tumbler. You can also use a spray adhesive, but they tend to be messier. Use your brush to spread the glue evenly, ensuring you cover every inch of the surface you want to glitter. Next, sprinkle your glitter over the adhesive, turning the tumbler as you go to ensure an even application.
Don't rush this step. Take your time to achieve a beautiful, even coat of glitter.
Seal the Glitter Before Epoxy
Once your glitter is applied and dried, it's crucial to seal it before using the epoxy. This step is like placing a protective shield over your glitter, ensuring it stays put during epoxy application.
To seal your glitter, apply a clear sealant (you can use Mod Podge again or clear acrylic spray) over the entire glittered surface. Let it dry completely before moving on to the next step. This will create a smooth, sealed surface that's ready for epoxy application.
With your tumbler now glittering and sealed, you're halfway to creating your epoxy tumbler masterpiece. Are you ready for the next step? Let’s add your initial epoxy layer.
Step #3: Apply Your First Epoxy Coat
Before adding your decals, you’ll need to brush on an initial layer of epoxy. Applying epoxy to your tumbler is when your project starts to shine! Epoxy provides a glossy layer that smooths your glitter and sealant, preparing your tumbler surface for your decals.
Working with epoxy can be intimidating, so let's demystify this process and guide you toward a flawless finish.
Select the Right Epoxy for Your Project
When it comes to epoxy, not all types are suitable for crafting tumblers.
You'll want to opt for a food-safe epoxy resin kit specifically designed for tumblers. This type of epoxy ensures a durable finish that can handle daily use, and most importantly, it's safe to use on items that come in contact with food and drink.
Every epoxy is different, so you need to be careful when choosing the epoxy for your next project. Always thoroughly read through the labels before purchasing your epoxy to be sure it’s safe to use.
Mix Your Epoxy
Epoxy is a two-part system consisting of a resin and a hardener. These two components must be mixed together in equal parts to activate the epoxy.
Understanding how to use resin epoxy correctly involves getting the exact mixture right. You need to be as close as possible when measuring your ratios. Too much hardener will cause the final product to be brittle, while using too little will result in extended drying times or a sticky finish.
To mix your epoxy, pour equal amounts of resin and hardener into a mixing cup and stir slowly for a few minutes until the mixture is clear and bubble-free.
Apply Your Epoxy and Allow It to Dry
The best way to apply the epoxy to your tumbler is to use a silicone brush, spreading it evenly over the entire surface. Remember, a thin, even coat is better than a thick, uneven one.
As you apply the epoxy, your tumbler needs to spin continuously as it dries to prevent drips and ensure a smooth finish. This is where a cup turner comes in handy. These devices rotate your tumbler at a consistent speed, allowing the epoxy to cure evenly.
Once your tumbler epoxy is dry, inspect it for any rough spots or imperfections. If necessary, you can lightly sand the surface and apply a second coat of epoxy to achieve a super smooth surface, making it ideal for your decals.
Step #4: Apply Decals to Your Tumbler
Decals are the icing on the cake of your glittery masterpiece, adding personality and flair to your epoxy tumbler ideas. It's like accessorizing an outfit, the right decal can make a statement, tell a story, or simply add a touch of whimsy. However, applying decals can be a bit tricky, so let's break it down to ensure your decal application goes smoothly.
Choose the Right Decal for Your Tumbler
Decals come in all shapes, sizes, and designs, and the right one can elevate your tumbler from beautiful to truly one-of-a-kind.
Think of your decal as the final detail that ties everything together. What do you want it to say? Whether you choose a monogram, a favorite quote, or a fun design, make sure it fits your epoxy tumbler ideas and your cup size.
How to Apply Decals Smoothly
Applying decals can feel like a high-stakes game of Operation and you want to place your decal perfectly without any bubbles or creases. With a bit of practice and patience, you can master this technique.
Start by peeling off the backing paper and carefully positioning the decal on your tumbler. Once you're happy with the placement, press the decal onto the tumbler, starting from the center and smoothing it out towards the edges to avoid any bubbles. Use a credit card or a decal applicator tool to press the decal firmly into place.
Seal Your Decal Before Epoxy
Just like your glitter, your decal also needs a protective shield before applying your epoxy. Sealing your decal will prevent it from lifting or bleeding during the epoxy process.
To seal your decal, you can use the same clear sealant you used for your glitter. Apply a thin, even layer over your decal and let it dry completely before moving on to the epoxy stage.
With your glitter glistening and your decal proudly displayed, your tumbler is starting to take shape. But, we're not done yet. It's time to apply your second epoxy coating.
Step #5: Add a Second Layer of Epoxy
Now that your decals are sealed in place, it’s time to give your tumbler the smooth, glossy finish that makes epoxy crafts so irresistible. This second layer of epoxy acts as a protective shield, locking in your design and giving the tumbler a professional, glass-like shine.
Mix a Fresh Batch of Epoxy
Just like your first coat, measure equal parts resin and hardener and mix slowly to avoid bubbles. Stir until the mixture turns clear, ensuring it’s fully combined before you start coating.
Apply a Smooth, Even Layer
With your tumbler spinning on the cup turner, spread a thin, even coat of epoxy over the entire surface. Use a silicone to smooth the epoxy without leaving streaks. Make sure the entire design, glitter, decals, and all is completely covered.
Let It Cure Properly
Allow this second layer to dry undisturbed. It will usually be dry to the touch in 4–6 hours. Once it’s dry, inspect your tumbler in good lighting. If you notice any imperfections, you can lightly sand them and apply one final thin layer for a flawless, ultra-smooth finish.
Once you’re happy with the surface, allow your epoxy to fully cure, which usually takes around 72 hours. Now that your final coat has cured, step back and appreciate your stunning work a glossy, professional-quality tumbler that’s as durable as it is beautiful.

Troubleshooting Common Epoxy Tumbler Problems
You might encounter a few challenges as you create your custom epoxy tumblers, but don't worry these are simply opportunities to learn and grow. Let's discuss some common epoxy tumbler problems and provide solutions for them.
Bubbles in the Epoxy
If you aren’t careful, bubbles can form in your epoxy, interrupting the smooth finish. To avoid bubbles, mix your epoxy slowly and carefully. Rapid stirring can introduce air into the mixture, which leads to bubbles.
If bubbles appear after applying your epoxy, use a heat gun or a torch to pop them. Remember to move the heat source continuously to avoid damaging the epoxy.
Epoxy Not Curing Properly
Sometimes, your epoxy might not cure correctly, resulting in a sticky or soft finish. This problem is usually due to incorrect mixing ratios or low temperatures. Make sure you're mixing equal parts of resin and hardener and that your workspace is at a suitable temperature between 70-75°F is ideal.
If this happens to you, you can still save your tumbler. The best thing to do is mix up a new batch of resin with the proper ratio and temperature range. Then apply a thin layer of resin to your project and cross your fingers. The new layer should harden over the softer layer to give you a suitable finish.
Epoxy Drips or Runs
Drips or runs in your epoxy can occur if you apply too much or don't keep your tumbler rotating while the epoxy is curing. To prevent these issues, apply thin, even coats of epoxy and use a cup turner to keep your tumbler moving as the epoxy cures.
You can remove drips or runs in your final product by waiting on the resin to cure, sanding it down until the epoxy layer is smooth again, and giving it one more thin layer of epoxy. Be careful, though! Sanding too deeply into the epoxy could damage your glitter coat or decals.

How to Use Epoxy FAQs
How to Remove Epoxy?
Those who make crafts with epoxy frequently wonder how to remove epoxy resin from tumblers and other projects. Removing it can be tricky, but using acetone to soften the epoxy can make the process easier.
After softening the epoxy, use a plastic scraper or a wooden stick to carefully lift and peel away the softened epoxy. Repeat the process, reapplying acetone as needed, until you remove the epoxy entirely. After scraping, wash the surface with warm, soapy water to remove any residue.
How to Color Epoxy Resin?
To add even more creativity to your epoxy tumblers, consider incorporating colors by using alcohol inks, mica powders, or colored epoxy pigments. Mix the colored epoxy or other color solution carefully with your epoxy resin to ensure smooth, streak-free coverage.
Can You Paint Over Epoxy?
Yes, but preparation is key. To paint over an epoxy tumbler, first let the epoxy fully cure, then wash with water and a scouring pad. Next, scuff-sand the epoxy tumbler to remove the gloss. You can then apply your paint.
How Long Does It Take Epoxy to Dry?
The drying time will depend on your specific epoxy resin kit. It usually takes 2-4 hours to become dry to the touch and 72 hours to fully cure.
How Much Epoxy Resin Do I Need?
The amount of epoxy resin you’ll need will depend on the size of your tumblers and the number of coats you apply. It’s typically best to use 1.5mL per ounce for a single coat. That means completing two coats for a standard 20-oz cup requires 60mL.
How to Get Epoxy Off Hands?
It’s best to use gloves when handling epoxy, but accidents happen. Wash your hands thoroughly with soap and warm water immediately after contact. If the epoxy stays on your hands after scrubbing, try using vinegar. Soak a paper towel in vinegar and rub it against the epoxy. Baking soda can also help soften the epoxy, making it easier to remove.
You Can Master the Art of Epoxy Tumblers with The Stainless Depot Company
It's important to remember that designing and creating epoxy tumblers is about more than producing an end result. It's about developing new skills, facing and overcoming challenges, and finding personal satisfaction and enjoyment in the process.
Everyone has a unique process when it comes to creating epoxied tumblers that sparkle like a sea of diamonds, so take all the advice we’ve given you in this article as guidelines more than hard and fast rules. If you encounter difficulties along the way, don't give up and try different methods until you find the right fit for you!
At The Stainless Depot Company, we're committed to supporting your crafting journey with helpful guides and high-quality blank tumblers, accessories, and fast-set epoxy resin. If you’re interested in learning more about customizing crafts with epoxy, explore our articles “What Is Epoxy? Pros and Cons Every Crafter Should Know” and “The Best Fixes for Your Epoxy Tumbler Problems.”
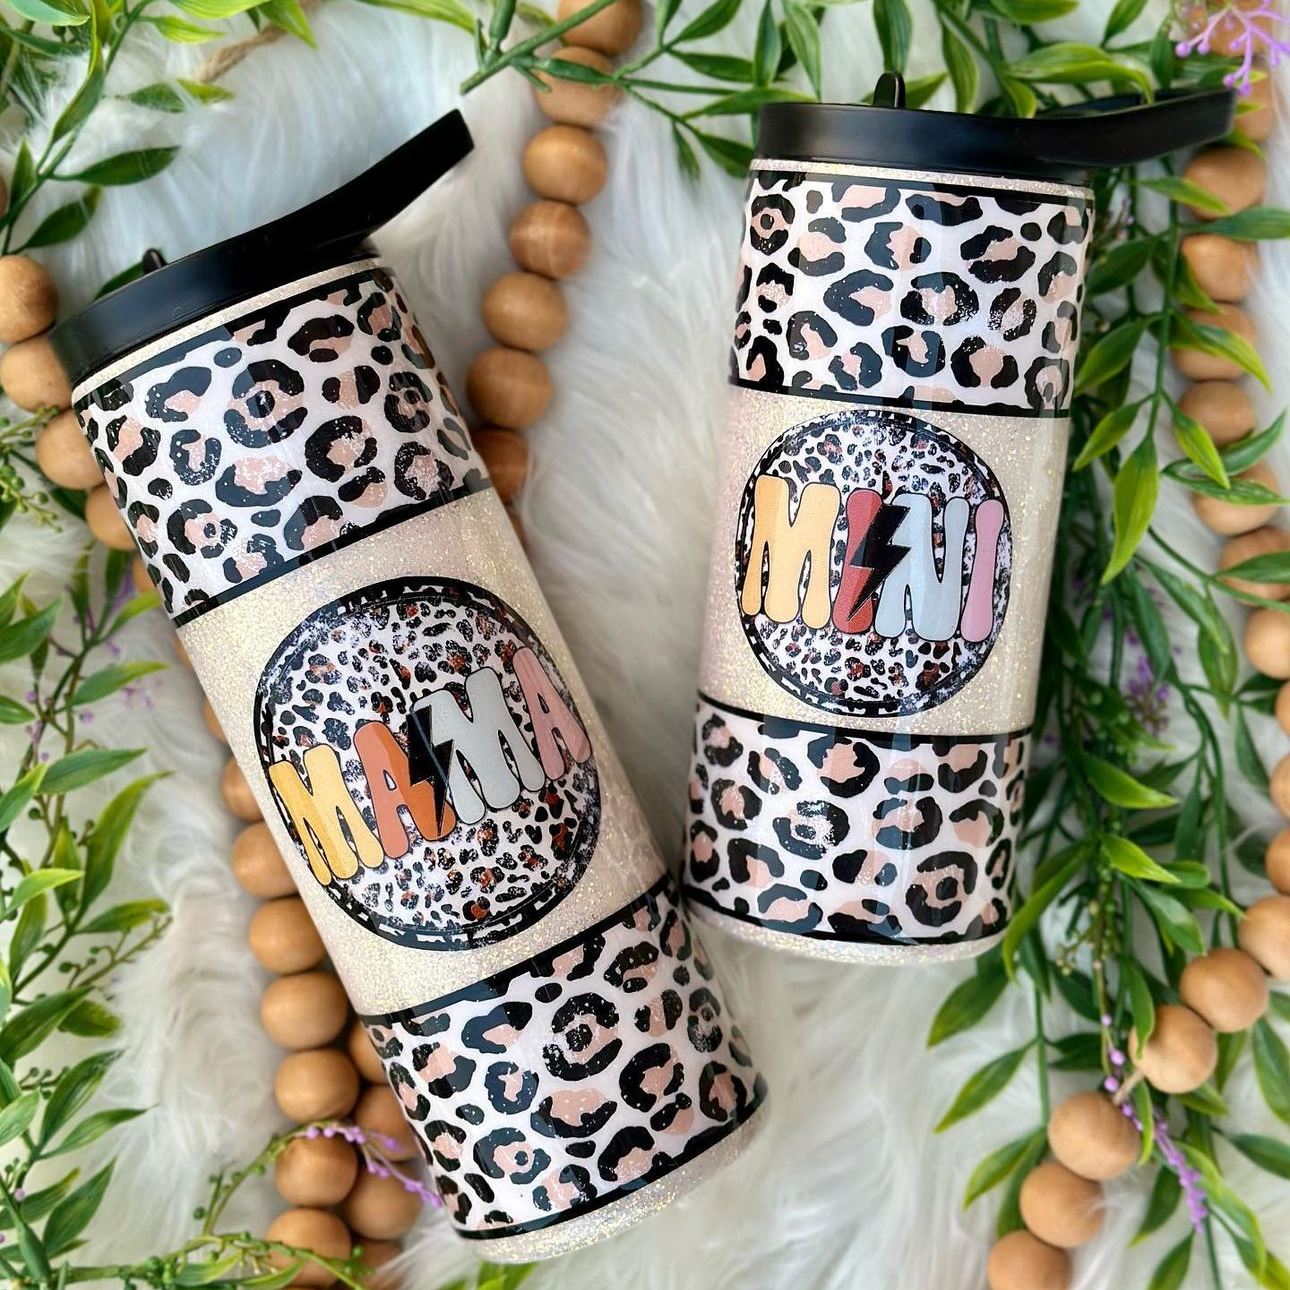
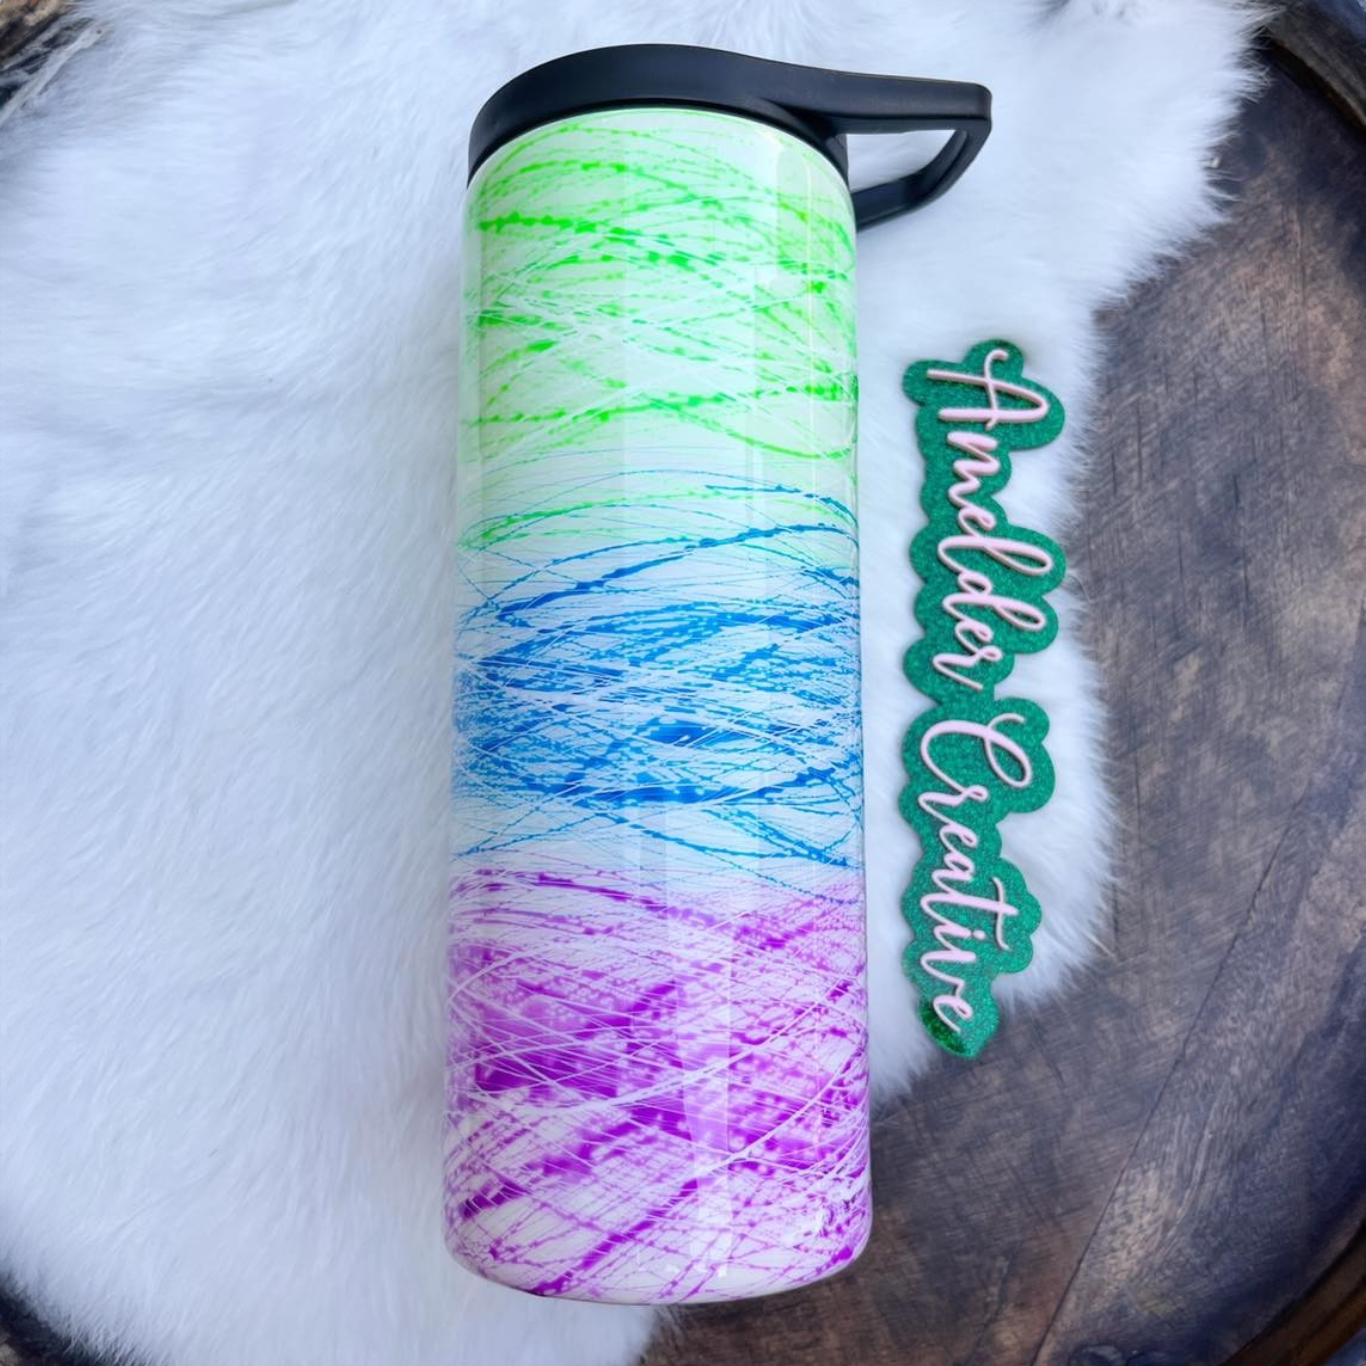
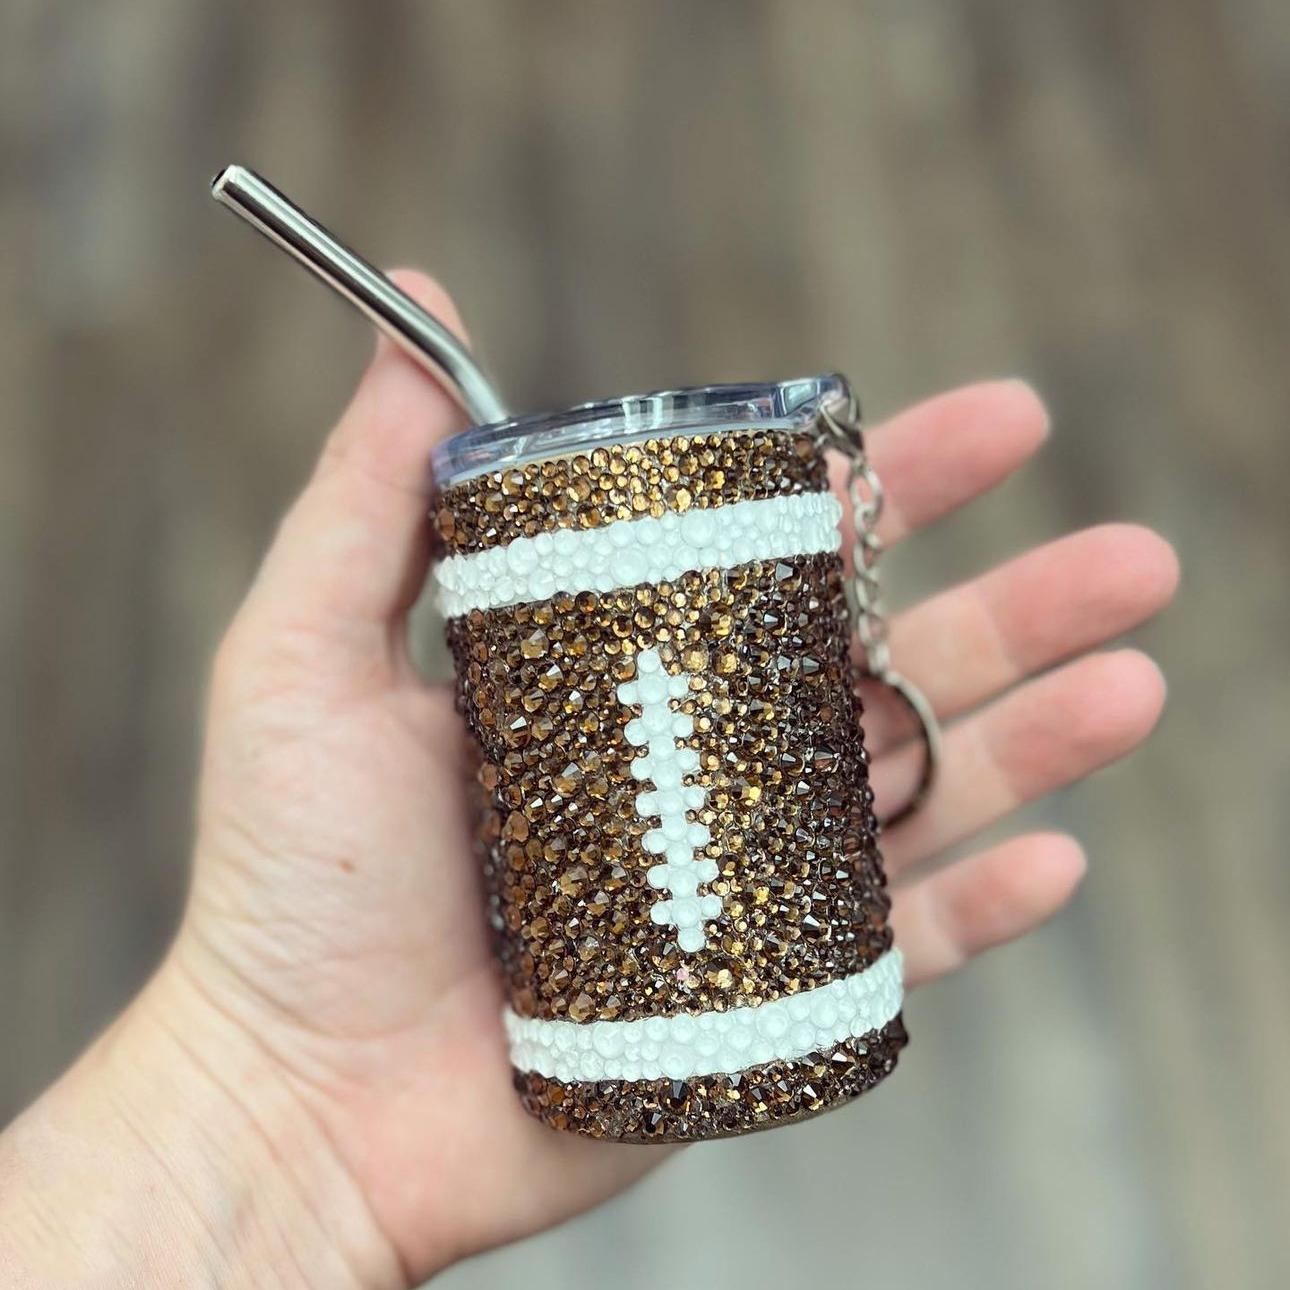
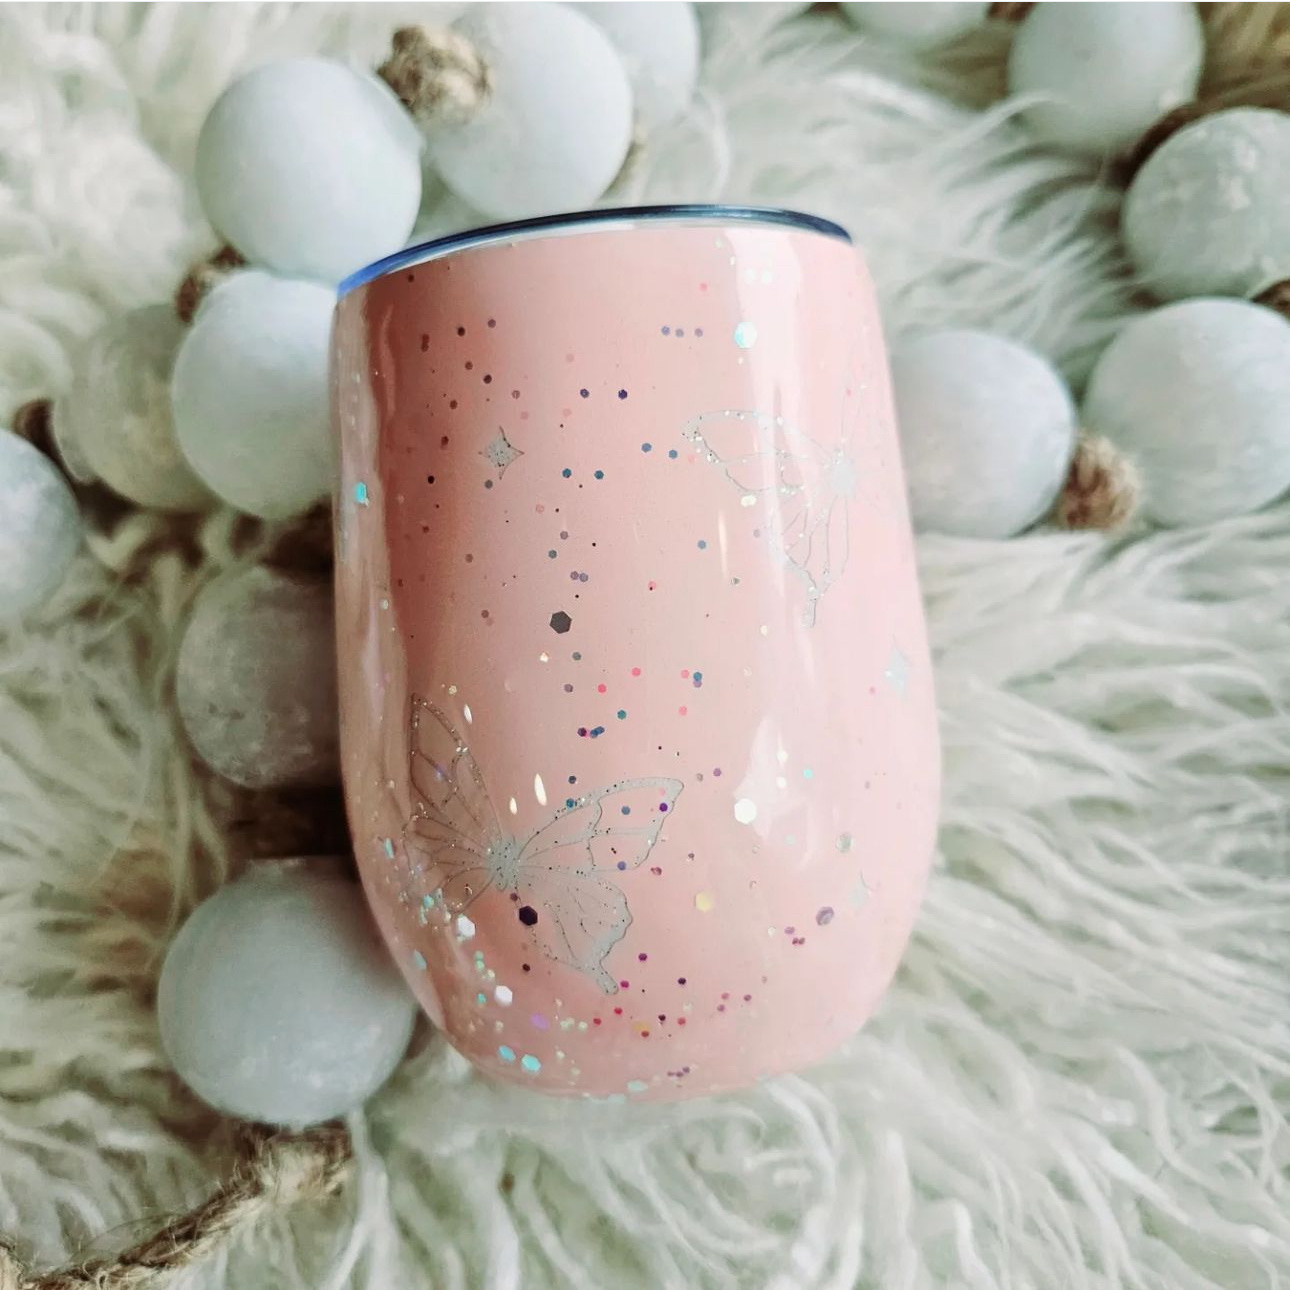
We also want to see your finished epoxy tumblers! Share your masterpieces in the comments section below!
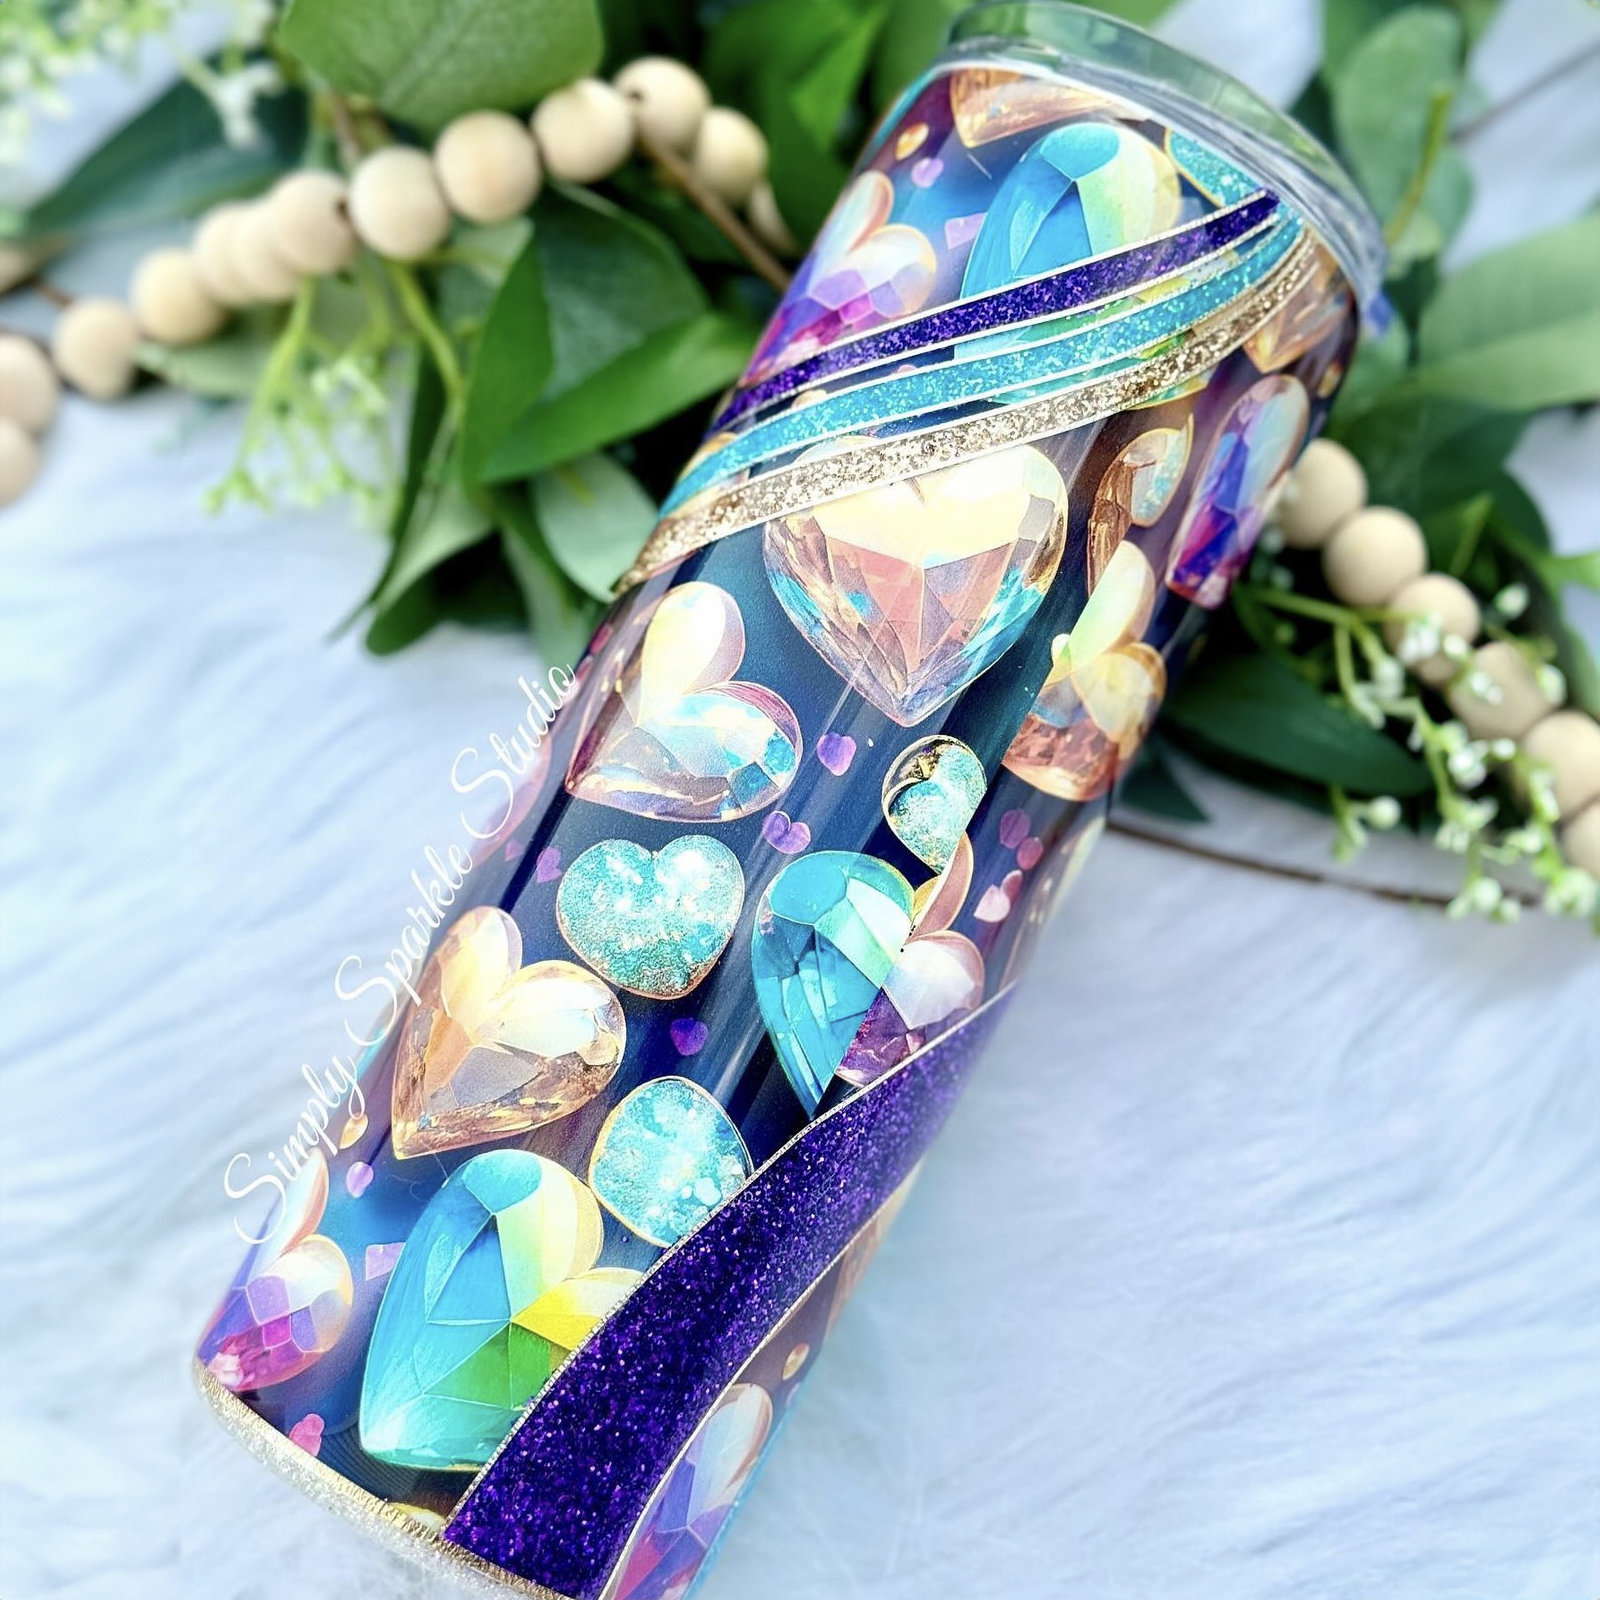
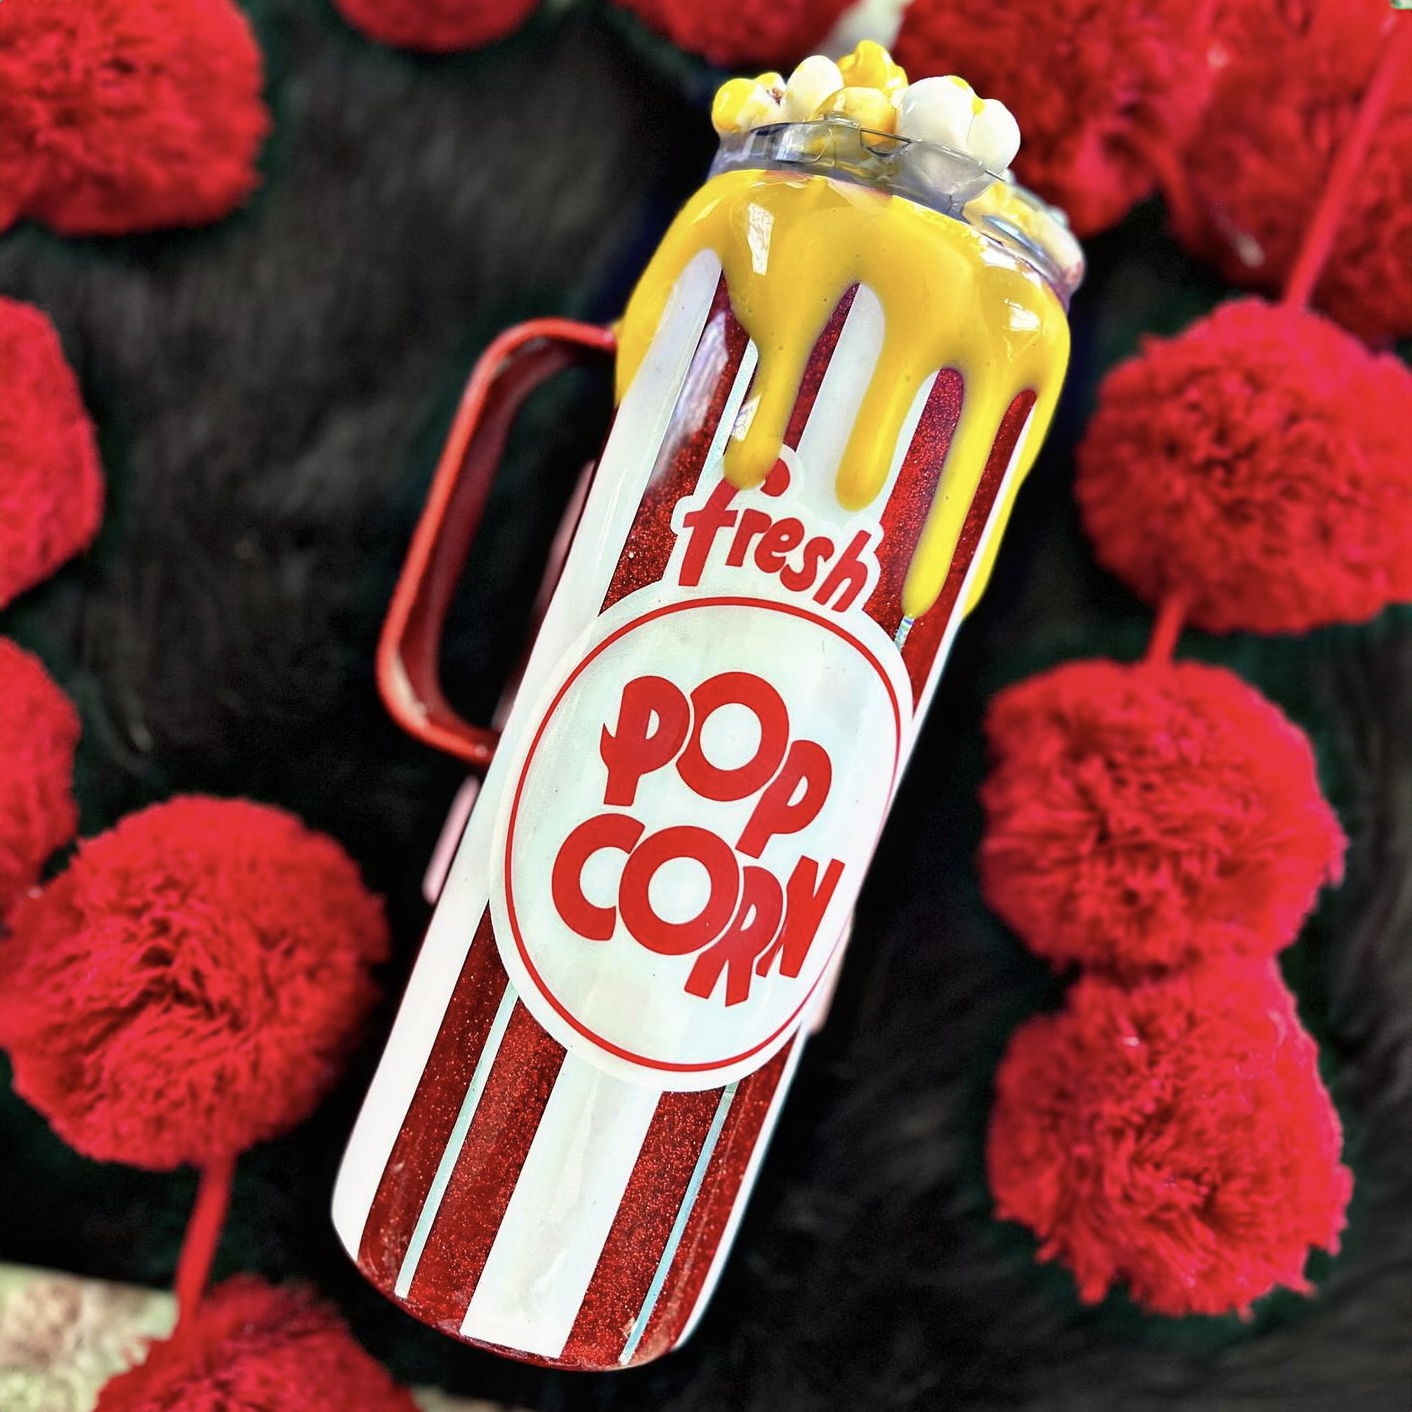
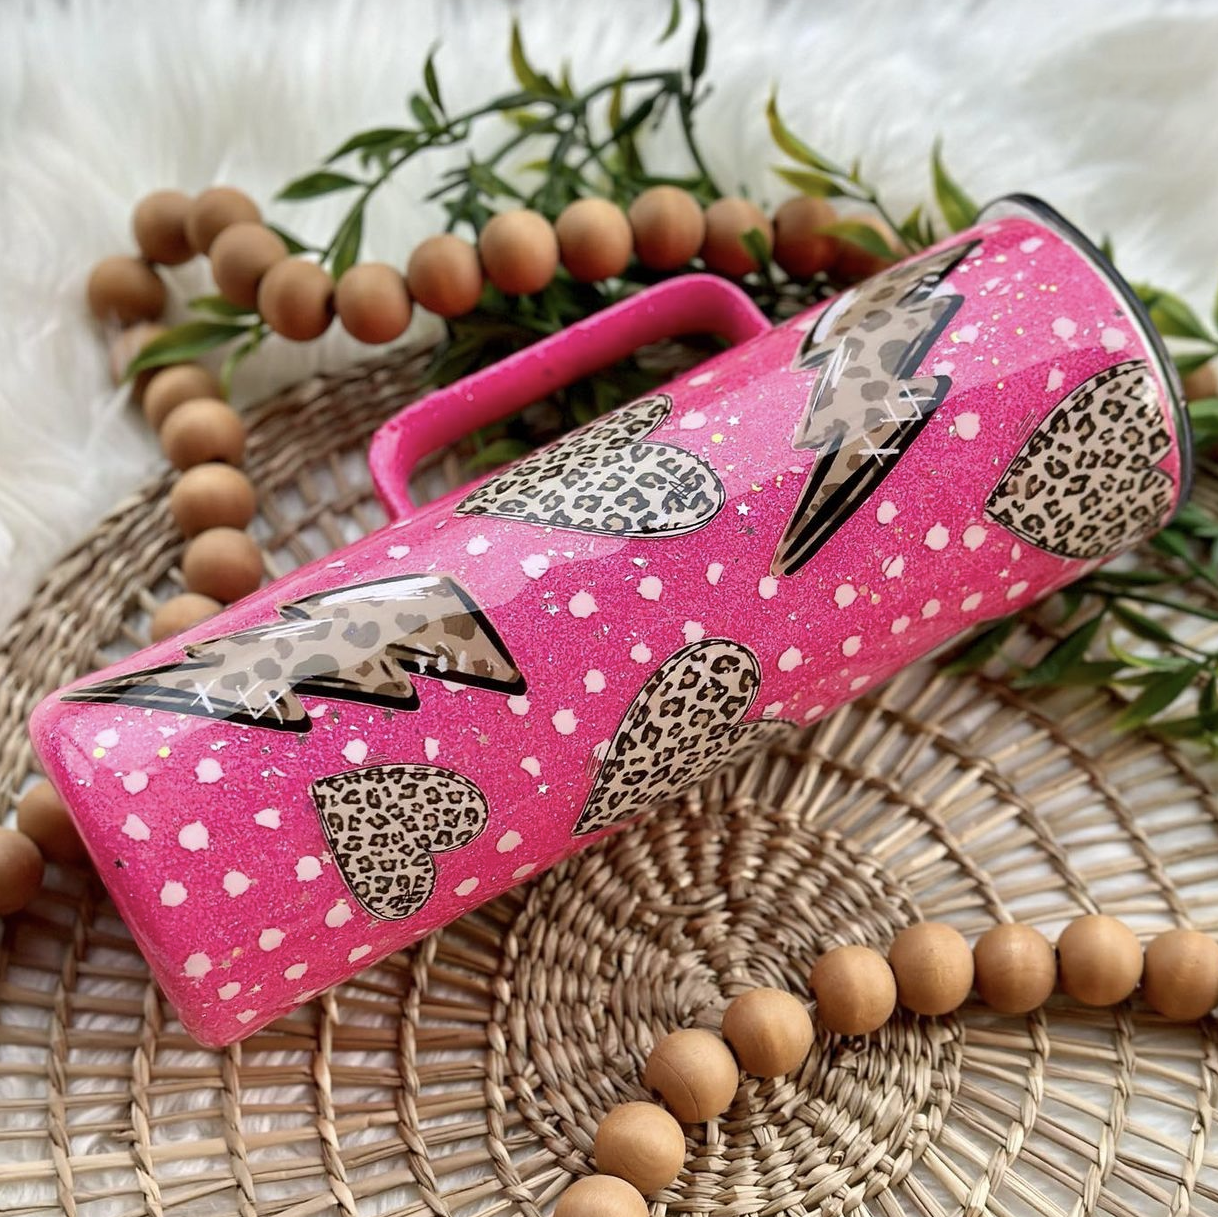
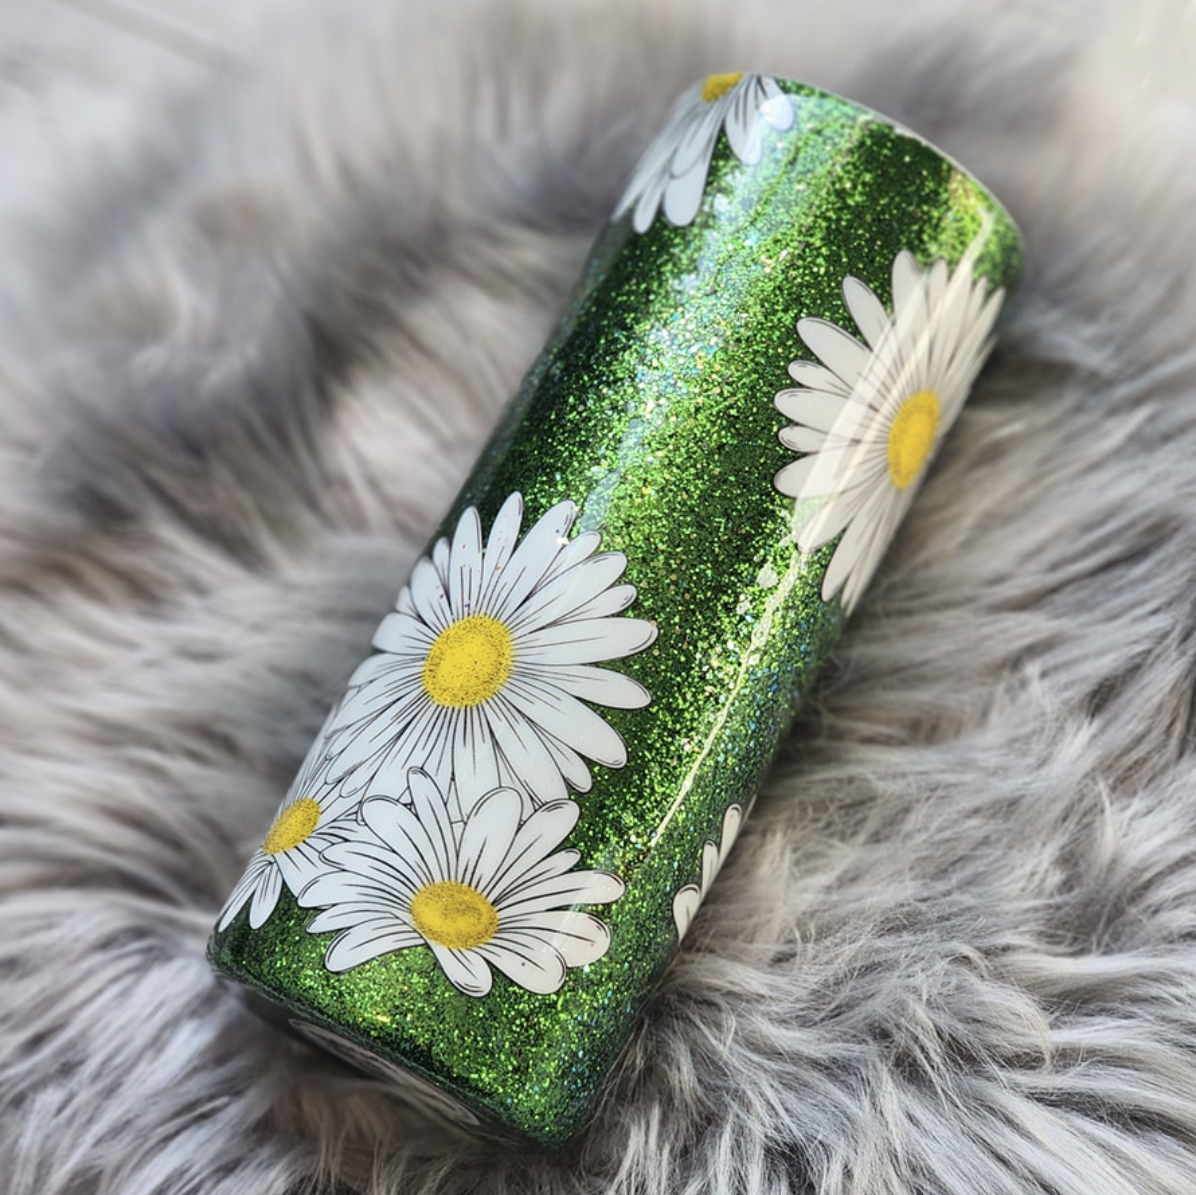
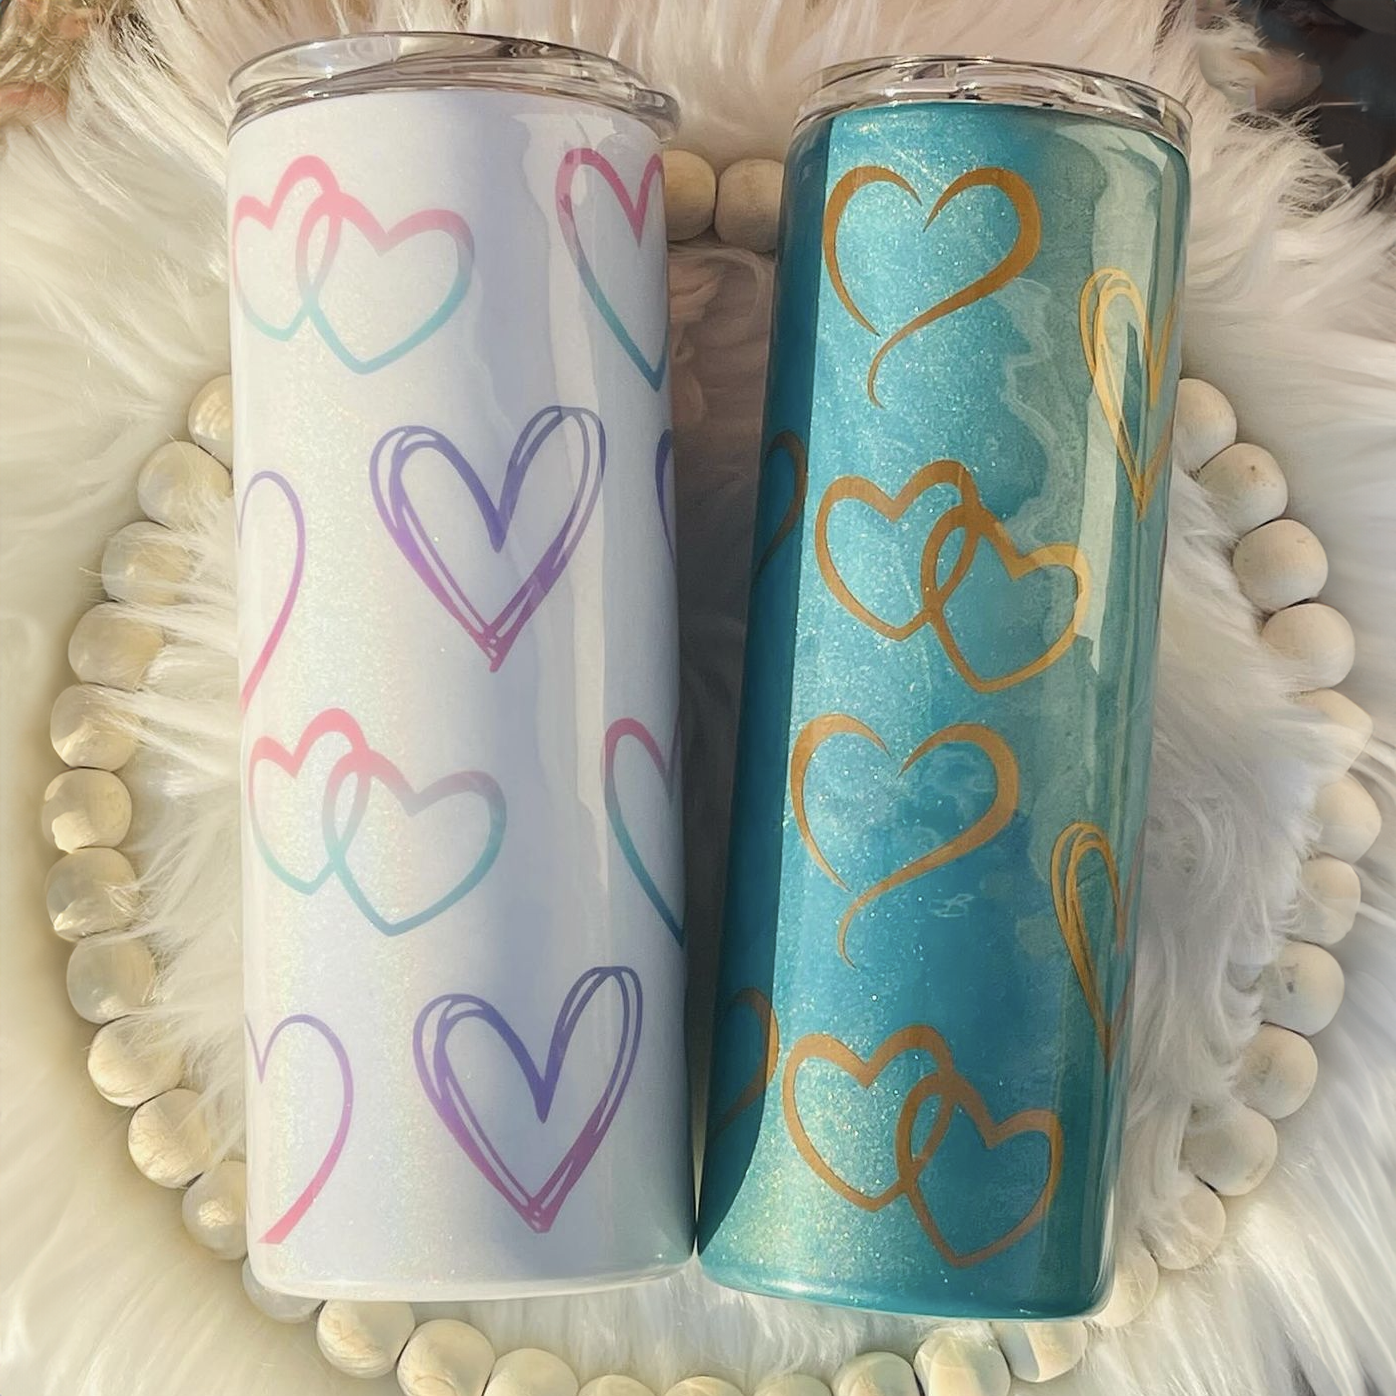
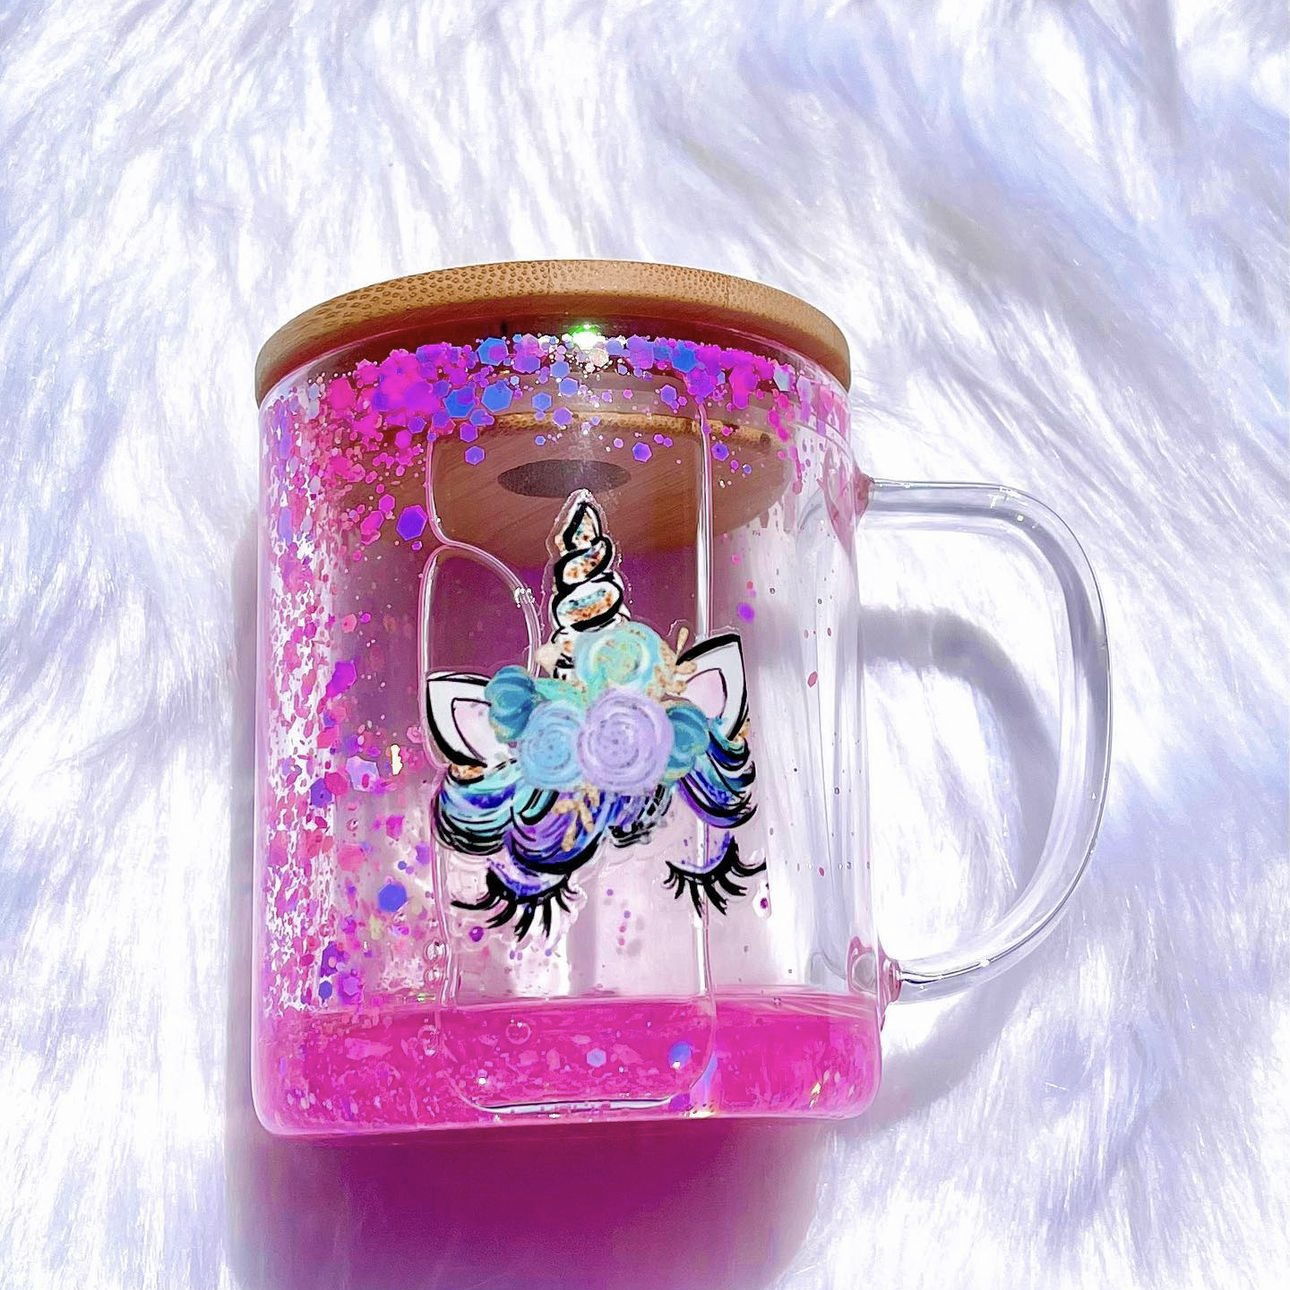
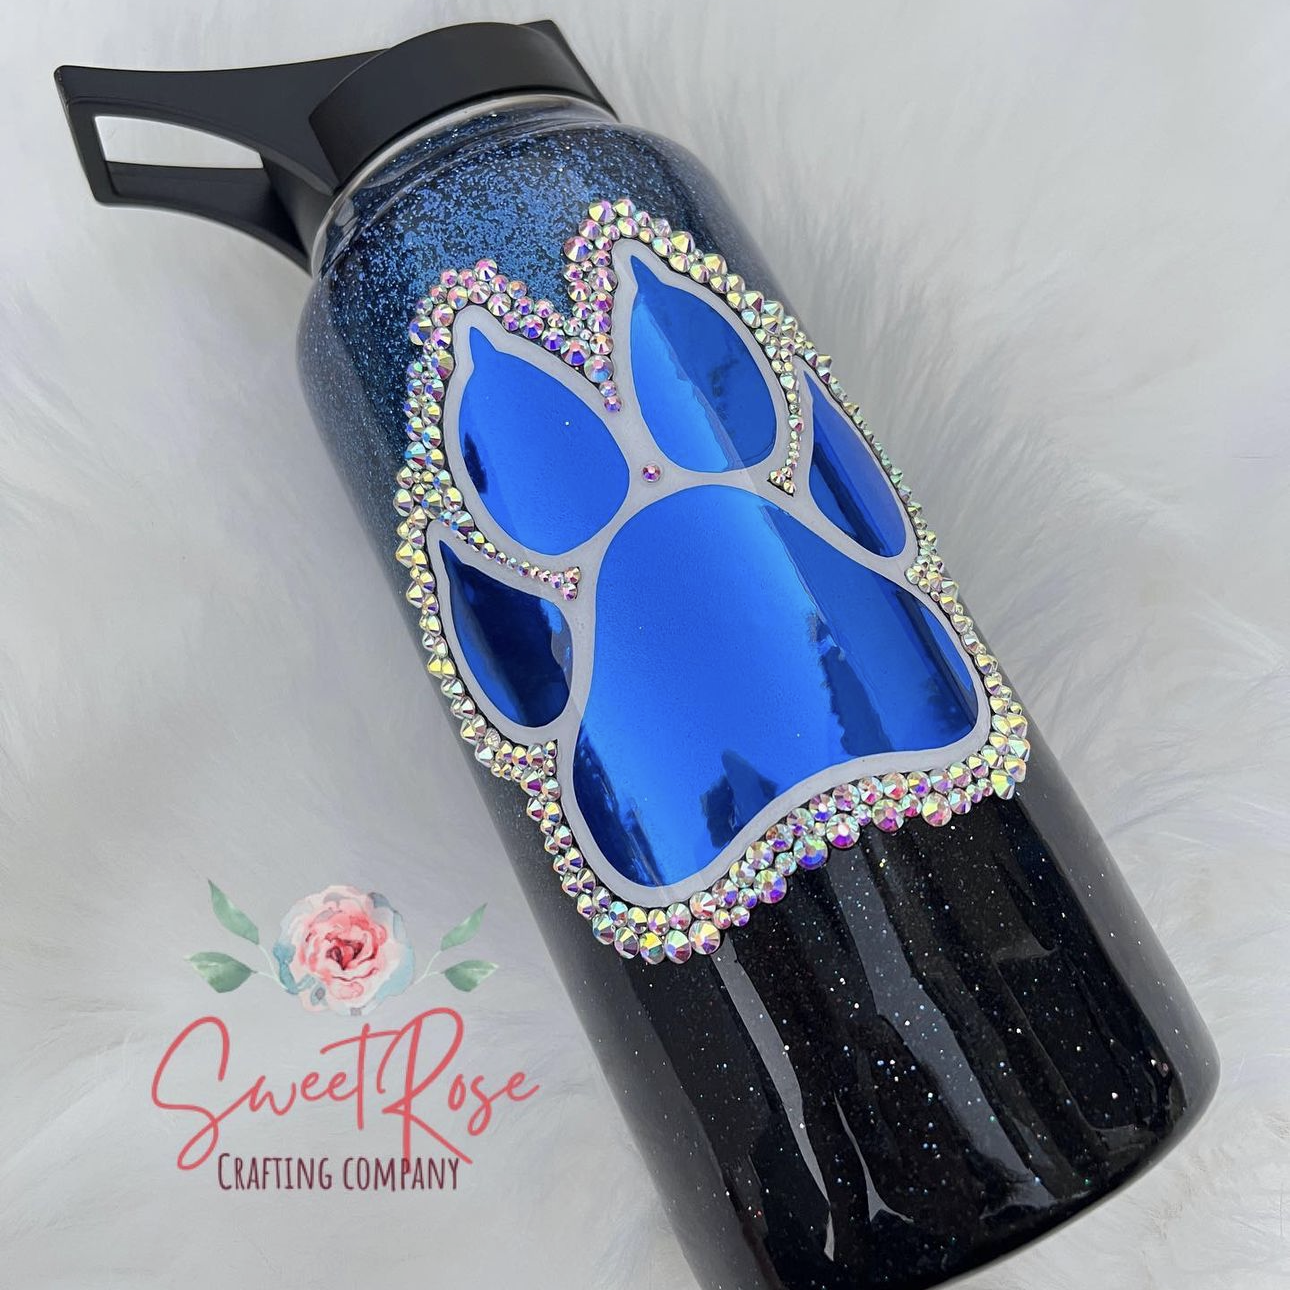
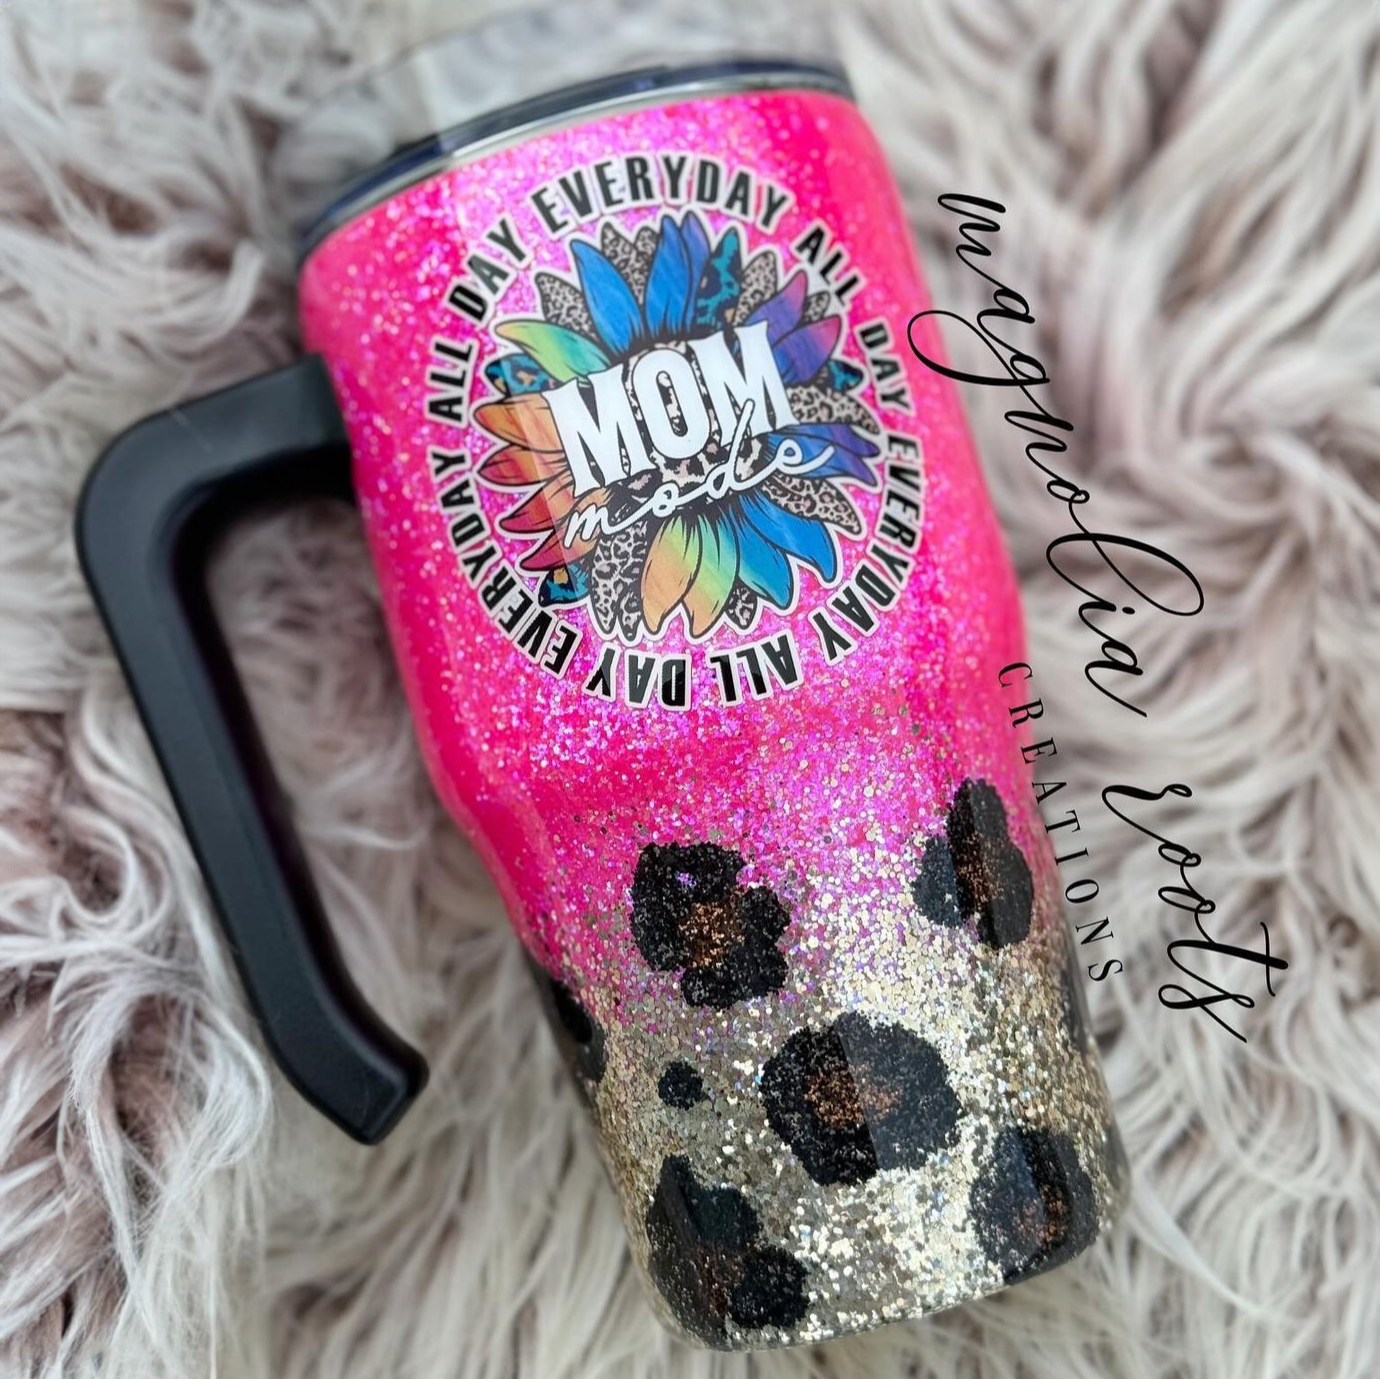
A special Thank You to our community for contributing the incredible designs in this article!
- Amanda White
- Danielle Marie Hart
- Dyllan Fortner
- Kimberly Snow Parker
- Melissa Lucas Belcher
- Vimarie Lind-Vega
- Jennifer's Craft Creations
- Mom of Two Heathens Co.
- Pour Decisions Art
- Southern Girl Designs
- marinemom2022
- mrsadibscraftcorner
- pipscustomcreations