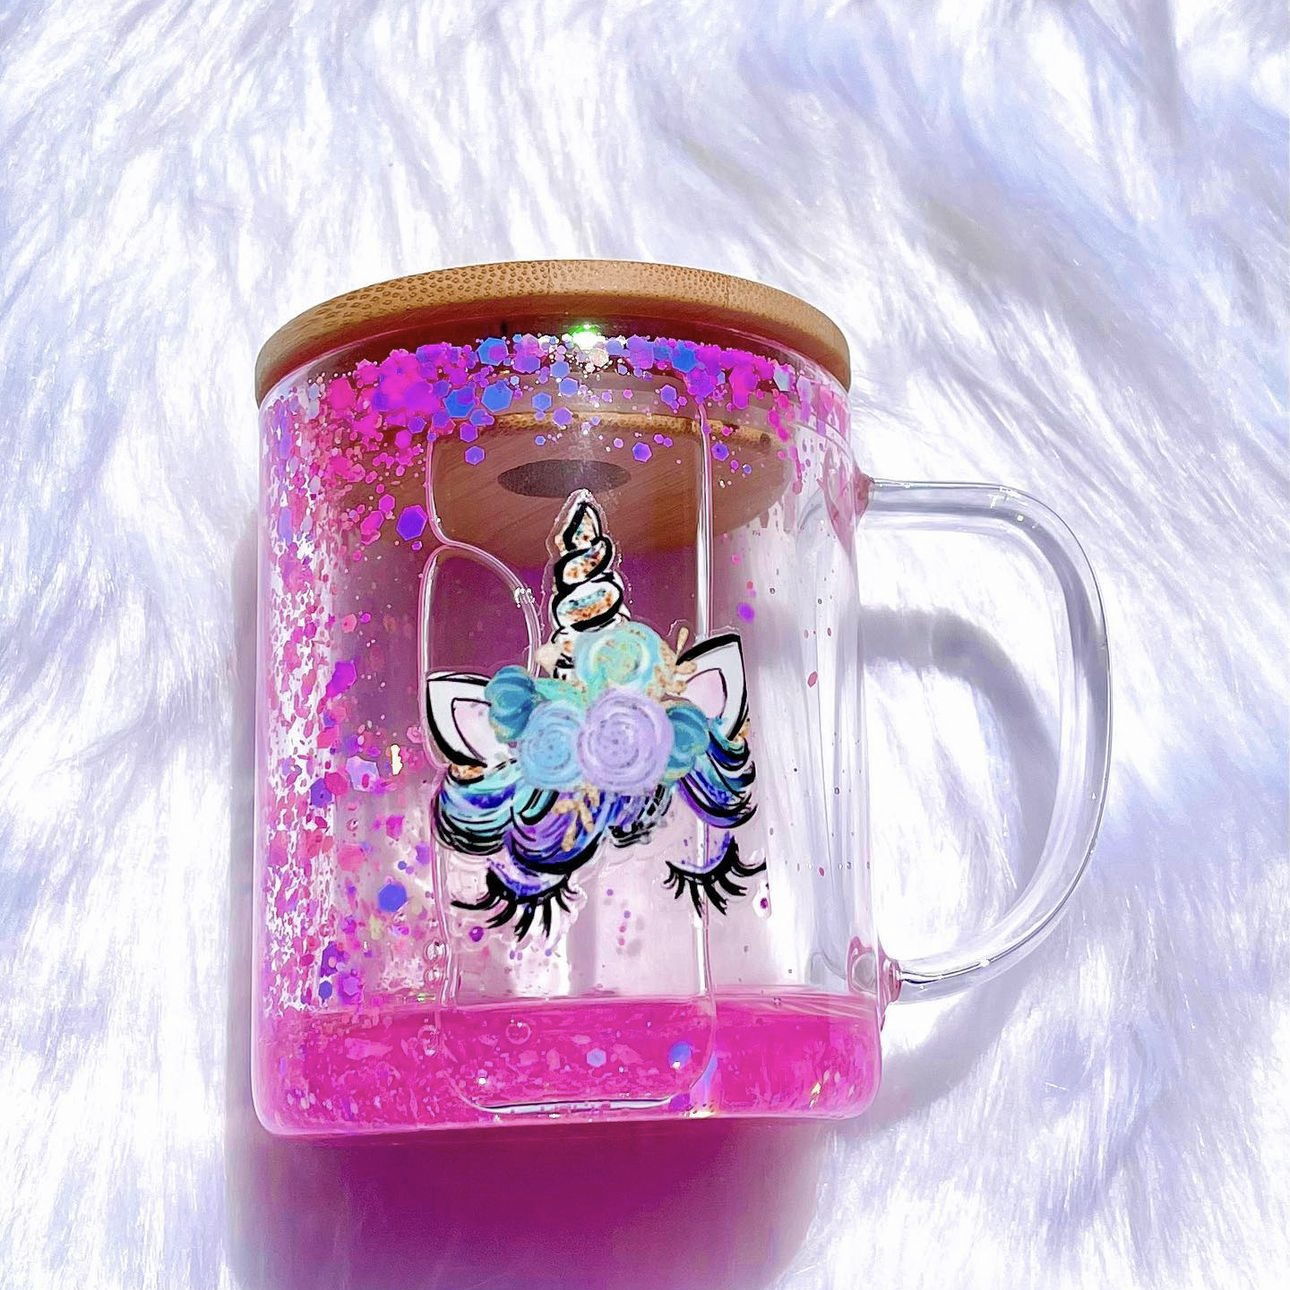
Pink mug blanks are a popular choice for crafters who want to create eye-catching drinkware with pleasant hues. These mugs offer a soft, vibrant base that works well with many design styles, from simple logos to detailed artwork.
Whether you are customizing drinkware for resale or personal use, a pink coffee mug provides a highly original foundation that's perfect for bringing your creative ideas to life.
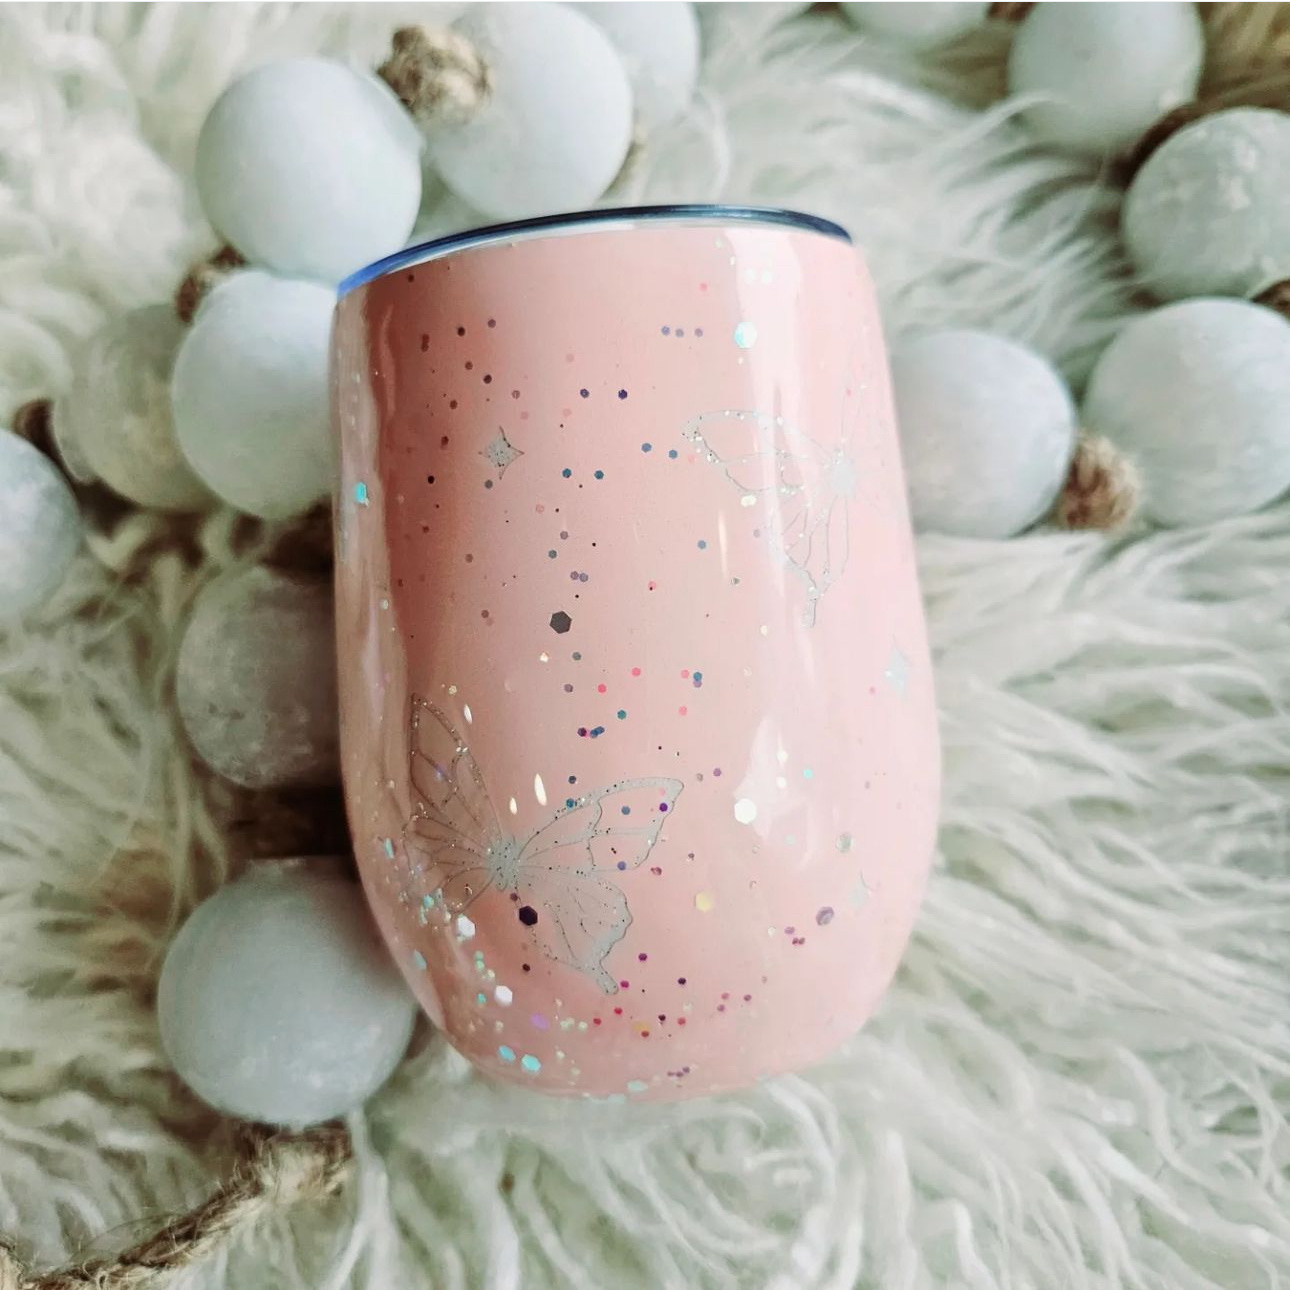
If you're shopping for pink mugs online, consider the 11-Oz Sublimatable Marble Pink Ceramic Mug from The Stainless Depot Company. This pink coffee mug features a smooth, glossy surface and distinctive pink shading. The mug is also designed for various decoration methods and works especially well for sublimation. It is a reliable choice for beginners and experienced makers who want consistent results across their projects.
In this guide, we'll explore the appeal of pink mugs and why the Marble Pink Ceramic Mug is a favorite among crafters. We'll also unpack how to customize pink mugs using sublimation, vinyl decals, UV DTF transfers, and epoxy.
By the end, you will have a clear understanding of how to turn a simple ceramic mug into a professionally finished product ready for sale.
Why Pink Coffee Mugs Are Popular for Custom Craft Projects
Pink mugs are fun, visually appealing blanks that offer distinct styles. These coffee mugs stand out even before customization, making it easy to turn these blanks into functional works of art. For crafters and small businesses, this added visibility can make a difference when selling products online or in person.
Additionally, pink is a less common color for coffee mugs, making these items more original than other mug blanks on the market. This also makes these mugs feel more personal for gifting and everyday use. They feel distinct and thoughtful even before you customize the mugs with your one-of-a-kind designs. Their unique colors and customization potential also make them highly giftable.
When it comes to resale, pink mugs are a great choice because many people search for this cup color online. Many coffee and tea lovers prefer this color for its soft, gentle tones, and it aligns with current style trends. This makes pink coffee mugs a practical choice for sellers, as potential customers are already searching for these products.
Because of this combination of visual appeal and market demand, pink coffee mugs are a reliable choice for crafters.
 Why Crafters Love the Sublimatable Marble Pink Ceramic Mug
Marble Pink Ceramic Mug Specifications:
- Coated for Sublimation
- 11-oz Capacity
- Highly Durable Ceramic Construction
- Marble Pink Finish with a Smooth, Printable Surface
- 4 Inches Tall and 3.5 Inches in Diameter
- 12-oz Weight for a Balanced Feel
- Individually Boxed for Easy Storage and Resale
- BPA-Free
-
Also Available In Bulk
This pink mug is designed to provide a reliable base for your custom drinkware projects. While it's a highly affordable mug blank, the Sublimatable Marble Pink Mug is made of durable ceramic. It also has a solid feel and handle for easy gripping.
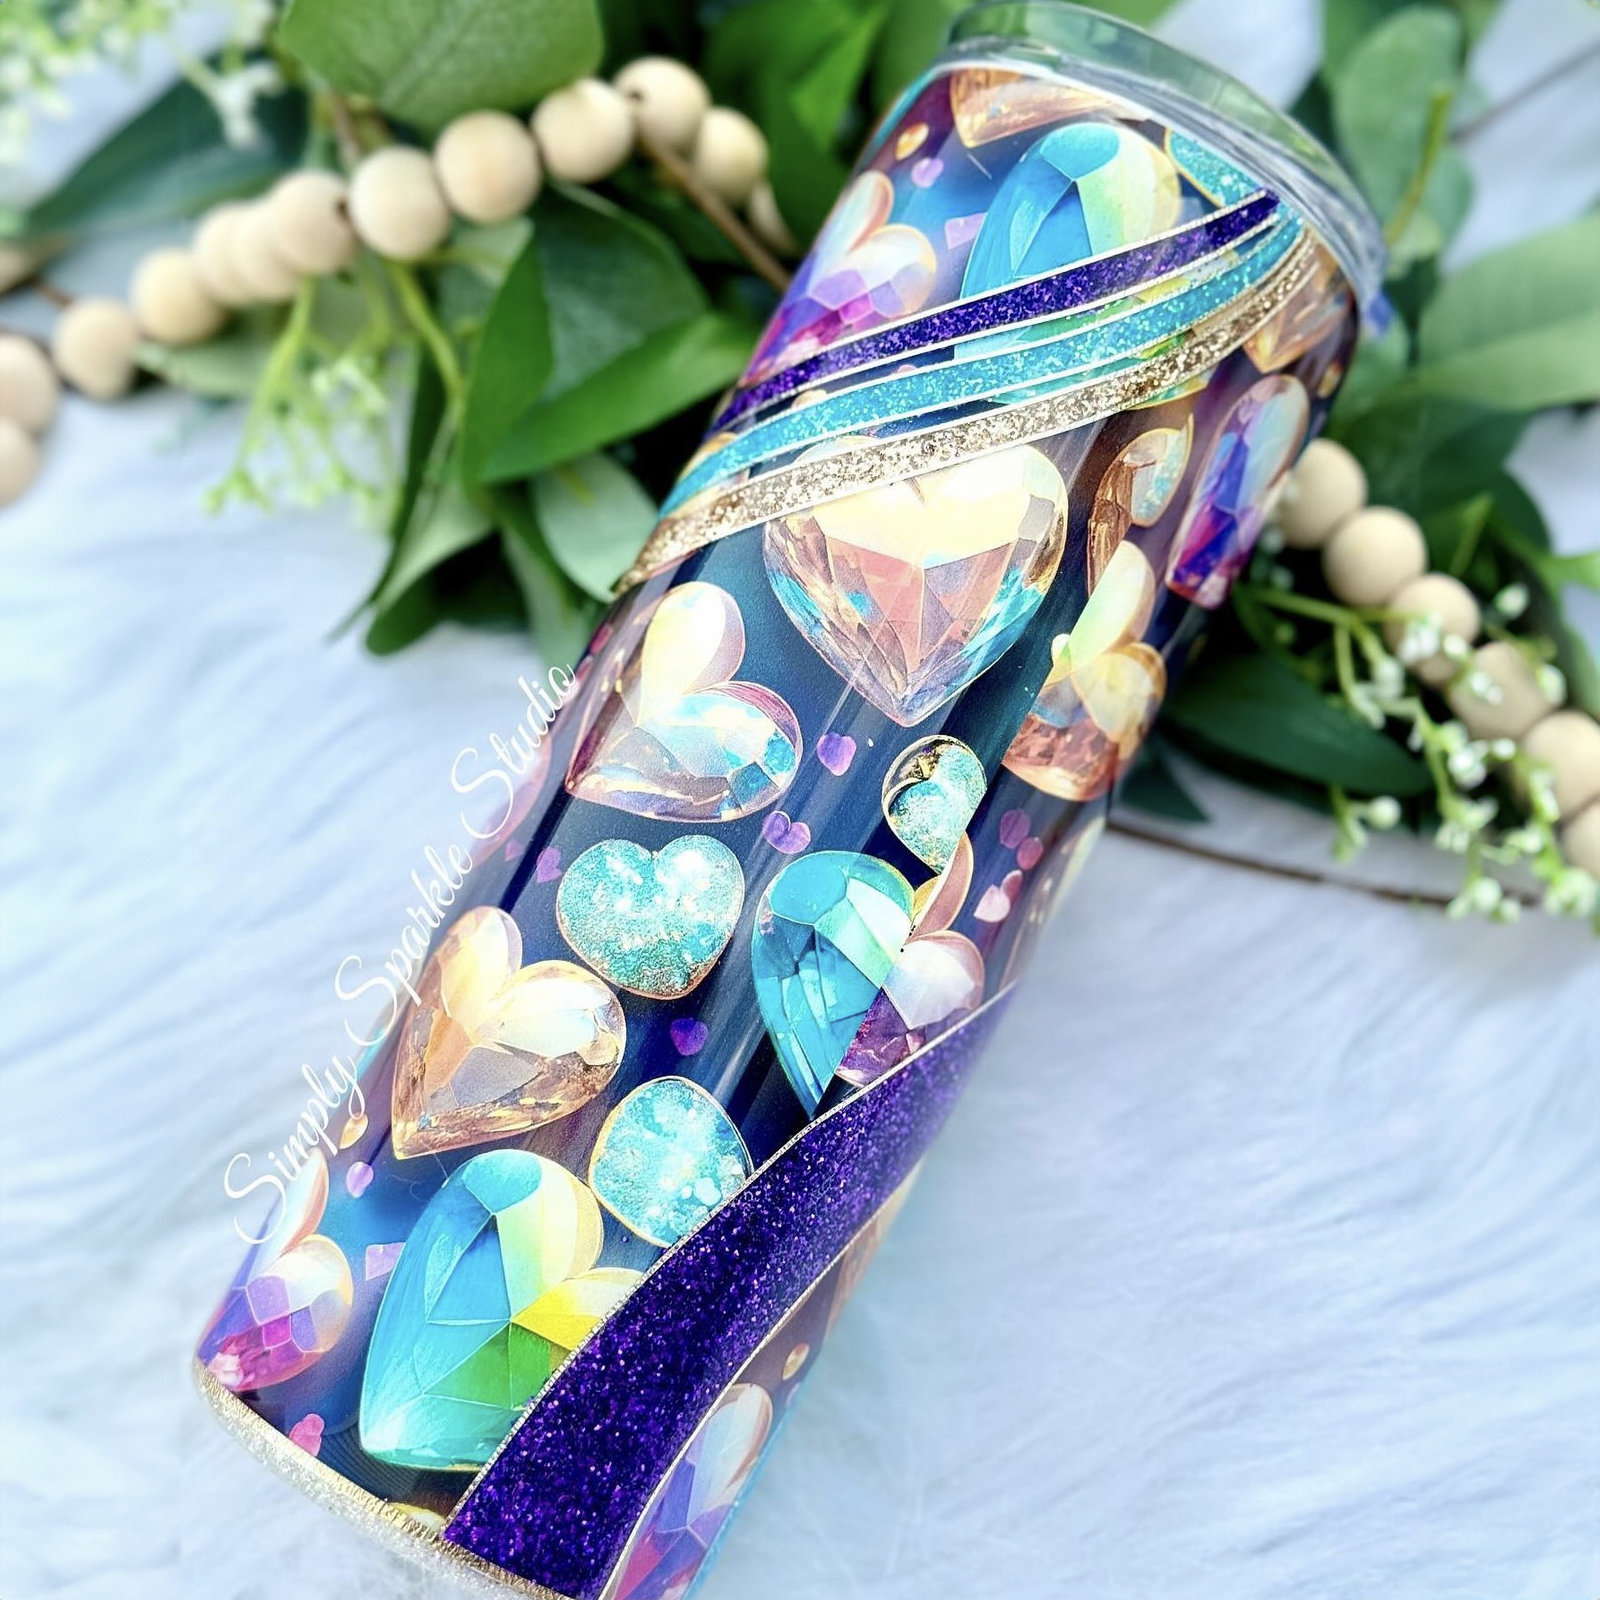
The Marble Pink Ceramic Mug holds 11 oz and fits most mug and tumbler heat presses. It also boasts a smooth, customizable surface that's perfect for sublimation, UV DTF, vinyl, and epoxy resin.
Its high-quality surface allows you to transfer designs clearly and vibrantly while maintaining print details. Whether you are producing a single pink mug or creating pink mugs in bulk, this blank will help you achieve professional results.
This pink coffee mug is also an excellent choice for crafters because it's available for both individual sale and in bulk. You can purchase a single cup to test the product or experiment with new designs. If you're happy with the results, you can then start buying in bulk to save money for your custom drinkware business.
Overall, the Sublimatable Marble Pink Mug offers the consistency, surface quality, and flexibility that crafters need for reliable results. It is easy to work with, compatible with multiple decorating methods, and suitable for both small projects and larger production runs. Whether you are testing new ideas or scaling your output, this pink mug provides a dependable foundation for your custom drinkware.
Now that you know why this product is ideal for crafters, let's explore different ways to customize pink mugs.
 How to Sublimate Pink Mug Blanks
The supplies you’ll need include:
- Design Software
Sublimation is one of the most effective ways to customize mugs. When you have a pink mug coated for sublimation, you achieve a smooth, permanent design that will not peel or fade over time.
When sublimating pink mugs, it's important to recognize that the base color may affect lighter designs. On a pink mug, light colors may appear muted or blend in, reducing their visibility compared to white mugs. Plus, the pink shade can reduce the design's overall contrast.
For that reason, you should increase the print contrast in your design software and consider avoiding light colors. Bold text, darker colors, and stronger contrast will show more clearly on your pink mugs.
With your design adjusted for better visibility, you can move on to the sublimation process.
Follow these steps to sublimate a pink mug:
-
Prepare Your Design: Print your mirrored design using sublimation ink on sublimation paper. Make sure the size fits the printable area of the pink mug.
-
Wrap the Mug: Place the printed design tightly against the mug surface. Secure it with heat-resistant tape to prevent shifting during the transfer process.
-
Apply Heat: For a mug press, set the temperature for 400℉ and apply pressure for 400 seconds. With a tumbler press, set the machine to 356℉ and apply pressure for 140 seconds to each side. If you're using an oven, set the temperature to 350-380℉ and heat for 7-8 minutes.
-
Remove Carefully: Once the time is complete, remove the mug using heat-resistant gloves. Carefully peel away the transfer paper while the mug is still warm.
-
Allow to Cool: Let the ceramic mug cool at room temperature. Avoid touching the design until it has fully set.
With the right setup and careful preparation, you can turn a blank pink mug into a finished product that is ready for everyday use or resale.
Next, let's explore how to apply vinyl decals to pink ceramic mugs.
 Customizing Pink Mugs with Vinyl Decals
The supplies you'll need:
- Mug with a Smooth Surface
- Permanent Adhesive Vinyl Decal
- Transfer Tape
- Microfiber Cloth or Lint-Free Towel
- Rubbing Alcohol or Surface Cleaner
- Squeegee or Firm Card
Vinyl decals are a simple and cost-effective way to customize a pink mug without specialized equipment. While many crafters use a cutting machine to create precise designs, it is not required. Many creative entrepreneurs choose to order pre-cut decals instead, skipping the cutting and weeding processes entirely.
Using pre-cut vinyl decals works well for both beginners and experienced crafters because it requires minimal setup. Whether you are testing new ideas or producing small batches of pink mugs, vinyl offers a flexible and accessible option for customization.
Follow these steps to apply vinyl decals:
-
Prepare Your Design: Start with a pre-made adhesive vinyl decal. Most pre-cut decals already come weeded and may include transfer tape. If transfer tape is not applied, place it over the design and burnish it firmly so the decal lifts cleanly from the backing.
-
Clean the Mug Surface: Wipe the pink mug with rubbing alcohol or another surface cleaner, using a lint-free or microfiber cloth. This removes dust and oils that could prevent proper adhesion. Let it dry completely before applying the decal, and avoid touching the surface.
-
Position the Decal: Align the design on the pink mug before applying. You can start from one edge or use a hinge method to control placement, since repositioning can reduce adhesion.
-
Apply the Vinyl: Press the design onto the surface using a squeegee or firm card. Work from one side to the other to push out air and ensure full contact.
-
Remove Transfer Tape: Slowly peel away the transfer tape at an angle, leaving the vinyl design on the ceramic pink mug. If any part lifts, press it back down and repeat.
-
Set the Adhesive: Allow the vinyl to sit for at least 24 hours before handling and up to 48 hours before washing. This gives the adhesive time to fully bond, improving durability.
With proper application, you can use vinyl to create stunning custom coffee mugs suitable for daily use or decoration.
While vinyl is a great option for simple designs, UV DTF transfers offer a faster, more reliable alternative that many crafters prefer.
 Applying UV DTF Transfers to Pink Mugs
The supplies you'll need:
- Mug with a Smooth Surface
- UV DTF Transfer (pre-printed design)
- Microfiber Cloth or Lint-Free Towel
- Rubbing Alcohol or Surface Cleaner
- Squeegee or Firm Card
UV DTF offers a simple way to customize a pink mug without using heat. This method uses a printed adhesive film that bonds directly to the surface. It works well on smooth ceramic mugs and produces a clean, professional finish.
While some crafters print their own UV DTF decals, most use pre-made ones for speed and convenience. You can apply pre-printed UV DTF stickers to pink mugs in minutes, making it easy to achieve stunning designs with no equipment. It also works well for logos, text, and multi-colored graphics with sharp detail.
Follow these steps to apply a UV DTF transfer:
-
Clean the Surface: Wipe the pink coffee mug with your cleaner to remove dust and oils. Allow the surface to dry completely and avoid touching it.
-
Prepare the Transfer: Carefully peel the backing layer from the UV DTF transfer, ensuring the design remains attached to the clear carrier film. Avoid touching the adhesive side to prevent contamination.
-
Position the Design: Align the transfer on the coffee mug before pressing it down. Start from one side to control placement, since repositioning is difficult once the adhesive makes contact.
-
Apply the Transfer: Press the design onto the surface, starting from one side. Use a squeegee or firm card to push out air and ensure full contact across the ceramic mug.
-
Peel the Carrier Sheet: Slowly peel away the clear top film at a steady angle. Make sure the design adheres to the mug. If any part lifts, press it back down and repeat the peel.
-
Check Adhesion: Press down any edges or small areas that need more contact. Make sure the entire design is fully secured to the surface.
-
Allow the Design to Set: Let the mug sit for several hours before use. This helps improve adhesion and durability, especially for long-term handling.
UV DTF transfers are a reliable option for customizing pink mugs with detailed designs. This method is especially useful for creating cute pink mugs with consistent results. It offers a clean finish that's excellent for crafters.
Next, we will explore epoxy, a method for decorating pink mugs that you can use alongside UV DTF, vinyl, and sublimation.
 Using Epoxy on a Ceramic Pink Mug
The supplies you'll need:
- Protective Covering for Your Workspace
- Tumbler Turner
- Heat Gun or Small Torch
Epoxy adds a protective layer that creates a glossy, durable finish on ceramic pink mugs. Crafters often use epoxy to seal designs and improve the overall appearance of their custom drinkware.
You can also use it with other crafting methods to create a unique look and smooth, glass-like coating. It is especially useful when you want to protect decals or add depth to a design.
Before starting the epoxy process, make sure your workspace is clean and well-ventilated. Additionally, the room's temperature and humidity affect how the epoxy cures. Most epoxy resins perform best at room temperature, typically between 70°F and 75°F, with humidity below 60 percent. If the space is too cold, the epoxy may thicken and cure slowly. If it is too humid, the finish can appear cloudy or develop surface imperfections.
Once you're in the right environment, you can use epoxy to create professional or cute pink mugs.
Follow these steps to apply epoxy:
-
Prepare the Surface: Clean the mug thoroughly to remove dust or oils. If you are applying epoxy over a design, make sure it is fully secured before moving forward.
-
Attach the Mug to a Turner: Secure the mug onto a tumbler turner before applying epoxy. Make sure it is centered and stable so it rotates evenly throughout the process. This helps create a smooth, consistent coating and prevents the epoxy from pooling.
-
Mix the Epoxy: Combine the resin and hardener according to the supplier's instructions. Mix slowly to reduce air bubbles and ensure a consistent solution.
-
Apply the Coating: Pour a small amount of epoxy onto the mug and spread it evenly across the surface. Rotate the mug as you work to create a smooth layer.
-
Remove Bubbles: Briefly use a heat gun or torch to release trapped air. Keep the heat moving to prevent damage to the coating.
-
Rotate While Curing: Let the mug continue rotating on the tumbler turner as the epoxy sets. This prevents uneven buildup and helps maintain a smooth finish.
-
Allow to Cure: Allow the mug to cure for the time recommended by your epoxy resin supplier. Avoid handling it until the coating has fully hardened.
Epoxy is a strong option for creating pink mugs with a glossy finish and added protection. It works well for projects that need a more durable surface and a refined look.
Whether you use epoxy, sublimation, UV DTF, vinyl, or a combination of these methods, you can create stunning, one-of-a-kind drinkware with pink mug blanks.
 Pink Mug FAQs
Do Pink Coffee Cups Affect Sublimation Colors?
Yes, pink mugs can influence how sublimation colors appear. Because the base is not white, lighter colors may blend into the surface or appear less vibrant. Additionally, darker colors and high-contrast designs tend to show more clearly on pink blanks. When designing for pink mugs, it is best to use bold elements and avoid very light tones that may fade into the background.
Are Coffee Mugs Dishwasher Safe After Customization?
It's best to hand-wash mugs that have already been customized to preserve their designs. Dishwashers expose mugs to high heat, water pressure, and detergents that can wear down decorative finishes over time. To maintain the quality and appearance of your custom pink mugs, wash them gently by hand and avoid harsh scrubbing.
Can You Use a Tumbler Press to Customize Mugs?
You can use a tumbler press if it is compatible with the mug's size and shape. If the press does not fit the mug securely, it's best to use a dedicated mug press instead.
Get High-Quality Mugs and Sublimation Blanks Today
Pink mugs offer a strong combination of visual appeal and practical use for custom projects. These mugs provide a unique base that supports a wide range of designs, from simple text to full-wrap graphics.
With various customization options like sublimation, UV DTF, vinyl decals, and epoxy, you can create truly one-of-a-kind drinkware that will impress your customers.
If you're looking for high-quality pink mugs ideal for customization and resale, check out the Sublimatable Marble Pink Ceramic Coffee Mug from The Stainless Depot Company. With its smooth surface, attractive color, customization potential, and bulk availability, this pink coffee mug is perfect for crafters and creative entrepreneurs.
The Stainless Depot Company also offers a variety of other cups and supplies to support you on your crafting journey, including ceramic mug blanks, sublimation blanks, tumblers, mug presses, tumbler presses, sublimation ovens, and more.
With the right equipment, quality supplies, and your creativity, you have everything you need to grow a successful drinkware business. Partner with The Stainless Depot Company to scale your operation and create stunning custom drinkware today.