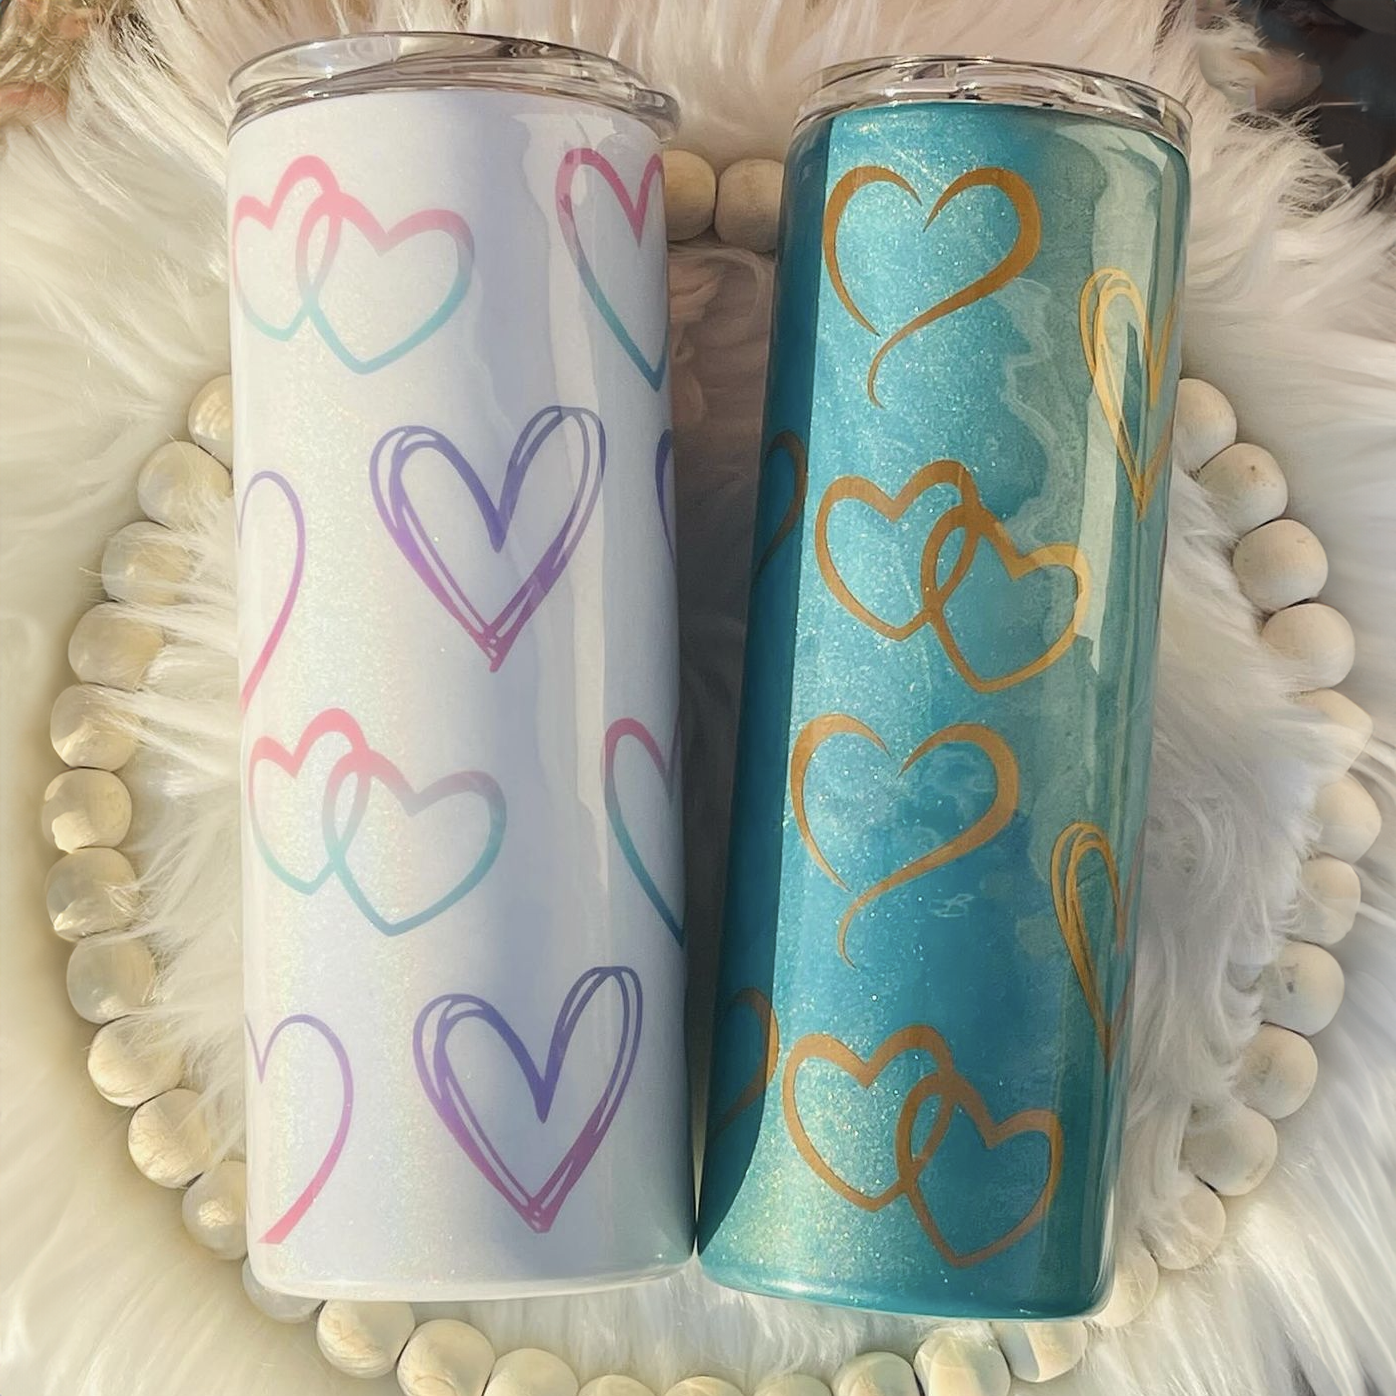
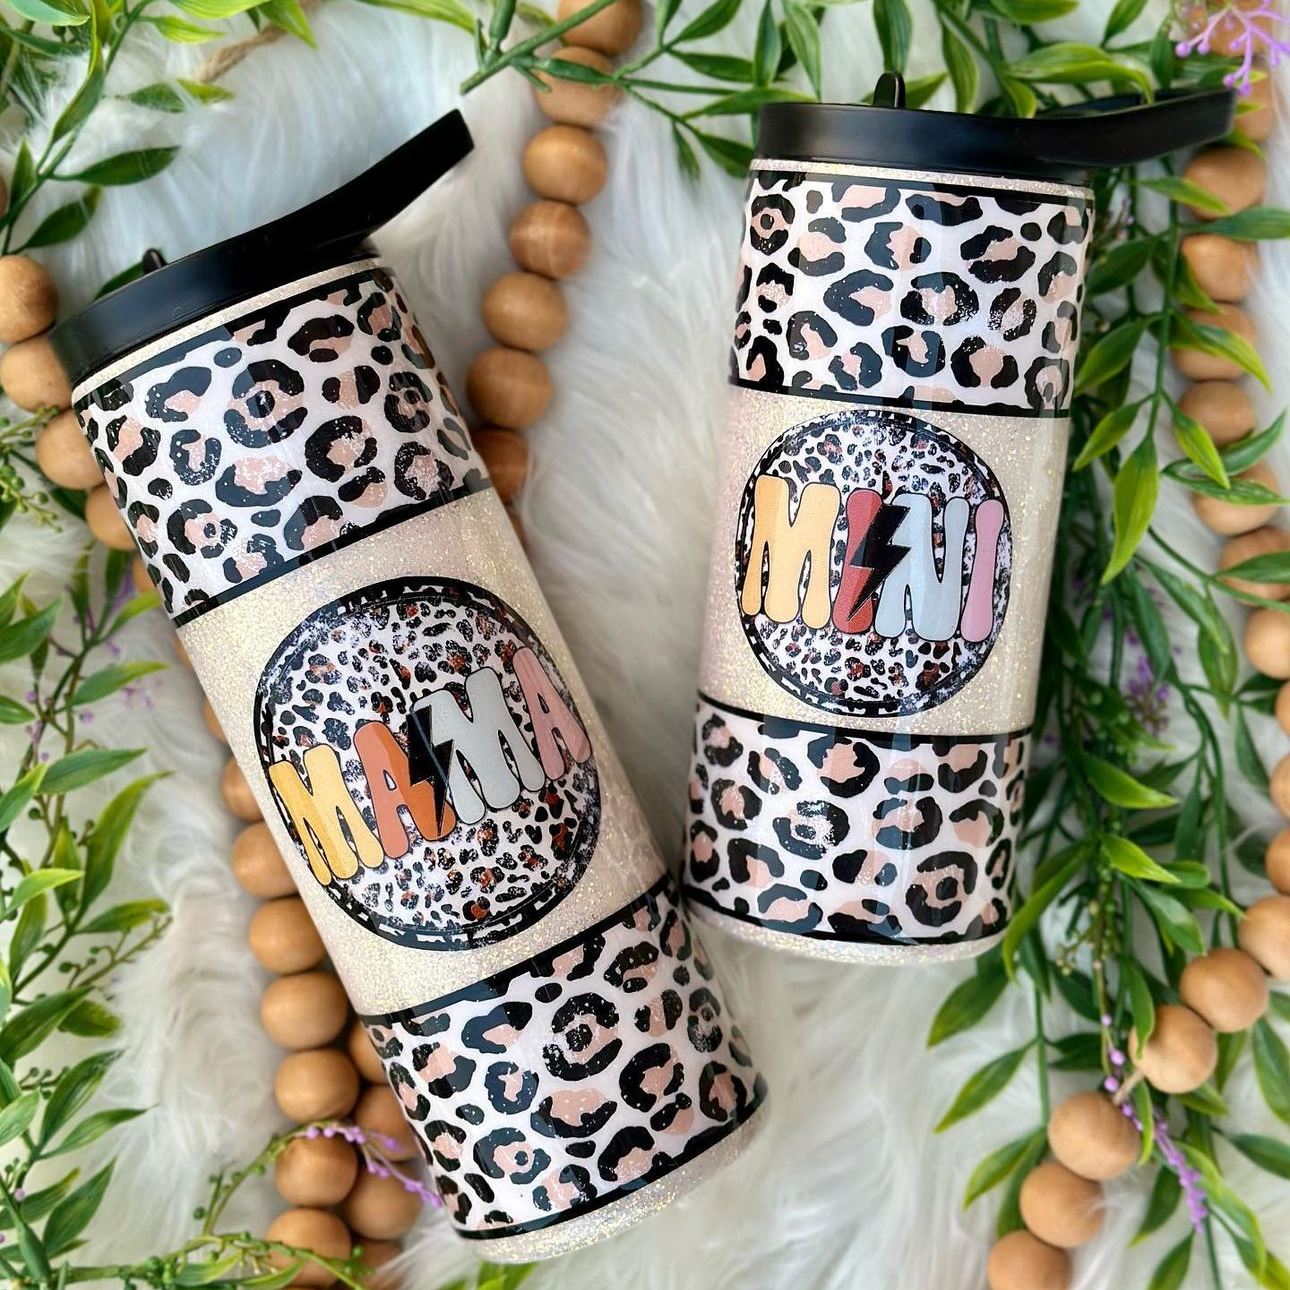
UV DTF transfers are a popular method for customizing drinkware with clean, professional results. These transfers allow you to apply detailed designs directly onto hard surfaces like tumblers without using a heat press. From small decals to full UV DTF wraps, this method offers a simple way to create durable, high-quality finishes.
Many crafters and small businesses use UV DTF transfer stickers because they are easy to apply and require minimal equipment. While you can purchase a printer to make your own UV DTF decals at home, many crafters order them online for convenience and consistent results.
If you’re considering making your own transfers or want to better understand the process, this guide covers everything you need to know. You will learn how to make UV DTF transfers for custom designs, how to apply them to your blanks, and where to find affordable, high-quality tumblers for UV DTF.
Whether you are starting a custom drinkware business or expanding your crafting skills, understanding how to work with UV DTF transfers can help you create polished products with consistent results.
 What Are UV DTF Transfers?
UV DTF transfers, also called stickers or decals, are a type of decorative print used to apply designs onto hard surfaces.
The term "UV DTF" stands for "Ultraviolet Direct-to-Film." This process uses UV-cured inks and a special film system to create durable designs. You can then transfer these designs directly onto items like stainless steel tumblers and ceramic mugs.
Unlike other printing methods, like sublimation and heat transfer vinyl, UV DTF transfers do not require heat. The design is printed onto a layer of UV DTF film (called A-film), then combined with an adhesive layer (called B-film) that allows the image to stick firmly to the surface.
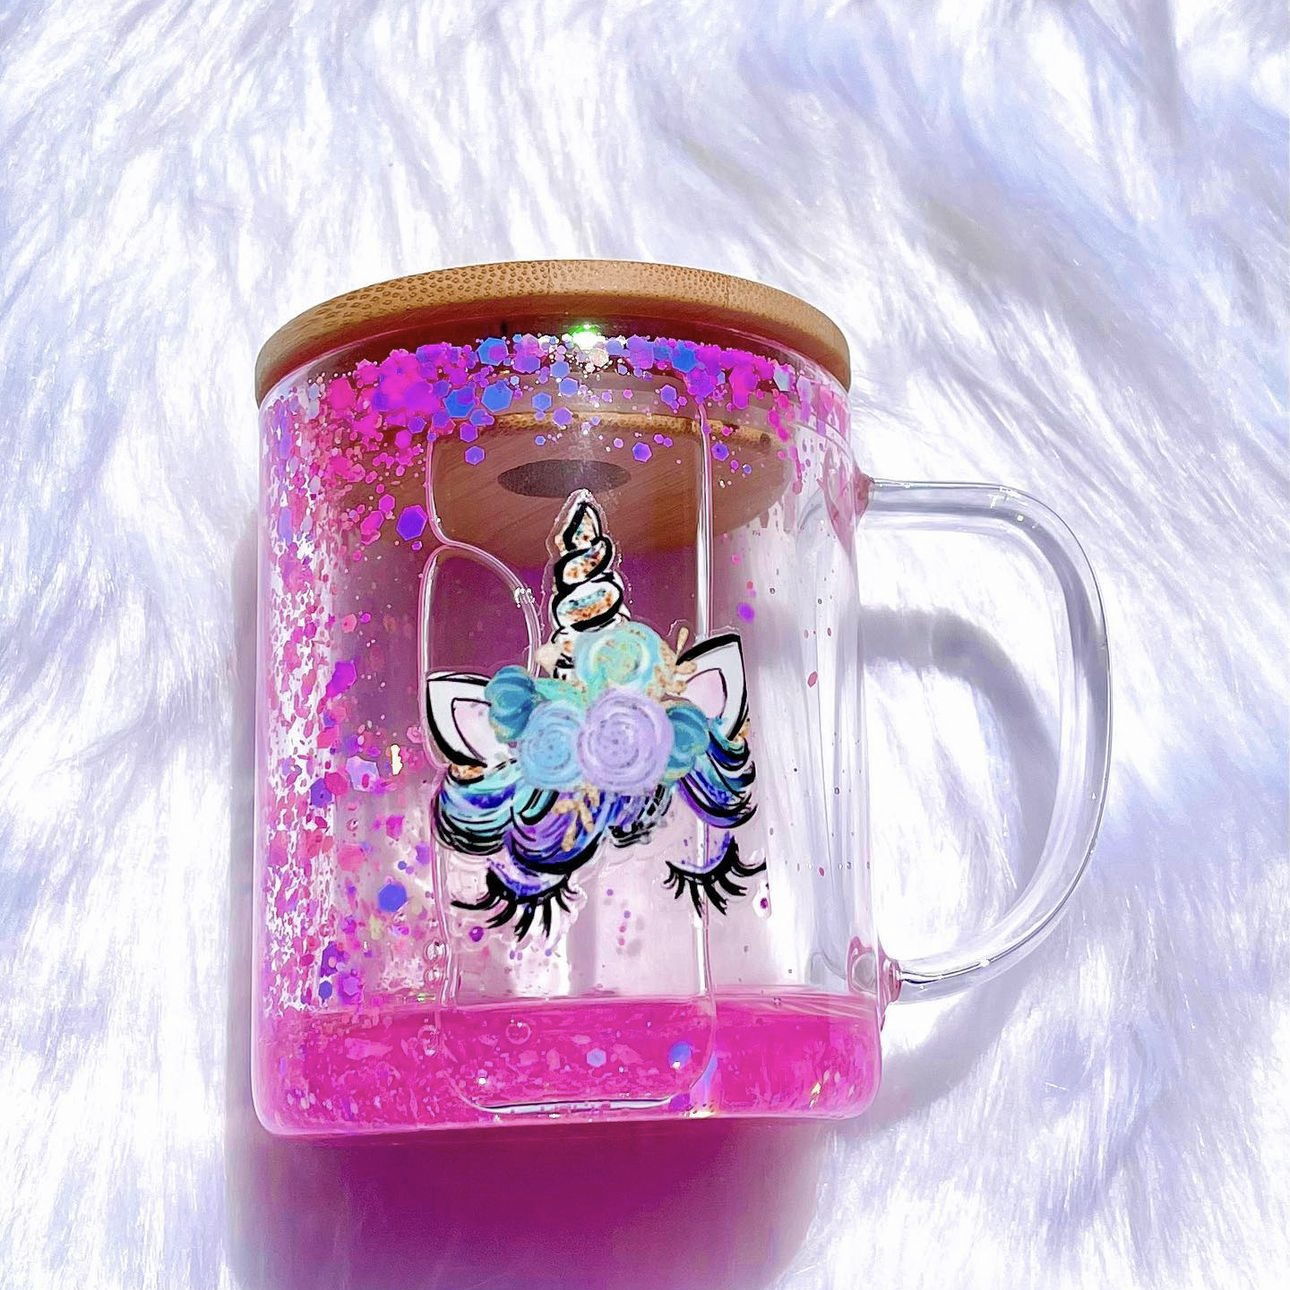
You can simply peel and press the UV DTF sticker to a tumbler or another surface for a clean, professional finish. These prints work on a variety of non-porous surfaces, making transfers a popular choice for customizing drinkware and a variety of other crafts.
UV DTF Transfers: Key Things to Know
Before you start working with UV DTF transfers, it helps to understand their benefits, limitations, and costs. These factors can impact your results when using UV DTF stickers on tumblers and other hard surfaces.
What Are the Benefits of UV DTF Transfers?
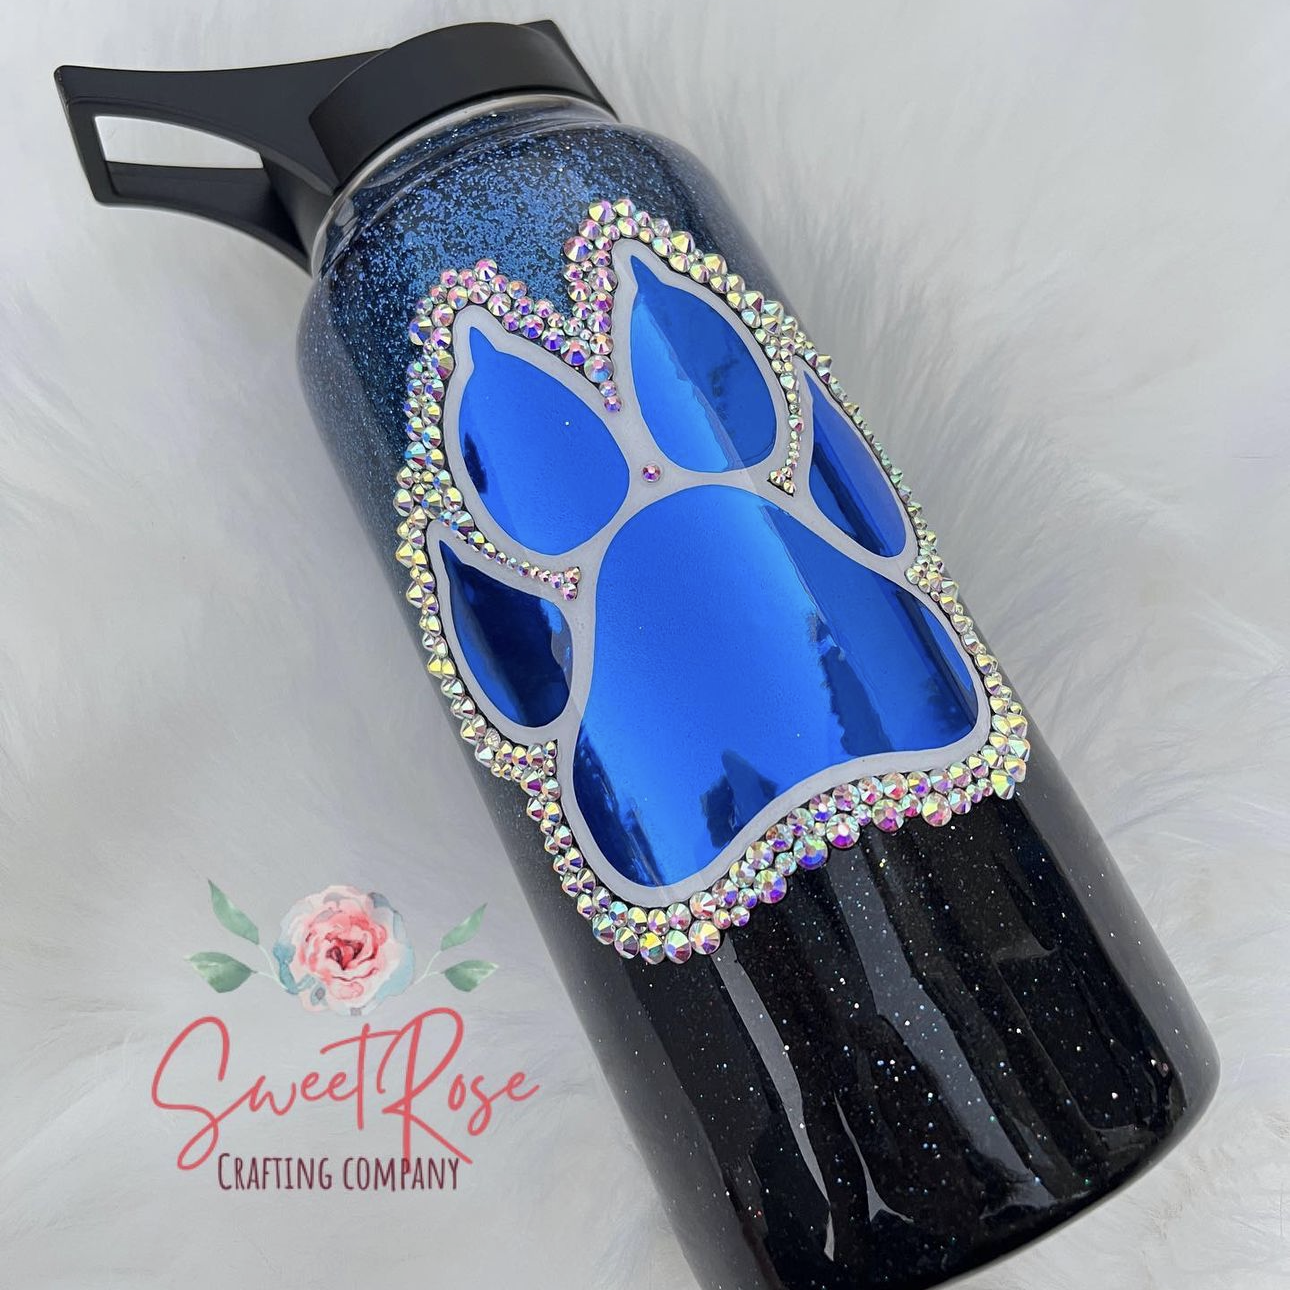
UV DTF transfers are easy to use and do not necessarily require equipment, making them ideal for beginner crafters. They bond directly to hard surfaces, such as glass, metal, and even sealed wood, creating highly durable finishes that resist water, scratches, and everyday wear. These prints also offer sharp details and vibrant colors, making them a strong choice for creating custom tumblers.
What Are the Limitations of UV DTF Transfers?
UV DTF transfers work best on hard, smooth surfaces and are not suitable for fabric or flexible materials. It's also critical to be precise when placing these transfers, as they adhere quickly and are difficult to remove and reposition.
How Much Do UV DTF Transfers Cost?
UV DTF transfers are generally affordable, even when ordering custom transfers online. These transfers vary in price based on size and detail, with single designs usually costing from $1.00-$3.00. Ordering UV DTF transfers wholesale can reduce this cost to $0.75-$2.00 per sticker.
Additionally, gang sheets typically cost between $0.06 to $0.08 per square inch, but bulk discounts can reduce this amount.
Printing your own transfers requires a higher upfront investment, but you can save money in the long run if you create many UV DTF stickers for your business.
 Supplies You Need to Make UV DTF Transfers
If you're interested in creating your own UV DTF transfers at home, you'll need to gather the right tools and materials. Having everything prepared will help ensure your UV DTF prints come out clean, vibrant, and durable.
The key supplies and equipment you'll need include:
-
Design Software – Design software, such as Adobe Photoshop or CorelDRAW, can help you create, size, and arrange your artwork. This is especially important when printing UV DTF gang sheets with multiple designs.
-
RIP Software – Use raster image processor (RIP) software to convert your design into a print-ready format and send it to the UV DTF printer. It controls color output, manages white ink layers, and ensures proper layering for high-quality, accurate UV DTF prints.
-
UV DTF Printer – A UV DTF printer is designed for UV inks and can produce high-resolution, detailed designs. It cures ink directly onto film using ultraviolet light, allowing the designs to adhere strongly while preventing smudging. A standard inkjet or sublimation printer will not work for UV DTF transfers.
-
UV-Curable Ink – UV-curable ink is an ink that cures instantly under UV light, producing vibrant and durable results. This helps ensure your UV DTF prints maintain sharp detail and long-lasting color.
-
UV DTF Film (A-Film) – UV DTF A-film is a specialized film that receives the printed design and holds it securely until the transfer process. This layer serves as the foundation for creating UV DTF transfers.
-
Laminating / Carrier Film (B-Film) – The B-film is an adhesive layer applied over the printed UV DTF A-film. This film allows the decal to transfer cleanly to the final surface and helps ensure the design remains intact during application.
-
Crafting Blank – A crafting blank is a smooth, non-porous item suitable for UV DTF printing, such as a tumbler.
-
Proper Workspace – Your workspace should be a clean, dust-free area with good lighting and ventilation. Maintaining an organized workspace helps prevent debris from embedding in the decal and supports a safe, efficient process.
-
Protective Gear – Protective gloves and safety glasses help safeguard your skin and eyes from ink exposure. You should also wear a mask if your workspace has limited ventilation.
-
Application Tools – A small squeegee or scraper allows you to press the decal evenly onto the surface and remove air bubbles for a seamless finish.
Having all of these supplies allows for a smoother workflow and more reliable results. With the right tools, you can confidently create detailed designs for your tumblers.
 How to Make UV DTF Transfers
Creating your own UV DTF transfers may seem complex at first, but you can achieve professional results with the right supplies and careful attention.
Let's explore the basics for crafting stunning transfers:
Step 1: Create Your Design
Start by creating your artwork in design software, such as Adobe Illustrator, Adobe Photoshop, CorelDRAW, or a similar program. This step focuses on building a clean, properly sized design that will translate well during printing and transfer.
When designing for UV DTF transfers, keep the following in mind:
- Ensure your design matches the dimensions of your crafting blank
- Use high-resolution images to maintain sharp detail and produce clean UV DTF prints
- Separate elements if your design includes multiple colors or layers to improve clarity and output
- Keep spacing and alignment consistent, especially when preparing UV DTF gang sheets
Careful planning during the design stage helps prevent sizing issues, misalignment, and quality problems later in the process.
Step 2: Prepare the File Using RIP Software
After completing your design, you must process it using raster image processor (RIP) software before printing. RIP software converts your artwork into a format that your UV DTF printer can read and execute accurately. Common RIP software includes Fiery and WhiteRIP.
Follow these steps when using RIP software:
- Import your design file into the RIP software
- Set the correct print size to match your UV DTF film or gang sheet layout
- Adjust color settings and profiles to ensure accurate UV DTF prints
- Add and configure the white ink layer to improve opacity and visibility
- Set the correct resolution and print quality settings
- Arrange multiple designs if you're creating UV DTF gang sheets
- Send the finalized file to the UV DTF printer
Using RIP software correctly ensures your design prints with the right color, detail, and structure, directly impacting the final quality of your UV DTF transfers.
Step 3: Print on UV DTF A-Film
Once you have properly prepared the design in RIP software, the next step is to print it onto A-film with your UV DTF printer.
Follow these steps when printing your design:
- Load UV DTF A-film into the UV printer
- Confirm your RIP software settings match your printer configuration
- Adjust printer settings for optimal color, resolution, and ink coverage
- Start the print and allow the UV printer to cure the ink during the process
- Print at a steady pace to avoid smudging or incomplete curing
- Inspect the printed design for sharp details, clean edges, and vibrant colors
Taking the time to make sure your print is correct will prevent issues during the transfer stage. A clean, well-printed design on your A-film will adhere more effectively and produce a smoother, more professional finish when applied to your blanks.
Step 4: Apply B-Film
After printing your design onto the A-film, you'll then apply the B-film to create the adhesive layer. Clean alignment and even pressure during this step help maintain detail and prevent issues during application.
To apply the B-film, you'll need to:
- Align the B-film over the printed design carefully to avoid shifting or misplacement
- Press gently across the surface to ensure full contact between the layers
- Use a squeegee or flat tool to remove air bubbles and create a smooth bond
- Work slowly and evenly to prevent wrinkles or gaps in the adhesive layer
-
Keep the finished transfer flat and free from dust or debris until application
A well-applied adhesive layer improves how well your UV DTF stickers transfer onto the blank. Clean contact between the layers helps the design release properly, resulting in a smoother finish on the final product.
By following these steps, you can create high-quality UV DTF transfers that are ready for clean and consistent application. From design setup to printing and film alignment, each stage plays a role in achieving sharp detail, strong adhesion, and a professional finish.
Next, we'll explore how to make UV DTF designs specifically for tumblers and other cups.
 How to Make UV DTF Cup Wraps
Full UV DTF cup wraps slightly differ from standard UV DTF stickers because they are designed to cover the entire surface of a tumbler rather than a small section.
This changes how you approach sizing, layout, and print preparation. Instead of focusing on a single graphic or logo, you create a continuous design that must align properly around the cup without visible seams or distortion.
To create a proper cup wrap, follow these steps:
- Measure the tumbler’s full circumference and height, accounting for any taper to ensure the wrap fits correctly
- Create a full-wrap design in your software that matches your tumbler dimensions, including a slight overlap or margin for trimming
- Use high-resolution artwork in your design software to maintain clarity across the entire UV DTF tumbler wrap
- Arrange elements in your software so the design flows continuously from one side to the other without awkward breaks
- Import your design into raster image processor (RIP) software and configure print settings, including size, color profiles, and white ink layers, to prepare the file for accurate output
- Print the design onto A-film using a UV DTF printer, ensuring consistent ink coverage across the larger surface area
- Apply B-film evenly to create a complete adhesive layer for the full wrap
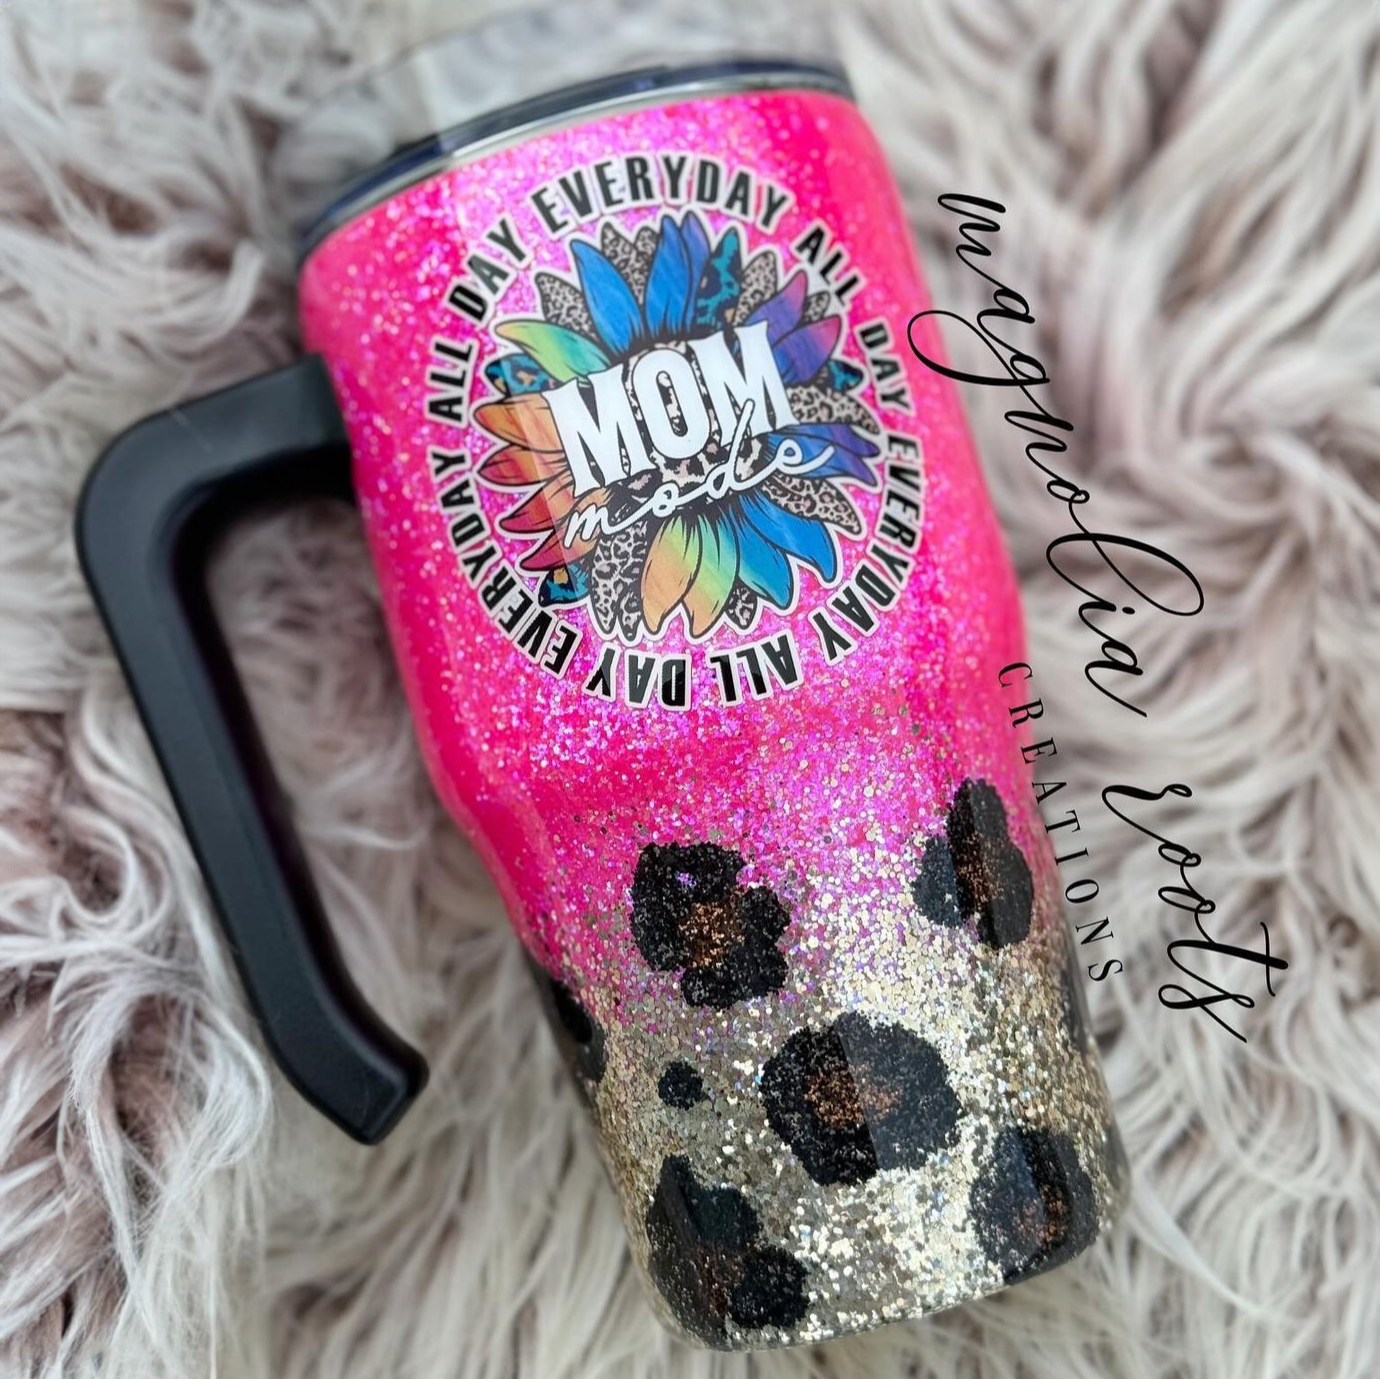
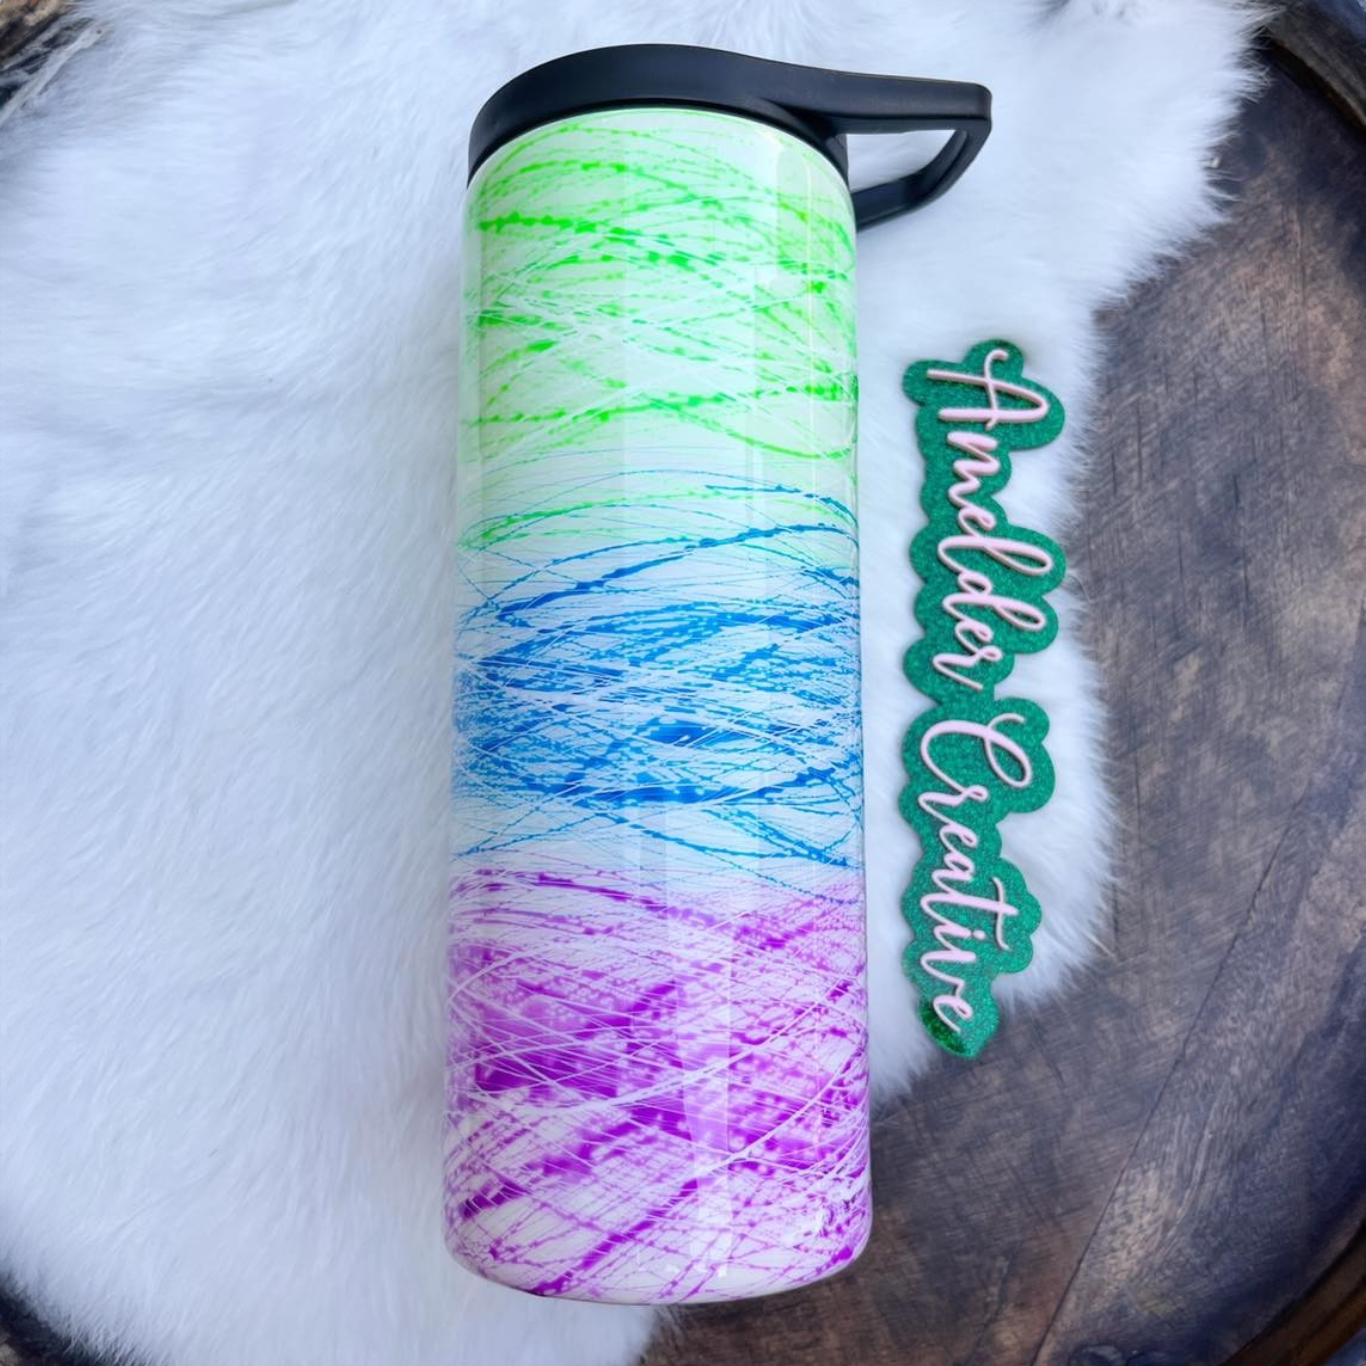
When done correctly, UV DTF wraps for tumblers create smooth, full-coverage designs that give drinkware a polished, retail-ready appearance. This makes them a strong option for crafters producing custom tumblers at scale.
Using Pre-Made UV DTF Transfers
Pre-made UV DTF transfers are a convenient option for crafters who want professional results without having to handle the printing process.
Instead of producing your own designs with a UV printer, you can purchase ready-to-use UV DTF stickers that are already printed, layered, and cured. These transfers arrive prepared for direct application onto tumblers and other hard surfaces.
One of the main benefits of pre-made transfers is accessibility. You do not need specialized equipment, such as a UV DTF printer or RIP software. This makes pre-made stickers an excellent choice for beginners and those who want to customize only a few products.
You can find a wide variety of designs online, including logos, patterns, and full UV DTF cup wraps. Many suppliers also offer custom UV DTF transfers, allowing you to upload your own artwork and receive finished transfers ready for application. This provides design flexibility while still avoiding the complexity of in-house production.
Some common websites for ordering custom and pre-designed UV DTF stickers include Etsy, Ninja Transfers, DTFSheet, and The Stainless Depot Company.
For many crafters, pre-made UV DTF transfers for cups offer the best balance of quality and convenience. These pre-made stickers allow you to create polished, durable designs while keeping your workflow simple and efficient.
 How to Apply UV DTF Stickers to Tumblers
Whether you're using pre-made UV DTF stickers or transfers you created, applying them to your tumblers is a straightforward process.
Still, you should pay careful attention to ensure you place them correctly, as UV DTF transfers begin adhering as soon as they touch the tumbler surface. Taking time to prepare and apply the design correctly helps ensure a smooth, long-lasting finish.
Follow these steps when applying UV DTF transfers to your drinkware:
-
Clean the Tumbler Surface Thoroughly: Use alcohol or a lint-free cloth to remove dust, oils, and residue. A clean surface helps the UV DTF sticker bond properly and prevents imperfections.
-
Peel the Backing From the Transfer: Carefully separate the backing layer while keeping the design attached to the carrier film. Avoid touching the adhesive side to maintain a strong bond.
-
Align the Design Before Applying: Position the UV DTF sticker exactly where you want it. Since the adhesive is strong, repositioning is difficult once it makes contact.
-
Apply the Transfer with Steady Pressure: Press the design onto the tumbler starting from one side and moving across. Use your fingers or a flat tool to ensure even contact and reduce air bubbles.
-
Smooth Out Any Bubbles or Wrinkles: Gently press over the entire design to fully secure it. Pay close attention to edges and detailed areas to ensure proper adhesion. Using a squeegee, scraper, or flat card can make it easier to smooth out wrinkles and remove bubbles.
-
Remove the Top Film Carefully: Slowly peel the carrier film, leaving the design on the tumbler. If any part lifts, press it back down and continue removing the film gradually.
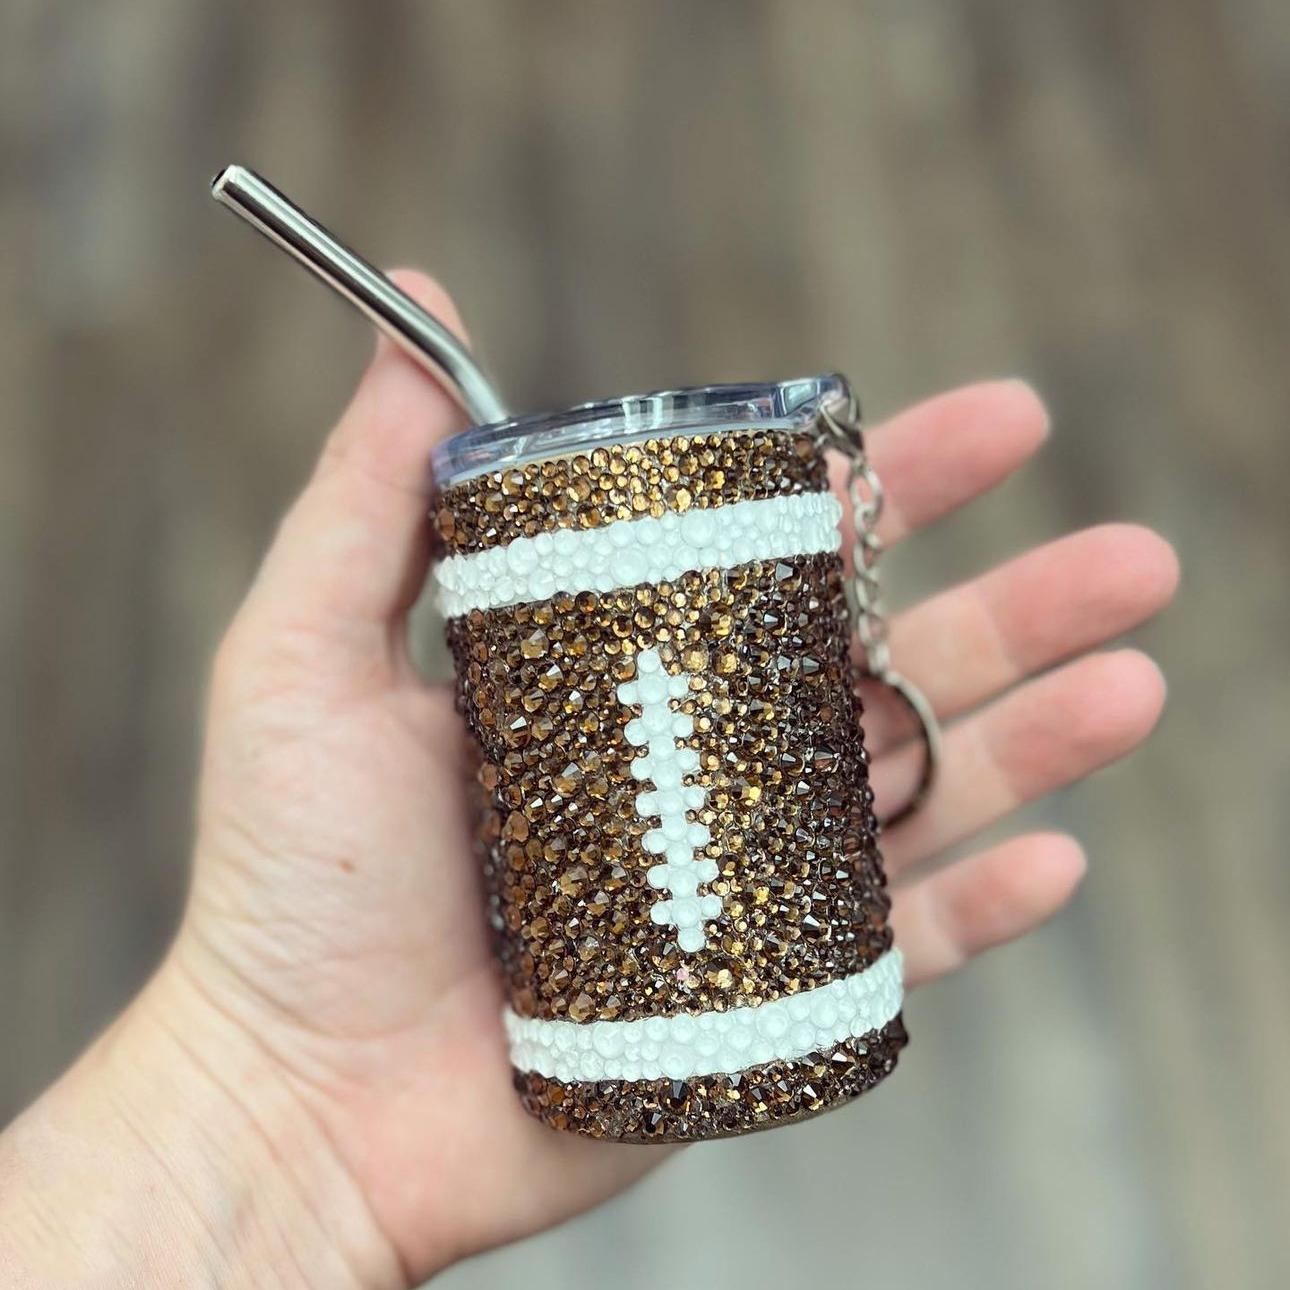
UV DTF transfers for tumblers create a durable, professional finish that withstands regular use. With proper technique, you can achieve clean results and create stunning, one-of-a-kind tumblers.
Where to Buy Great-Quality Tumblers for UV DTF Transfers
When it comes to creating eye-catching drinkware, choosing the right tumbler blank is just as important as the design.
If you're getting started with UV DTF transfers, you can find a wide selection of high-quality blanks on The Stainless Depot Company website. Whether you are customizing a single tumbler or creating multiple orders for resale, you can find options that will support your crafting projects.
Our collection includes tumblers made from a variety of materials:
- Stainless steel tumblers for double-wall vacuum insulation
- Glass tumblers for a clean, modern look
- Acrylic tumblers for lightweight and durable use
- Ceramic cups for classic drinkware styles
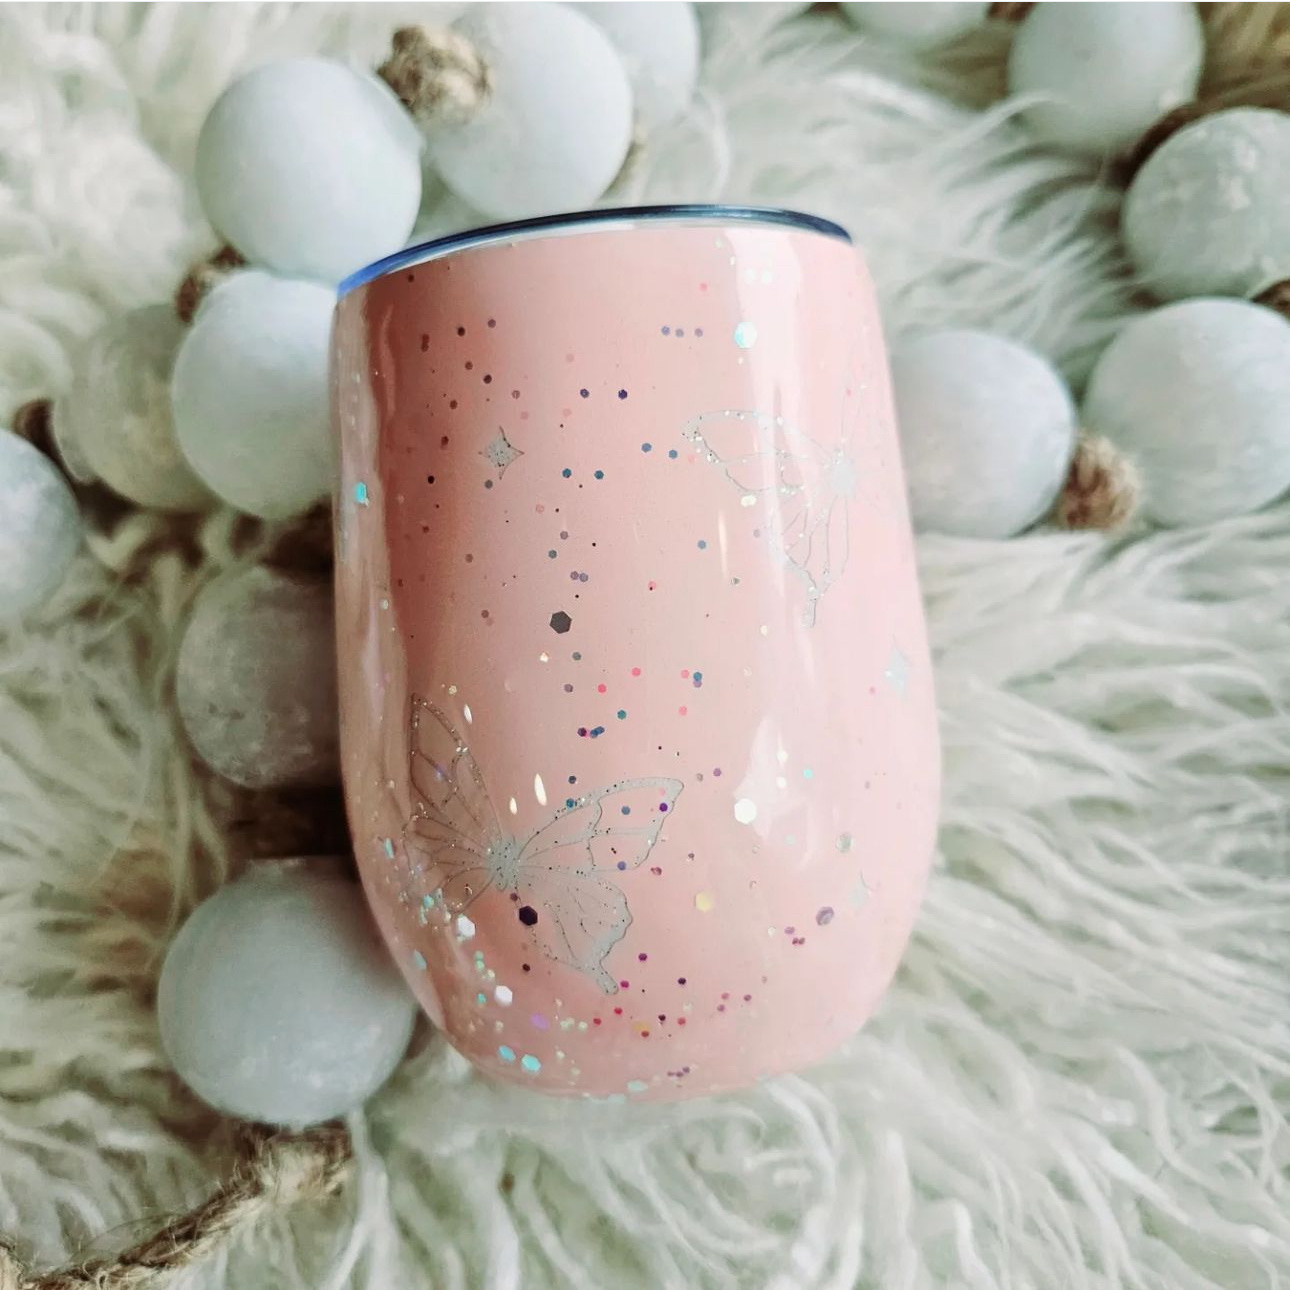
For seasonal colors, The Stainless Depot Company also offers The Daydream Club Collection. This collection of stunning tumblers features a range of vibrant hues perfect for spring and summer. These are strong options for those looking to create colorful, eye-catching drinkware.
All of our tumblers are available for both individual purchase and in bulk, making it easier for you to scale your crafting business as demand grows. Plus, orders over $99 qualify for free shipping, helping you save on supplies as you stock up on high-quality blanks.
With the right tumblers and reliable materials, you can create truly unique drinkware that you or your customers will love.
 UV DTF Transfers FAQs
How to Use a UV DTF Type-B Without a Printer
You cannot use UV DTF Type-B film by itself without a printer because it is only the adhesive layer and requires a printed design on A-film. If you do not have a UV DTF printer, the correct approach is to use pre-made UV DTF transfers that already include both layers and are ready for application.
How to Remove UV DTF Stickers From Tumblers
To remove UV DTF stickers from tumblers, apply gentle heat using a heat gun or hair dryer to soften the adhesive. Slowly peel the UV DTF transfer from the surface while applying steady pressure. Once you remove it, clean any remaining residue with an adhesive remover or alcohol. It's important to note that even with careful removal, there is a chance that you can damage the tumbler surface, particularly with lower-quality coatings.
Is UV DTF Better Than Regular DTF?
UV DTF is better for hard surfaces like glass and metal, while regular DTF is designed for fabrics. Choosing between the two depends on the material and the type of project you are creating.
What Equipment Is Needed for UV DTF Transfers?
To print your own transfers, you need a UV DTF printer, UV DTF A- and B-film, design software, and RIP software. Many beginners start with ready-made UV DTF transfers for cups to avoid the cost of specialized equipment.
Get Started With UV DTF Transfers Today
UV DTF transfers offer a simple and effective way to customize drinkware with professional results. With the right equipment, you can produce clean, durable transfers, or you can order pre-made designs online. Either way, you can use your UV DTF transfers to make stunning drinkware for personal use or resale.
If you are ready to start crafting custom tumblers, choosing the right blanks and supplies is essential. Fortunately, you're in the right place for high-quality tumbler blanks; The Stainless Depot Company offers a wide selection of tumblers ideal for UV DTF crafting as well as UV DTF gang sheets.
Plus, we feature sublimation blanks, epoxy tumblers, engraving tumblers, and more, allowing you to explore other professional crafting methods. These tumblers feature double-wall vacuum insulation, BPA-free components, and glowing reviews, so you can be confident that they will deliver reliable performance and lasting durability.
With the right materials and techniques, you can create polished, eye-catching drinkware that stands out, and The Stainless Depot Company has everything you need to get started today.