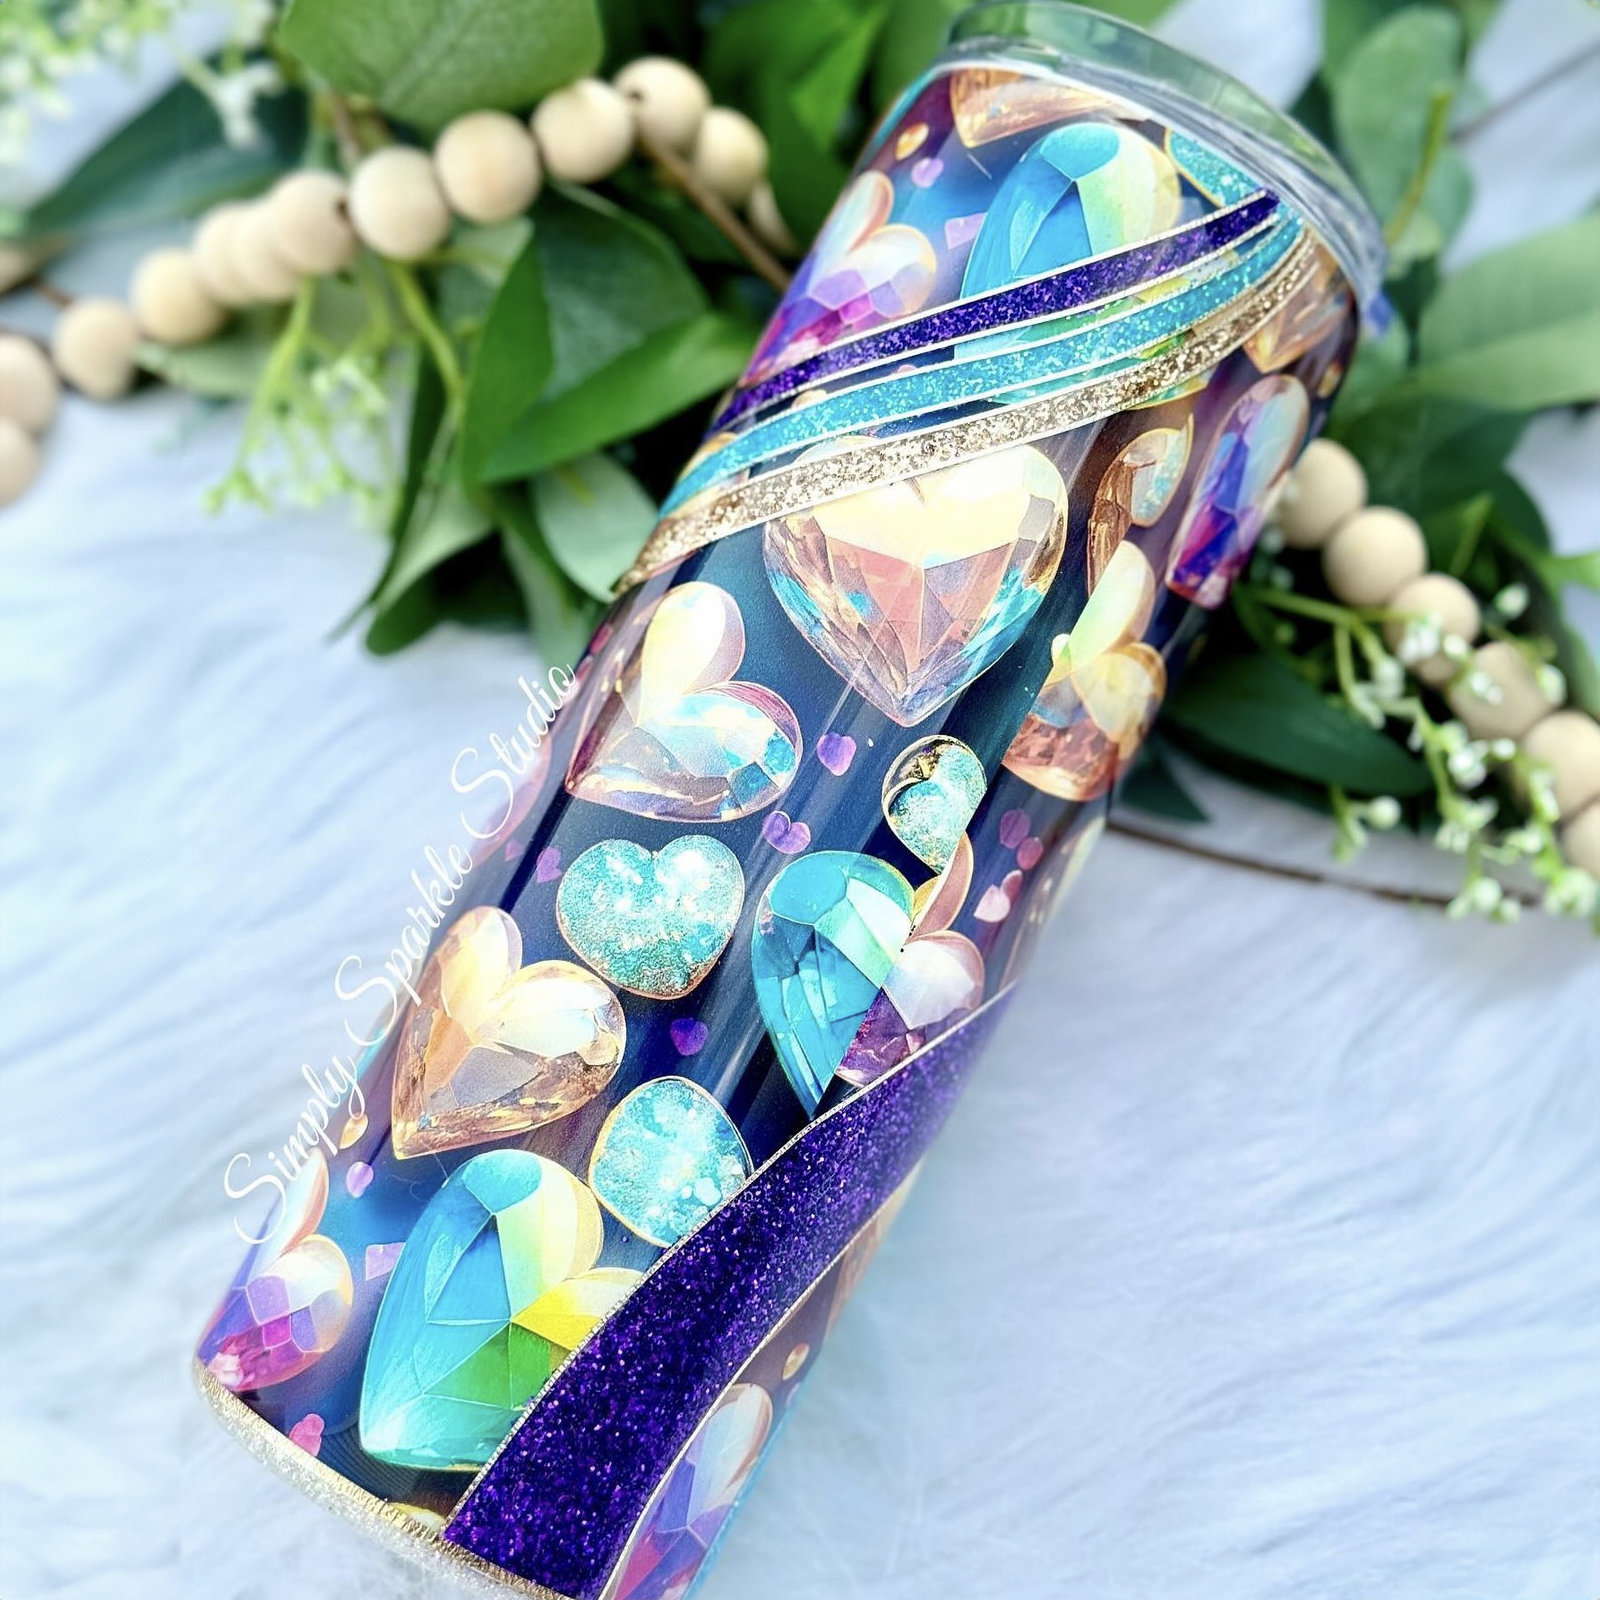
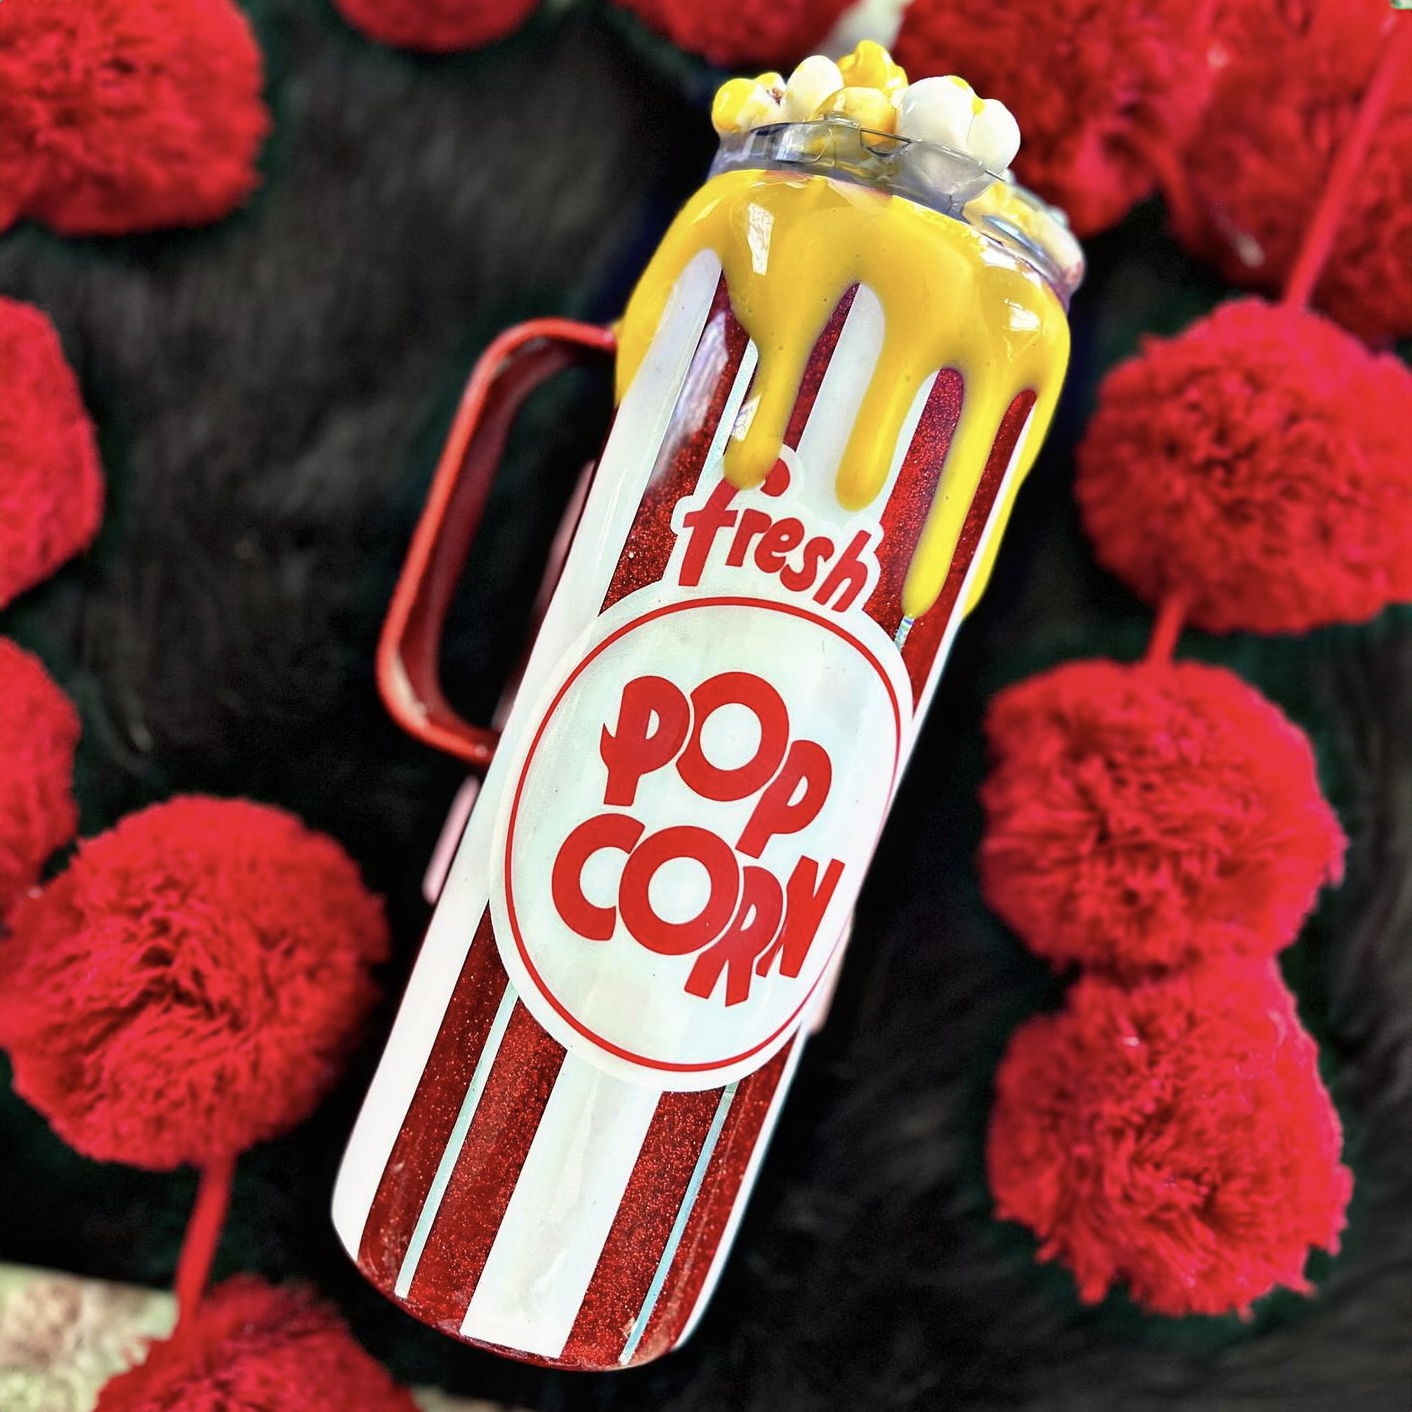
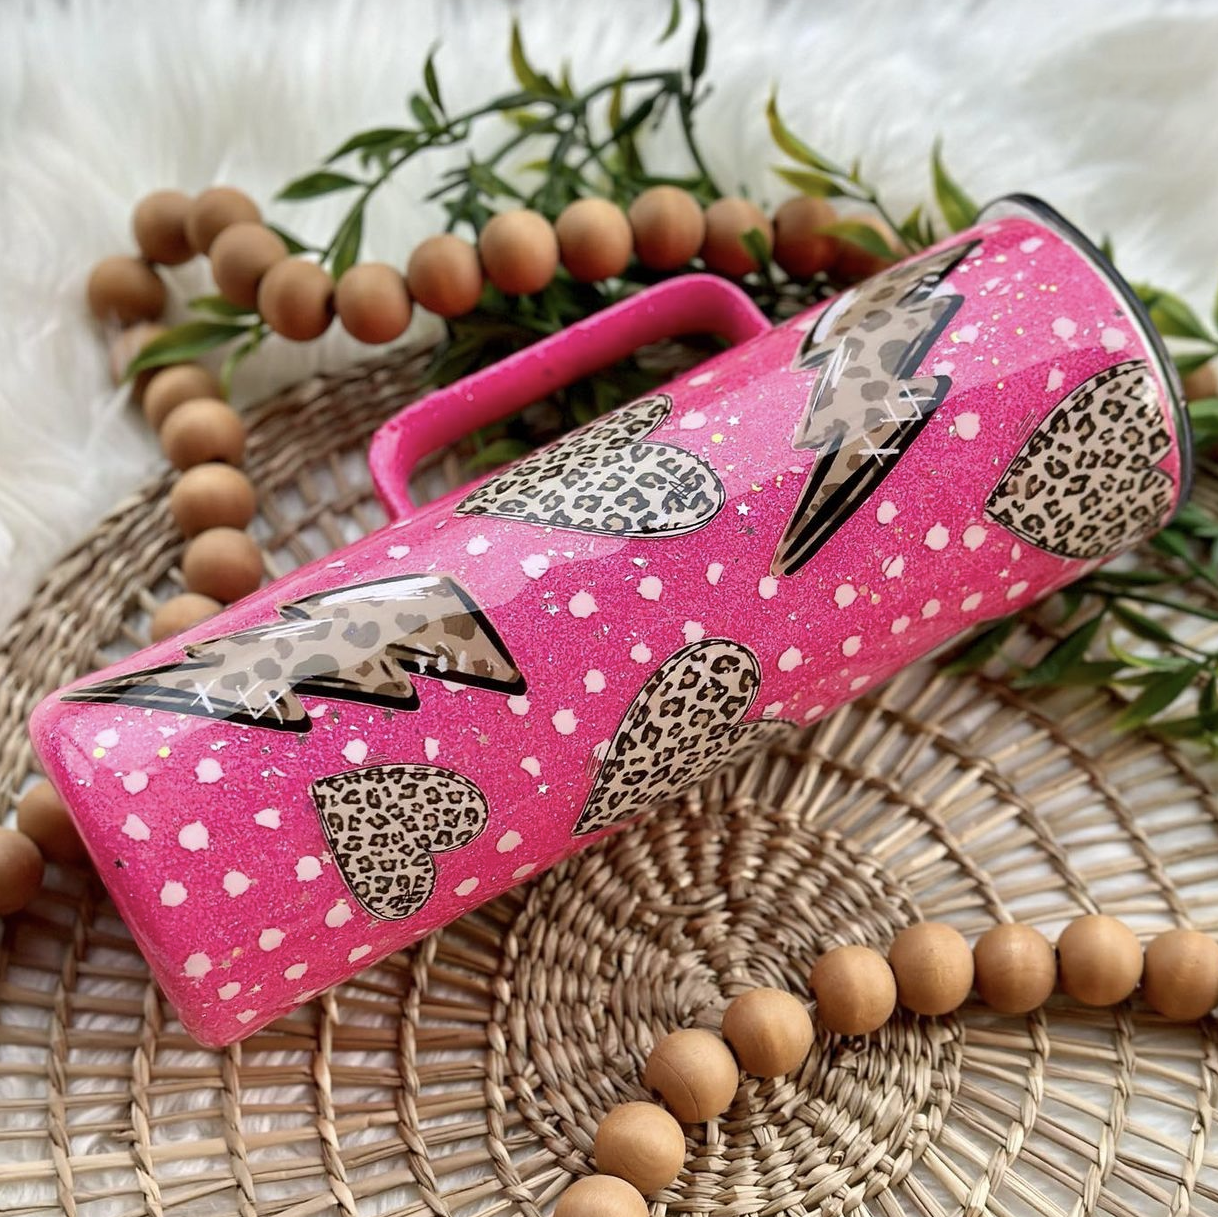
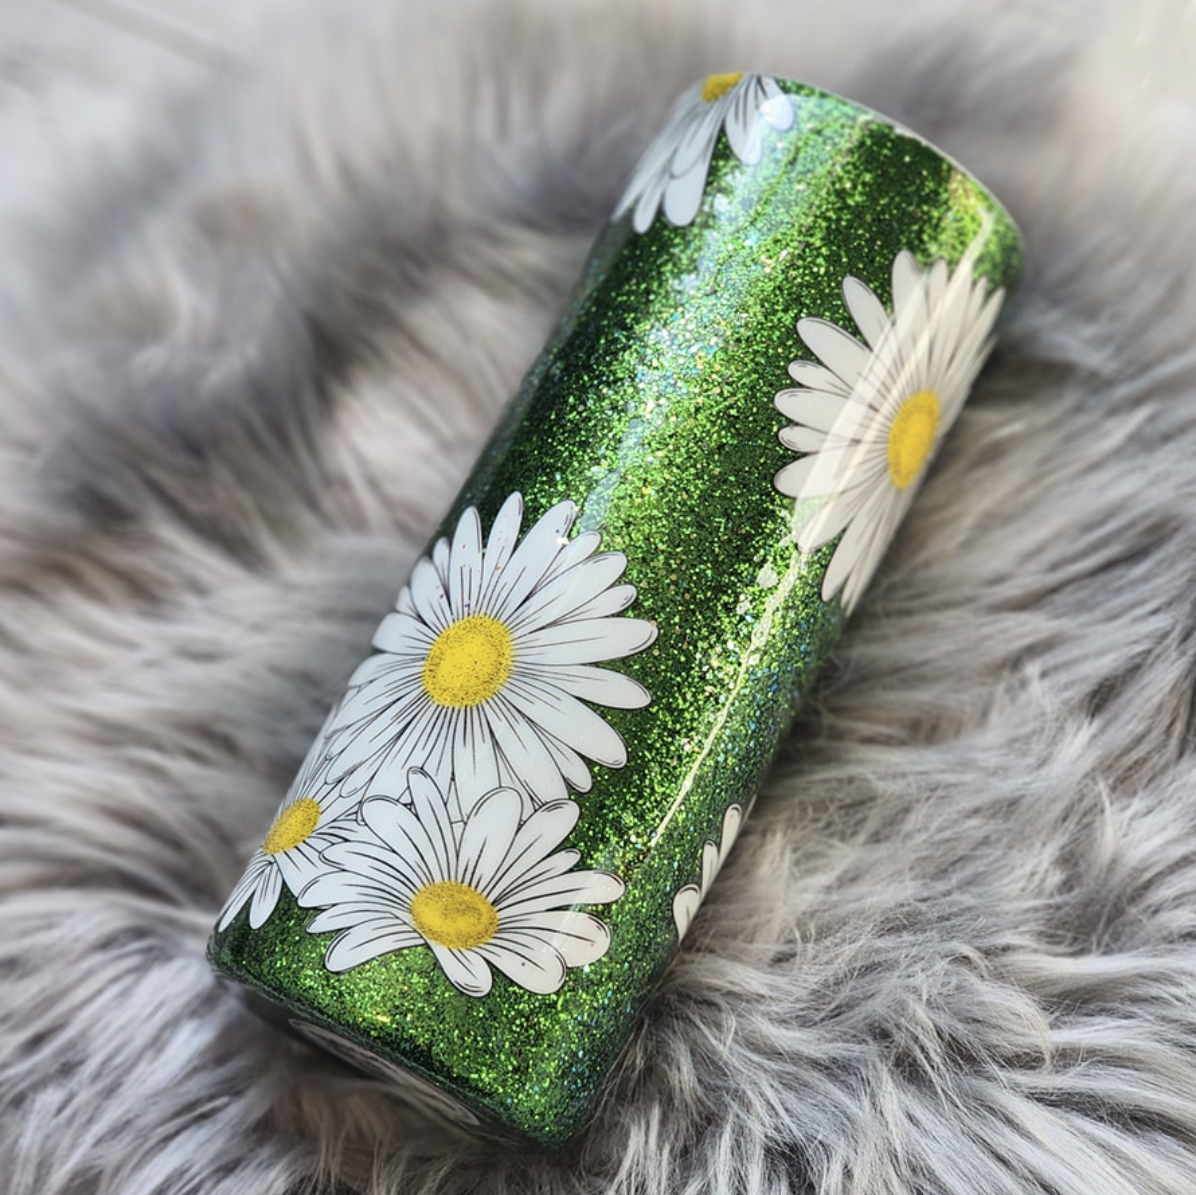
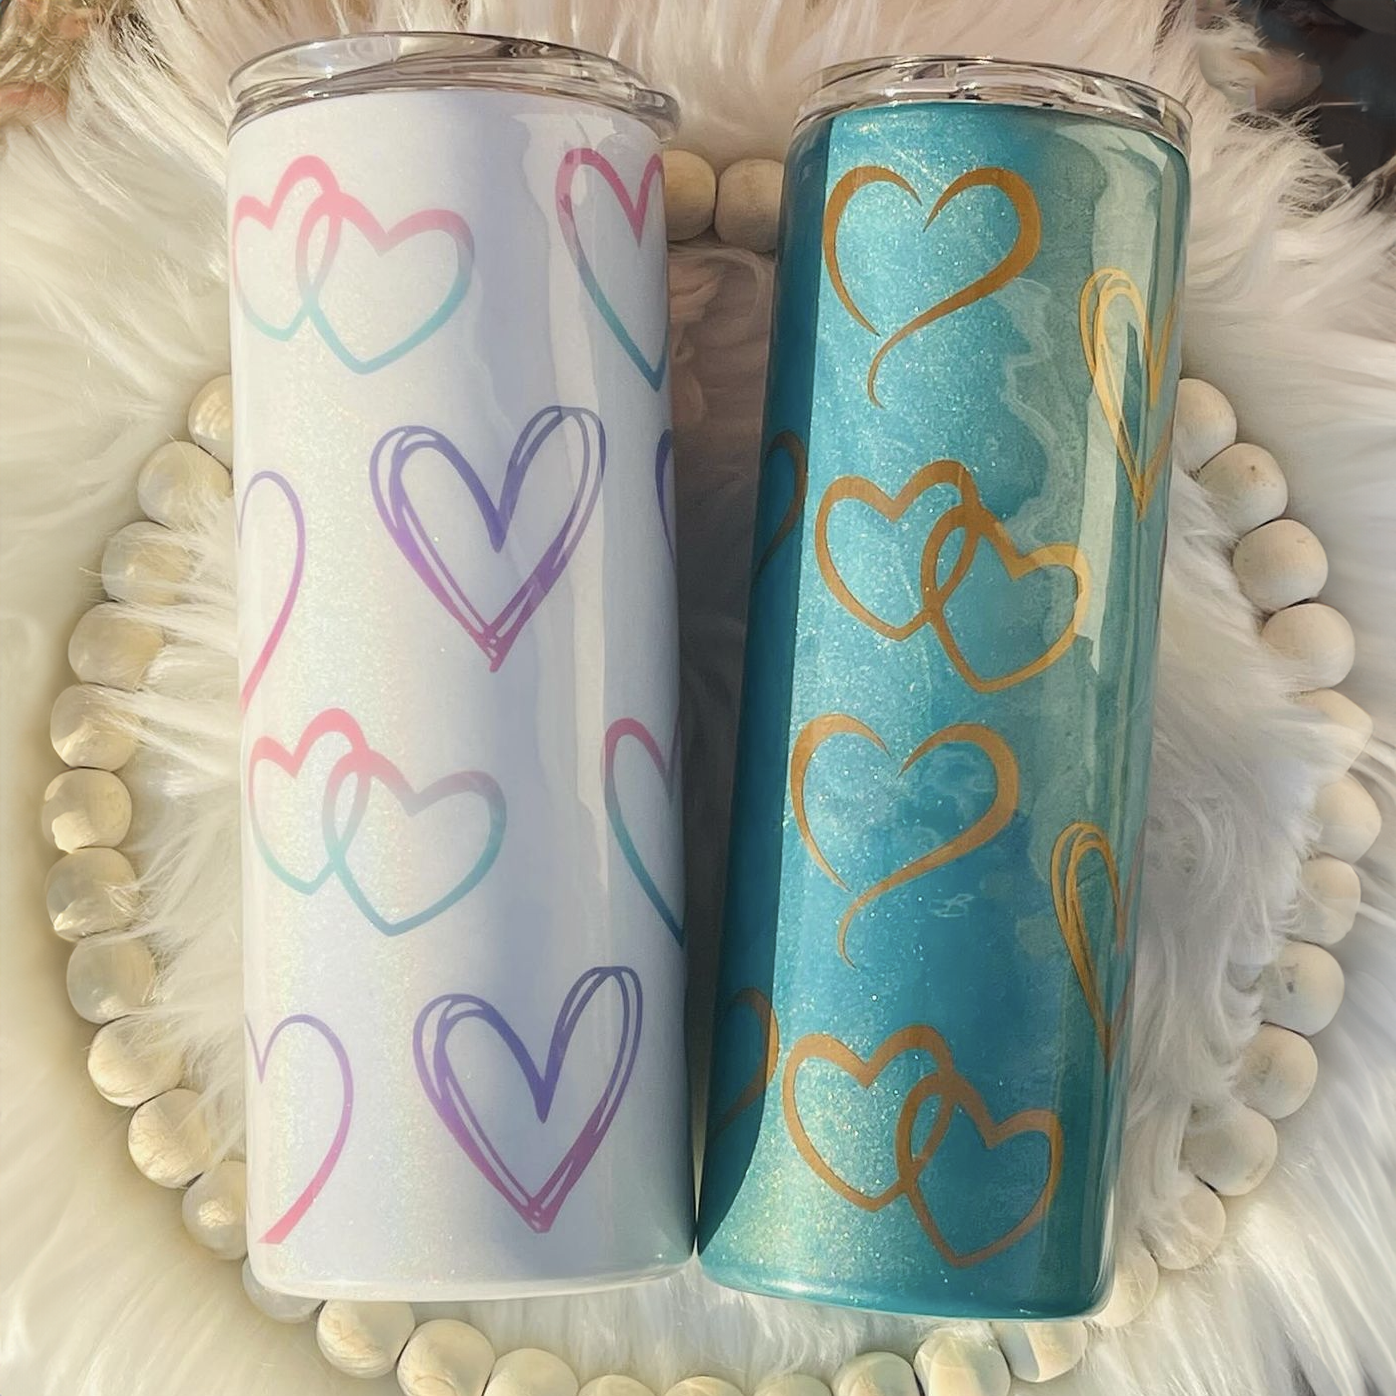
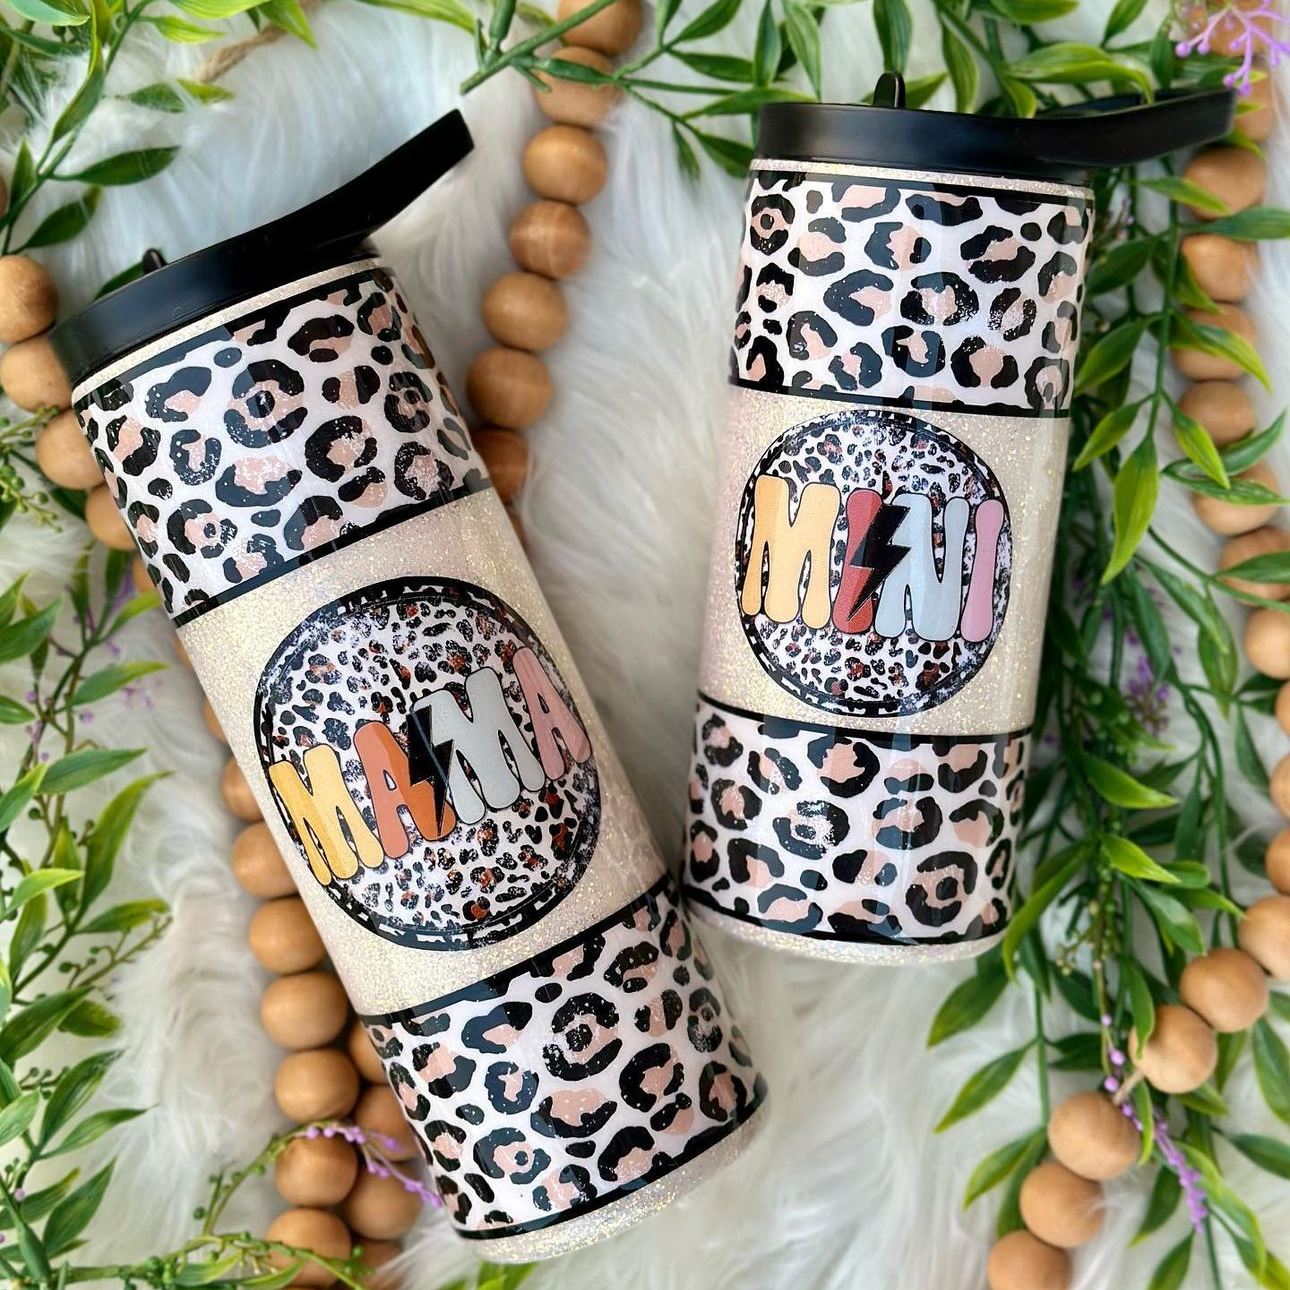
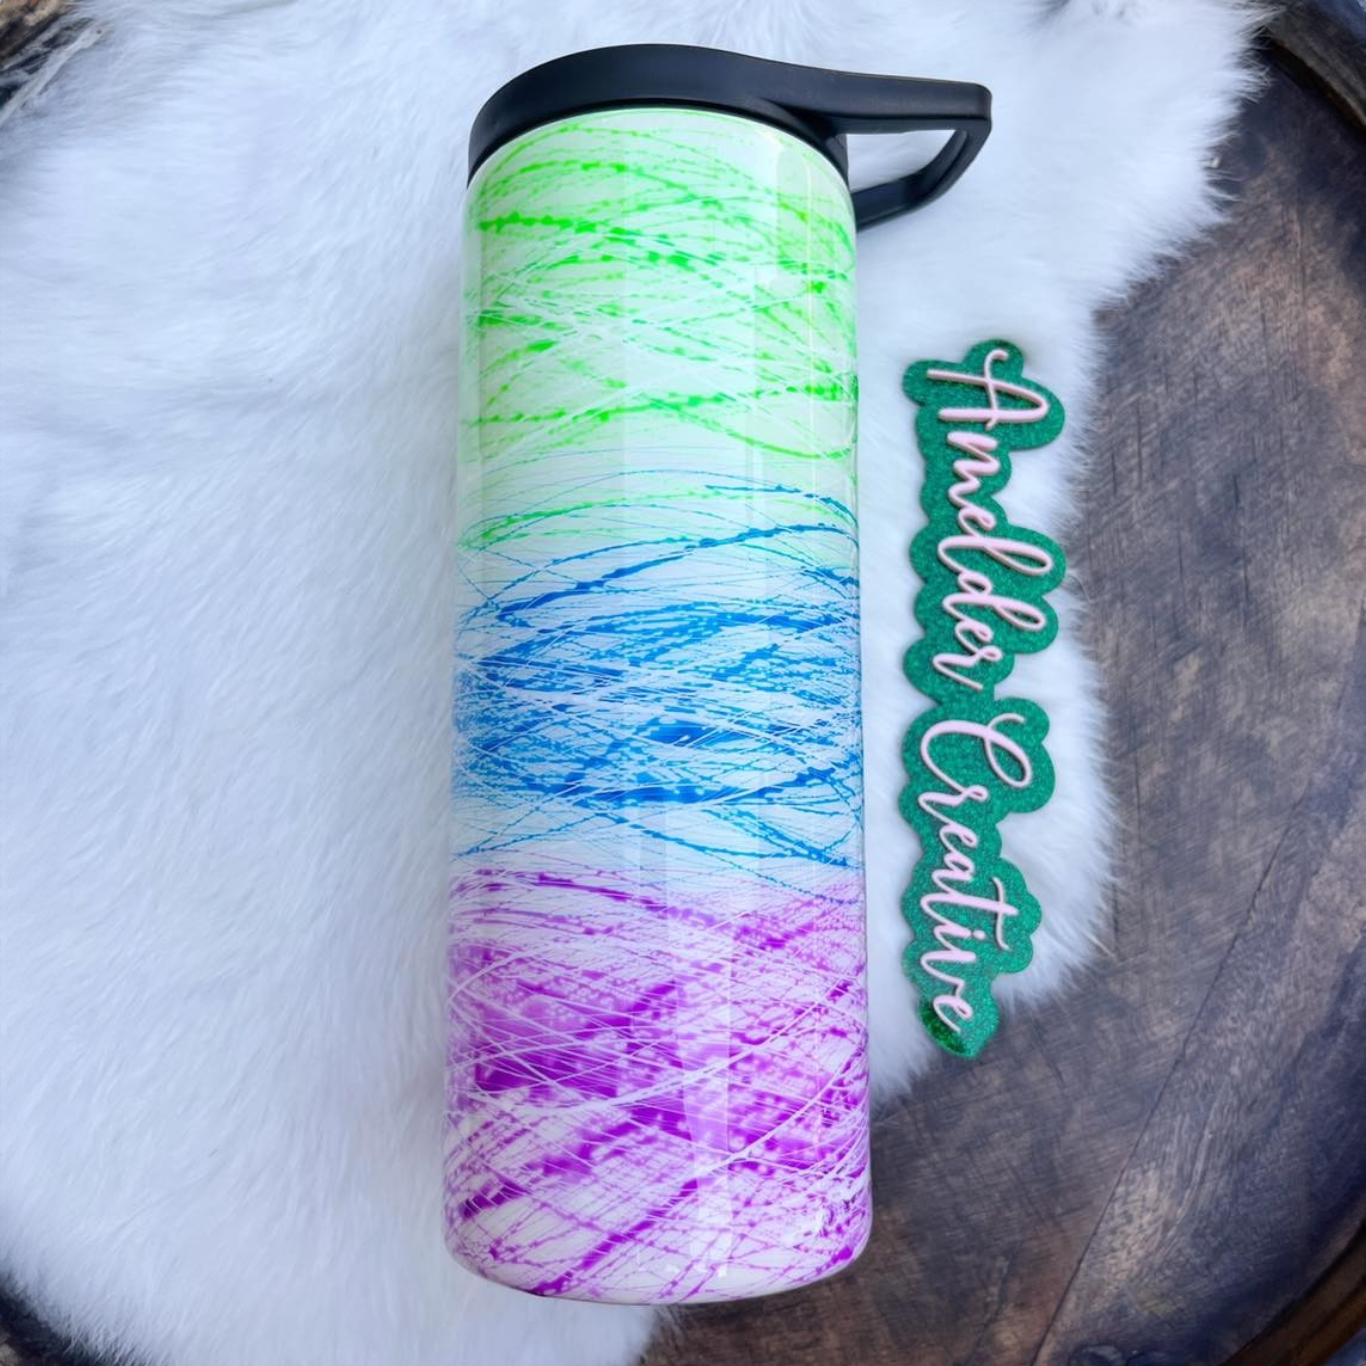
Sublimation is one of the most effective ways to create custom drinkware with bold, long-lasting designs. While sublimation works for a variety of cup sizes, 40-oz tumblers offer more surface area, making them ideal for full-wrap designs and detailed graphics.
Many crafters and small business owners use 40-oz stainless steel tumblers with polymer coatings for sublimation, as they offer durable constructions and smooth surfaces that work well with sublimation ink. These tumblers are also popular for everyday use, so they're a strong option for selling custom products.
If you want to sublimate a 40-oz tumbler, you need the right setup and proper steps to achieve the best results. Larger tumblers require more surface coverage, consistent heat, and careful alignment to ensure the design transfers evenly.
In this guide, you will learn how to sublimate a 40-oz tumbler using both a sublimation oven and a tumbler heat press. You will also discover what supplies you'll need, how to size your design, and ways to avoid common mistakes.
With the right tools and techniques, you can create high-quality tumblers with a professional finish.
 Should I Use a Sublimation Oven or a Heat Press to Sublimate a 40-Oz Tumbler?
When sublimating a 40-oz tumbler, you have two equipment options for getting the job done: a sublimation convection oven or a heat press.
Both equipment methods rely on heat and pressure to embed designs into tumblers, but each has its own advantages and requires different application methods.
Before we unpack each process, let's explore the key differences between these machines, along with their benefits and drawbacks.
Using a Convection Oven For Sublimating 40-oz Tumblers
A sublimation oven is an effective way to customize 40-oz tumblers. When you prepare your tumblers correctly, the machine will heat them evenly from all sides, creating a smooth, consistent finish. This method works well for full-wrap designs on sublimation tumblers, especially when you need even coverage across the cup surface.
Some of the key benefits of using an oven include:
-
Provides even heat across the entire surface
- Works well for full-wrap sublimation designs
- Designed to handle larger tumblers
Because the oven surrounds the tumbler with heat, it reduces the risk of uneven transfers. This makes it a reliable option for both beginners and experienced crafters working with larger drinkware.
While this method is effective, it still has some drawbacks that are important to know, including:
- Needs shrink wrap or silicone wrap to hold the design tightly
- You may need to rotate the tumbler for consistent results
- Requires careful monitoring
These drawbacks can be inconvenient, but using a convection oven for 40-oz tumblers is still the best choice for many crafters. With the right setup, you can use this device to produce consistent, high-quality results.
Using a Heat Press for 40-oz Tumblers
You can use a tumbler heat press to apply heat and pressure directly to a 40-oz tumbler. This method relies on direct contact between the heating element and the tumbler surface, allowing for controlled transfers.
A heat press offers a more controlled environment. It allows you to manage temperature and pressure settings, helping you produce consistent results when the tumbler fits the machine properly.
Overall, the main benefits are:
- Fast heating and controlled pressure
- Consistent results in pressed areas
- Often more affordable than ovens
- No need for shrink wrap
While there are many benefits to using a heat press, it's critical to note that most heat presses are not large enough for 40-oz tumblers. Standard presses typically only accommodate tumblers up to 30 oz.
If you do have a heat press large enough for 40-oz tumblers, there are still some drawbacks to be aware of, including:
- Fast heating and controlled pressure
- Consistent results in pressed areas
- Often more affordable than ovens
- No need for shrink wrap
These limitations require more careful handling when working with larger tumblers. Still, with proper alignment and technique, you can achieve professional results if your heat press accommodates oversized tumblers.
Which Method Is Better for 40-oz Tumblers?
The heating method that's right for you depends on your machine's size. As we've seen, most tumbler heat presses do not accommodate 40-oz tumblers, meaning the sublimation oven is the better choice.
Additionally, most heat presses cannot apply even pressure to tumblers with handles, so an oven is usually the better choice if your tumbler has a non-removable handle.
Still, if your tumbler features a removable handle and your heat press is large enough, it can deliver consistent pressure and controlled heat across the surface. This allows you to maintain steady contact between the heating element and the tumbler, improving transfer quality while reducing variation between projects.
Both a heat press and a sublimation oven can produce professional results when used correctly. A convection oven provides even heat coverage, while a properly sized heat press delivers direct pressure and controlled settings. Choosing between them will depend on your preferences and budget.
Now that you understand the equipment for sublimating 40-oz tumblers, let's unpack what you'll need to achieve stunning custom designs.
 What Do You Need to Sublimate a 40-oz Tumbler?
Before starting, you'll need supplies and equipment to ensure a smooth sublimation process. Using the right materials will help ensure your design transfers evenly and your final product looks professional.
Here’s what you’ll need for a successful project:
-
Design Software: Use design programs like Canva, Adobe Illustrator, or CorelDRAW to create and size your artwork. Proper sizing ensures full coverage and accurate alignment during sublimation.
-
Sublimation Printer and Ink: You need a dedicated sublimation printer with compatible sublimation ink to produce transfers. These inks convert to gas at high temperatures and bond with the tumbler's coated surface.
-
Sublimation Paper: Specialized sublimation paper holds the printed design and releases the ink during heating. Using high-quality paper helps improve color accuracy and transfer results.
-
Sublimation Oven or Large Heat Press: Use a convection oven or a heat press that fits a 40-oz tumbler to apply heat. Both methods transfer the design into the tumbler coating when you use the correct temperature and timing.
-
Sublimation Blanks: Choose high-quality tumblers with a coated surface. Stainless steel tumblers are popular for sublimation because they are durable and insulated.
-
Heat-Resistant Tape: Secure your design with strong heat-resistant tape to prevent shifting or wrinkles during heating.
-
Heat-Resistant Gloves: Wear heat-resistant gloves when handling hot tumblers after sublimation. These gloves protect your hands and allow you to safely remove the wraps.
-
Shrink Wrap or Silicone wrap (only for sublimation ovens): Apply shrink wrap or silicone wrap around the tumbler to create even pressure. This keeps the design tight against the surface during heating if you're using a sublimation oven.
Having the right equipment and materials before you start will help you achieve a smooth workflow and professional results. With the right supplies and tools, you can create stunning custom 40-oz tumblers.
Making Designs for 40-oz Tumblers
Creating the right design is an important step in sublimating a 40-oz tumbler. A well-prepared design ensures colors transfer clearly and the final product looks professional.
The first step to craft the perfect design is to size it correctly for your tumbler.
What Size Sublimation for 40-oz Tumbler?
Sizing your design correctly to your tumbler is crucial for a clean transfer. A 40-oz tumbler has a larger surface area than standard sizes, so it's important to measure your tumbler carefully before printing.
Consider the following:
-
Tumblers may be straight or slightly tapered. Measure the circumference at the widest point.
-
Handles affect wrap placement. If you're using a 40-oz tumbler with a handle, account for the space around the handle so the design doesn’t distort.
-
Typical wrap dimensions vary by tumbler shape and brand. Check the manufacturer’s specific dimensions if they're available.
By having the right supplies and properly sizing your design, you set yourself up for a smooth sublimation process and more consistent finishes for each of your 40-oz tumblers.
Next, let's explore some design tips for getting professional printing results.
Tips for Making Professional Designs
Designing for a 40-oz tumbler requires careful planning to ensure your artwork transfers cleanly and fits the surface correctly.
When making designs, keep these tips in mind:
-
Use High-Resolution Images: Images should be at least 300 DPI to prevent blurring during transfer.
-
Mirror Your Design: Designs need to be reversed before printing so they appear correctly on the tumbler.
-
Consider Wrap Placement: Plan where text, logos, or graphics will appear on the tumbler. Keep in mind that you'll need to trim the wrap if the tumbler has a non-removable handle.
-
Include Bleed Areas: Extend your design slightly beyond the edges to avoid blank spots at the seams.
Design software like Adobe Illustrator, Photoshop, CorelDRAW, and Canva can help create precise designs. You can also use 40-oz tumbler wrap templates to make the layout easier and ensure your graphics fit the tumbler perfectly.
 How to Customize a 40-oz Tumbler Using a Sublimation Oven
Sublimating a 40-oz tumbler in an oven is a reliable way to achieve full-wrap, professional designs. The oven distributes heat evenly and can fit larger tumblers.
Follow these steps for the best results:
-
Preheat the Oven: Set your sublimation oven to the manufacturer's recommended temperature. Preheating ensures consistent heat from the start.
-
Remove the Handle, If Possible: If your tumbler has a removable handle, remove it before applying your design. This allows for a smooth, full-wrap transfer and prevents warping around the handle area.
-
Prepare the Tumbler: Ensure your tumbler is clean, dry, and free of dust or oils.
-
Apply Your Design with Heat-Resistant Tape: Wrap the printed design carefully around the tumbler. When wrapping a tumbler with a handle, trim your design to fit around the handle. Secure it tightly with heat-resistant tape to avoid shifting during heating.
-
Use Shrink Wrap or Silicone Wrap: Wrapping the tumbler helps ensure even contact between the design and the tumbler surface, preventing air bubbles or wrinkles.
-
Place the Tumbler in the Oven: Position the tumbler in the center of the oven rack. Ensure it does not touch the sides to allow even airflow.
-
Monitor the Sublimation Process: Check the tumbler periodically to ensure the wrap stays in place. Depending on your oven, you may need to rotate the tumbler halfway through heating to maintain even color transfer.
-
Remove the Tumbler Carefully: Use heat-resistant gloves to lift the tumbler out of the oven. The surface will be hot, and direct contact can cause burns or smudges in the design.
-
Allow the Tumbler to Cool: Let the tumbler cool completely before removing the wrap. Cooling prevents the design from shifting or distorting.
-
Inspect the Design: Once the tumbler cools, remove the wrap and check your design. The colors should be vibrant and fully transferred, with smooth coverage across the tumbler surface.
Following these steps helps ensure a smooth transfer and a clean finish. With the right supplies, preparation, and execution, you can create consistent, high-quality designs on any 40-oz sublimation tumbler.
 How to Sublimate a 40-oz Tumbler with a Heat Press
Using a tumbler heat press can be effective if your machine is large enough for 40-oz tumblers. It can provide even pressure and consistent heat across the tumbler, achieving professional results with ease.
Follow these steps to sublimate a tumbler using a heat press:
-
Preheat the Heat Press: Set the press to the recommended pressure and temperature settings according to the equipment manufacturer's instructions. Allow the press to reach the proper temperature before inserting the tumbler.
-
Remove the Handle: Remove the handle if the tumbler design allows it. This ensures full contact with the heating element and prevents uneven pressure during pressing.
-
Prepare the Tumbler: Clean and dry the tumbler thoroughly to remove dust, oils, or other residue that could affect the transfer.
-
Apply Your Design with Heat-Resistant Tape: Wrap the printed design tightly around the tumbler and secure it with heat-resistant tape to prevent shifting during pressing.
-
Place the Tumbler in the Press: Insert the tumbler carefully. Make sure it is centered and stable. The press should apply even pressure across the entire surface.
-
Start the Transfer Process: Close the press and follow the manufacturer's time guidelines. Most 40-oz tumblers require slightly longer heating times than smaller sizes due to their greater surface area.
-
Rotate the Tumbler: Open the press and rotate the tumbler as needed to ensure all sides receive even heat and pressure. Realign carefully before continuing the next press cycle.
-
Remove the Tumbler Safely: Use heat-resistant gloves to remove the tumbler. The surface will be extremely hot. Avoid touching it directly.
-
Cool and Inspect: Let the tumbler cool completely before removing the sublimation wrap. Check the transfer for even color and full coverage.
If your heat press supports 40-oz tumblers, it can deliver even pressure and controlled heat. You can achieve professional results with proper preparation, placement, and timing.
Common Problems When Sublimating a 40-oz Tumbler
Sublimating a 40-oz tumbler can lead to stunning results, but some crafters make mistakes when they're first starting out. Identifying common issues beforehand can help you prevent errors and ensure consistent designs.
Some of the most frequent problems are:
-
Uneven Color Transfer: Occurs when the tumbler is not wrapped tightly, or the heat source does not reach all areas evenly. It's also important to note that handles can create uneven color or smudges if the design isn’t properly positioned.
-
Wrinkles or Air Bubbles: Loose shrink wrap or poor adhesion allows air pockets to form between the design and the tumbler surface. These imperfections appear after sublimation and can ruin the finish.
-
Incorrect Temperature or Timing: Too much heat can fade colors or damage the coating. On the other hand, insufficient heat can lead to incomplete or dull sublimation results.
-
Shifting Designs: If the tumbler is not secure in the oven or heat press, it may shift, causing smudges to the finished design.
-
Surface Contamination: Dust, oil, or fingerprints prevent ink from adhering properly. Always start with a clean, dry surface to avoid streaks or spots.
Proper preparation and careful monitoring during the sublimation process reduce the risk of these issues. Securing the design, using the correct temperature, and allowing the tumbler to cool fully ensure a vibrant, professional finish on every 40-oz sublimation tumbler.
 How to Sublimate a 40-oz Tumbler FAQs
What Are the Dimensions of a 40-oz Tumbler?
A standard 40-oz tumbler is approximately 3.5 inches in diameter at the base, 4.5 inches at the top, and around 9.5 inches tall, but the exact dimensions can vary by brand. Standard 40-oz tumbler dimensions are well-suited for full-wrap sublimation designs.
How to Choose a 40-oz Tumbler?
When selecting a 40-oz tumbler for sublimation, make sure it features a polymer coating specifically designed for sublimation printing. Additionally, select 304-grade stainless steel with double-wall vacuum insulation for maximum durability and temperature retention.
How to Clean a 40-oz tumbler?
It's best to hand-wash your 40-oz tumblers with soap and warm water, especially if you've already sublimated a design to the surface. Avoid abrasive scrubbing or using a dishwasher, as high heat and harsh detergents can damage the coating and the sublimated design.
Get 40-oz Stainless Steel Sublimation Tumblers Today
Sublimating a 40-oz tumbler takes careful preparation and the right tools. From cleaning and wrapping your tumbler to choosing between a convection oven or a large heat press, following each step ensures even color transfer and a smooth, professional design.
Whether you're getting started with sublimation or are an experienced crafter, you need high-quality sublimation tumblers to get the best results. The quality of your blank directly affects how well the design transfers, how vibrant the colors appear, and how durable the finished product will be. Choosing a properly coated sublimation tumbler helps ensure consistent results across every project.
If you're shopping for reliable sublimation blanks, get started with The Stainless Depot Company. We feature a wide selection of high-quality 304-grade stainless steel tumblers that are perfect for the sublimation printing process.
You can shop our selection of tumblers today, including our 40-oz Sublimatable Traveler Tumblers. These 40-oz tumblers are available for both individual sale and in bulk, making them ideal for creating custom drinkware for personal use, gifts, and for sale.
By choosing tumblers from The Stainless Depot Company, you can scale your drinkware production and craft breathtaking custom designs with confidence. Get started today with creating stunning tumblers you and your customers will love.