

If you’re ready to elevate your crafting projects or grow your creative business, learning how to heat press is a smart first step. You can use a sublimation heat press machine to apply consistent pressure and high heat to various blanks, making it easy to transfer long-lasting, professional-quality designs. Whether you’re customizing tumblers, t-shirts, mugs, or other sublimation products, mastering your heat press machine will help you produce stunning crafts.
To achieve vibrant, long-lasting results with your heat press machine, it's essential to understand the best practices for your specific substrate. Each blank has its own ideal time, temperature, and pressure settings. Additionally, different types of heat press machines may require unique techniques to ensure even transfers and professional-quality results.
In this heat press guide, you'll learn step-by-step instructions to help you get the best results with your machine, whether you're sublimating tumblers, mugs, shirts, hats, or stickers. We'll also unpack essential safety tips to follow before each use, along with answers to frequently asked questions to help you master the heat press process.
Introduction to Sublimation Heat Presses
A sublimation heat press machine is a must-have tool for anyone looking to create custom products. These devices are often used in the textile and drinkware industries because they produce more durable results than traditional methods, like screen printing, heat transfer vinyl (HTV), and other transfer methods.
The heat press works by using a heated platen to apply heat and pressure for a set amount of time. This process converts sublimation transfer ink into a gas, empowering crafters to bond their designs to substrates on a molecular level.
For the sublimation transfer process to work, your blank must be made of polyester fabric or have a polymer coating. Fortunately, there are plenty of quality polymer-coated blanks online for beginners and experienced crafters alike.
How to Set Up Your Heat Pressing Machine
Proper setup is essential for achieving successful heat transfer projects with your device. Here are critical steps to follow if you just purchased your heat press machine:
-
Unbox and Inspect Your Machine: Carefully unpack the device and check for any signs of damage from shipping.
-
Read the User Manual: Your heat press machine's manual should include important details, such as machine-specific settings, safety instructions, included components and accessories, and additional setup guidance.
-
Confirm All Components and Accessories Are Included: Make sure your machine arrived with all parts and accessories listed in the manual before moving forward.
-
Choose a Proper Workspace: Place your heat press machine on a sturdy, heat-resistant work surface that can safely support its weight and withstand the heat during use. Choose a well-ventilated workspace to ensure a safe crafting environment.
-
Plug In and Power on the Press Machine: Use a grounded outlet. Depending on the device, you may want to avoid using extension cords or power strips.
-
Adjust the Pressure: Utilize your device’s pressure knob to set the recommended setting for your specific project. Different materials will require you to increase or decrease pressure for optimal results.
-
Preheat the Heating Press Machine: Set the temperature according to the recommended sublimation heat press settings.
- Secure Your Transfer Design: Use heat-resistant tape to hold your sublimation transfer in place on the blank. This helps prevent shifting and helps avoid blurry or ghosted images.
Once your machine reaches the correct temperature and pressure settings, you’re ready to begin pressing and creating professional, custom designs.

Heat Press Safety Precautions
Safety should always be your number one priority when using your heat press machine. Follow these critical safety steps to prevent accidents and protect your workspace:
- Keep your heat press machine in a safe area, away from children and pets. Never leave the machine unattended while it's powered on.
- Ensure your workspace has sufficient ventilation to prevent overheating and reduce exposure to fumes released during pressing.
-
Always wear heat-resistant gloves when handling the heat press and freshly pressed materials to prevent burns. Both the heat platen and your blanks will be incredibly hot.
- Keep flammable materials away from your heat press while it's operating.
- Follow your heat press manufacturer’s instructions carefully to avoid accidents or damage.
- Turn off the machine when you've finished the heat transfer.
- Allow your heat press to cool completely before cleaning or moving it.
By taking these precautions, you can stay safe and protect your machine while enjoying the heat press process.

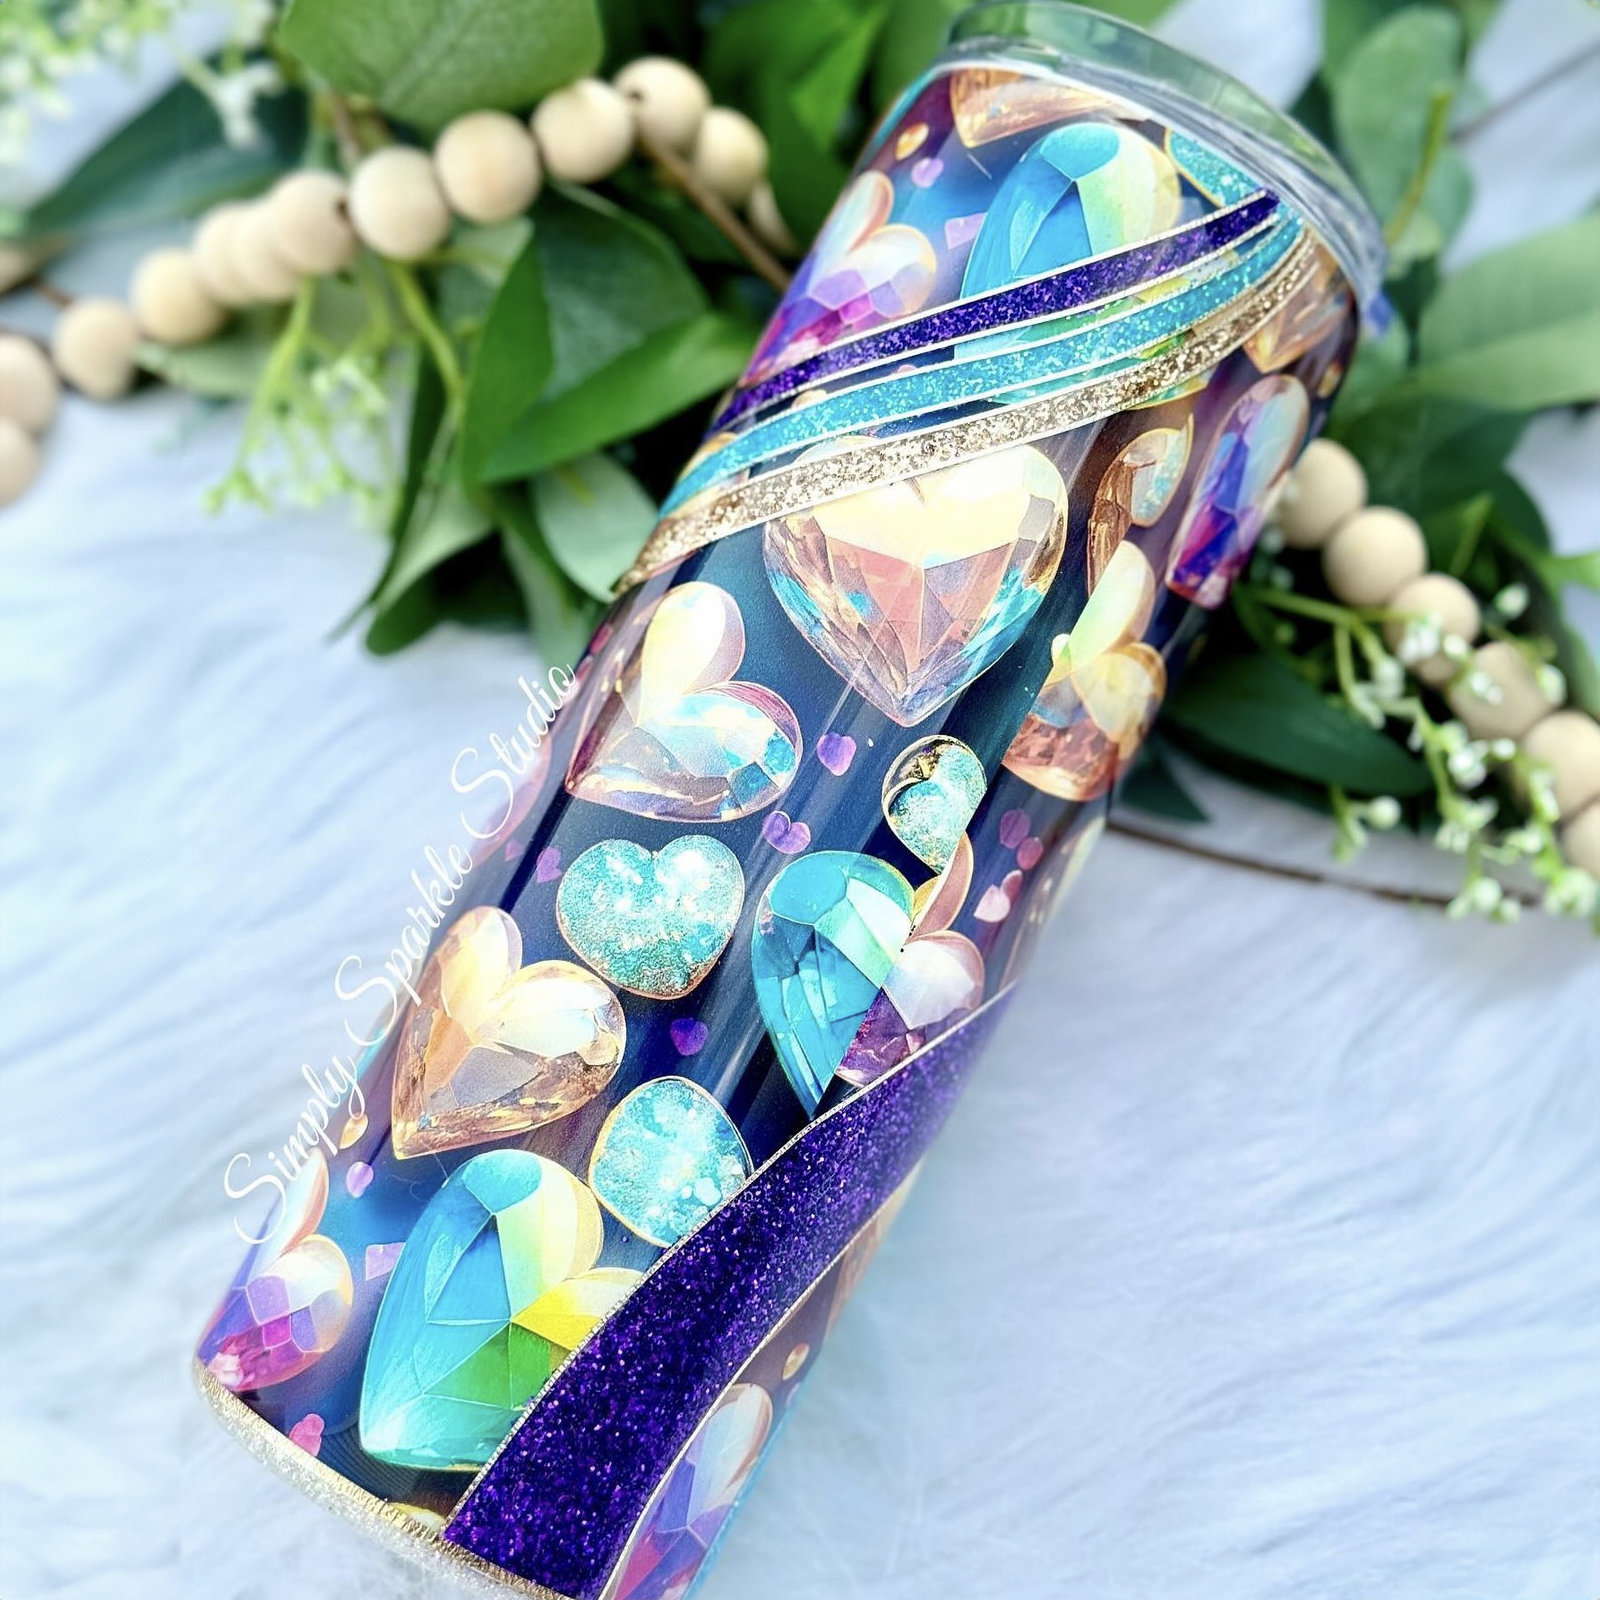
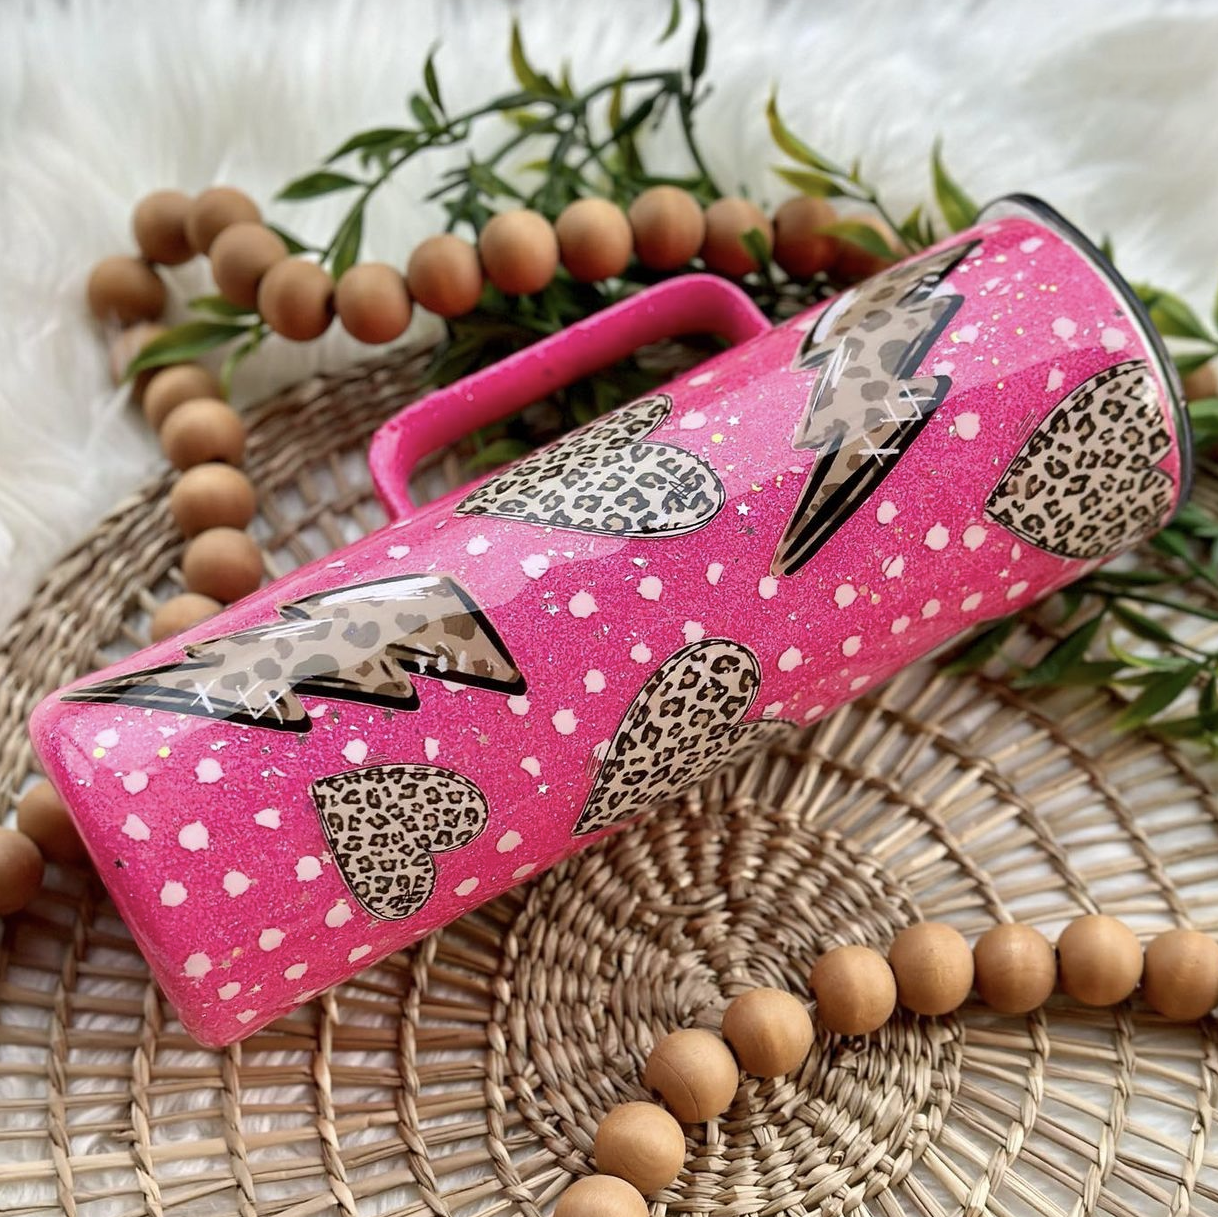
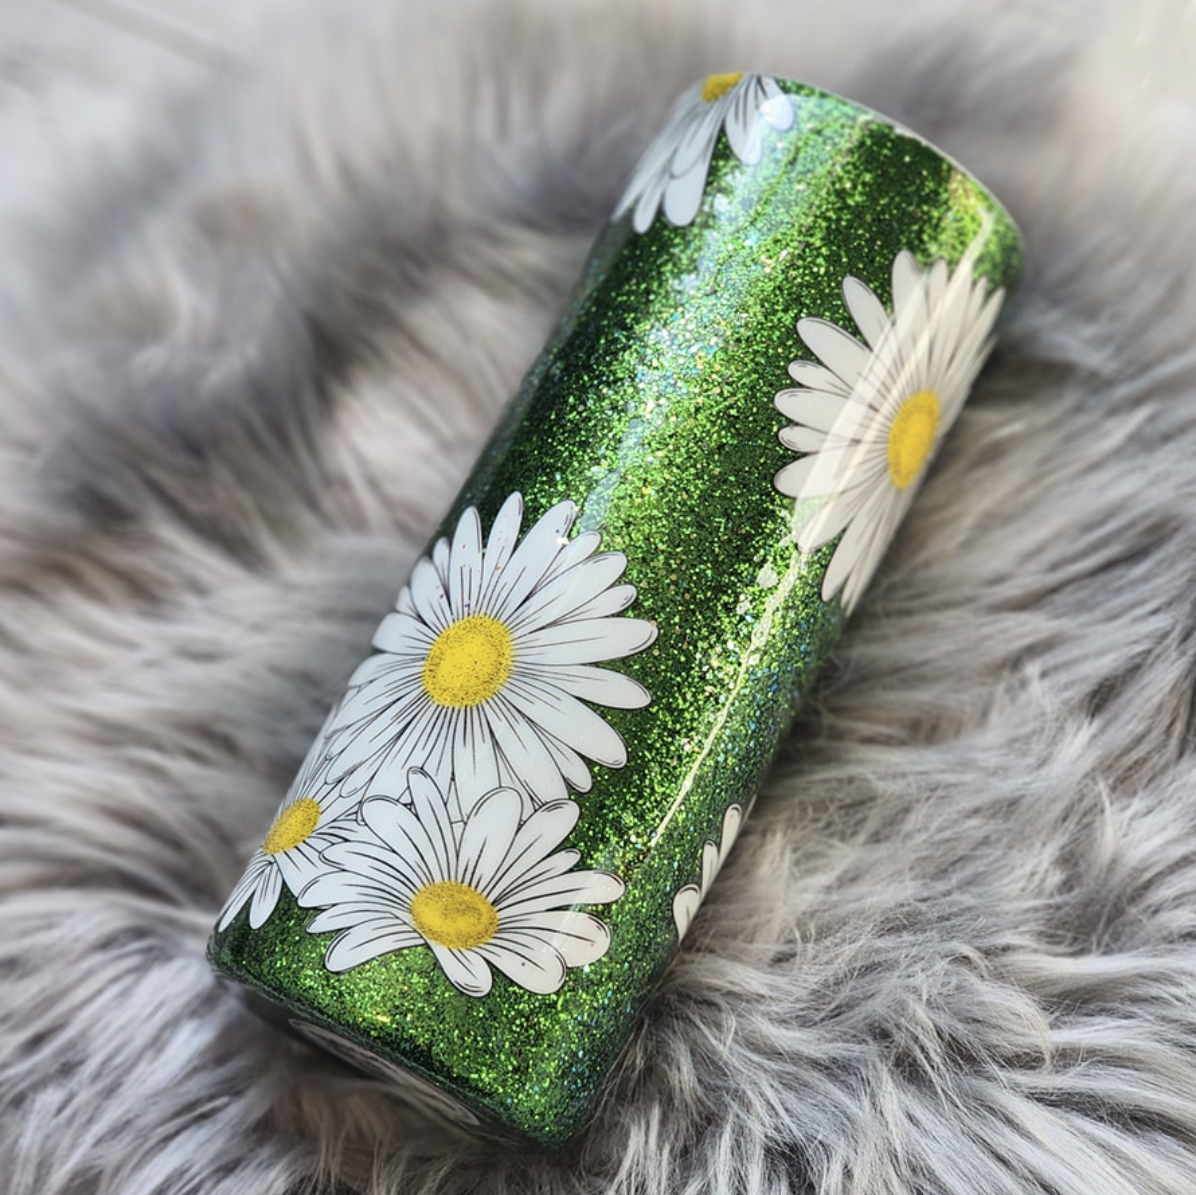
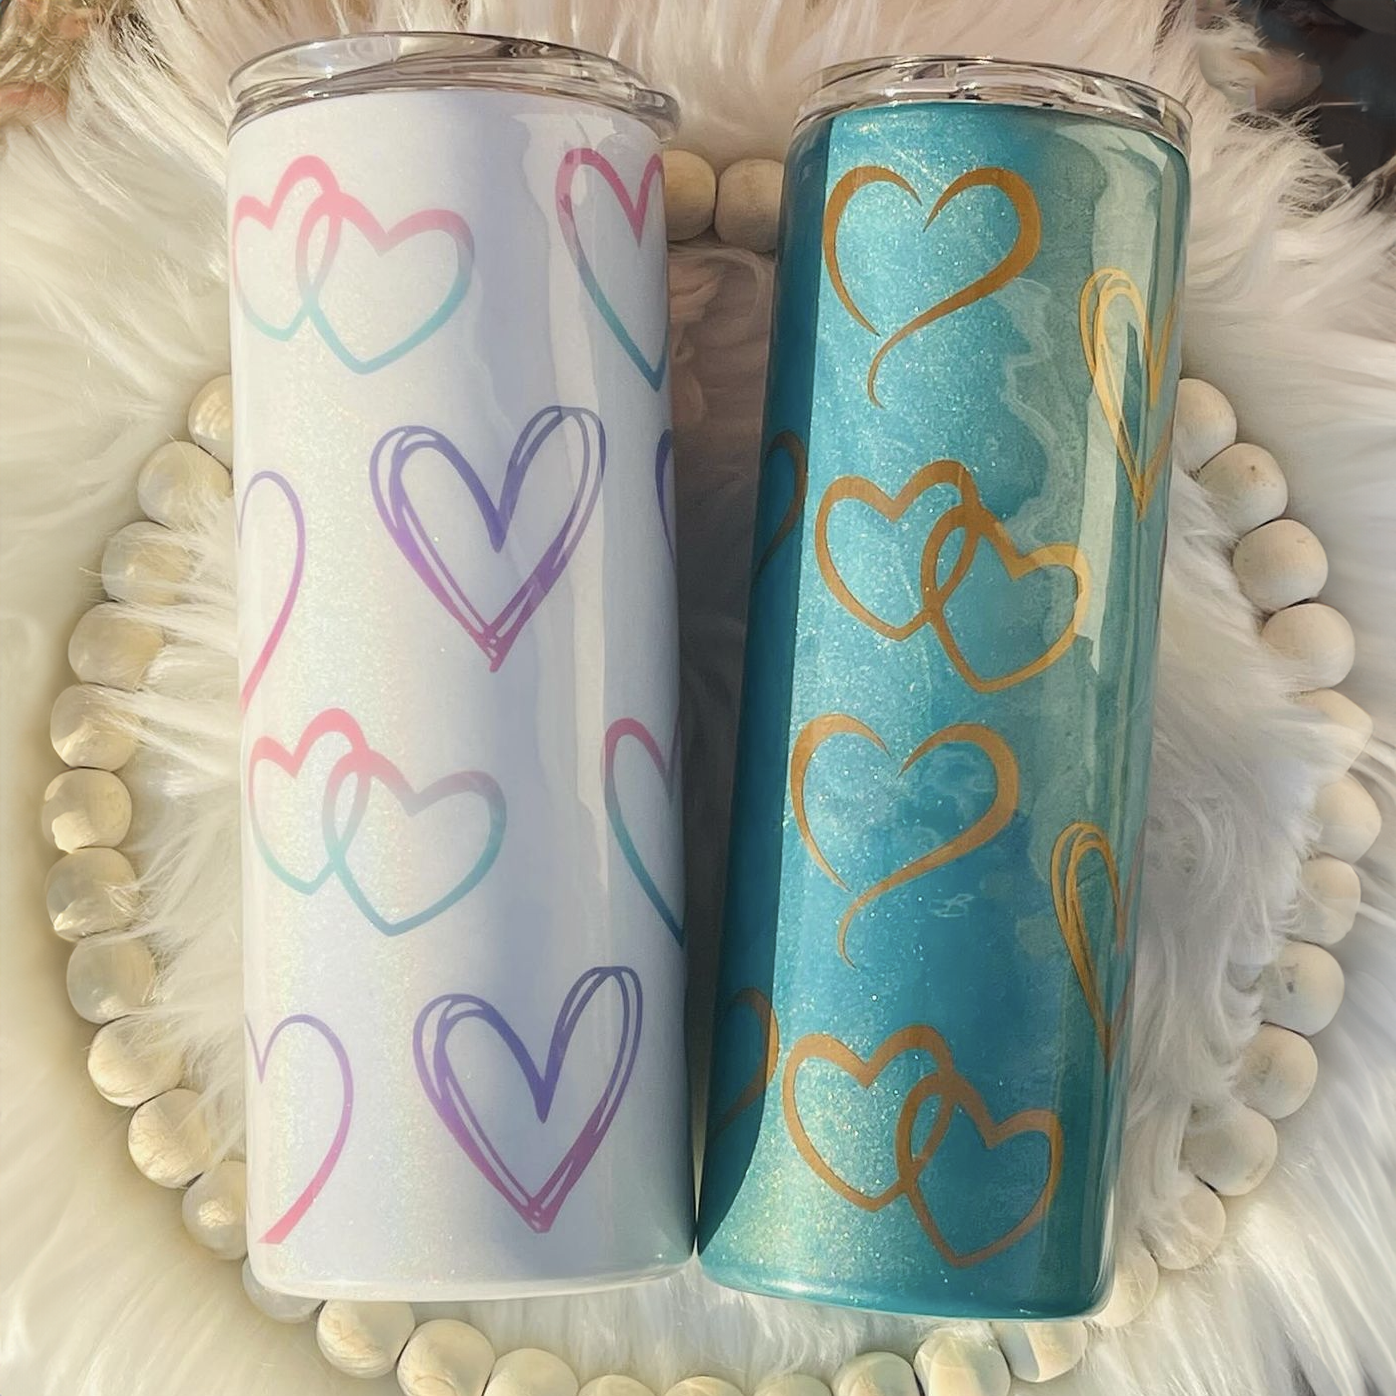
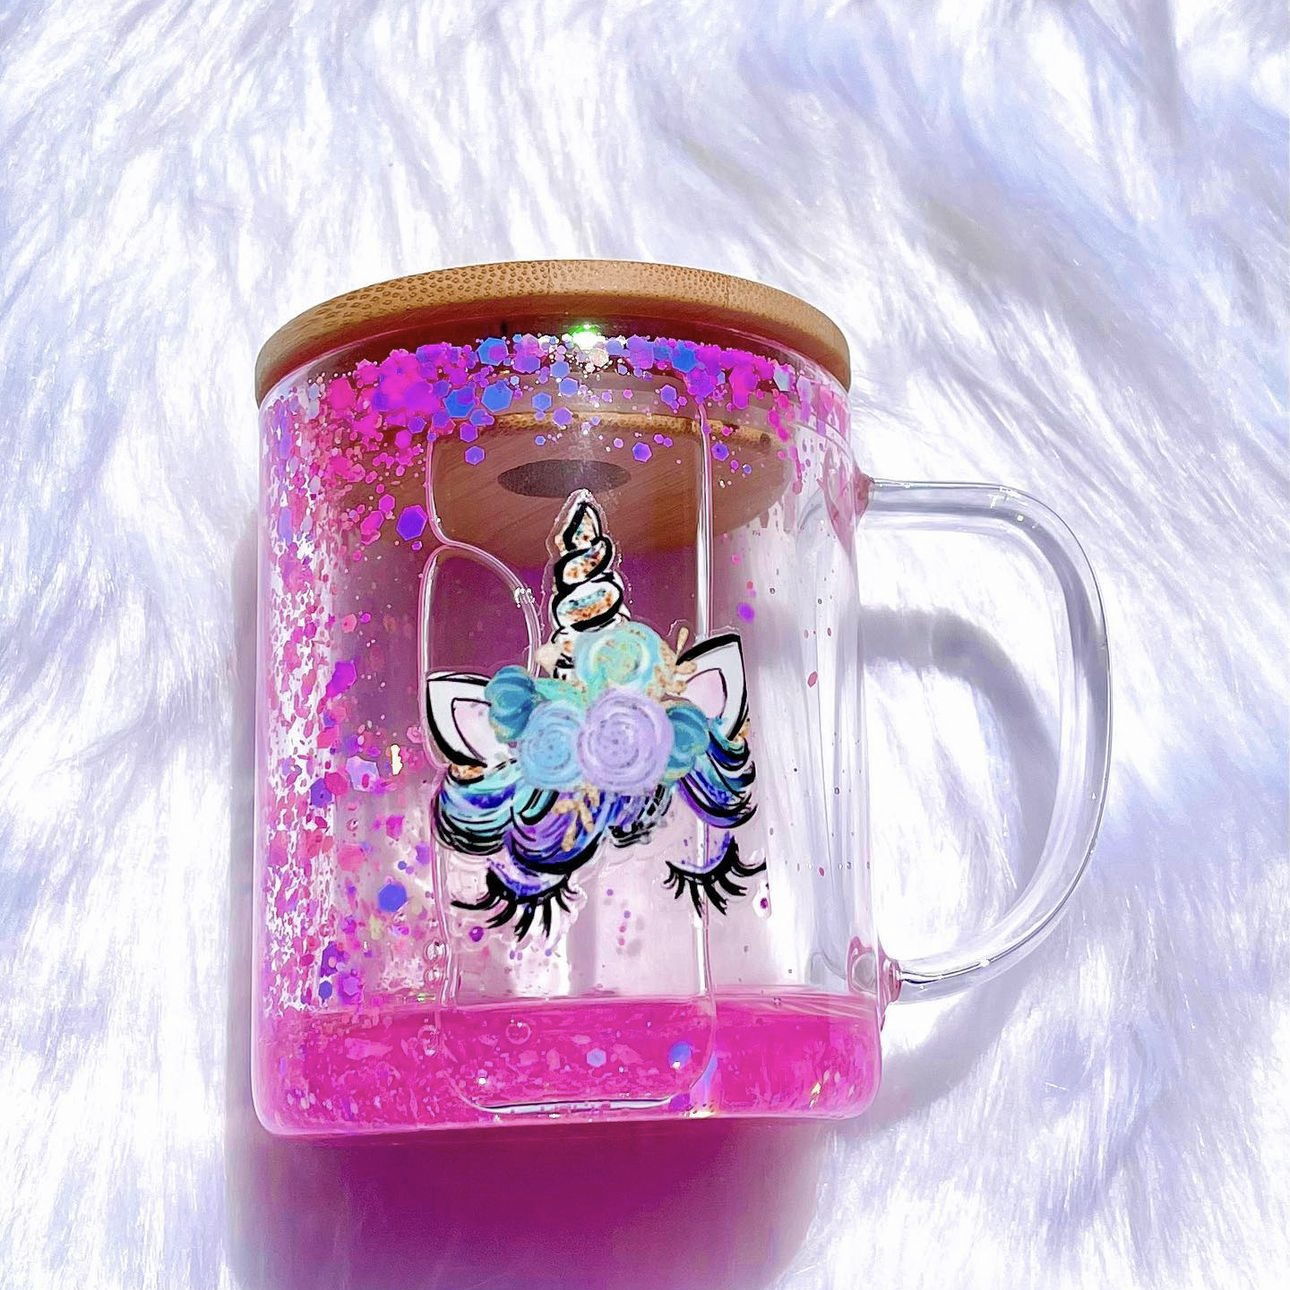
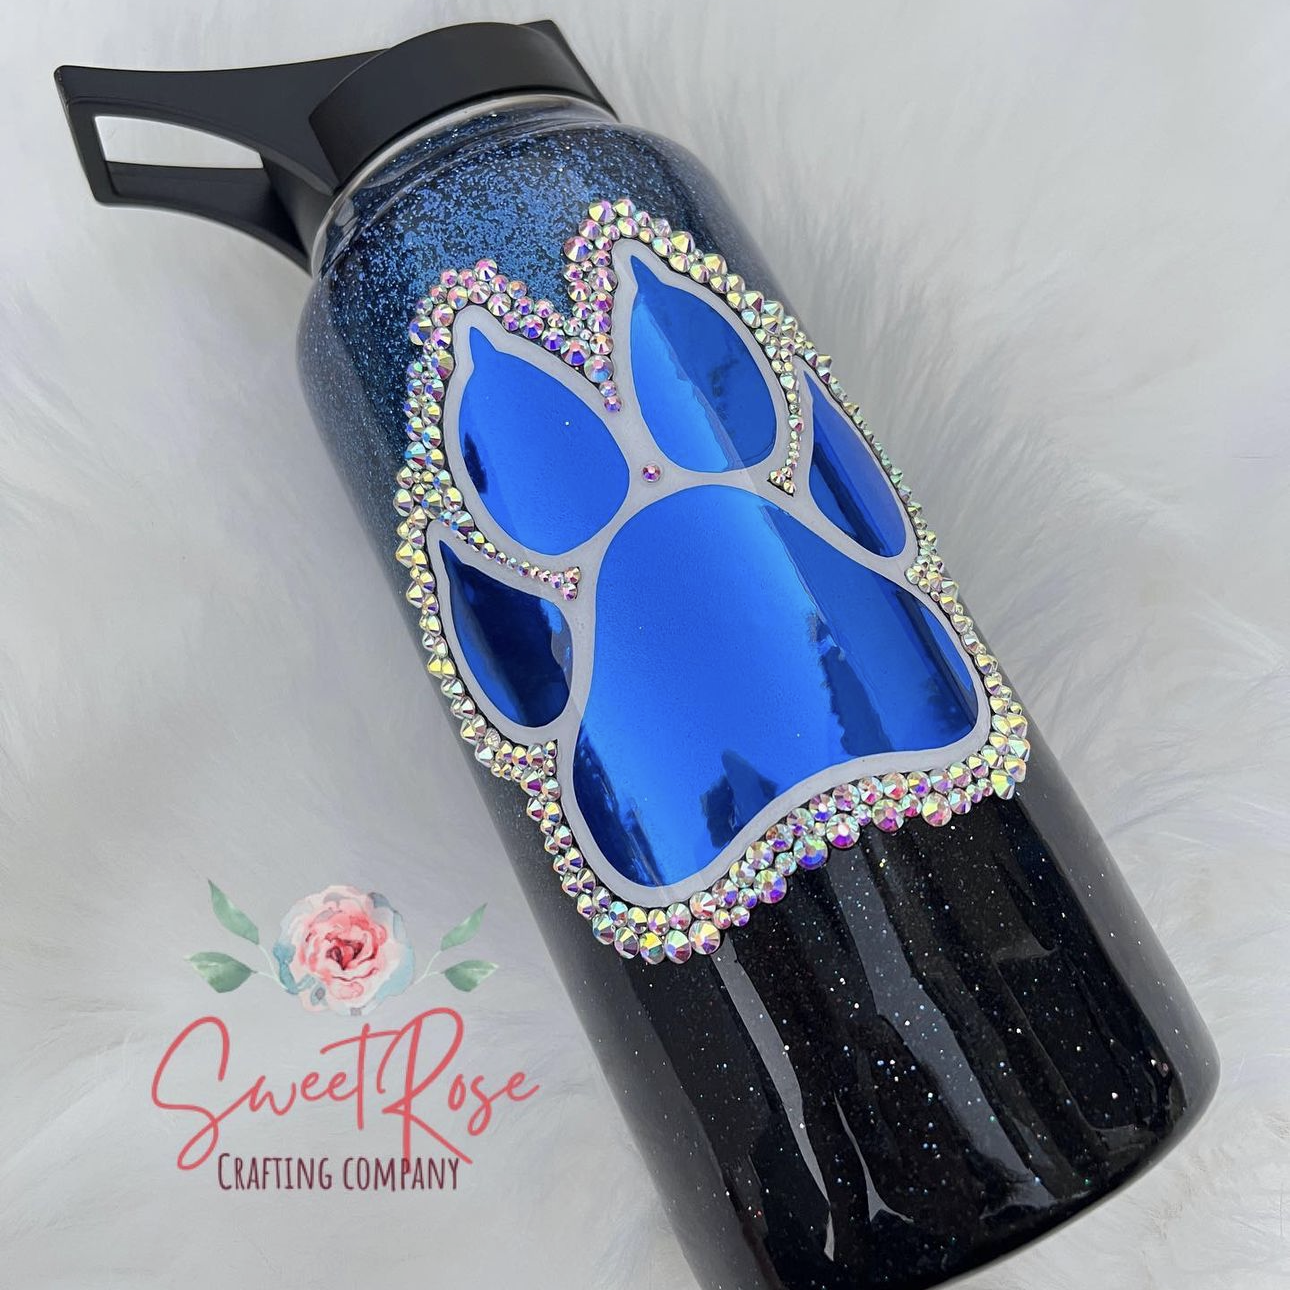
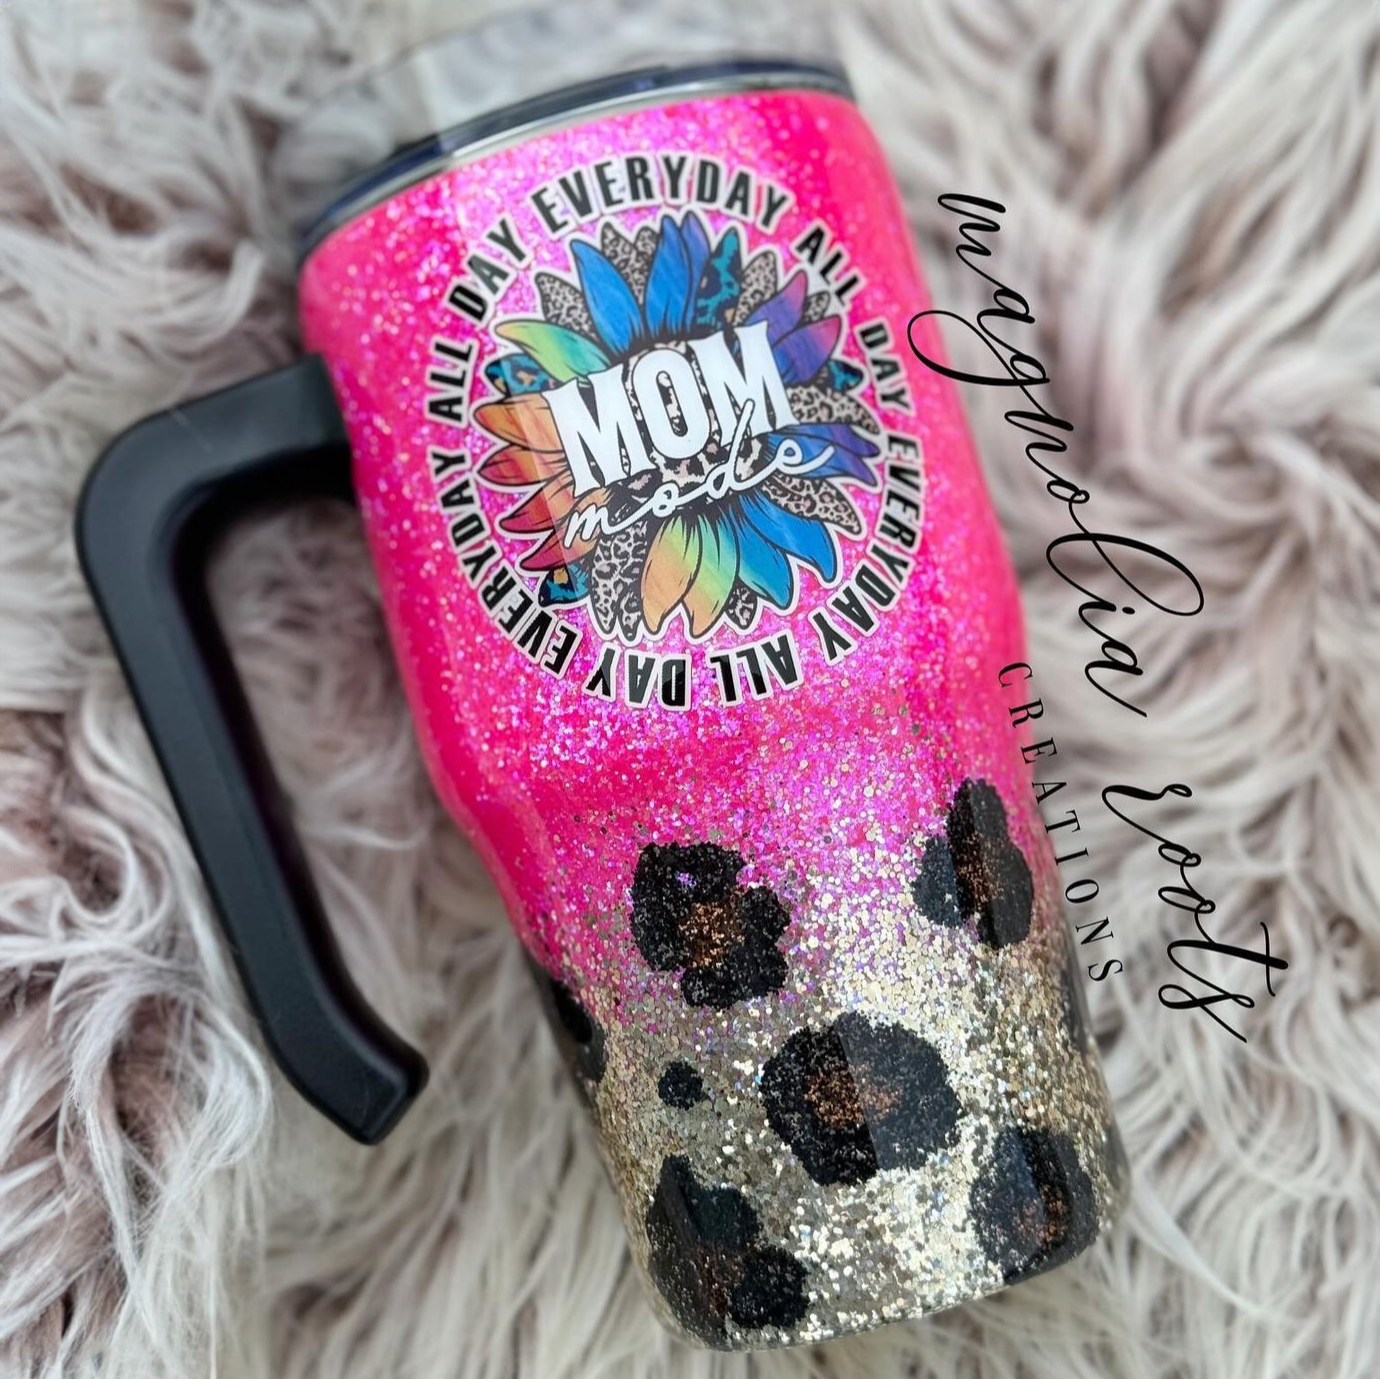
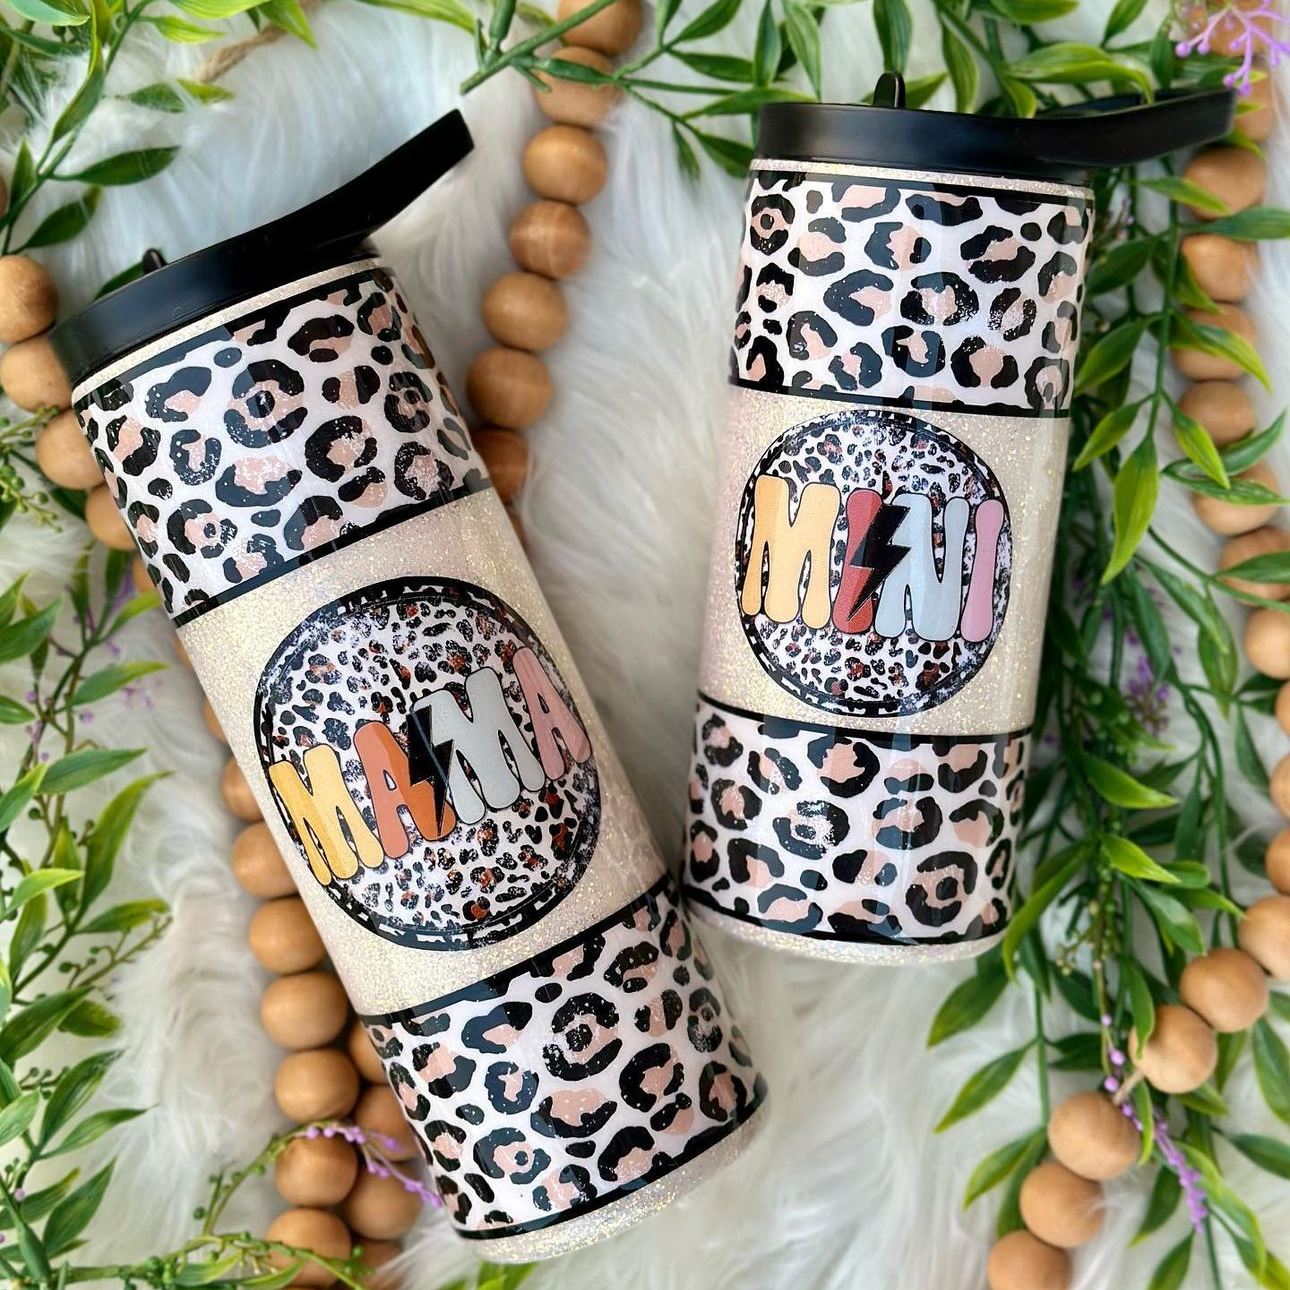
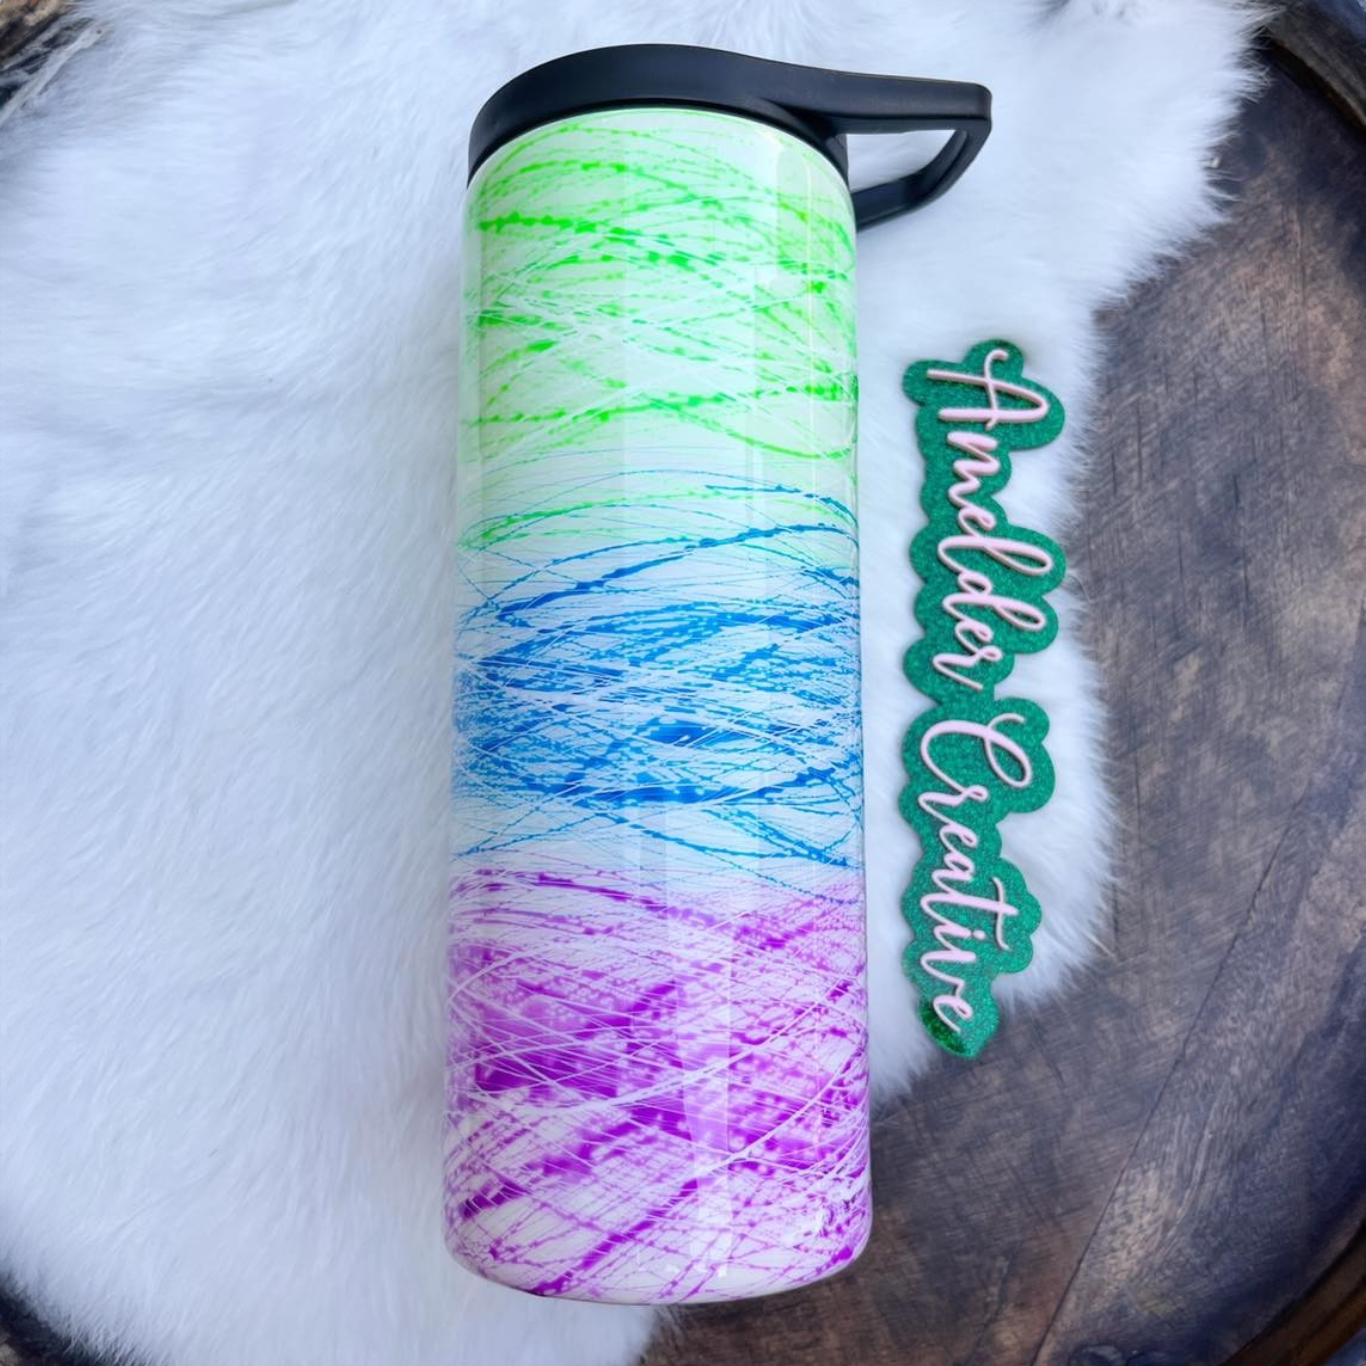
How to Use a Heating Press Machine for Sublimating Tumblers
Sublimating tumblers is a popular method for creating eye-catching custom drinkware. To achieve the best results, consider investing in a specialized tumbler heat press machine. These presses apply even heat and pressure around the tumbler's curved surface, which is difficult to achieve with a flat heat press or convection oven.
Follow these steps to create clean and stunning tumblers with your heat press:
Step 1: Clean and Prepare Your Tumbler Blank
Before wrapping, ensure your tumbler is clean and free from dust, oils, and fingerprints. Wipe the surface with a lint-free cloth and a small amount of rubbing alcohol, if needed. A clean surface ensures proper ink transfer and helps prevent blemishes.
Step 2: Wrap Your Tumbler with the Sublimation Print
Align your printed sublimation paper around the tumbler, pressing it tightly against the surface to eliminate air bubbles. Use heat-resistant tape to secure the seam, top, and bottom edges of the paper. A secure wrap helps prevent blurring, ghosting, and uneven color transfers.
Step 3: Preheat Your Heating Press Machine
Turn on your tumbler press and preheat it to the recommended temperature for your blank. Most sublimation tumblers press best between 350°F and 380°F; however, always refer to the blank manufacturer’s instructions for specific details.
Step 4: Insert and Press the Tumbler
Place the wrapped tumbler into the press, ensuring it fits snugly for complete contact. Close the press to apply firm pressure and start the timer for 45 seconds. If the colors on your sublimation prints appear faded, you may need to increase pressure, time, or temperature settings for better results.
Step 5: Rotate and Press Again
After the first press, rotate the tumbler 180°. Press the opposite side for another 45 seconds.
Step 6: Remove the Tumbler
Using heat-resistant gloves, remove the tumbler from the press and place it on a heat-safe surface. Avoid touching the printed area while it's hot. You should also let it cool for a moment before removing the transfer paper, but peel it off while the tumbler is still warm. This will help lock in the vibrant colors and ensure a polished, long-lasting finish.
With the right technique and tools, you can create stunning custom tumblers that are perfect for personal use or selling in your small business.
How to Use a Heat Press Machine to Decorate Ceramic Mugs
Using a heat press machine to craft sublimation mugs is a great way to create personalized gifts or products for your business. If you don't have a dedicated mug press, it's best to use a press with a curved platen that's suitable for ceramics, such as a tumbler press.
Here's how to get professional results using a mug press machine:
Step 1: Clean and Prepare the Mug Surface
Before applying your design, make sure your polymer-coated ceramic mug is clean and free from dust, oils, and fingerprints. Wipe the outside thoroughly with a lint-free cloth and a little rubbing alcohol to ensure an optimal heat transfer. Let it dry completely before wrapping.
Step 2: Wrap the Mug with Sublimation Paper
Carefully wrap the sublimation transfer sheet around your mug. Secure it with heat-resistant tape along the seam and around the top and bottom edges.
Step 3: Preheat Your Mug Press
If you have a dedicated mug press machine, set it to the device's recommended temperature for ceramic blanks, typically between 350°F and 400°F. Always check the manufacturer’s instructions for both your mug and heat press for the most accurate settings.
Step 4: Insert the Mug into the Press
Carefully place the mug into the press. Make sure the wrapped paper makes full contact with the mug’s surface. Close the press securely and apply firm pressure for around 140 seconds.
Step 5: Remove and Cool the Mug
Use heat-resistant gloves to remove the mug from the press. Set it on a heat-safe surface and let it cool for five to ten minutes before removing the sublimation paper.
Step 6: Peel and Reveal Your Design
After the mug cools slightly, peel away the tape and sublimation paper to reveal your vivid, custom-printed design. Your sublimated mug is now complete and ready to be stored or sold.
How Do You Use a Heat Press Machine to Design Custom Shirts?
Using a heat press machine is one of the easiest and most effective ways to craft long-lasting, professional-quality apparel. To get started, it's best to use a clamshell press or a swing-away press, as it provides consistent pressure and heat across your fabric.
Here are critical steps for making vibrant sublimation shirts:
Step 1: Choose the Right Fabric Material
Using a heat press machine to create custom sublimation shirts requires the right fabric. You'll need to use polyester or a fabric blend with a high polyester content. The higher the polyester, the brighter and more vibrant the image. For more striking results, use light-colored or white shirts, as sublimation ink does not print white and works best on light-colored surfaces.
Step 2: Prepare Your Shirt for Pressing
Before pressing, use a lint roller to remove any dust, lint, or debris from the shirt surface. This helps prevent imperfections in your final design.
Step 3: Preheat the Heat Press Machine
Adjust your heat press temperature and pressure settings based on your shirt's fabric material:
- 100% Polyester: 385°F to 400°F
- 50/50% Polyester-Cotton Blends: 300°F to 350°F
Step 4: Pre-Press Your Shirt
Lay your shirt flat on the heat press platen and pre-press it for 5-10 seconds. This will remove moisture and wrinkles, allowing for a smoother ink transfer without imperfections.
Step 5: Position Your Design
Place your sublimation transfer paper, printed with your mirrored design, carefully on the shirt where you want the image to appear. Use heat-resistant tape to hold the paper in place and prevent shifting during pressing.
Step 6: Press the Shirt
Once your design is secured, place a sheet of butcher paper on top of the shirt to protect the fabric and upper heat platen from dye bleed and moisture. You can also put a silicone pad or rubber pad against the lower platen to help ensure even heat distribution
Next, apply even, consistent pressure. If you're shirt is polyester, apply medium to high pressure for 35 to 40 seconds. For cotton-polyester blends, use light to medium pressure for 15 to 30 seconds to avoid scorching the fabric.
Step 7: Let the Shirt Cool and Peel the Transfer Paper
After pressing, allow the shirt to cool for around ten seconds, then carefully peel the transfer paper while it's still warm. Allow the shirt to cool fully before handling or washing.
You can rely on these steps to consistently achieve stunning and professional results.
How to Heat Press a Hat
Customizing hats with a heat press machine is a great way to expand your sublimation product offerings. To properly heat press a hat, you’ll need a specialized hat press or a curved platen attachment. These tools apply even pressure across the rounded surface of the hat.
Follow these steps to ensure smooth transfers and vibrant results:
Step 1: Prepare the Hat for Sublimation
Before pressing, make sure the hat is clean and dry. Use a lint roller to remove dust or loose fibers, and make sure the surface is smooth.
Step 2: Preheat Your Heat Press
Set your heat press machine to the appropriate temperature for your hat blank. Most sublimation hat transfers work best around 350°F.
Step 3: Secure the Hat to the Press
Place the hat snugly onto the curved platen, ensuring the target area is flat and centered under the heat element. If your hat press features straps or clamps, use them to keep the hat firmly in place.
Step 4: Pre-Press the Hat
Close the press and pre-press the hat for 10 seconds. This step removes any leftover moisture and helps eliminate creases or bumps that could affect the transfer quality.
Step 5: Position and Tape Your Design
Align your mirrored sublimation transfer on the front of the hat. Use heat-resistant tape to secure the design in place and prevent any movement during the pressing process, which could cause ghosting.
Step 6: Press the Hat
Close the press carefully to avoid deforming the hat. Apply medium pressure and heat for about 60 seconds.
Step 7: Allow the Hat to Cool Before Peeling
Once the timer ends, remove the hat and place it on a heat-safe surface. Let it cool down for one to three minutes before peeling off the transfer paper to ensure the ink sets properly and doesn't smudge.
Using the correct temperature, pressure, and timing will help you achieve crisp, long-lasting results with your hat press. Always consult your user manual for vital information specific to your hat press or attachment to ensure proper usage and maintenance.
How to Make Sublimation Stickers with a Heat Press
Sublimation stickers offer stunning, full-color designs that are durable, waterproof, and fade-resistant, making them perfect for laptops, labels, and promotional products. Like with shirts, you'll likely want to use a clamshell press or swing-away press to achieve the best results, as they offer flat heating surfaces.
Follow these steps to create custom and professional-quality sublimation stickers:
Step 1: Preheat Your Heat Press Machine
Set your heat press to the recommended temperature, usually around 380°F, depending on the sticker blank material.
Step 2: Secure the Design to the Sticker Blank
Place your printed design face down on a sublimation-compatible sticker sheet or sticker blank. Use heat-resistant tape to hold the transfer in place and prevent movement during pressing.
Step 3: Press the Sticker Sheet
Position a sheet of butcher paper on the bottom platen to protect your machine. Place the prepared sticker blank on top of it. You'll also cover your sticker blank and design with more butcher paper to protect the upper platen. Apply medium pressure for about 60 seconds.
Step 4: Cool Completely Before Peeling
After pressing, remove the sticker sheet carefully from the heat press. Allow it to fully cool before peeling off the heat transfer paper to avoid smearing or distortion. The result should be a crisp, vibrant image permanently fused into the sticker material.
Step 5: Trim the Sticker Sheets
Use your cutting machine to trim the final sticker into custom shapes or sheets. This is especially useful for selling sticker packs or giving a more professional look to your sticker products.
By mastering sublimation to make stickers, you can add a unique product to your crafting lineup with exceptional results. Sublimation stickers can be made in various sizes to suit different needs and projects.

Heat Press FAQs
Can I Use a Standard Printer to Make Designs for My Heat Press?
No. The sublimation printing process requires specialized inks and transfer paper. You'll need a purpose-built sublimation printer or a converted inkjet printer to create transfer designs for your heat press. Some of the best beginner sublimation printers include the Sawgrass SG500 and the Epson Surecolor F170 Sublimation Printer.
Can I Use Parchment Paper for Heat Press Instead of Butcher Paper?
Some crafters use parchment paper for sublimation, but it's best to use butcher paper. Parchment paper does not absorb moisture or ink, and the coating can cause printing issues or damage substrates.
Can I Use Teflon Sheets for Heat Pressing?
Like with parchment paper, Teflon sheets contain a coating that's not suitable for sublimation, potentially causing issues with your transfers. It's best to stick with quality butcher paper.
Why Is My Heat Press Leaving Marks?
Marks are often caused by too much pressure, trapped moisture, or excessive heat. To prevent these issues, pre-press the item to release moisture (in the case of fabrics), adjust the heat and pressure settings, and use butcher paper to buffer contact with the heat plate.
Can You Use a Heat Press Without Sublimation Ink?
Yes, but not for sublimation. The sublimation process only works with sublimation ink. A heat press still functions without sublimation ink, but it can't transfer sublimation designs. Other crafts you can use with a heat press include heat transfer vinyl (HTV), iron-on transfers, foil transfers, patches, and more.
Can You Wash Sublimated Items Right Away?
It’s best to wait at least 24 hours before washing sublimated items. This gives the ink time to fully set into the polymer coating or polyester fabric. Washing too soon can cause fading or a washed-out look, especially if you use hot water or harsh detergents.
Get the Best Results When Using Your Sublimation Heat Press Machine
Using a sublimation heat press opens the door to creating high-quality, custom products that stand out. Whether you’re making tumblers, mugs, shirts, hats, or stickers, mastering your device will help you avoid common mistakes and produce vibrant, professional results every time.
For more helpful sublimation crafting tips, be sure to check out the other articles available on The Stainless Depot Company website, including guides for how to do sublimation printing, the differences between sublimation printing and screen printing, and the best sublimation heat press settings for various substrates. Additionally, if you're shopping for a new sublimation printer or heat press, you can check out our buying guides "Best Sublimation Printer for Beginners" and "What Is the Best Heat Press Machine for Small Business Owners in 2025?"
Our website also features a great selection of wholesale sublimation blanks, heat presses, sublimation printers, and crafting supplies to support your success. Our site's sublimation blanks also feature helpful instructions for getting the best results. Simply click on the drop-down menu below the product description to view recommended time, temperature, and pressure settings. If you have further questions for getting the best sublimation results using HOGG products, you can contact us via email.
Whether you're just starting or ready to scale your business, we’re here to help every step of your crafting journey with high-quality sublimation supplies and guidance.


13 comments
I love my tumbler press! It presses perfectly every single time! Thank you for your wonderful products!
Great information, Done
Man. That’s a ton and a half of top notch info there. Thanks.
Great article- thanks for the helpful information.
Great blog post. Lots of good info in here. Thanks!
Love this article! So detailed on the steps for sublimating!!
I have a regular heat press from fancier studio but I l would love to try more of your products ! I order sublimations tumblers only from your website !!
I love how this article give me the time and temps for different substrates!
Siempre dando muy buenos consejos y vendiendo productos con muy buena calidad !! Muchas gracias !!
Thanks for such an informative blog post! As a newbie it’s greatly appreciated!
I love all the valuable information you guys provided with the check list and the safety precautions helps a lot.
If this is anything like any HOGG products I need this in my life. I struggle doing mugs so this would be a great benefit.
I am going to print this out and keep above my heat press! Extremely helpful!