

The dye sublimation process empowers crafters to create vibrant, intricate designs, but achieving optimal results requires the right sublimation press settings. If your image isn't transferring cleanly or differs from your design, you likely need to adjust your temperature, time, or pressure settings.
To get the best results, you’ll also need to adjust your sublimation temp and time to suit your specific crafting products. For instance, the ideal polyester heat press settings will differ from the best tumbler heat press settings.
Fortunately, we're here to help you master the ideal heat press settings for sublimation, organized by product type. In this guide, we’ll walk you through the best sublimation heat press settings for achieving professional-looking results for shirts, tumblers, mugs, stainless steel water bottles, and other items.
 Heat Press Settings for Sublimation: Temperature, Time, and Pressure Explained
Getting the right sublimation heat press settings comes down to balancing three key factors: temperature, time, and pressure. Each one plays a direct role in how well your design transfers, and even small adjustments can make the difference between a dull, uneven print and a sharp, vibrant result.
Temperature
Temperature controls how effectively the sublimation ink turns into gas and bonds with your blank. If the heat is too low, the ink won’t fully activate, leading to faded or incomplete transfers. If it’s too high, colors can become dull or oversaturated, and in some cases, the coating on your blank can be damaged.
Most sublimation temperatures range from 350°F to 400°F, but the exact setting depends on the material. Polyester fabrics, ceramic mugs, and stainless steel drinkware all require slightly different heat levels to achieve the best results.
Time
Time determines how long the heat is applied during the transfer process. The right combination of sublimation temp and time ensures the ink receives sufficient exposure to fully bond without spreading beyond the design.
Short press times can result in weak or patchy transfers, while pressing for too long can cause blurry edges or a “bleeding” effect where the ink spreads too far. That’s why most sublimation projects fall within a controlled window, typically between 30 and 180 seconds, depending on the blank.
Pressure
Pressure ensures the transfer paper remains in full contact with your blank's surface. Without enough pressure, you may see uneven areas or faded spots where the ink didn’t fully transfer. Too much pressure, on the other hand, can distort certain materials or lead to less vibrant colors.
For most sublimation heat press settings, pressure ranges from light to firm, depending on the material. Softer items like fabric require less pressure, while hard surfaces like tumblers and mugs need more consistent, firm contact.
How These Settings Work Together
Temperature, time, and pressure are not independent. They work as a system. Increasing or decreasing one setting often means adjusting the others to maintain balance. For example, slightly lowering the temperature may require a longer press time to achieve the same transfer quality.
That’s why dialing in your sublimation settings is so important. Once you find the right combination for a specific blank, you’ll be able to reproduce consistent, professional-quality results across every project.
 What Materials Are Compatible with Sublimation?
Before diving into the ideal sublimation heat press settings, it is important to recognize that not all materials are suitable for sublimation, even with optimal settings.
For sublimation to occur, the surface must either contain polyester or have a polymer coating that allows the sublimation ink to bond properly. Using the right materials is just as important as dialing in your sublimation heat press settings.
Materials That Work Well for Sublimation
Sublimation performs best on surfaces designed to accept sublimation ink. These materials allow for vibrant color and long-lasting durability.
Here are common materials that are highly suitable for sublimation:
-
Polyester Fabrics: The higher the polyester content, the better the color vibrancy and durability. 100% polyester produces the best results.
-
Polymer-Coated Drinkware: Drinkware such as ceramic mugs, stainless steel tumblers, and water bottles must have a sublimation coating for the process to work.
-
Polymer-Coated Blanks: These products are specifically manufactured for sublimation, including polymer-coated keychains, coasters, ornaments, koozies, and other products designed to accept sublimation ink.
Surfaces to Avoid When Sublimation Printing
Sublimation ink will not bond properly to untreated surfaces, resulting in poor or nonexistent transfers.
Avoid sublimating on the following materials to prevent poor transfer quality and disappointing results:
-
100% Cotton Fabrics: Cotton lacks the polyester fibers required for sublimation bonding, so the ink will not properly adhere to the material.
-
High-Cotton Fabric Blends: Fabrics with a high cotton content will produce dull, faded results because there is not enough polyester for the ink to bond effectively.
-
Uncoated Metals, Glass, and Ceramics: Without a polymer coating, sublimation ink cannot bond to the surface, causing the design to either fail to transfer or fade quickly.
-
Dark-Colored Materials: Sublimation ink is transparent, so it does not show up well on dark surfaces and works best on white or light-colored materials.
Choosing compatible materials ensures your sublimation temp and time settings actually produce the results you expect. Even perfect settings cannot compensate for the wrong surface, so always start with blanks designed for sublimation.
Now that you’re aware of these important material limitations, let’s dive into exploring the best sublimation heat press settings.
 Sublimation Shirt Time and Temp Guidelines (Best Heat Press Settings for Polyester and Blends)
When it comes to fabrics, the sublimation process requires polyester fibers, and the higher the polyester content, the brighter and more permanent the design will be. The ideal temperature and time settings for sublimating t-shirts and other garments depend on the percentage of polyester in the fabric blend.
In addition to time and temperature settings, polyester content also affects the recommended pressure settings. For instance, 100% polyester fabrics typically require medium to high pressure, while polyester-cotton blends require light to medium pressure. The amount of pressure may also vary depending on the fabric's thickness.
Sublimation Time and Temp for 100% Polyester Shirts:
-
Temperature: 400°F
-
Time: 35 to 40 seconds
-
Pressure: Medium to high
Sublimation Time and Temp for 50/50% Polyester-Cotton Blends:
-
Temperature: 300°F to 350°F
-
Time: 15 to 30 seconds
-
Pressure: Light to medium
Quick Tips for Sublimating Shirts:
-
Utilize a protective sheet, such as butcher paper or uncoated parchment paper, between the heat platen and the shirt.
- Use lower temperatures when working with cotton blends to prevent scorching.
- Pre-press fabric for 3 to 5 seconds to remove moisture and wrinkles.
- Avoid using too much pressure on thinner garments to prevent press marks.
- Perform test presses when working with new shirt types or designs, and make minor adjustments to optimize transfer quality.
Sublimating shirts is one of the easiest and most cost-effective ways to start a custom apparel business. With the right heat press sublimation settings, your designs will stay sharp and vibrant after years of regular washing.
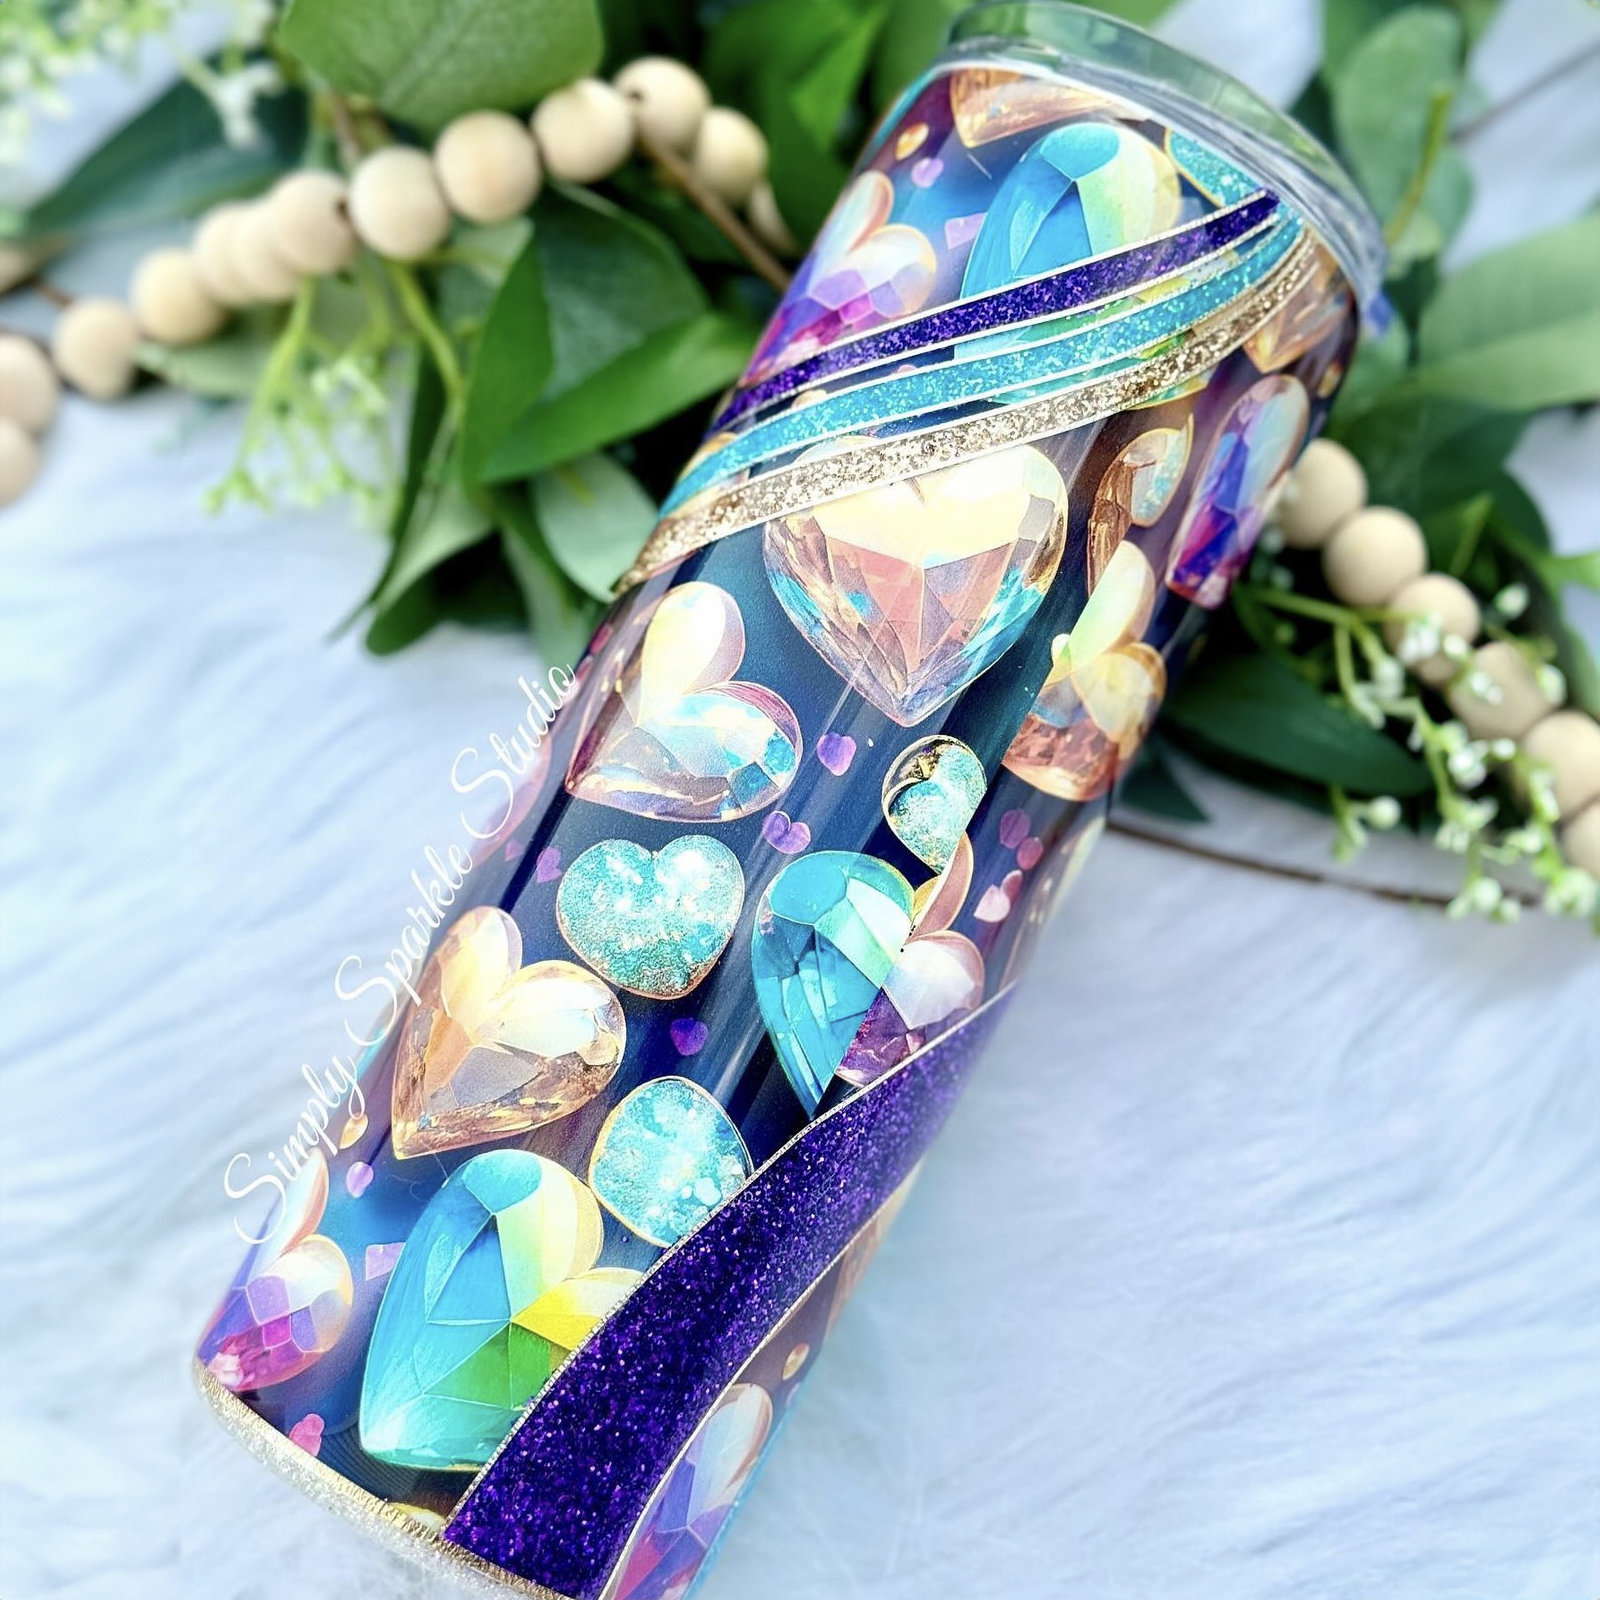
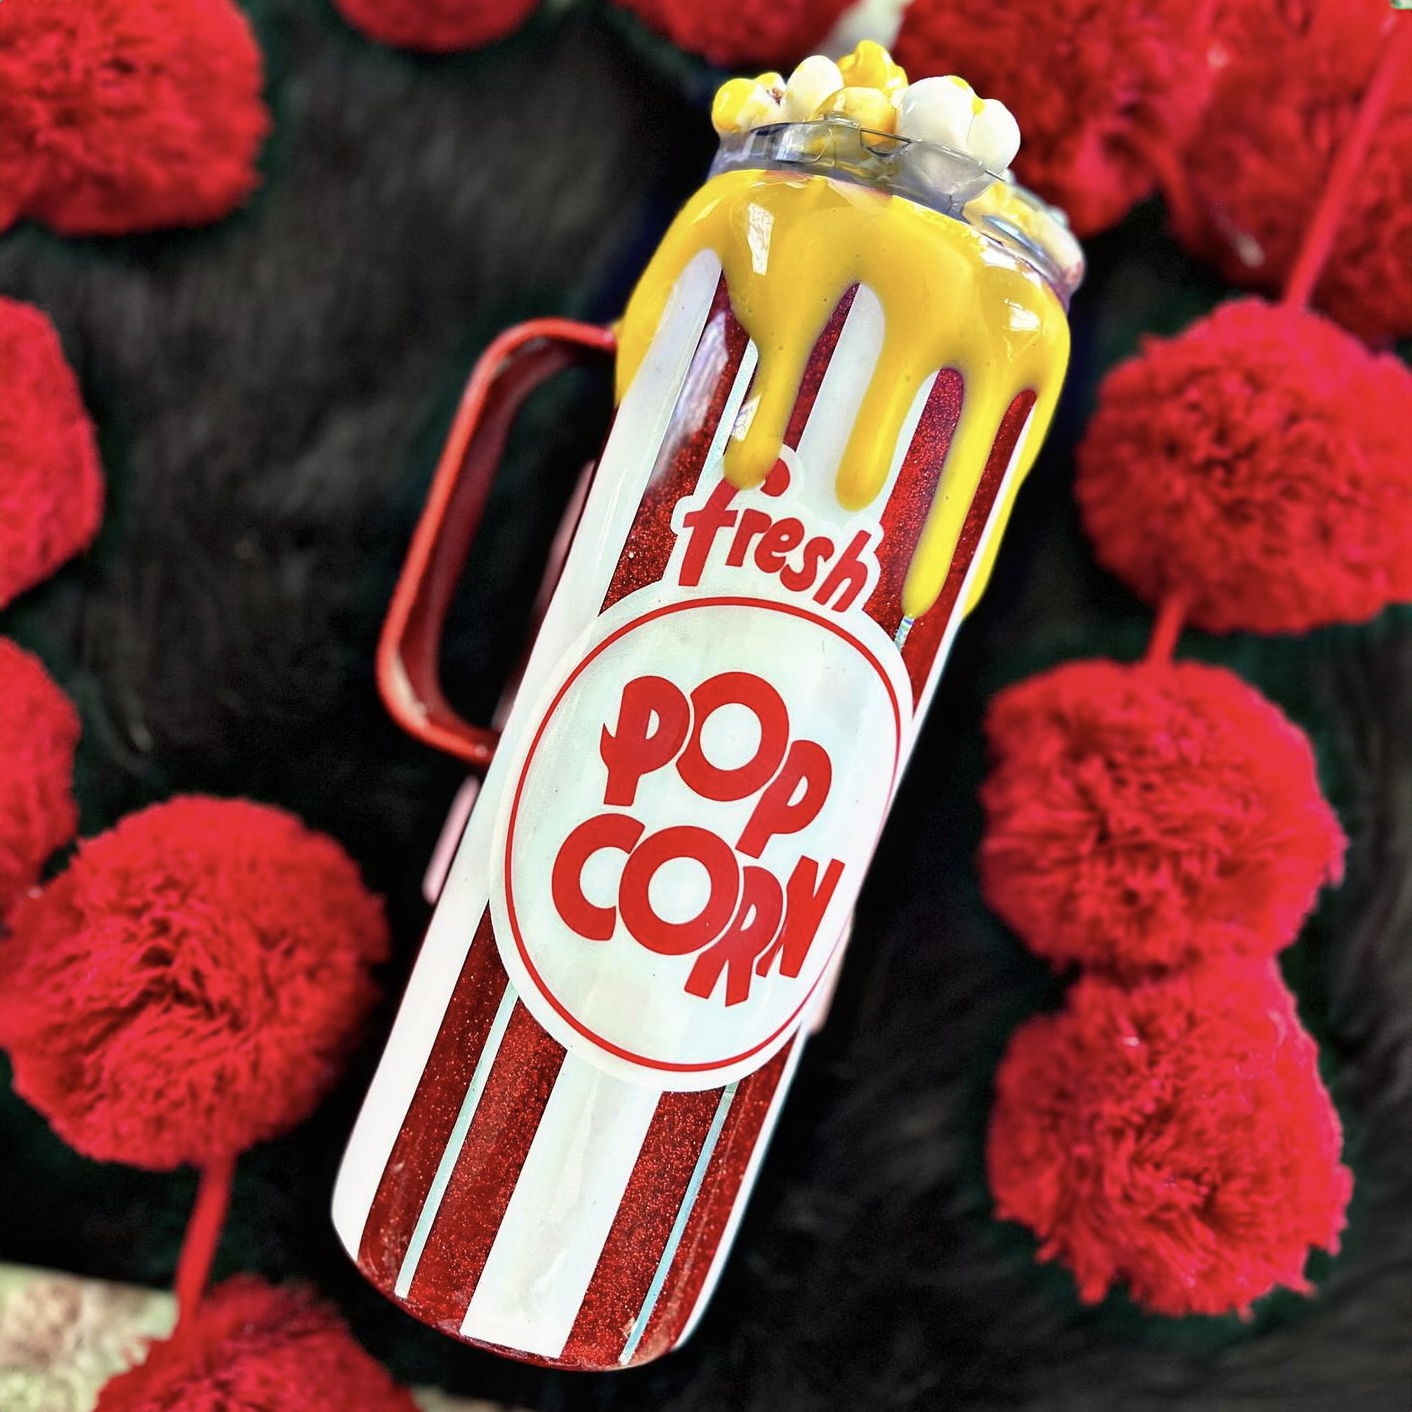
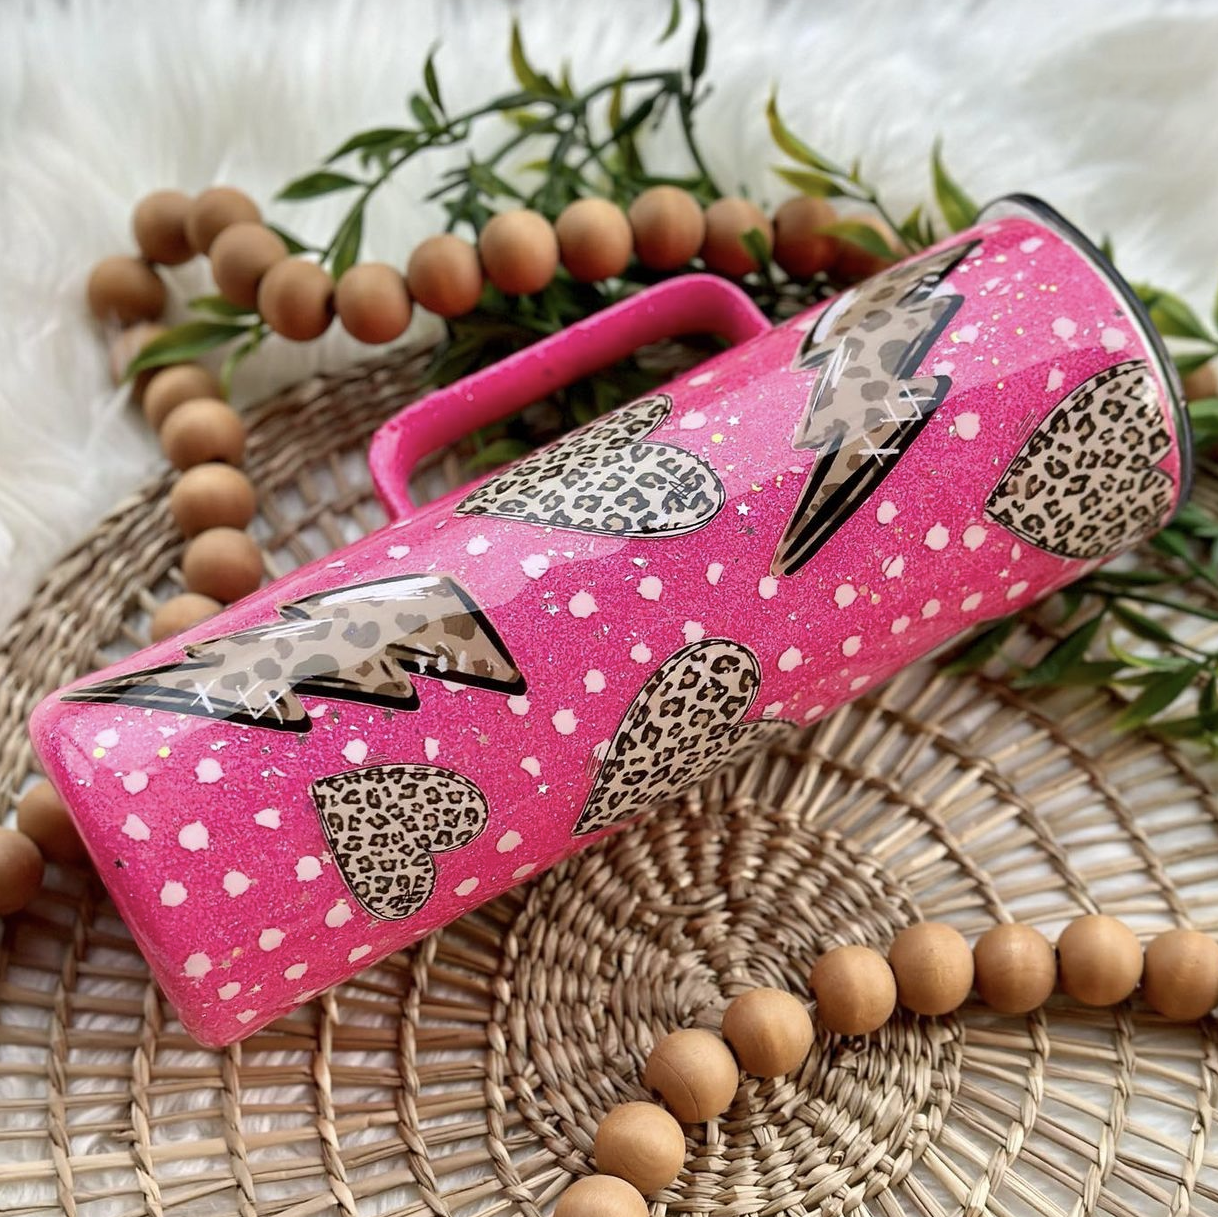
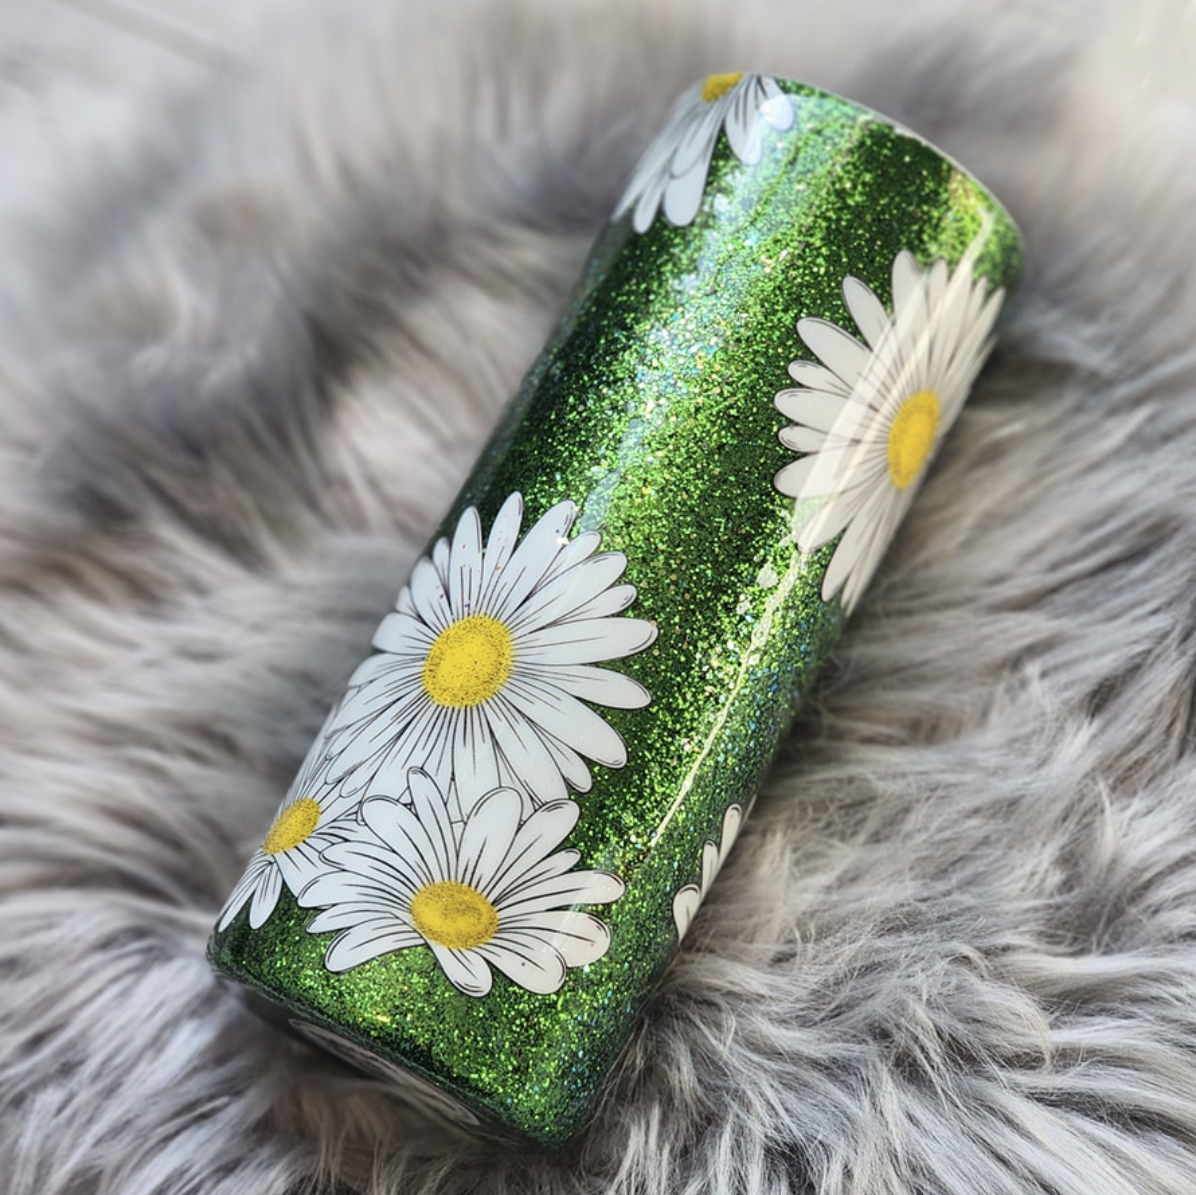
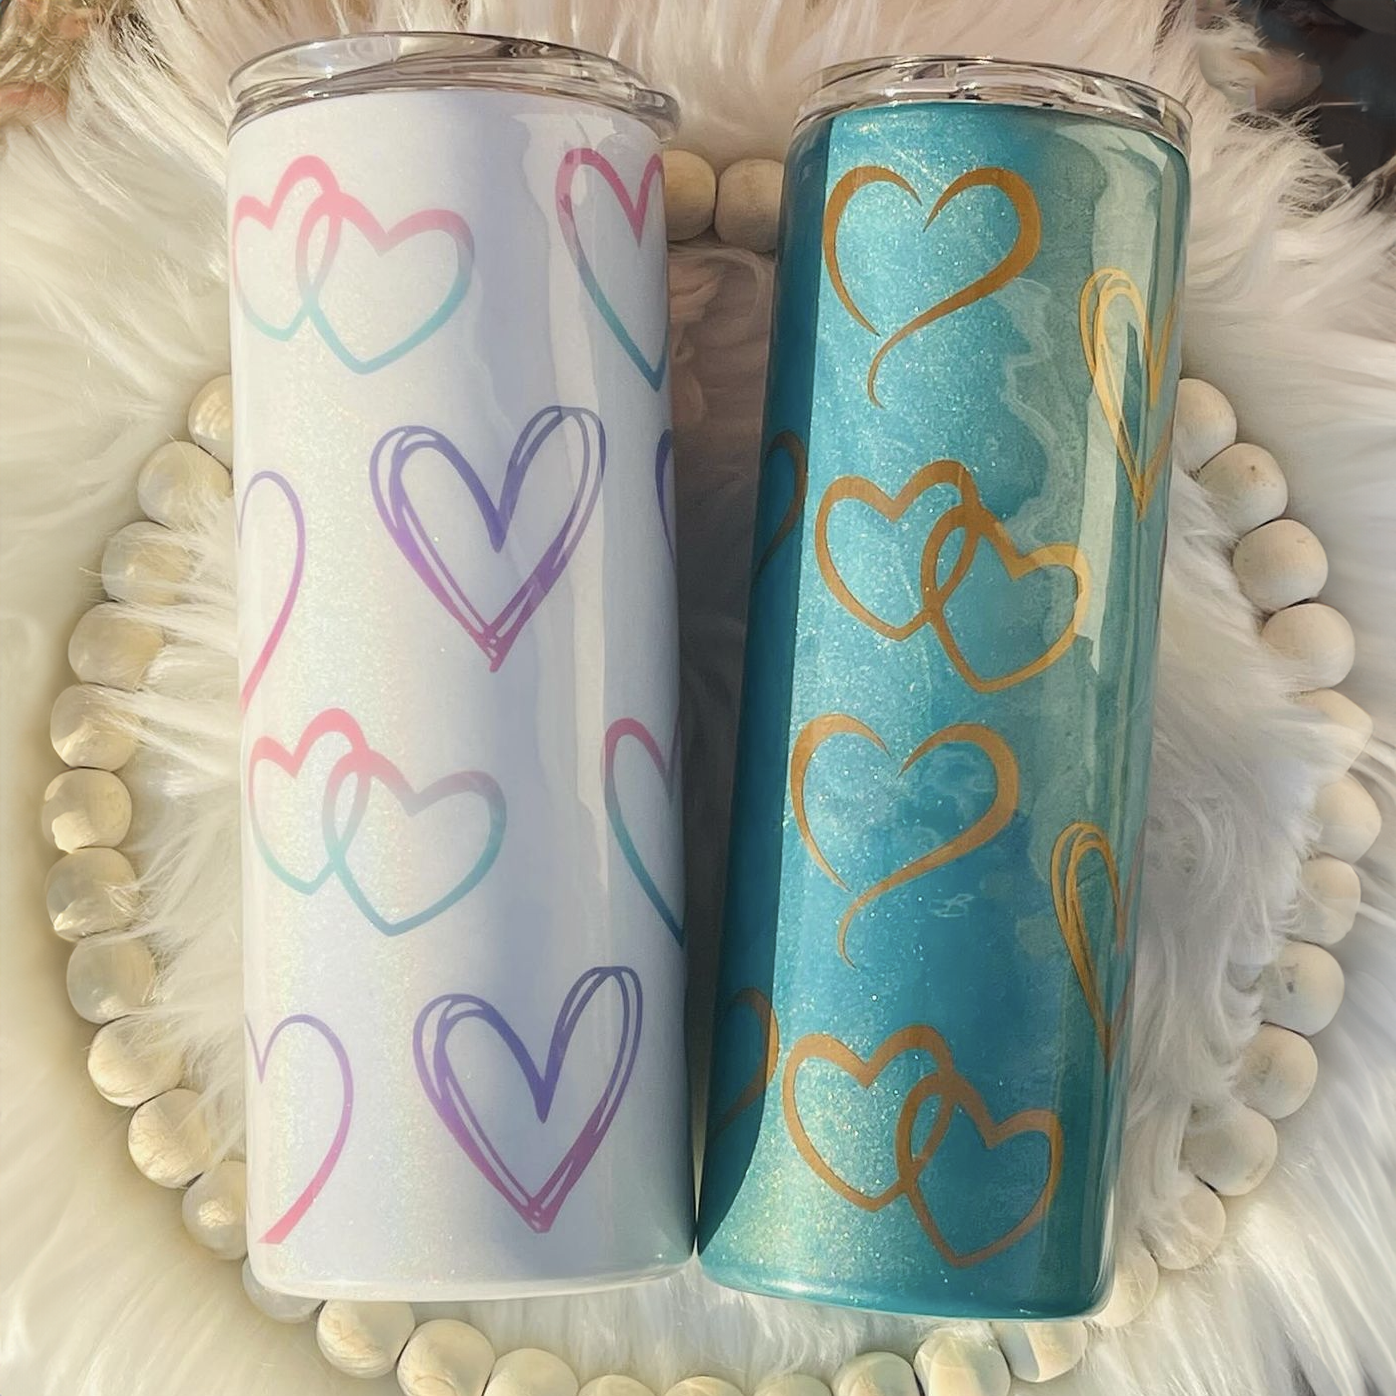
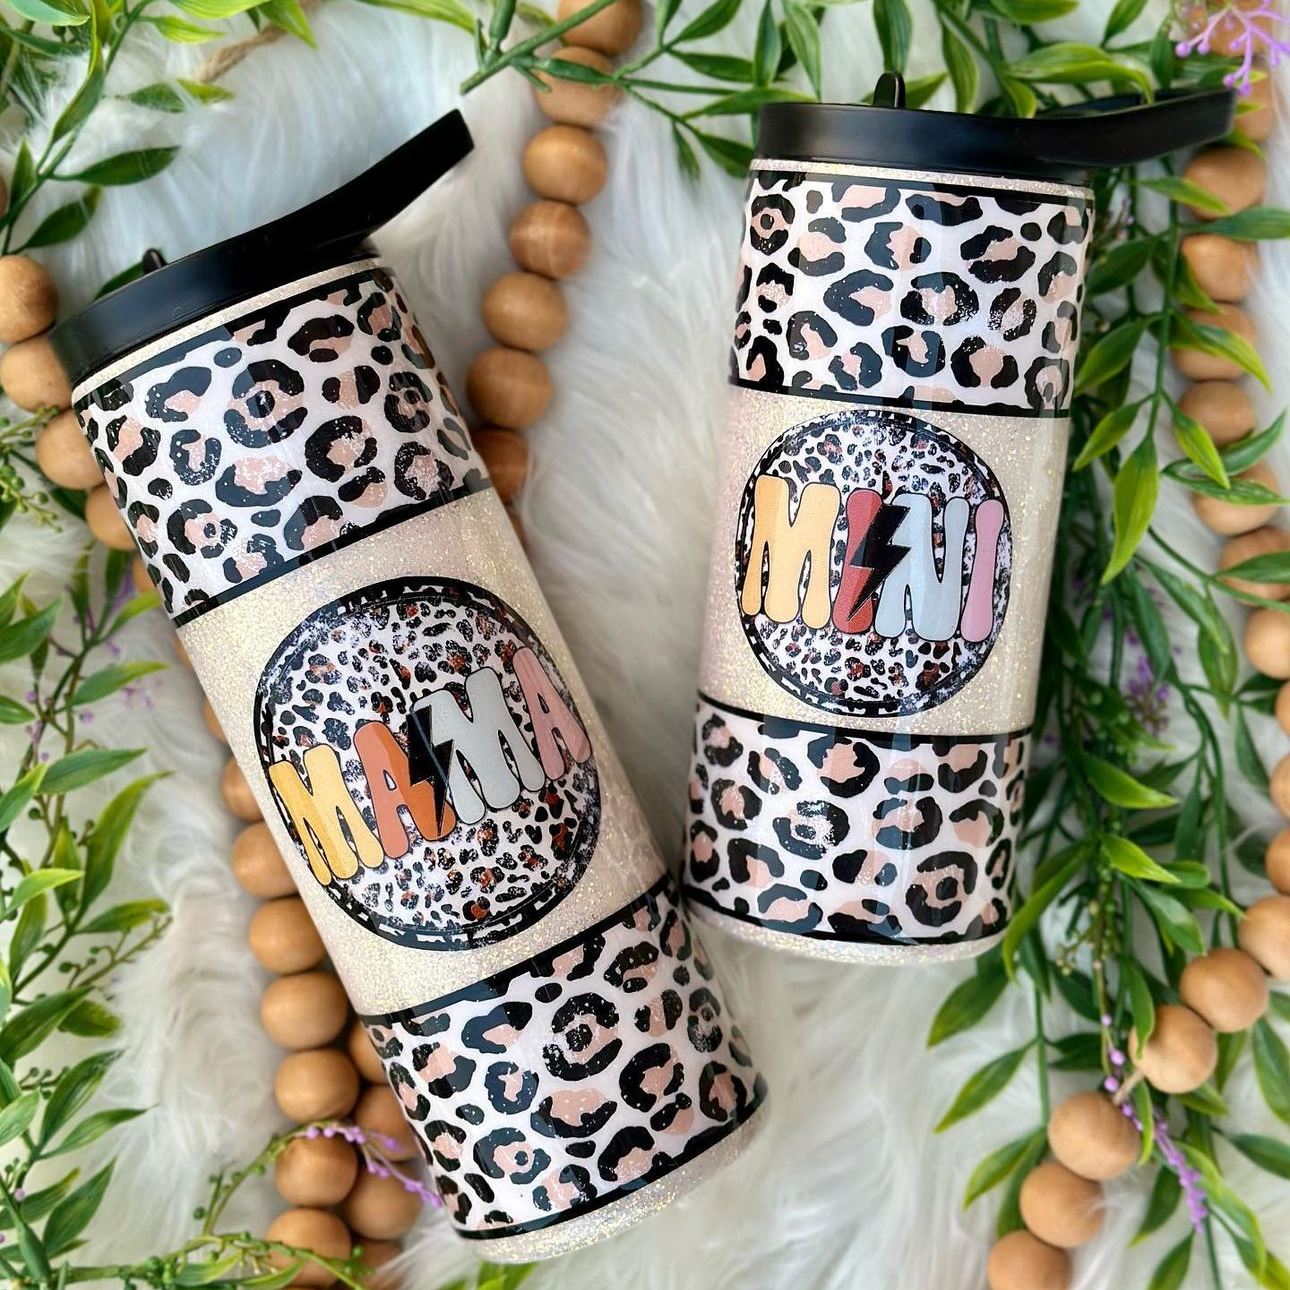
 Sublimation Tumbler Time and Temp (Heat Press Settings for Stainless Steel Drinkware)
Polymer-coated stainless steel drinkware provides a smooth surface that holds sublimation ink exceptionally well. To get consistent, vivid colors and the most durable prints, you'll need to use high heat and even pressing times on both sides of the cup.
Sublimation Tumbler Time and Temp:
-
Temperature: 350°F to 380°F
-
Time: 45 seconds per side
-
Pressure: Firm
Sublimation Water Bottle Time and Temp:
-
Temperature: 350°F to 380°F
-
Time: 45 seconds per side
-
Pressure: Firm
Quick Tips for Sublimating Stainless Steel Drinkware:
- Make sure your tumbler or water bottle is clean and dry before applying the wrap.
- Wrap your transfer paper tightly around the cup and secure it with heat-resistant tape.
- Preheat your press for accurate sublimation results.
- Use firm, even pressure across the whole surface. Uneven heat leads to poor-quality transfers.
Once you’ve perfected your transfer settings, you'll achieve stunning sublimation results on your drinkware that match your original designs.
 Sublimation Glass Tumblers (Heat Press Settings for Glass Drinkware)
Glass tumblers can produce vibrant, high-end results when properly coated for sublimation.
Because glass is a more delicate, heat-sensitive surface than stainless steel, it requires careful control of temperature, time, and pressure to avoid cracking, fading, or uneven transfers. Using the correct sublimation heat press settings is essential for achieving clean, professional-quality designs.
Sublimation Glass Tumbler Time and Temp:
-
Temperature: 370°F to 380°F
-
Time: 90 seconds per side
-
Pressure: Firm
Quick Tips for Sublimating Glass Tumblers:
- Always confirm the glass tumbler has a proper sublimation-ready coating before pressing.
- Wrap the transfer paper tightly and secure it with heat-resistant tape to prevent shifting.
- Preheat the glass slightly to reduce thermal shock and improve ink transfer.
- Allow the tumbler to cool gradually after pressing to protect the finish and improve durability.
With the right sublimation settings and careful handling, glass tumblers can achieve smooth, glossy finishes with sharp detail and vibrant color, making them a premium option for custom drinkware.
 Mug Sublimation Temperature and Time (Heat Press Settings for Ceramic Mugs)
Polymer-coated ceramic mugs are excellent projects for creative entrepreneurs and small businesses. While the ideal mug sublimation temperature and time can vary by size, most mugs between 11 and 15 ounces use similar settings.
11-15oz Ceramic Mug Sublimation Time and Temp:
-
Temperature: 356°F to 392°F
-
Time: 140 seconds
-
Pressure: Firm
Quick Tips for Sublimating Ceramic Mugs:
- Double-check that the ceramic surface is clean and free of dust and oils.
- Use a dedicated mug press or tumbler press for the best results. If you use a tumbler press, heat each side for 45 seconds.
- Preheat your press.
- Let the mug cool for a few seconds before peeling the sublimation paper to prevent smearing.
With the right sublimation press settings, ceramic mugs can deliver sharp, vibrant colors that hold up well to everyday use. Whether you add logos, photos, or text, your ceramic mugs will display professional-looking results that your customers will love.
 Sublimation Heat Press Settings for Ornaments, Coasters, Keychains, and Neoprene Koozies
Smaller sublimation blanks, such as ornaments, coasters, keychains, and koozies, provide crafters with a way to create eye-catching and functional products. Learning the ideal settings for these compact substrates will help you produce clean sublimation prints and avoid scorching or fading.
Sublimation Ceramic Ornaments Time and Temperature
-
Temperature: 350°F to 370°F
-
Time: 100 to 180 seconds
-
Pressure: Light to medium
Quick Tips for Sublimating Ceramic Ornaments:
- Test slightly different times and temperatures for new blanks, as their shapes and thicknesses will likely differ.
- Use light pressure to avoid breaking the ceramic, but ensure it is not too little pressure to prevent incomplete transfers.
- Allow the ceramic ornaments to cool flat on a heat-safe surface.
Sublimation Ceramic Coasters Time and Temp
-
Temperature: 380°F to 400°F
-
Time: 90 seconds. Rotate 180 degrees and press for an additional 90 seconds
-
Pressure: Medium
Quick Tips for Sublimating Ceramic Coasters:
- Secure your sublimation paper around the coaster's edge with heat-resistant tape.
- Ensure you apply pressure evenly.
- Don't stack hot coasters right after pressing. Instead, cool them separately.
Sublimation Keychain Time and Temp
-
Temperature: 350°F to 400°F
-
Time: 40-70 seconds
-
Pressure: Medium to firm
Quick Tips for Sublimating Keychains:
- Ensure your keychains have polymer coatings. Polymer-coated keychains are frequently made from metal, plastic, and medium-density fiberboard (MDF).
- Remove keychain rings, clasps, and chains before sublimating.
- Use a pressing pillow or silicone pad under thin materials to help distribute heat evenly.
- Test slightly varying pressure, time, and temperature settings for different keychain materials.
Sublimation Koozie Time and Temp
-
Temperature: 385°F
-
Time: 55 seconds
-
Pressure: Light to medium
Quick Tips for Sublimating Neoprene Koozies:
- Insert a pressing pillow or cardboard inside the koozie to prevent creases from forming.
- Be sure not to apply too much pressure, as this can cause the foam to crush or deform.
- Let the koozie cool on a flat surface to help it retain its shape after pressing.
With the right temperature, pressure, and pressing times, you can bring out rich colors and sharp details in your compact products. These blanks are ideal for custom orders and seasonal promotions, so it’s worth taking the time to perfect your settings to achieve the best transfer results.
 Sublimation Times and Temperatures Chart (Heat Press Temperature Guide)
The time and temperature chart below summarizes the recommended settings for various items:
|
Item |
Temperature |
Time |
Pressure |
|
100% Polyester Shirts |
400°F |
35–40 sec |
Medium to high |
|
50/50% Polyester-Cotton Shirts |
300–350°F |
15–30 sec |
Light to medium |
|
Stainless Steel Tumblers |
350–380°F |
45 sec/side |
Firm |
|
Stainless Steel Water Bottles |
350–380°F |
45 sec/side |
Firm |
|
Glass Tumblers |
370–380°F |
90 sec/side |
Firm |
|
11-15oz Ceramic Mugs (using a Mug Press) |
356–392°F |
140 sec |
Firm |
|
Ceramic Ornaments |
350–370°F |
100–180 sec |
Light to medium |
|
Ceramic Coasters |
380–400°F |
90 sec/side (rotate 180°) |
Medium |
|
Keychains (metal/plastic/MDF) |
350–400°F |
40–70 sec |
Medium to firm |
|
Neoprene Koozies |
385°F |
55 sec |
Light to medium |
Important Note: The best sublimation settings may vary depending on your heat press and specific blanks. If your heat press manufacturer or sublimation blank supplier provides specific heating instructions, follow them carefully. Following the recommended settings for your heat press machine and sublimation blanks can make a huge difference in achieving consistent and high-quality results.
How to Choose the Right Sublimation Temp and Time
Choosing the right sublimation temp and time is not a one-size-fits-all process. While general guidelines are a great starting point, the best results come from understanding how your specific blank, equipment, and materials work together.
Fine-tuning your sublimation settings will help ensure you achieve consistent color, crisp detail, and durable, long-lasting transfers.
Start With the Recommended Settings
Always begin with the manufacturer’s suggested sublimation heat-press settings for your blank, if available. These recommendations are designed to match the product's coating, thickness, and material composition.
If these manufacturer recommendations are unavailable, use the guidelines outlined in this article to get started. Use them as your baseline, then make small adjustments as needed based on your results.
Account for Thickness and Shape
Thicker blanks or curved surfaces, like tumblers and mugs, often require longer press times or multiple presses to ensure even heat distribution. On the other hand, flat, thin items usually require less time and more controlled pressure.
If heat isn’t reaching the entire surface evenly, you may need to slightly increase the heat-press time or adjust your pressing method, rather than just raising the temperature.
Factor in Your Heat Press Performance
Not all heat presses are calibrated the same. Two machines set to the same temperature can produce different results due to heat distribution, pressure consistency, and platen accuracy.
That’s why it’s important to test and fine-tune your heat press settings for sublimation on your own equipment. Small adjustments, even 5 to 10 degrees or a few seconds, can significantly improve your outcome.
Make Small, Controlled Adjustments
When refining your sublimation temp and time, avoid making large changes all at once. Instead:
- Adjust the temperature in small increments
- Increase or decrease time gradually
- Keep pressure consistent while testing
This approach helps you isolate what’s working and what needs improvement without overcorrecting.
Use Test Prints to Dial It In
Before committing to a full production run, always perform test presses. This is especially important when working with new blanks, new designs, or a different batch of materials.
Testing lets you lock in the ideal sublimation settings so that you can reproduce consistent, professional-quality results every time.
With the right approach, choosing your sublimation settings becomes a repeatable process rather than a matter of guesswork. Once you’ve dialed in the correct combination of temperature and time for each blank, you’ll be able to produce clean, vibrant transfers with confidence.
From there, it also helps to understand what can still go wrong when settings are off, so you can troubleshoot issues quickly and avoid wasted materials. Let’s look at the most common sublimation issues resulting from improper settings.
 Common Sublimation Problems Caused by Incorrect Settings
Even small mistakes in your sublimation heat press settings can lead to noticeable issues in your final product. Whether you’re working with apparel or drinkware, most problems stem from an imbalance in temperature, time, or pressure.
Understanding what went wrong makes it much easier to adjust your sublimation settings and return to consistent, high-quality results.
Drinkware Issues (Tumblers, Mugs, Water Bottles)
Hard surfaces require steady heat and firm, even pressure. When your sublimation temp and time are off, the results tend to be very visible across the surface.
Below are some of the most common drinkware issues you may encounter and their typical causes:
-
Faded or Dull Colors: Usually caused by low temperature, short press time, or inconsistent heat across the surface.
-
Patchy or Uneven Transfers: Often the result of uneven pressure or poor contact between the transfer and the blank. This is common with curved surfaces.
-
Ghosting (shadowing effect): Happens when the transfer paper shifts during or after pressing. Even slight movement can create a blurry duplicate image.
-
Blurry or Over-Saturated Designs: Caused by too much time or excessive heat, allowing the ink to spread beyond the design's edges.
-
Paper Sticking to the Surface: Typically a sign of overheating or a lower-quality coating that cannot handle higher temperatures.
-
Color Inconsistencies Across the Design: Often linked to uneven pressure or hot spots in your heat press.
Addressing these issues starts with properly dialing in your sublimation settings and making small, controlled adjustments to achieve the best results on drinkware.
Apparel Issues (Shirts and Fabric Blanks)
Fabric behaves differently from hard surfaces, especially when working with polyester blends. Your heat press settings for sublimation need to be more controlled to avoid damaging the material while still achieving strong color transfer.
Here are the most common problems crafters run into when sublimating fabrics:
-
Faded or Weak Prints: Usually caused by low temperature, insufficient time, or low polyester content in the fabric.
-
Scorch Marks or Discoloration: Occur when the temperature is too high, especially on polyester-cotton blends.
-
Press Marks or Shiny Areas: Often caused by excessive pressure or heat on thinner fabrics.
-
Blurry Edges or Bleeding Designs: The result of pressing for too long or using too much heat, allowing the ink to spread.
-
Uneven Color or Patchiness: Typically caused by inconsistent pressure or moisture in the fabric that wasn’t removed with a pre-press.
-
Dull Colors on Blends: A natural limitation of lower polyester content, but it can be made worse by incorrect sublimation times and temperatures.
Dialing in the correct sublimation settings is the key to avoiding these issues. If something looks off, resist the urge to make drastic changes. Instead, adjust one variable at a time and test again.
With a few controlled tweaks, you can quickly get your sublimation temp and time back on track and produce clean, vibrant results across your custom products.
 Sublimation Heat Press Settings FAQs (Temp and Time Questions Answered)
How Can I Improve Color Vibrancy Beyond Just Adjusting Heat Press Settings?
Using high-quality sublimation ink and transfer paper can help optimize color brightness, clarity, and vibrancy. You should also ensure your sublimation printer profiles match your ink and paper combination for accurate color output. Additionally, always use blanks with quality sublimation coatings or high polyester content for optimal ink absorption and durability.
Should I Pre-Press My Sublimation Blanks Before Pressing?
Briefly pre-pressing fabrics can help remove moisture and wrinkles, creating a smooth surface that's ideal for heat transfers. Aside from fabrics, you do not need to pre-press. Do not pre-press your stainless steel drinkware, ceramics, and other substrates because these materials don’t absorb moisture the way fabrics do.
Why Do My Sublimation Shirts Look Faded After Pressing?
Faded shirts are usually caused by low temperatures, short press times, or low-polyester content. Moisture in the fabric or uneven pressure can also reduce color quality.
Do I Need to Let My Heat Press Warm Up Before Using It?
Always let your heat press reach the correct temperature before starting any sublimation project. Pressing your blanks too early can cause uneven transfers, faded colors, or ghosting. Waiting until your heat press reaches the proper temperature helps ensure your time and temperature settings work as intended and your results stay consistent.
What Safety Precautions Should I Take When Using a Heat Press?
Heat presses reach incredibly high temperatures, so it’s essential to exercise caution. Always wear heat-resistant gloves when handling your blanks or removing transfers. Additionally, keep your workspace clear of flammable materials and avoid touching the platen during or immediately after pressing. You should also ensure that your workspace has sufficient ventilation.
What Are the Best Heat Press Settings for Sublimation?
Most sublimation heat press settings range from 350°F to 400°F for 30 to 180 seconds, depending on the material. Polyester shirts typically use 400°F for 35 to 40 seconds, while hard surfaces use slightly lower temps with longer times.
How Do I Get Full-Wrap Sublimation Results on Stainless Steel Tumblers?
Wrap the design tightly, secure it with heat-resistant tape, and use firm, even pressure. Press both sides at the correct sublimation tumbler time and temp, usually 350°F to 380°F for 45 seconds per side.
What Are the Common Sublimation Mistakes?
Most sublimation mistakes result from incorrect temperature, time, or pressure settings, leading to faded or blurry designs. Other issues include skipping pre-pressing, failing to secure the transfer, and using low-quality blanks.
What Sublimation Items Sell the Best?
Top-selling items include t-shirts, tumblers, and ceramic mugs. Smaller products like keychains, coasters, and ornaments also sell well, especially for gifts and seasonal promotions.
Can You Sublimate at 350 Degrees?
Yes, 350°F works well for many hard surfaces, such as tumblers. However, polyester fabrics usually require higher temperatures, around 400°F, for optimal results.
Get the Best Results for Heat Press Sublimation
Mastering your sublimation heat press settings can take time, but once you learn what works best for each blank, the results speak for themselves. The right combination of temperature, time, and pressure helps you create long-lasting, professional-quality designs, whether you're working with fabric, drinkware, or other sublimation blanks.
If you're just getting started with sublimation or are looking to get even better results, you can count on The Stainless Depot Company for valuable advice. You can explore other helpful guides on our blog to help you create long-lasting prints, including our guide "How to Do Sublimation Printing."
Additionally, explore high-quality sublimation products with our articles "What Is the Best Heat Press Machine for Small Businesses in 2025" and "Best Sublimation Printer for Beginners: A Complete Comparison Guide for 2025."
We also feature high-quality wholesale sublimation blanks and supplies on our website. There, you’ll find a great selection of tumblers, ceramic mugs, sublimatable shirts, sublimation paper, and more. When shopping for HOGG sublimation blanks on our website, you can view each product’s ideal time, temperature, and pressure settings by clicking on the drop-down menu underneath the product description.
If you have any questions about getting the best results with our products, please don’t hesitate to reach out to us directly through email. We’re here to support your crafting business with everything you need to keep creating with confidence.


14 comments
Great information!
i have found that the room temp and humidity affect the heat setting that is needed.
Gracias por los tíos para tener mejores resultados !!
This is excellent information. Thank you so much for sharing! This is so helpful.
Great article. Awesome information. Well needed. Thank you for posting this article.
Great to have handy
Great resource! Thanks!
Absolutely love doing sublimation and all the fun things you can make.
Warning though it’s very ADDICTIVE!
I love this company! Suck great information and always keeping up with new trends.
This information is so helpful . I know that all products are not the same so I have actually separated my inventory by supplier so all this information I can put in my binder. We know even if you’re a pro at sublimation we still go back and double check . I will definitely be using the is.
Read
Great info!
Thanks for the quick reference charts – definitely saving for later!
Thanks for the tips. I am going to print out the chart for future reference!
Thank you for the useful information. Always good to go back as a refresher