Welcome, crafters and tumbler enthusiasts! Are you ready to take your custom cup game to the next level?
Today, we're unpacking the sublimation process and explaining how to use it to transform blank tumblers into show-stopping, one-of-a-kind creations in no time. With the ever-growing popularity of personalized drinkware, there’s no better time to dive into this fast, fun, and profitable venture.
The time-efficient sublimation process gives you the opportunity to create ready-to-sell tumblers in minutes, which helps you build your inventory and gives you more time to create additional crafts.
As your friendly US-based wholesale tumbler supplier, we’ve got your back with expert tips and tricks to help you master the sublimation process. Our step-by-step guide is designed to empower you to use sublimation, giving you the ability to create permanent, vibrant designs that become part of the tumbler's surface, ensuring your creations are both beautiful and long-lasting.
So, gather your supplies, warm up your heat press or oven, and let’s get ready to sublimate tumblers like a pro!
What is Sublimation and Why It Matters
Before diving into the exact steps you need for creating breathtaking and functional tumblers, let’s explore the fascinating science behind the sublimation process.
Sublimation drives both natural processes we observe daily and innovative sublimation printing methods, which you can use to create long-lasting prints on polymer-coated tumblers and polyester materials through transfer dye.
If you’re not interested in learning about the science behind the sublimation process and would prefer to dive right into the crafting method, skip to the section "Step 1: Stock Your Custom Tumbler Workshop Like a Pro."
For those curious about the overarching process called "sublimation," let's explore the science behind this remarkable phenomenon.
Understanding the Sublimation Process
Sublimation describes a direct solid-to-gas transition. Unlike other phase changes, like evaporation — the transition from a liquid to a gas — sublimation occurs when a substance in solid form bypasses the liquid phase entirely.
When you hear the term “sublimation,” it can apply to two distinct but related concepts:
-
Physical Sublimation: Physical sublimation is a natural phase transition observed in substances like dry ice, snow, and ice under specific conditions.
- Sublimation Printing: This transfer dye method uses sublimation inks that transfer from a solid state directly into a gas when heated. The sublimation dye then bonds with polyester fabric or polymer-coated surfaces on a molecular level. The results are more vibrant and permanent full color prints with superior results compared to other printing methods, such as screen printing.
When it comes to physical sublimation, the process connects to other phase transitions through energy requirements and molecular behavior. While melting requires energy to break intermolecular bonds partially, sublimation requires sufficient energy to completely overcome these attractions, allowing molecules to escape directly from a solid state into a gas.
For example, snow and ice can sublimate directly into water vapor, especially under cold, dry, and windy conditions. This is why snow can slowly “disappear” even when temperatures remain below freezing and there’s no melting.
The relationship between temperature, pressure, and sublimation rate determines when and how quickly sublimation occurs. The sublimation rate increases with higher temperatures. This principle is relevant to sublimation printing because it’s how a heat press is capable of changing the sublimation-friendly surface on a molecular level. Sublimation printing is never achieved at low temperatures; high temperatures (usually 350 °F–400 °F) provide the energy needed to turn solid dye particles into gas.
Aside from the term "physical sublimation," you might also hear related terminology in the context of this process, like deposition (the reverse process where gas becomes solid), vapor pressure (the pressure exerted by vapor molecules), carbon dioxide sublimation (dry ice), and triple point (where solid, liquid, and gas phases coexist).
While fascinating, you don't need to have a firm grasp on these concepts to understand the art of using sublimation for customizing tumblers. Let's explore the exact steps you'll need to craft breathtaking drinkware, starting with selecting the best tumbler.
What Is a Sublimation Tumbler?
Learning how to create a sublimation tumbler begins with acquiring the right materials, and it's essential to stock up on tumblers that are ready for sublimation.
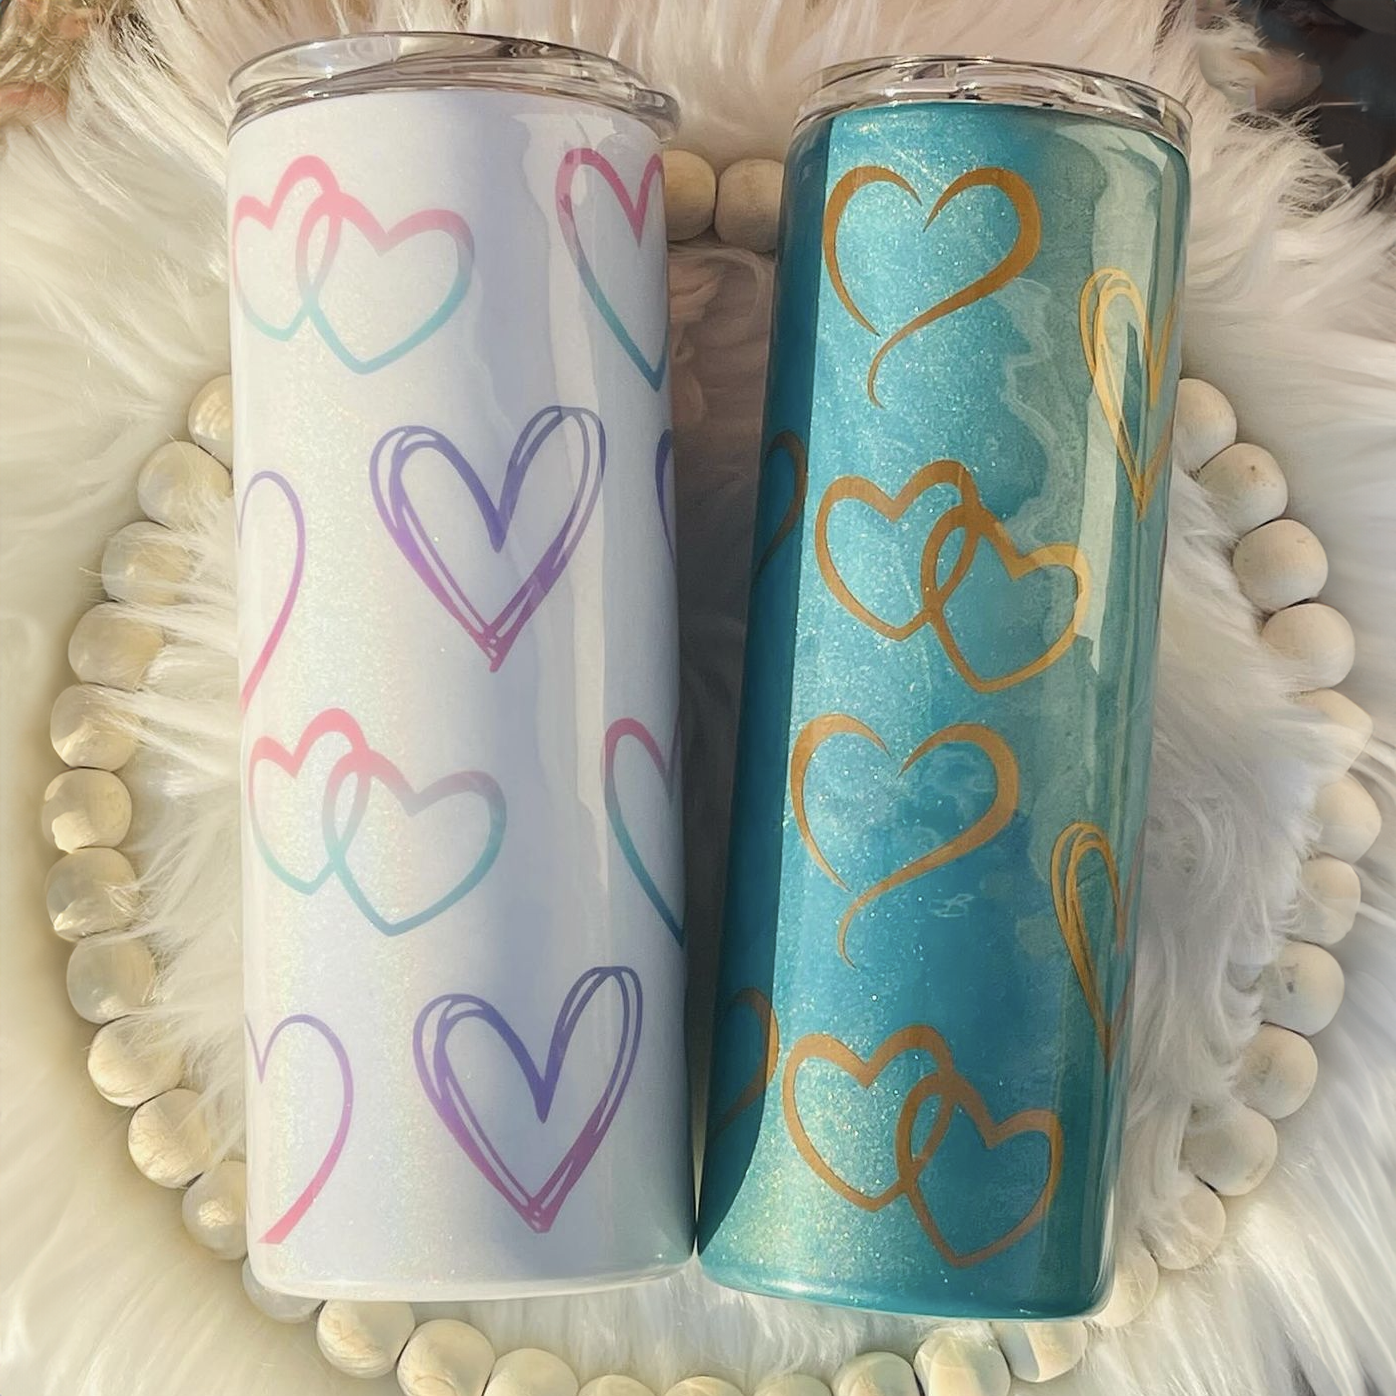
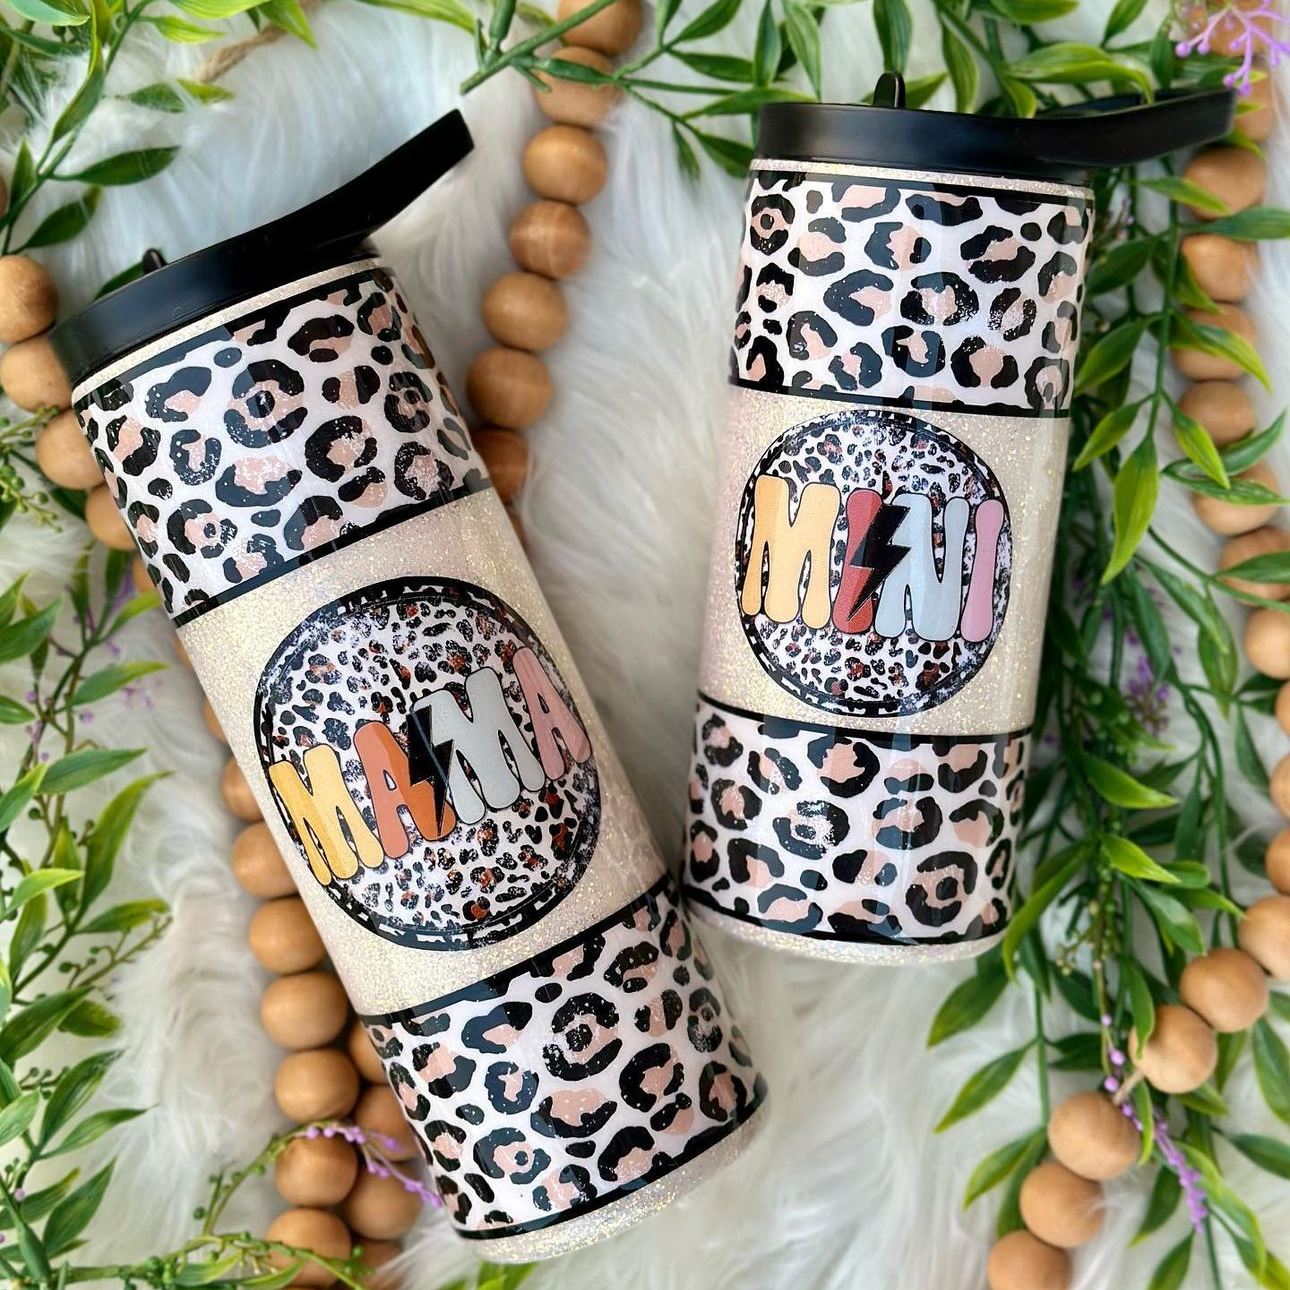
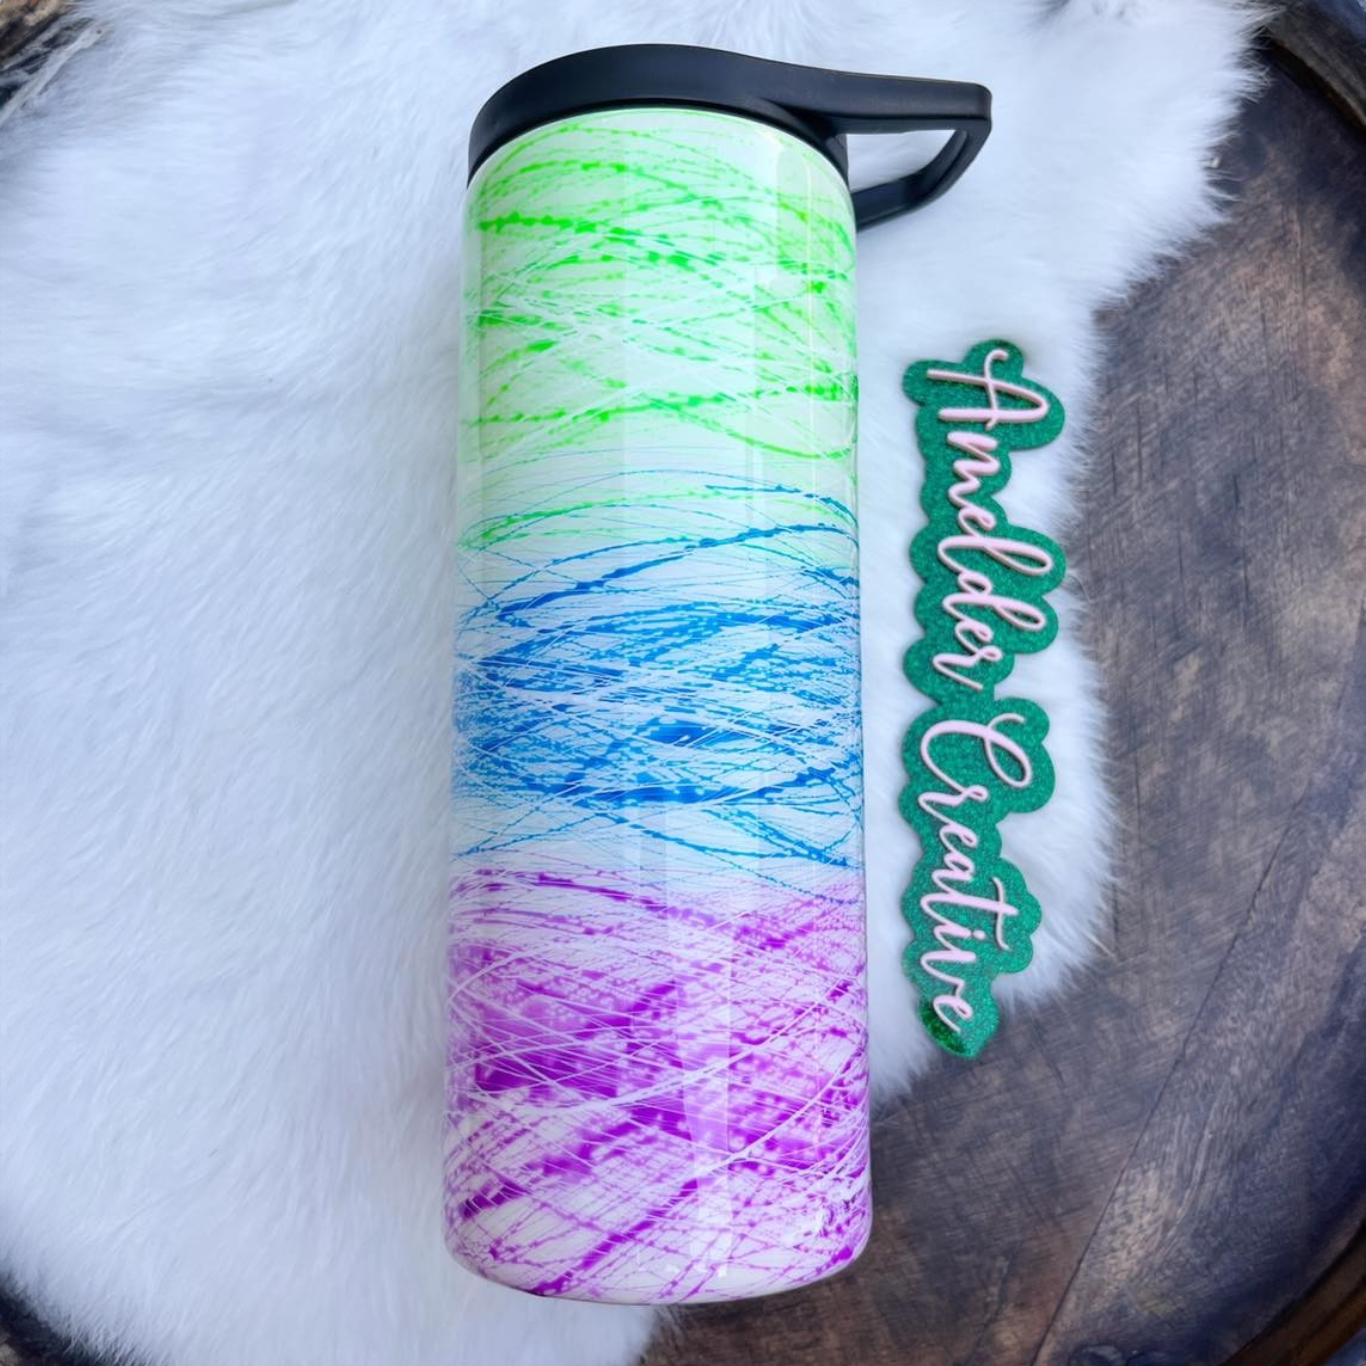
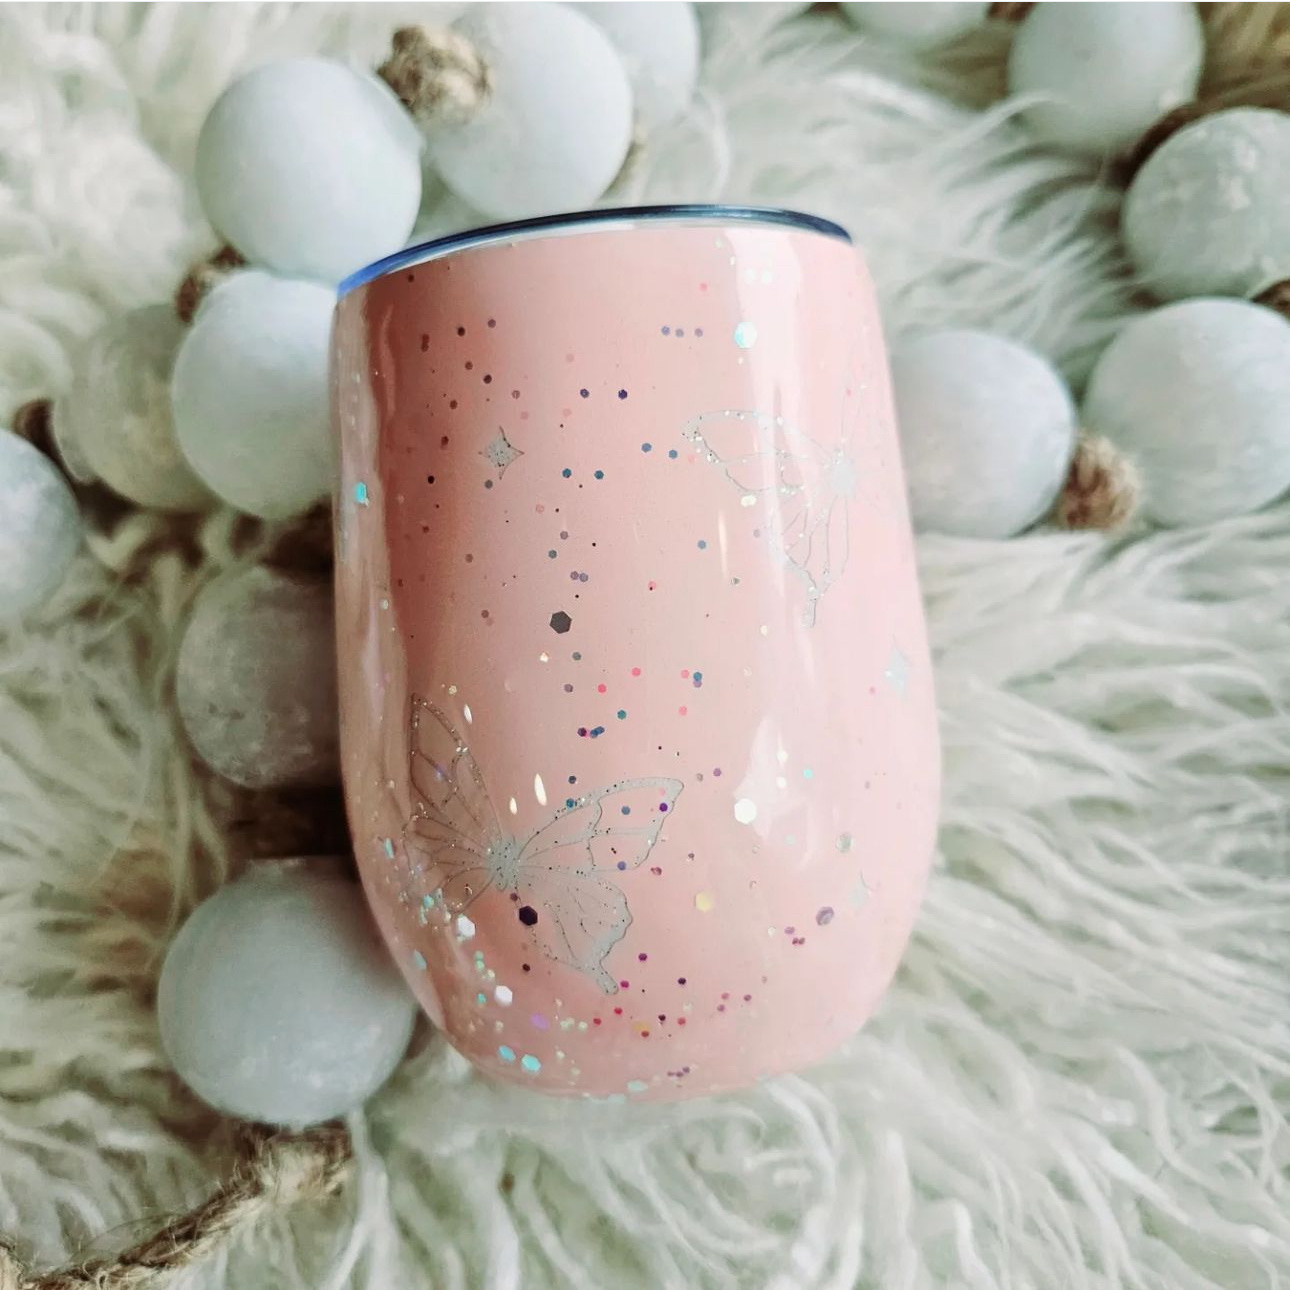
Sublimation tumblers are coated with a special polymer layer that enables sublimation ink to permanently bond with the material during the heat transfer process. The result is a striking, full-color image that becomes part of the tumbler itself.
When choosing a tumbler for your sublimation project, it's essential to make sure it features a polymer coating. Standard tumblers do not come with this coating, so they cannot hold sublimation ink properly. Additionally, consider using sublimation tumblers that come with desirable features, such as double-wall insulation, easy-to-clean lids, and removable handles.
Step 1: Stock Your Custom Tumbler Workshop Like a Pro
The first step to starting our tumbler sublimation journey is to make sure we have all the necessary tools and materials at our fingertips. Having a well-stocked and organized workspace makes the process easier, more enjoyable, and helps ensure professional results. So, without further ado, let’s dive into the must-have items for tumbler sublimation success
Essential Sublimation Tools and Materials
-
Blank Tumblers: First and foremost, you'll need high-quality blank tumblers designed for sublimation. Look for tumblers with a special polymer coating that ensures a vibrant, long-lasting transfer.
-
Sublimation Printer: Invest in a dedicated sublimation printer loaded with sublimation ink to guarantee bright, vivid colors that stand the test of time.
-
Sublimation Paper: This specially coated paper is crucial for transferring your design onto the tumbler, as it allows the ink to release efficiently during the heating process.
-
Heat Press or Convection Oven: Choose a reliable heat source for transferring your design onto the tumbler. Both heat presses and sublimation ovens have their pros and cons, so be sure to research which option suits your needs best.
-
Heat-Resistant Gloves: Safety first! Protect your hands from burns when handling hot tumblers with a pair of heat-resistant gloves.
- Heat Transfer Tape: This tape is designed to withstand high temperatures and securely hold your design in place during the sublimation process.

Once your workshop is stocked and organized, you're one step closer to becoming a tumbler sublimation pro! Now that you understand the basics you'll need for sublimation, let's unpack whether a sublimation oven or heat press is right for you.
Sublimation Oven vs. Heat Press: Pros, Cons, and Expert Recommendations
Both sublimation ovens and heat presses have their merits, and choosing the best option for your sublimation endeavors will ultimately depend on your specific needs, preferences, and budget. Let’s weigh the pros and cons of each option:
Sublimation Oven:
-
Pros: Affordable, easy-to-find, versatile, excellent for tumblers with unique shapes or contours
- Cons: Less precise temperature control, potential for uneven heating, longer heat times
Heat Press:
-
Pros: Precise temperature and pressure control, faster heat times, professional results, dedicated tool for sublimation
- Cons: Less versatile, limited by press size and shape
When deciding between a convection oven and a heat press, consider factors like budget, space, and production volume. If you’re a casual crafter or just starting out, a convection oven might be the perfect option. However, if you’re a more serious tumbler artist or small business owner, investing in a dedicated heat press could pay off in the long run with consistently professional results.
You can learn more about the advantages of each machine with our guide "Sublimation Oven vs Heat Press: Which Is Better for Tumblers?"
Step 2: Unlock Your Creative Genius with Tumbler Sublimation Designs
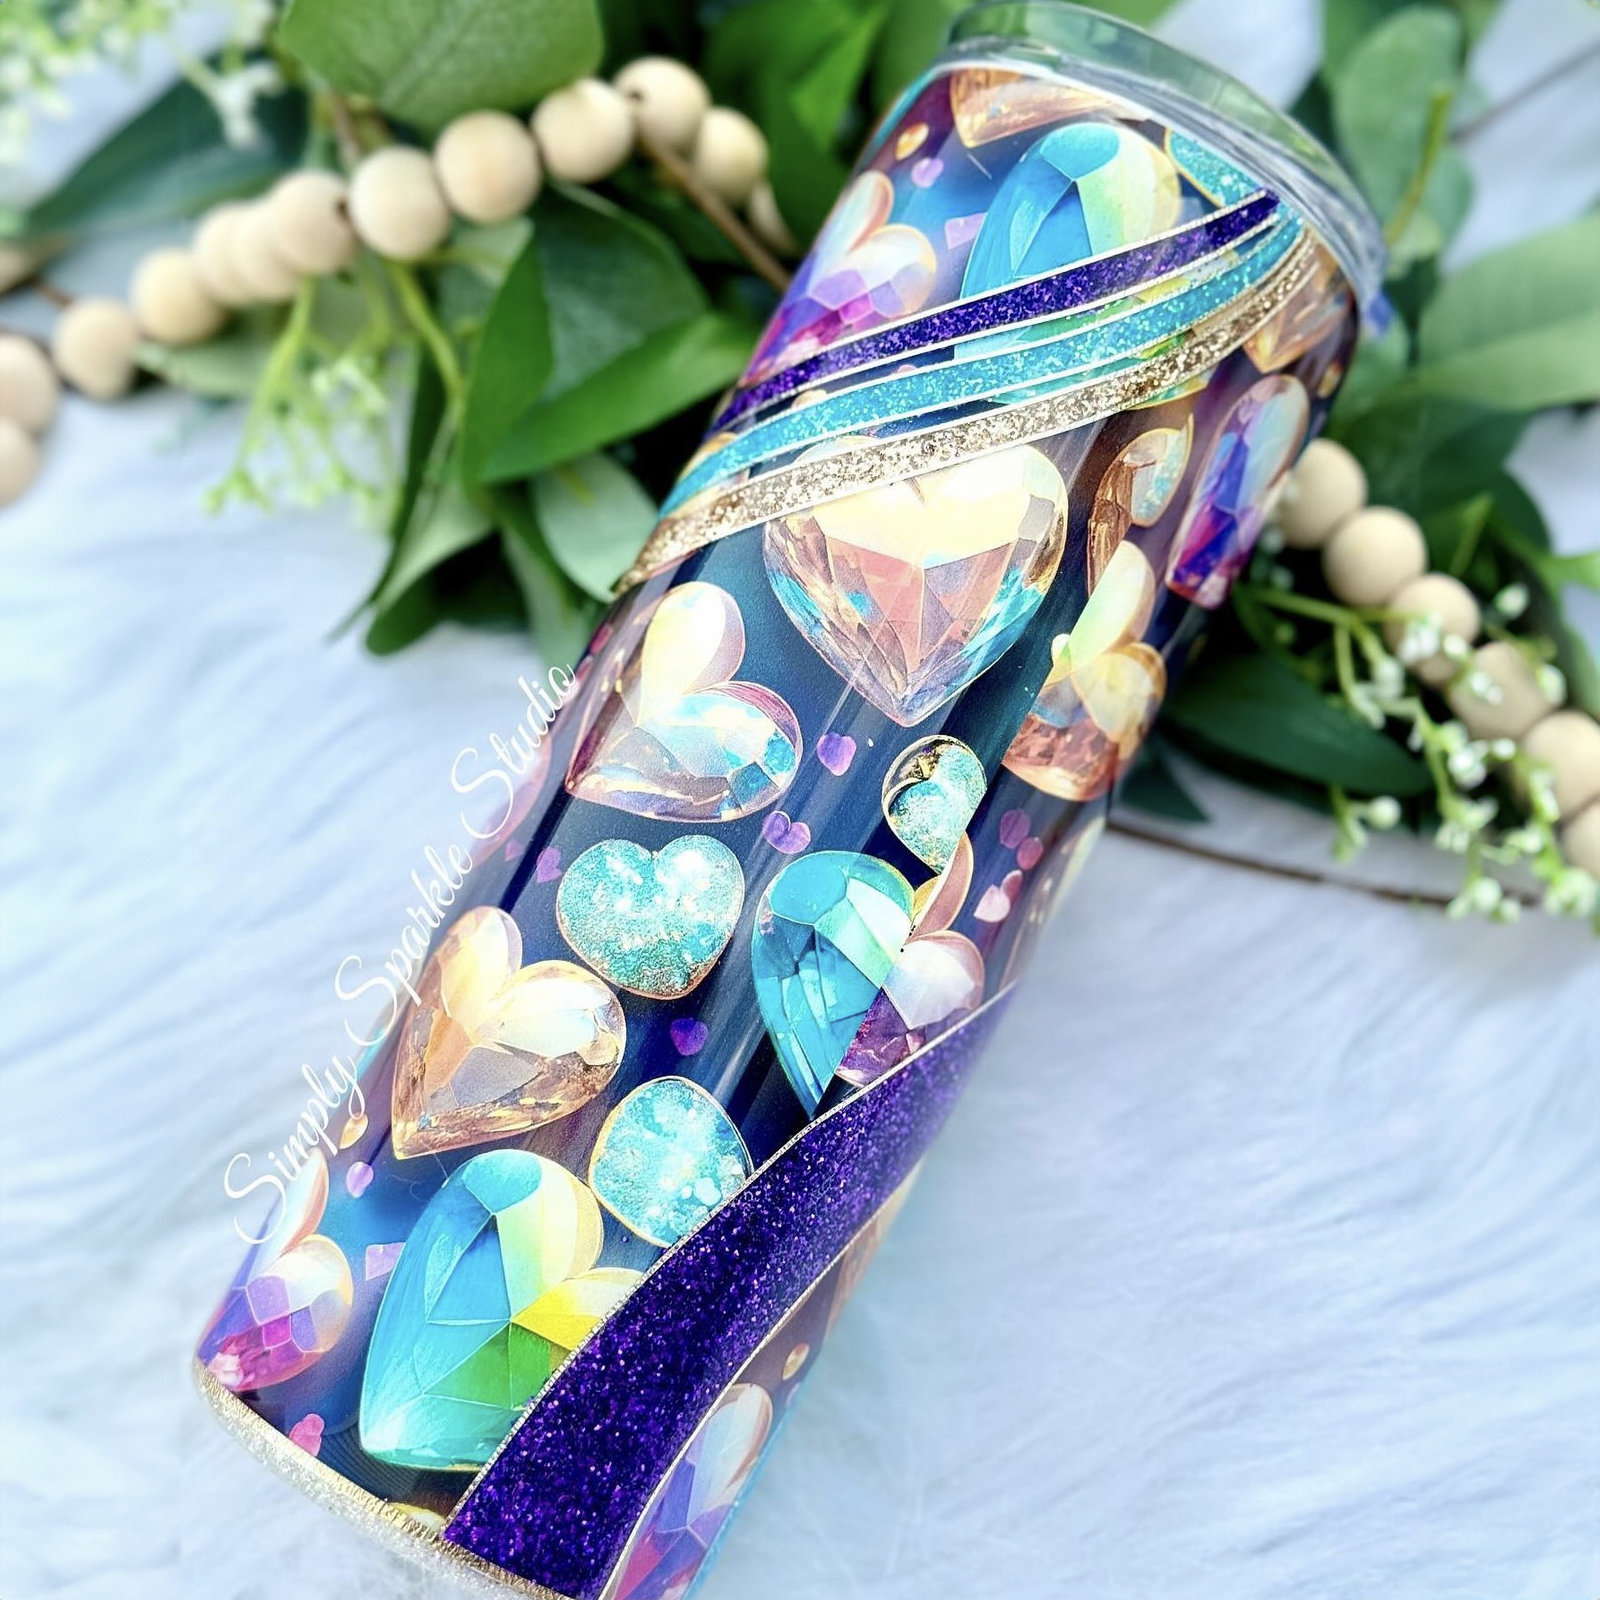
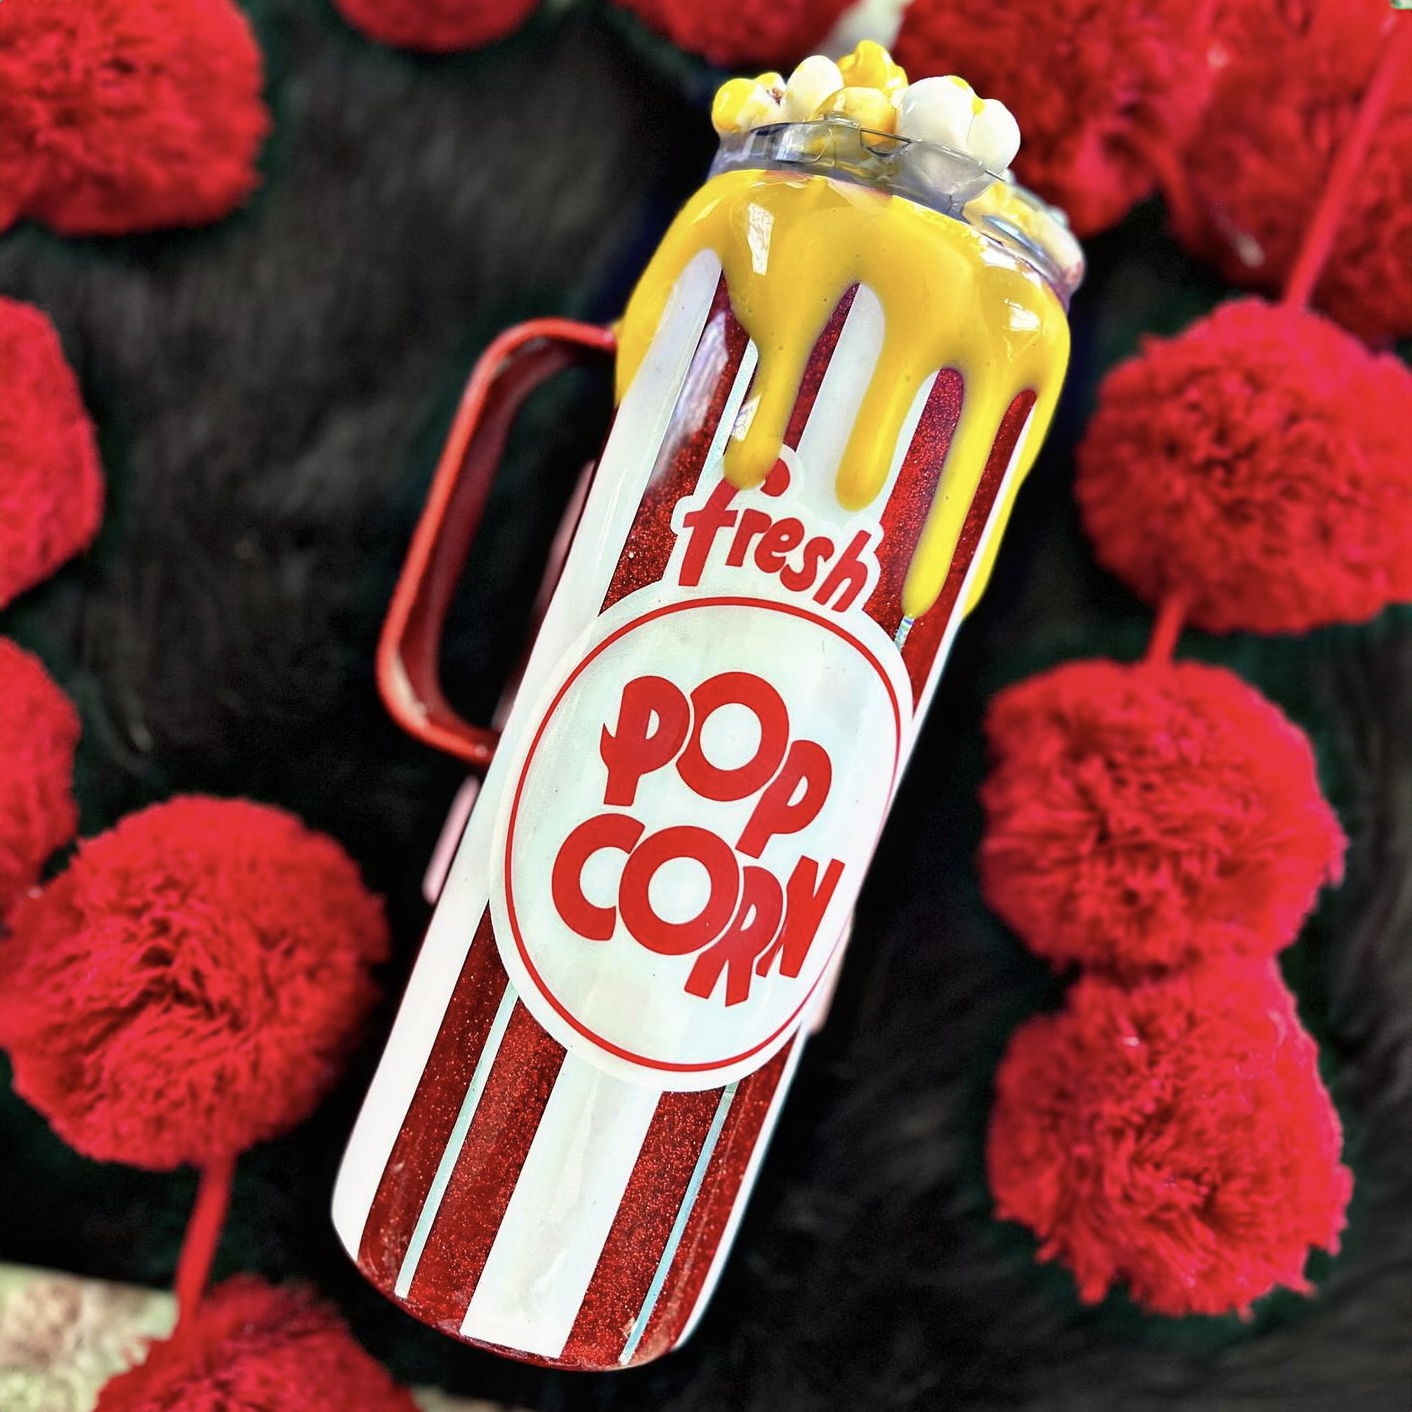
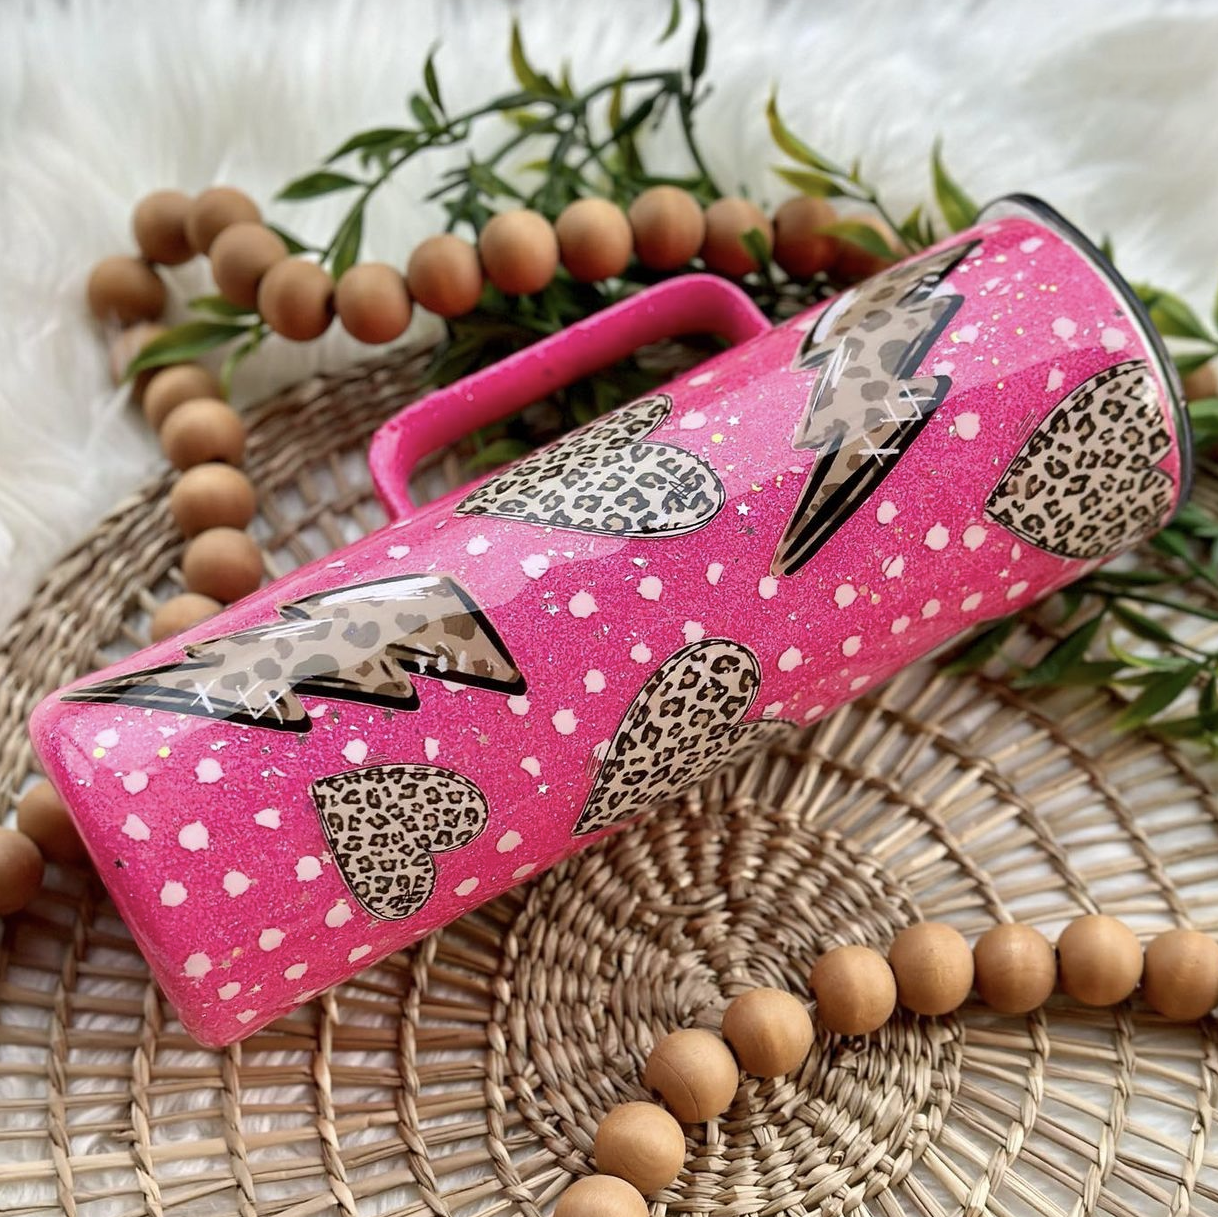
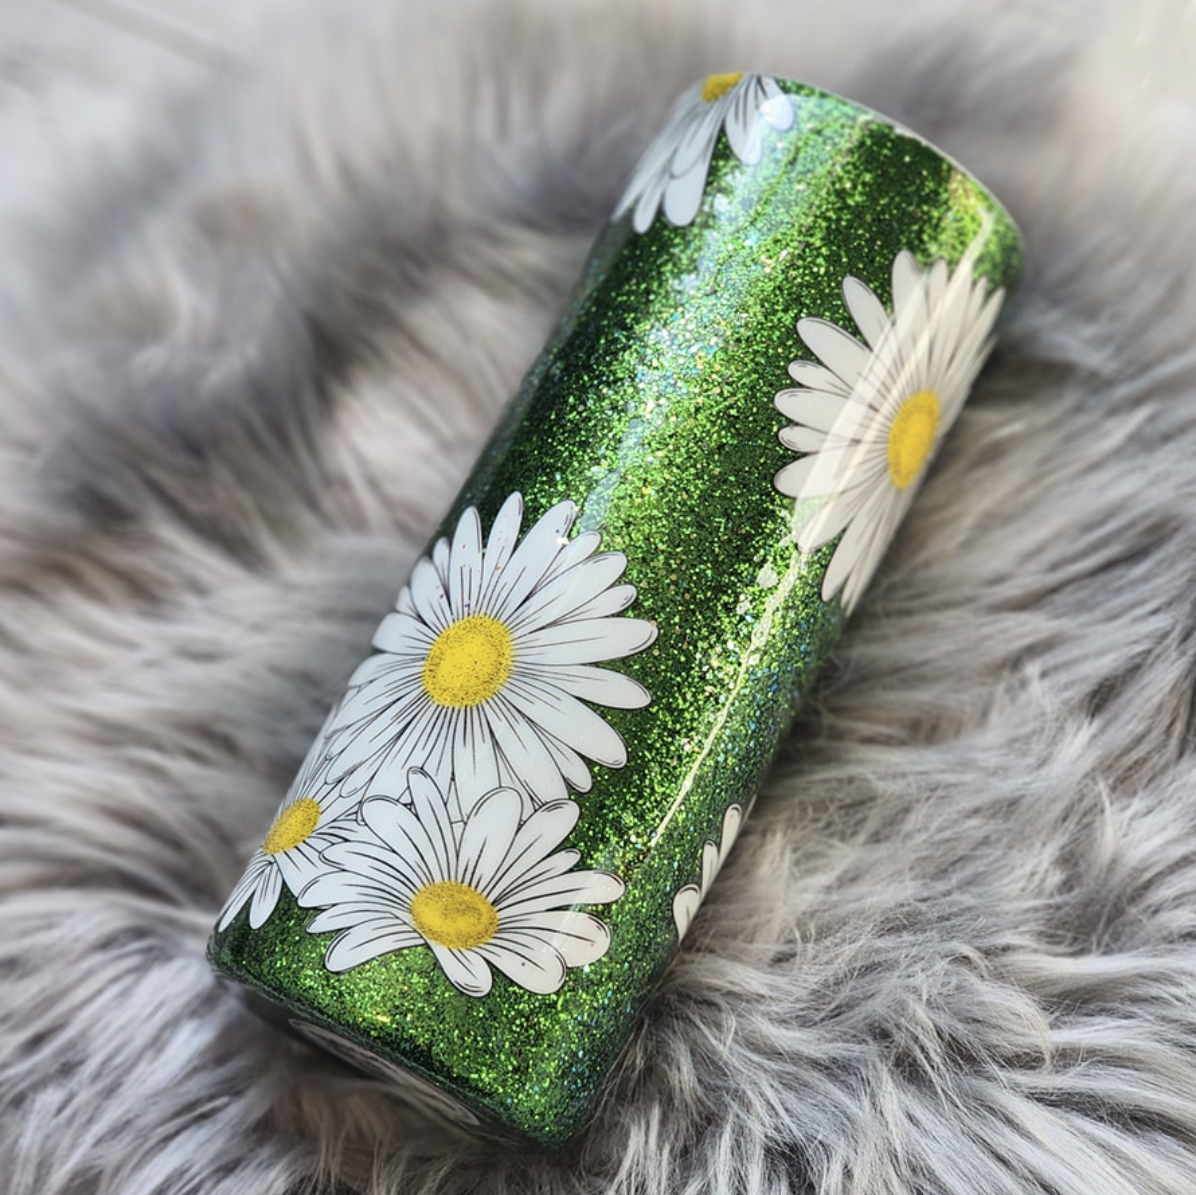
The foundation of any fabulous tumbler lies in its design. Choosing the perfect artwork is not only essential for creating eye-catching drinkware but also for capturing the hearts of your customers. Keep reading for our top tips for finding inspiration, discovering unique design resources, and optimizing your creations for sublimation!
The Importance of Choosing the Right Design
The design you select for your tumbler sets the tone for your final product. To ensure your custom tumblers stand out from the competition, consider the following factors: your overall theme, who you’re targeting, and how original you want to be with your design.
Once you’ve hammered out those details, it’s time to find some inspiration for your new tumbler creations. Inspiration can come from a variety of places, like seasonal trends, popular color palettes, or even your own personal interests and hobbies. You might look to social media platforms like Pinterest or Instagram to see what designs are trending, or take cues from nature, fashion, and home décor for fresh ideas. The key is to keep your audience in mind while also letting your creativity shine, blending practicality with originality so your tumblers stand out.
We also suggest asking your customers what they want! Adding a simple poll to your next social media post might give you the spark you need for your next tumbler design.
How to Make Tumbler Wraps
Knowing how to make tumbler wraps is a crucial step for crafting breathtaking custom drinkware. Your wrap should cover the entire tumbler surface, so it's critical to get the sizing and layout right.
Fortunately, you can ensure that your sizing is correct by using digital wrap templates, which feature precise measurements for individual tumbler blanks. Many suppliers provide these digital templates with their sublimation blanks, but you should check the tumbler's product page to make sure the supplier includes them.
Once you have your wrap template, use design software to customize it with your chosen artwork, text, or patterns. Ensure everything fits within the template's dimensions so that the design aligns properly with your tumbler. Popular design software includes Canva, Photopea, Silhouette Studio, Adobe Photoshop, and Affinity Designer.
If your sublimation blank didn't come with a wrap template, you can measure your tumbler and create a custom-sized canvas in your design software. Most 20-oz tumblers require a wrap size of approximately 9 inches wide by 8 inches tall, but this can vary slightly depending on your tumbler's shape and brand. Many design applications allow you to save custom templates, allowing you to preserve your created wrap templates for future designs.
Whether you want to design your blank with an image, pattern, or personalized text, taking time to perfect your tumbler wrap will set you up for success as you press your sublimation tumbler.
How to Optimize Your Designs for Sublimation
Once you’ve chosen a design and created your tumbler wrap, it’s crucial to optimize it for the sublimation process to ensure vibrant, high-quality results. Keep these tips in mind:
-
High Resolution: Work with high-resolution images (at least 300 dpi) to prevent your design from looking pixelated or blurry when printed. High resolution is especially important for dye sublimation to achieve crisp, detailed prints.
-
Color Conversion: Convert your design to the appropriate color profile (typically RGB for sublimation printing) to maintain accurate colors during the transfer process.
- Mirror Image: Don’t forget to flip your design horizontally (creating a mirror image) before printing it on sublimation paper. This ensures the final product will display the design correctly.
Now that you've got the perfect design and optimized it for sublimation, it's time to print it and bring your one-of-a-kind tumbler one step closer to life.
Step 3: Print Your Design Using a Sublimation Printer
Once your tumbler wrap design is ready, use a sublimation printer to transfer it onto sublimation paper. Sublimation printers discharge special inks that turn into gas when heated, allowing the design to bond permanently with the tumbler's coating.
Some crafters choose to convert regular inkjet printers for sublimation by replacing the standard cartridges with sublimation ink. While this can work, it's common for these printers to clog, as they're not designed for sublimation ink. Additionally, using your standard printer beyond its intended use can void your warranty and result in costly repairs. For these reasons, it's ideal to use a sublimation printer instead.
A few of the best sublimation printers include the Sawgrass SG500 Sublimation Printer, Epson SureColor F170 Dye-Sublimation Printer, and Brother SP-1 Sublimation Printer.
When printing, use high-quality sublimation paper designed to hold and release sublimation ink properly. For tumblers, it's best to use sublimation paper with a weight of between 125 and 130 grams per square meter (gsm).
Step 4: Prep Your Tumbler for the Sublimation Process
Before you begin the exciting process of transferring your design, it’s essential to properly prepare your tumbler. Taking the time to clean and sand your tumblers ensures a smooth surface for a flawless sublimation transfer, which ultimately leads to professional results.
Start by wiping your tumbler with a soft, lint-free cloth to remove any dust or debris that could interfere with the sublimation process. For a deeper clean, use rubbing alcohol or mild dish soap to remove any residual oils or fingerprints. Just be sure to rinse thoroughly and allow the tumbler to air dry completely.
If you notice any rough patches or imperfections, gently sand the surface using fine-grit sandpaper (400 to 600 grit) in a circular motion. Be sure to sand lightly, as applying too much pressure could damage the polymer coating that's essential for successful sublimation. After sanding, wipe down the tumbler once more with a clean, lint-free cloth to remove any residue.
Step 5: Transferring Your Design
After prep work, it’s time for the star of the show: transferring your gorgeous design onto your tumbler. While this part of the process can feel a bit daunting, fear not! We’re here to guide you through the sublimation process step by step.
Step-by-Step Guide to the Sublimation Process
-
Wrap It Up: Trim the excess paper around your printed design, leaving a small border. Carefully wrap your design around the tumbler, ensuring it’s precisely aligned with no wrinkles or air bubbles. You’ll want the image to “hug” the tumbler as closely as possible for a perfect transfer.
-
Secure and Seal: With your design in place, use heat transfer tape to secure it, ensuring it doesn’t shift during the heating process.
-
Cover in Shrink Wrap (Oven Only): If you're using a sublimation oven rather than a heat press, you'll need to tightly cover oven-safe shrink wrap around your tumbler to help ensure that the sublimation designs form evenly.
-
Preheat Your Press or Oven: Set your device to your manufacturer's recommended sublimation settings based on your specific tumbler cup material and size.
-
Transfer the Heat: Place your tumbler in the heat press or sublimation oven. If you're using a heat press on a standard 20-oz stainless steel tumbler, apply firm pressure for 30-45 seconds per side.
- The Big Reveal: Once the timer is up, carefully remove your tumbler from the heat source (with heat-resistant gloves, of course!) and let it cool slightly. Then, remove the tape, paper, and any protective wrapping to unveil your magnificent masterpiece.
Tips for Precise Alignment and Securing Your Design
-
Always Take Your Time: Slow and steady wins the race when it comes to aligning your design. Be patient and double-check your placement before securing it with tape or shrink wrap.
-
Start Small: If you’re new to tumbler sublimation, consider starting with smaller or simpler designs. As your confidence grows, you can tackle larger or more complex artwork.
-
Get Extra Hands: Don’t be afraid to ask for help — an extra pair of hands can make aligning and securing your design a breeze.
- Remember That Practice Makes Perfect: Like any skill, mastering tumbler sublimation takes practice. Experiment with different techniques, learn from your mistakes, and watch as your creations improve over time.
Recommended Heat Settings for Different Materials
When it comes to sublimation, different materials and tumbler sizes require varying temperatures and times. Here are some general guidelines to ensure your tumblers are heated to perfection when using a tumbler heat press:
-
Stainless Steel Tumblers: 350-380°F, 30-45 seconds per side.
-
Ceramic tumblers: 370-380°F, 90-160 seconds per side.
- Glass tumblers: 370-380°F, 90-160 seconds per side.
Remember, these guidelines can vary based on your heat press manufacturer — your specific heat press or oven may require adjustments. It’s always a good idea to consult the manufacturer’s recommendations and test your equipment with a few practice runs.
Additional Tips for the Best Dye Sublimation Printing Results
-
Choose High-Quality Sublimation Ink and Paper: Invest in reputable brands that are specifically formulated for sublimation printing, such as Sawgrass, Epson, or Brother. High-quality sublimation ink and paper ensure your prints are vibrant, sharp, and durable, whether you’re working on tumblers, coffee mugs, mouse pads, apparel, or another sublimation blank.
-
Monitor the Printing Process: Keep a close eye on your prints as they go through the process. If you notice any issues, such as uneven color or misalignment, pause and make adjustments before continuing.
-
Test and Optimize Print Settings: Every material and substrate can react differently to heat and ink. Run test prints and tweak your settings for each new batch of tumblers, mugs, or fabrics to ensure the best possible results.
- Maintain a Clean and Organized Workspace: Dust, lint, and other contaminants can affect the quality of your prints. Keep your workspace tidy and your equipment clean to avoid unwanted marks or imperfections on your finished products.

Sublimation Safety Tips
Although the big reveal is exciting, don’t forget to prioritize safety while handling your freshly sublimated tumbler. Keep these precautions in mind:
-
Heat-Resistant Gloves: Before removing your tumbler from the heat press or oven, slip on a pair of heat-resistant gloves to protect your hands from burns.
-
Cooling Time: Allow your tumbler to cool for a few minutes before attempting to remove the paper, tape, or shrink wrap. This not only protects your hands but also ensures the sublimation process is complete.
-
Safe Surface: Place your hot tumbler on a heat-resistant surface, such as a silicone mat, while it cools to protect your countertops or work area.
- Patience Pays Off: As tempting as it may be to rush the cooling process, patience is key. Allowing your tumbler to cool gradually and naturally helps ensure the sublimation ink sets properly, resulting in a vibrant and long-lasting design.
Now that you have all the basics for achieving great results, let's unpack some common sublimation issues that crafters experience when working with tumblers.

Troubleshooting Common Sublimation Issues
Sublimation printing is an exciting and rewarding process, but even the most experienced crafters can run into a few bumps along the way. Whether you’re a beginner or a seasoned pro, understanding how to troubleshoot common sublimation issues is key to producing flawless, professional-quality prints every time.
Let’s dive into some of the most frequent challenges you might encounter during the printing process, as well as how to fix them.
How to Fix Faded Prints, Ghosting, and Other Common Problems
If you’ve ever pulled a tumbler or coffee mug out of your heat press only to find a faded print or a ghostly shadow where your design should be, you’re not alone. These are some of the most common issues in sublimation printing, but the good news is they’re usually easy to fix with a few adjustments.
-
Faded Prints: If your prints are looking dull or washed out, double-check your heat press settings. Sublimation ink requires the right combination of heat, pressure, and time to fully transfer to the material’s surface. Make sure you’re using the recommended temperature and pressure for your specific substrate, and that your sublimation ink is fresh and high-quality. Also, ensure your sublimation paper is suitable for the printing process and that you’re applying enough pressure during the transfer.
-
Ghosting: Ghosting occurs when your design appears blurry or has a shadow effect. This often happens if the sublimation paper shifts during the heat press process or if the press isn’t calibrated correctly. To prevent this, always secure your paper tightly with heat-resistant tape and check that your heat press is properly calibrated. Avoid opening the press too quickly, as sudden movement can cause the paper to shift and create ghosting.
-
Incorrect Color Representation: If your colors aren’t coming out as expected, it could be due to an incorrect color profile or monitor calibration. Make sure your design software is set to the sRGB color profile, and calibrate your monitor regularly for accurate color matching.
-
Ink Bleeding or Migration: Excessive heat, too much pressure, or incorrect ink settings can cause the ink to bleed or migrate beyond the intended design area. Try lowering the temperature or pressure slightly, and ensure your ink flow settings are optimized for your printer and material.
- Peeling or Cracking Prints: If your sublimation print is peeling or cracking after transfer, it may be due to using a substrate that isn’t sublimation-friendly or not applying enough heat and pressure. Always use materials that are suitable for sublimation printing, such as polymer-coated stainless steel, and follow the recommended heat press settings for your substrate.
By following these tips and staying proactive about troubleshooting, you’ll be able to produce high-quality, professional prints that are sure to impress. Sublimation printing opens up a world of creative possibilities. Aside from creating stunning drinkware, you can sublimate on a wide variety of materials made from polyester or that feature polymer coatings.
Sublimation FAQs
Can I Sublimate on Any Tumbler?
Not all tumblers are suitable for sublimation. Only those with polymer coatings designed for sublimation will produce vibrant, lasting results. Using regular tumblers without this coating will waste your time and money, as the sublimation ink will not transfer.
Can You Use an Iron Instead of a Heat Press?
Irons don't provide the consistent heat or even pressure required for sublimation on curved surfaces, such as tumblers. Using an iron may result in uneven transfers or incomplete designs. A tumbler heat press is recommended for the best and most reliable results.
How Long to Sublimate a Tumbler?
Sublimating a tumbler typically takes 30-45 seconds per side at 350°F and 380°F, but the time and temperature may vary depending on your blanks and heat press brand. Always follow your manufacturer's guidelines.
Can You Remove Sublimation from a Tumbler?
Once a design has been sublimated onto a tumbler, it becomes part of the surface coating and cannot be easily removed. Attempting to remove the design may damage the tumbler's finish. If you want a different look, it's best to start with a new polymer-coated sublimation tumbler.
Is Sublimation or Screen Printing the Right Choice for Custom T-Shirts?
While screen printing is a popular method for garment printing, sublimation can help you achieve longer-lasting and more vibrant results.
That said, screen printing may be better if you're working with black shirts or dark garments. Sublimation works best on white or light-colored surfaces, as the sublimation inks do not come in the color white. The color of the fabric or material will show through in areas where white is present in your design.
Additionally, sublimation requires polyester fabric or a high-polyester fabric blend. You'll want to opt for screen printing if you're working with cotton apparel.
You can learn more about whether to use sublimation or screen printing in our guide "Sublimation vs Screen Printing: Which Is Better For Crafters?"
Learn More About Getting the Best Sublimation Results
Sublimation can open up exciting opportunities, as you can create stunning, one-of-a-kind tumblers and other crafts for personal use or sale. Following these steps with precision and attention to detail will help ensure your sublimation colors come out bold and crisp. With a little practice and the right tools, you can create high-quality works of art that both you and your customers will be proud to use or display.
For more tips and detailed guides, be sure to explore our other blog posts here, which answer some of the most common questions about customizing tumblers and the sublimation process in general. For example, you can learn about some of the best sublimation tools with our sublimation printer and heat press comparison guides.
At The Stainless Depot Company, we offer everything you need to sublimate tumblers successfully. From high-quality wholesale tumbler cups to essential sublimation supplies, our selection is designed to support crafters and entrepreneurs at every level. Explore our website to find the tools and materials that will help bring your creative ideas to life.
We'd love to see your stunning tumbler creations and hear about your sublimation adventures. Share your favorite sublimated creations in the comments below!