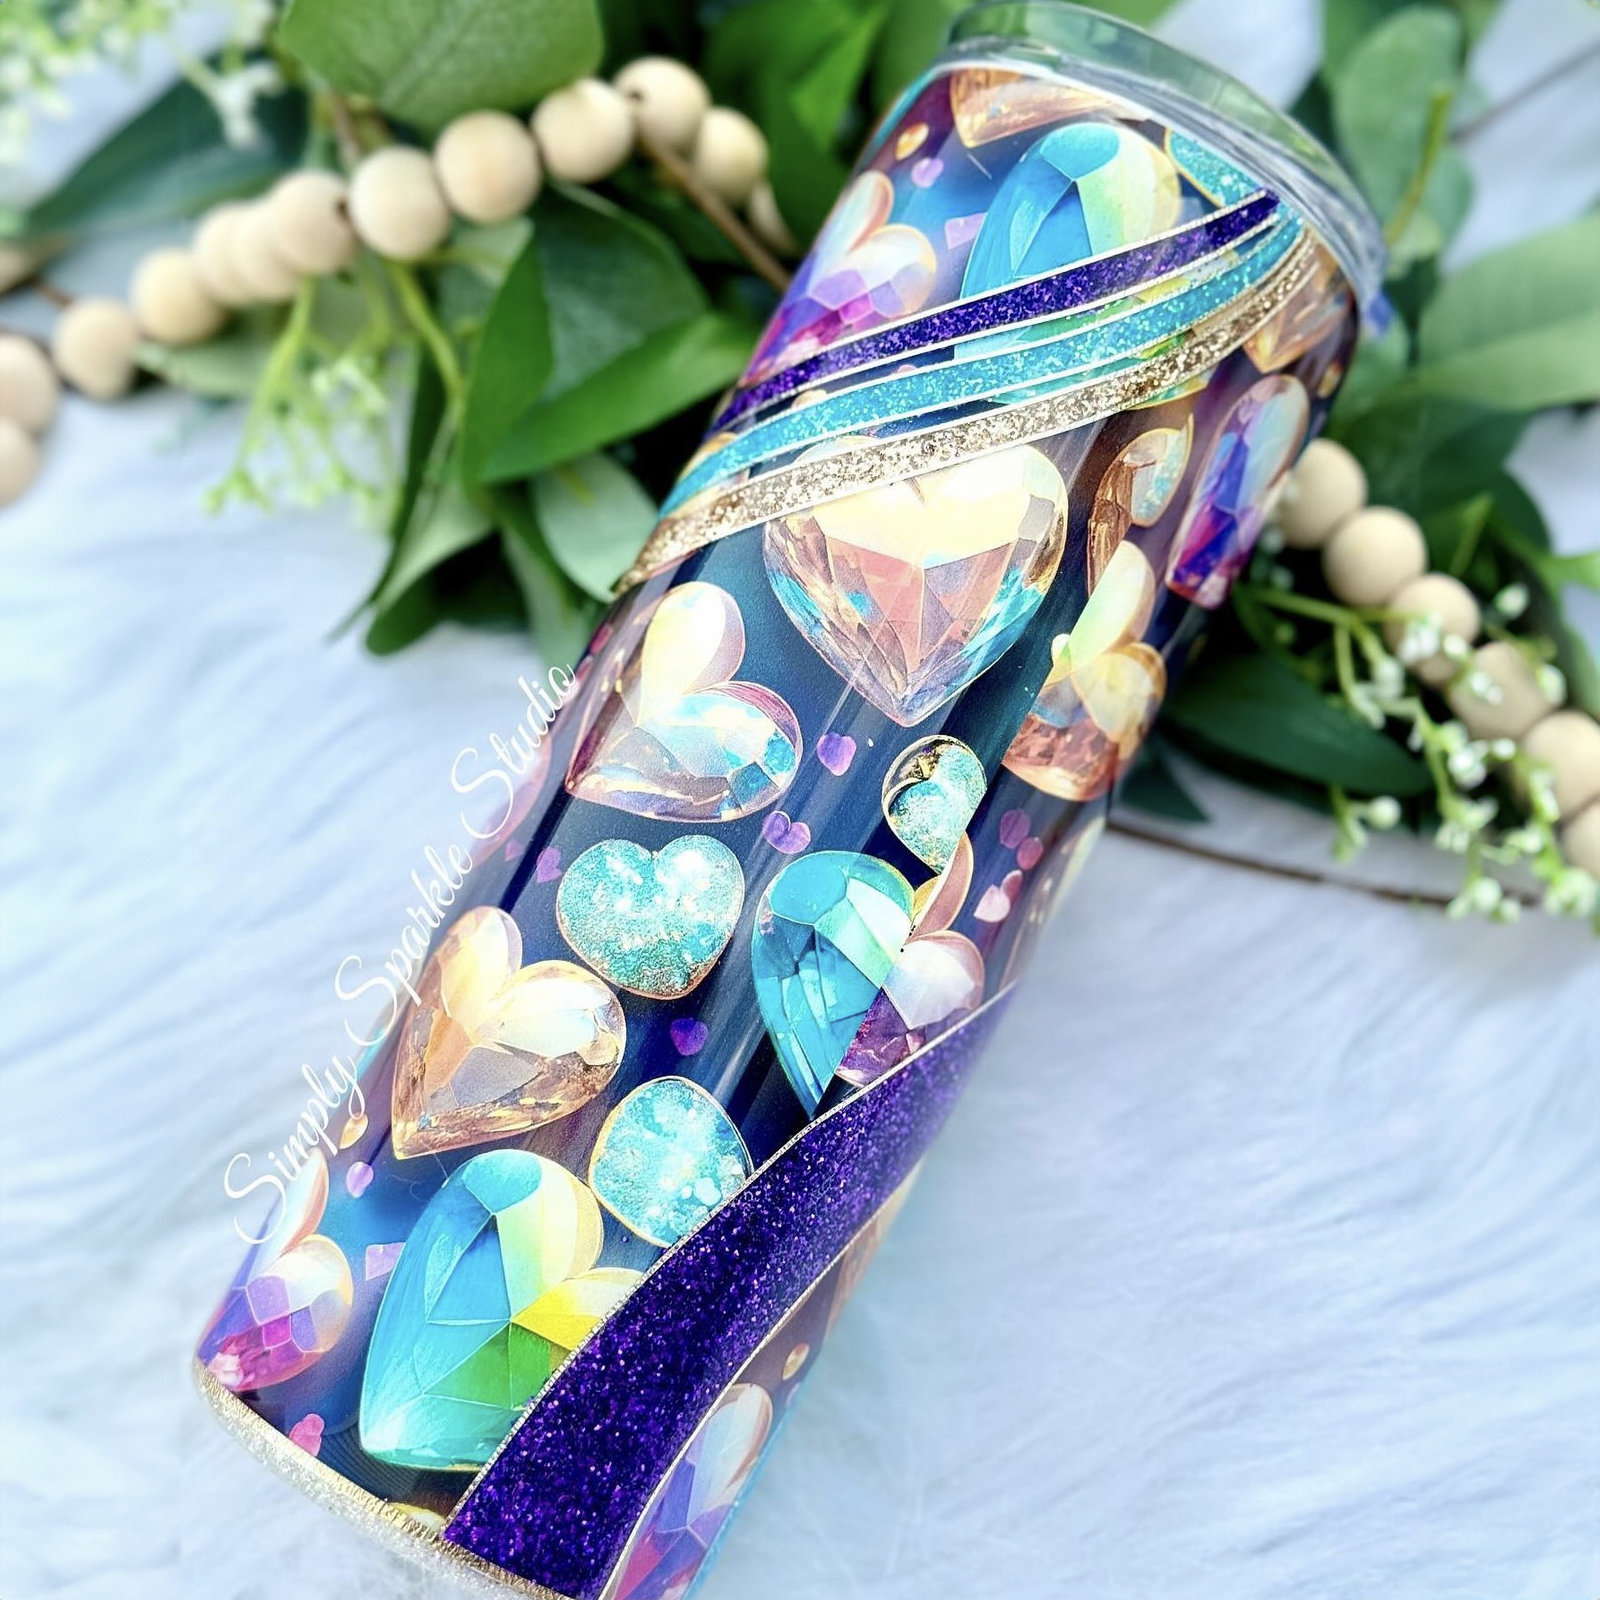
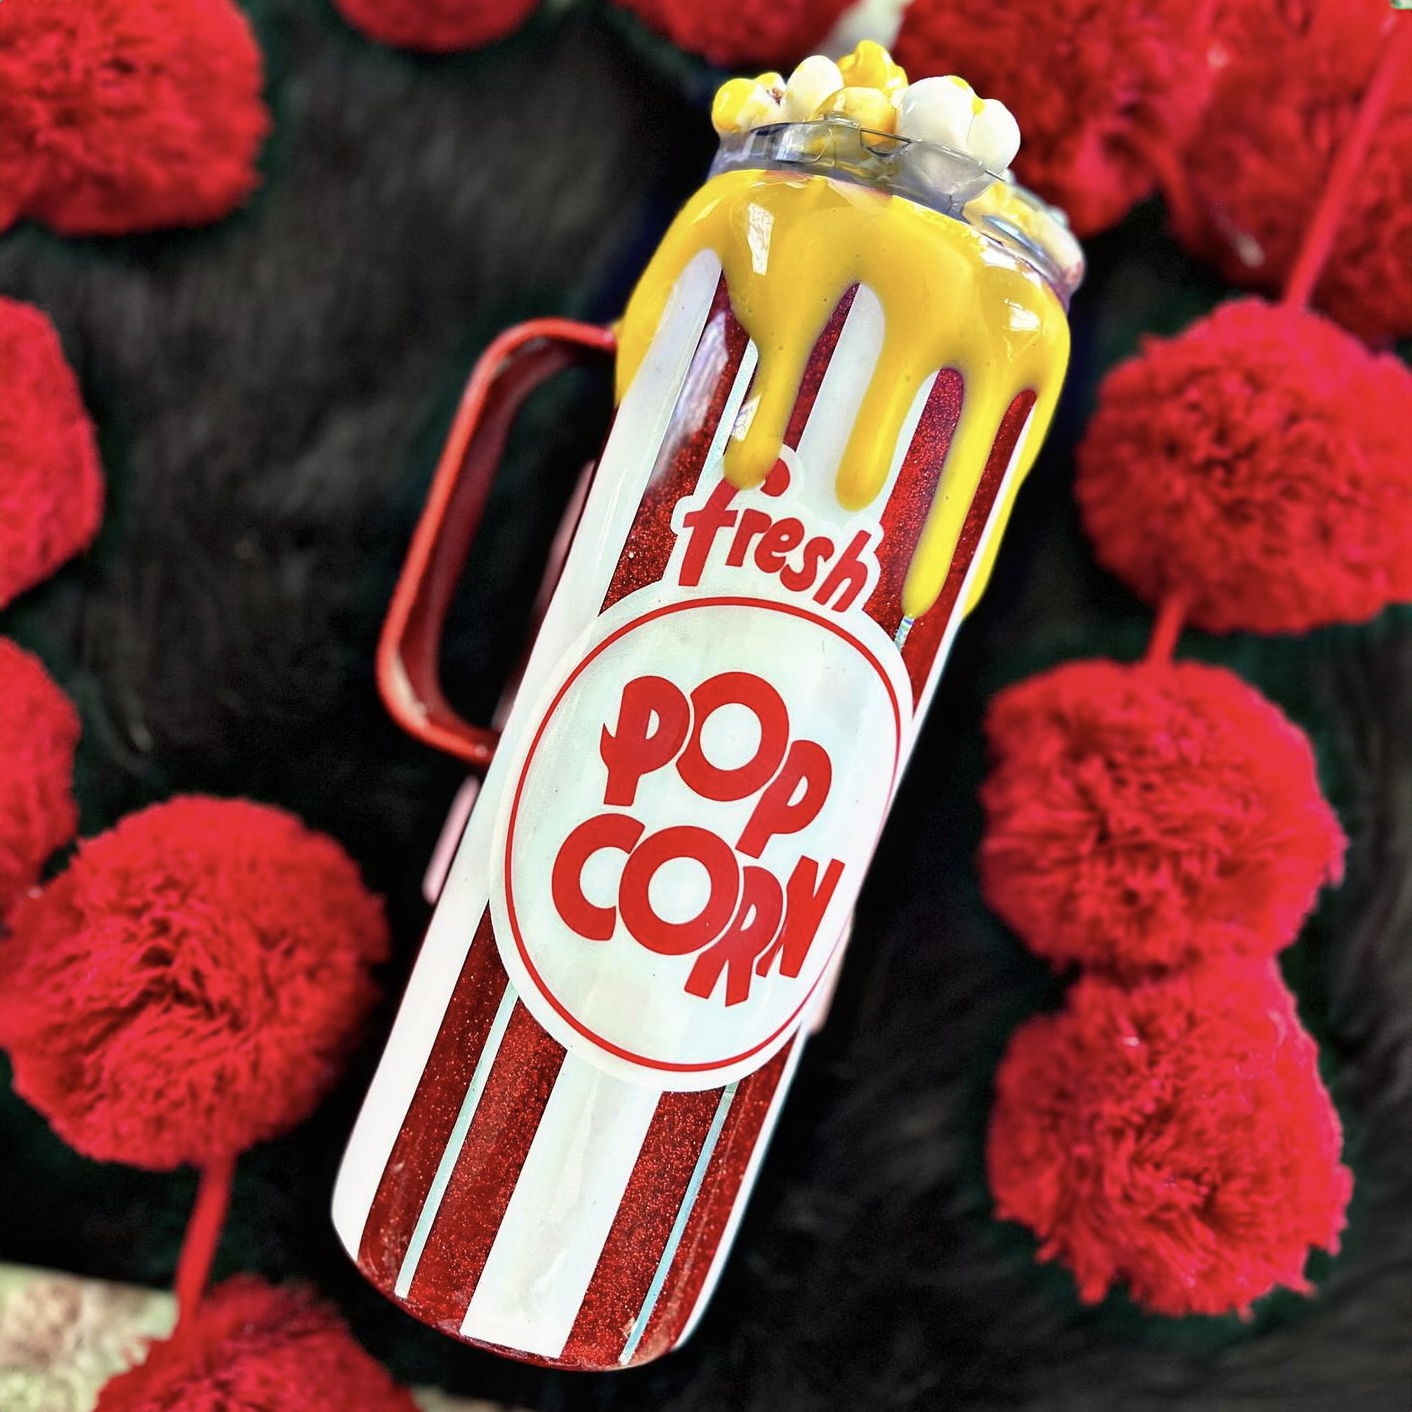
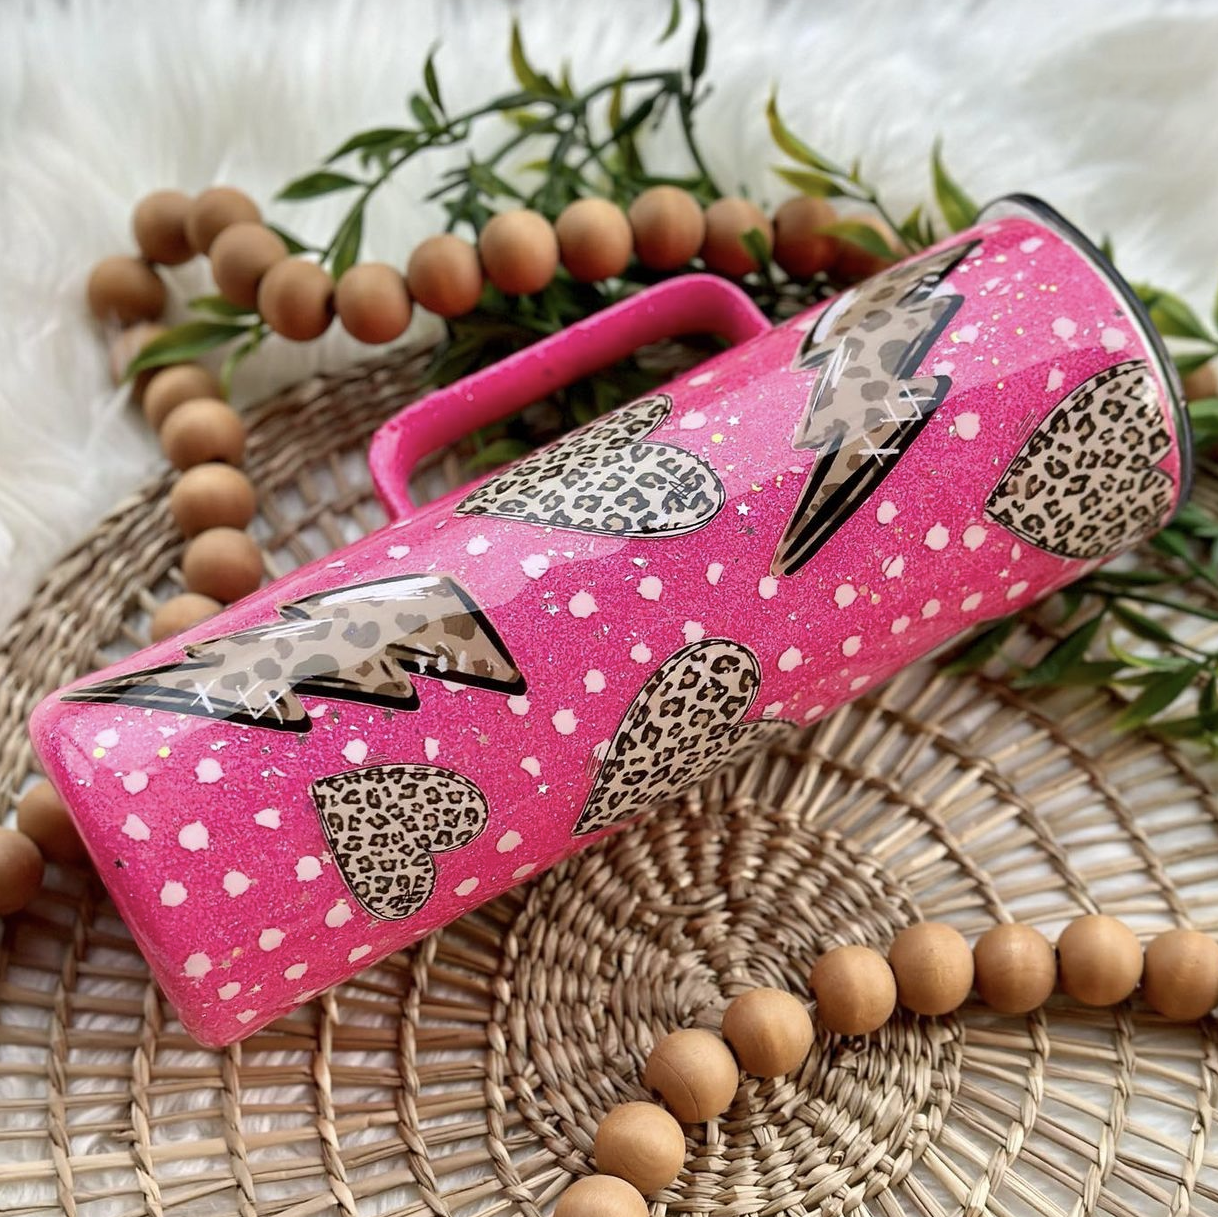
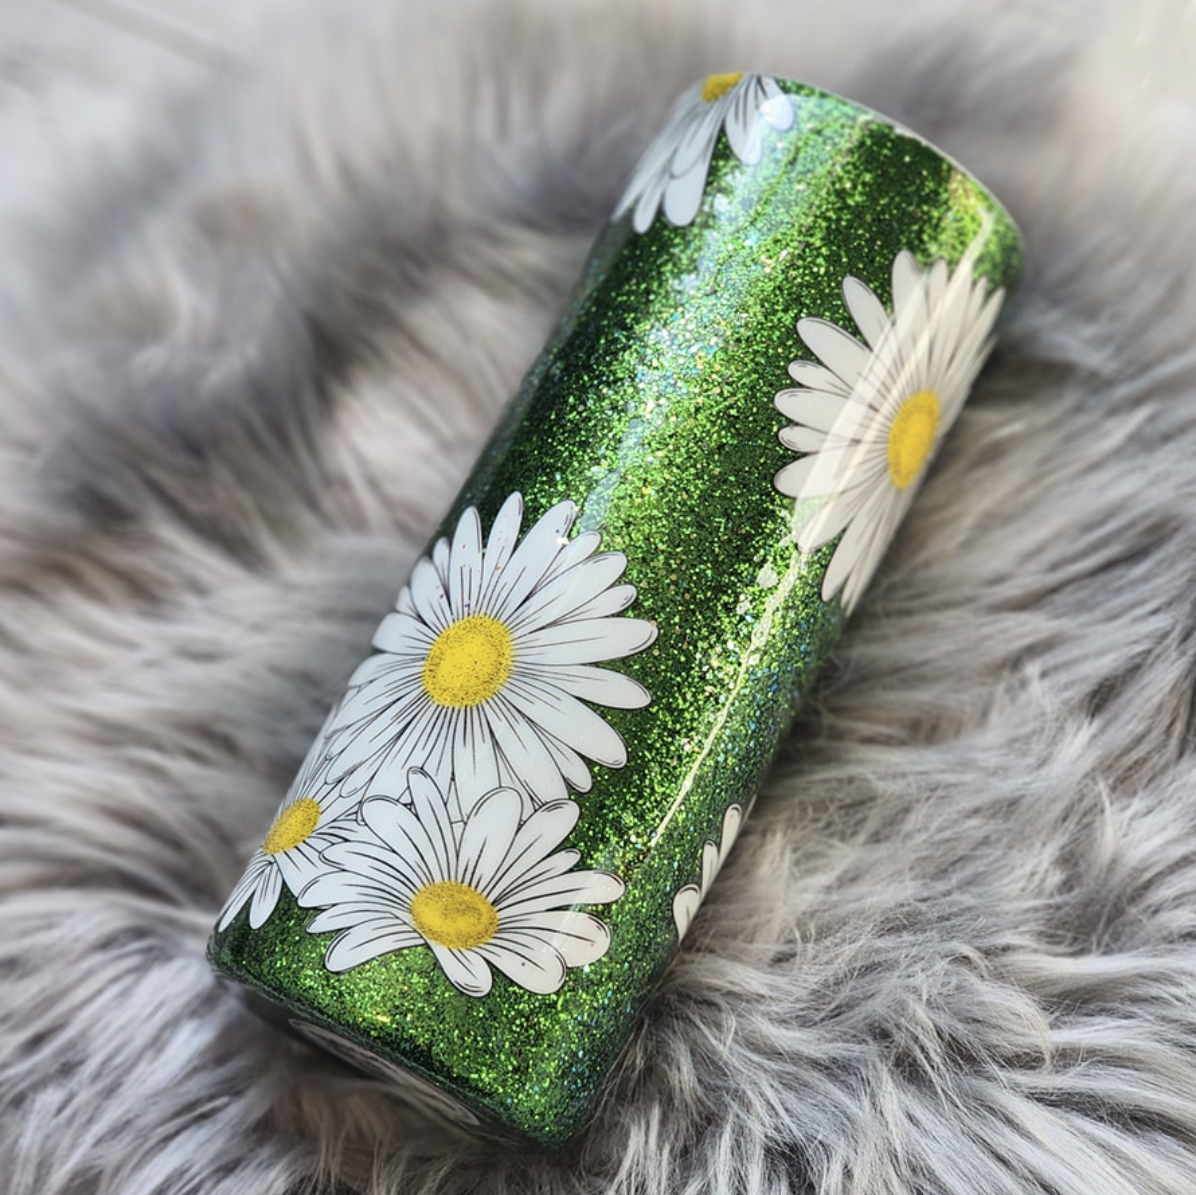
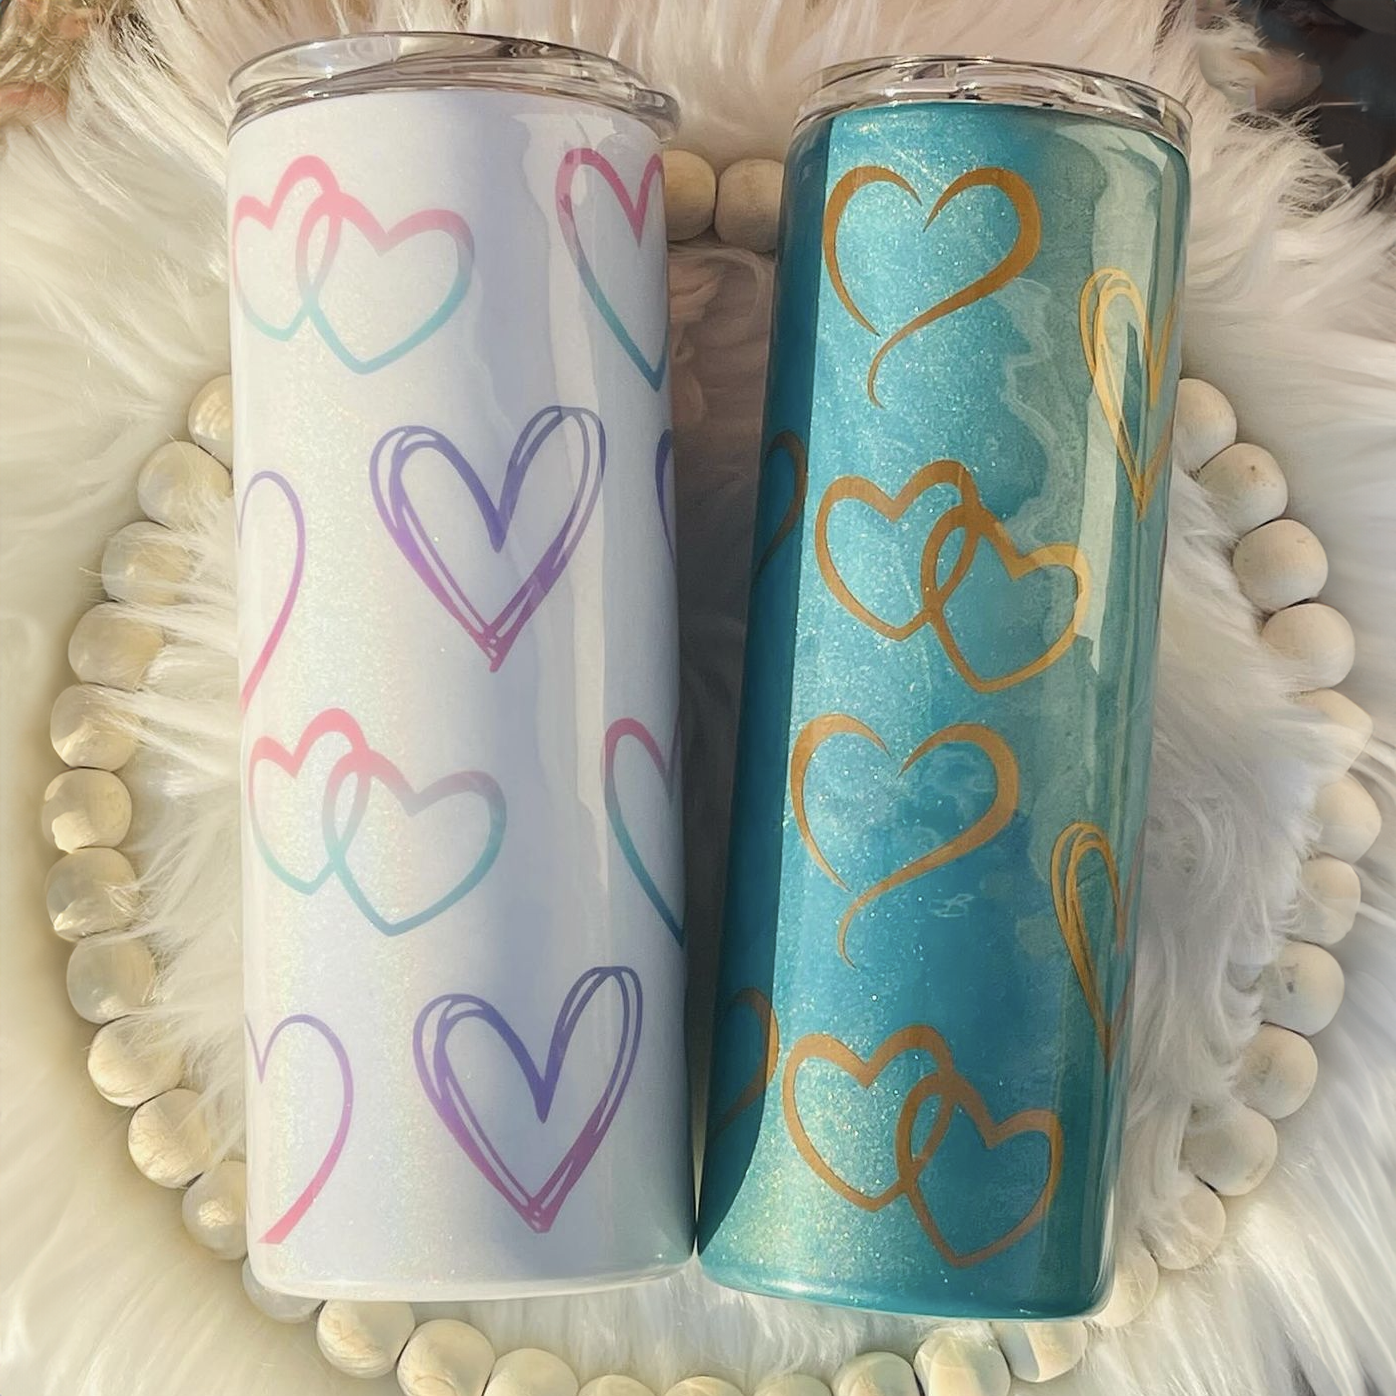
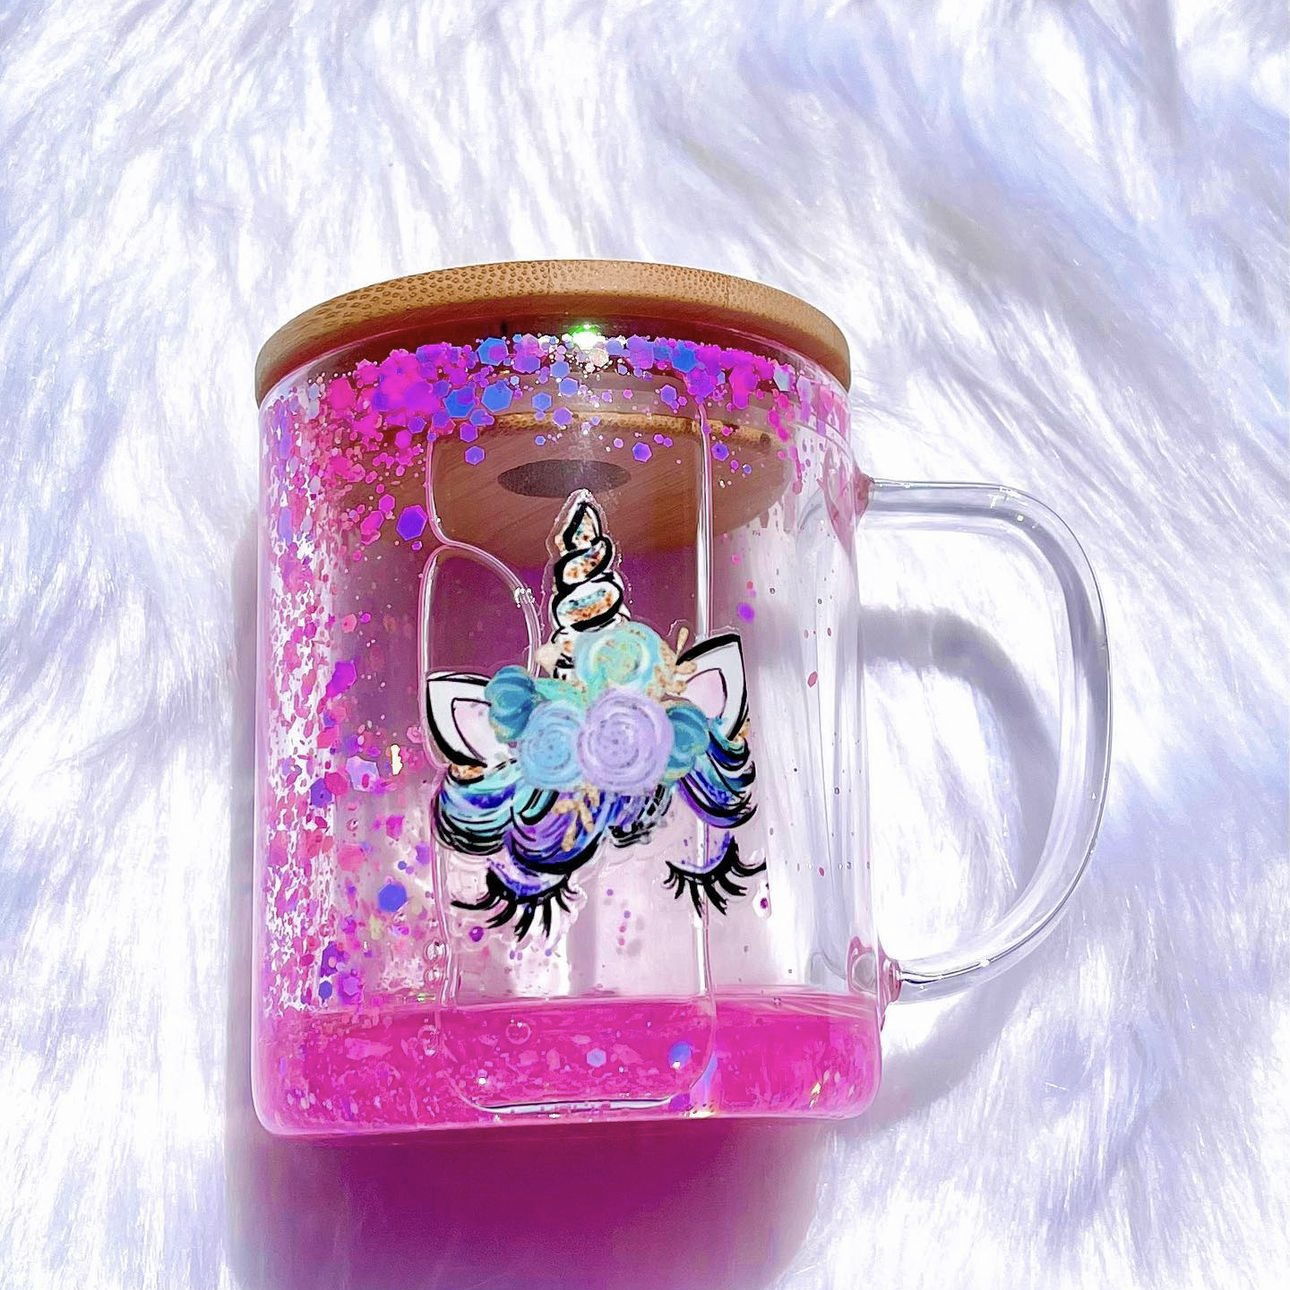
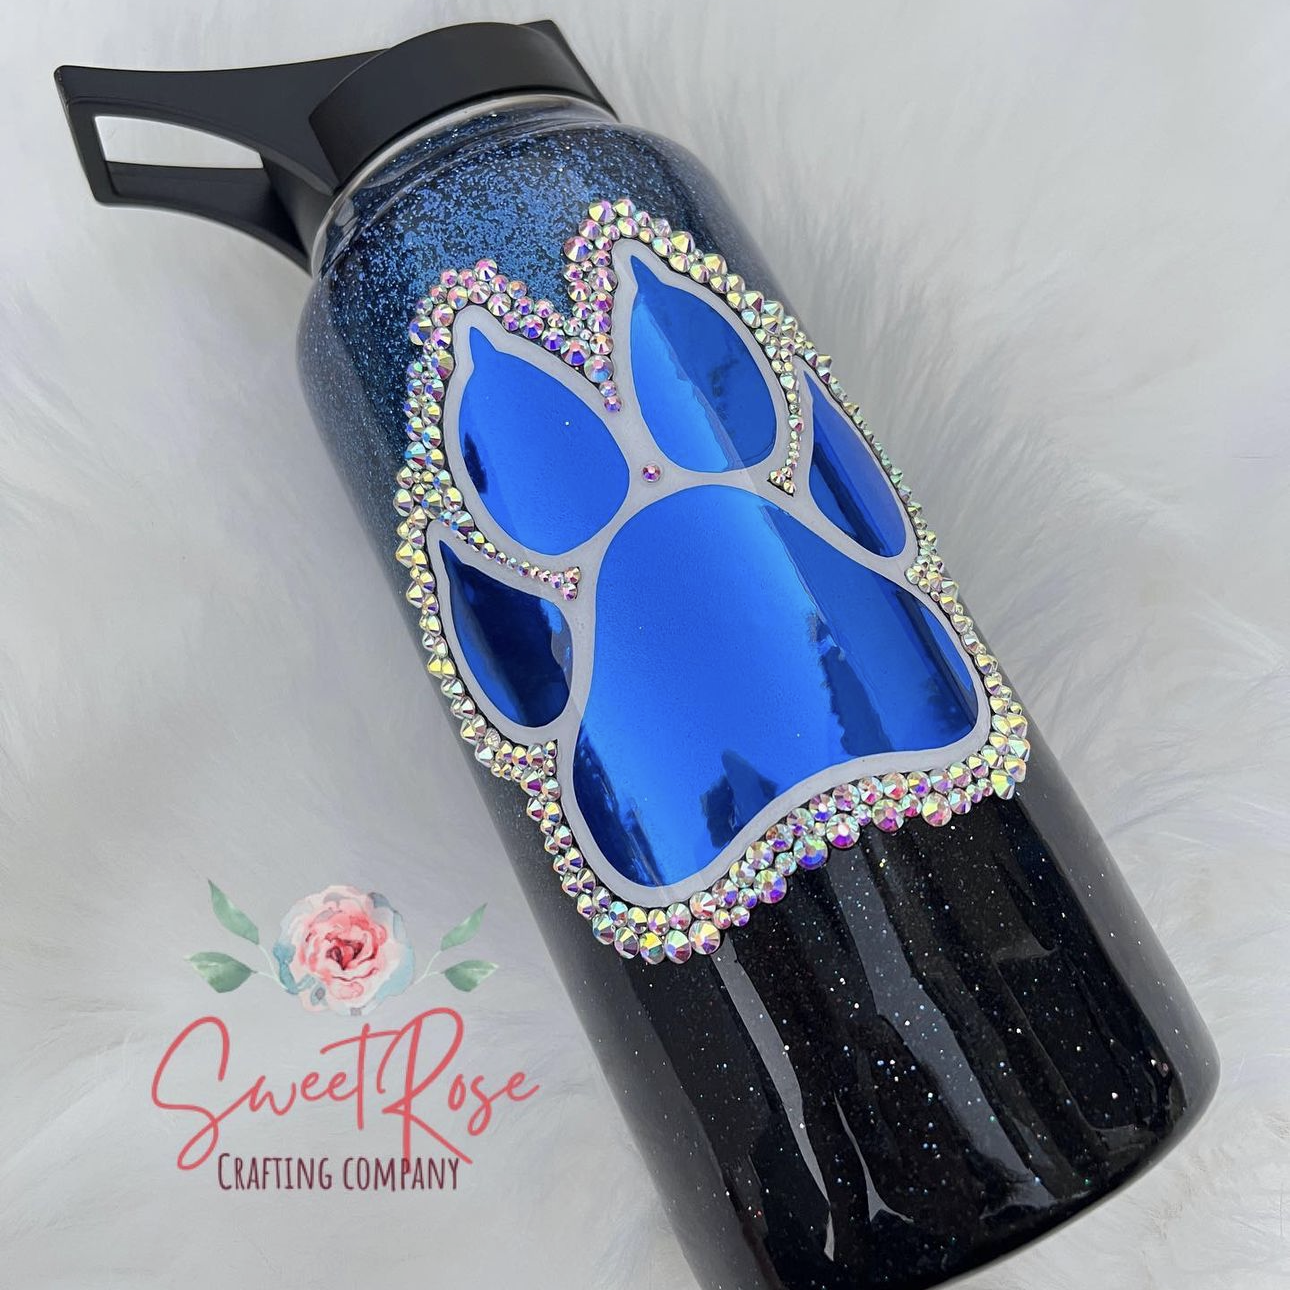
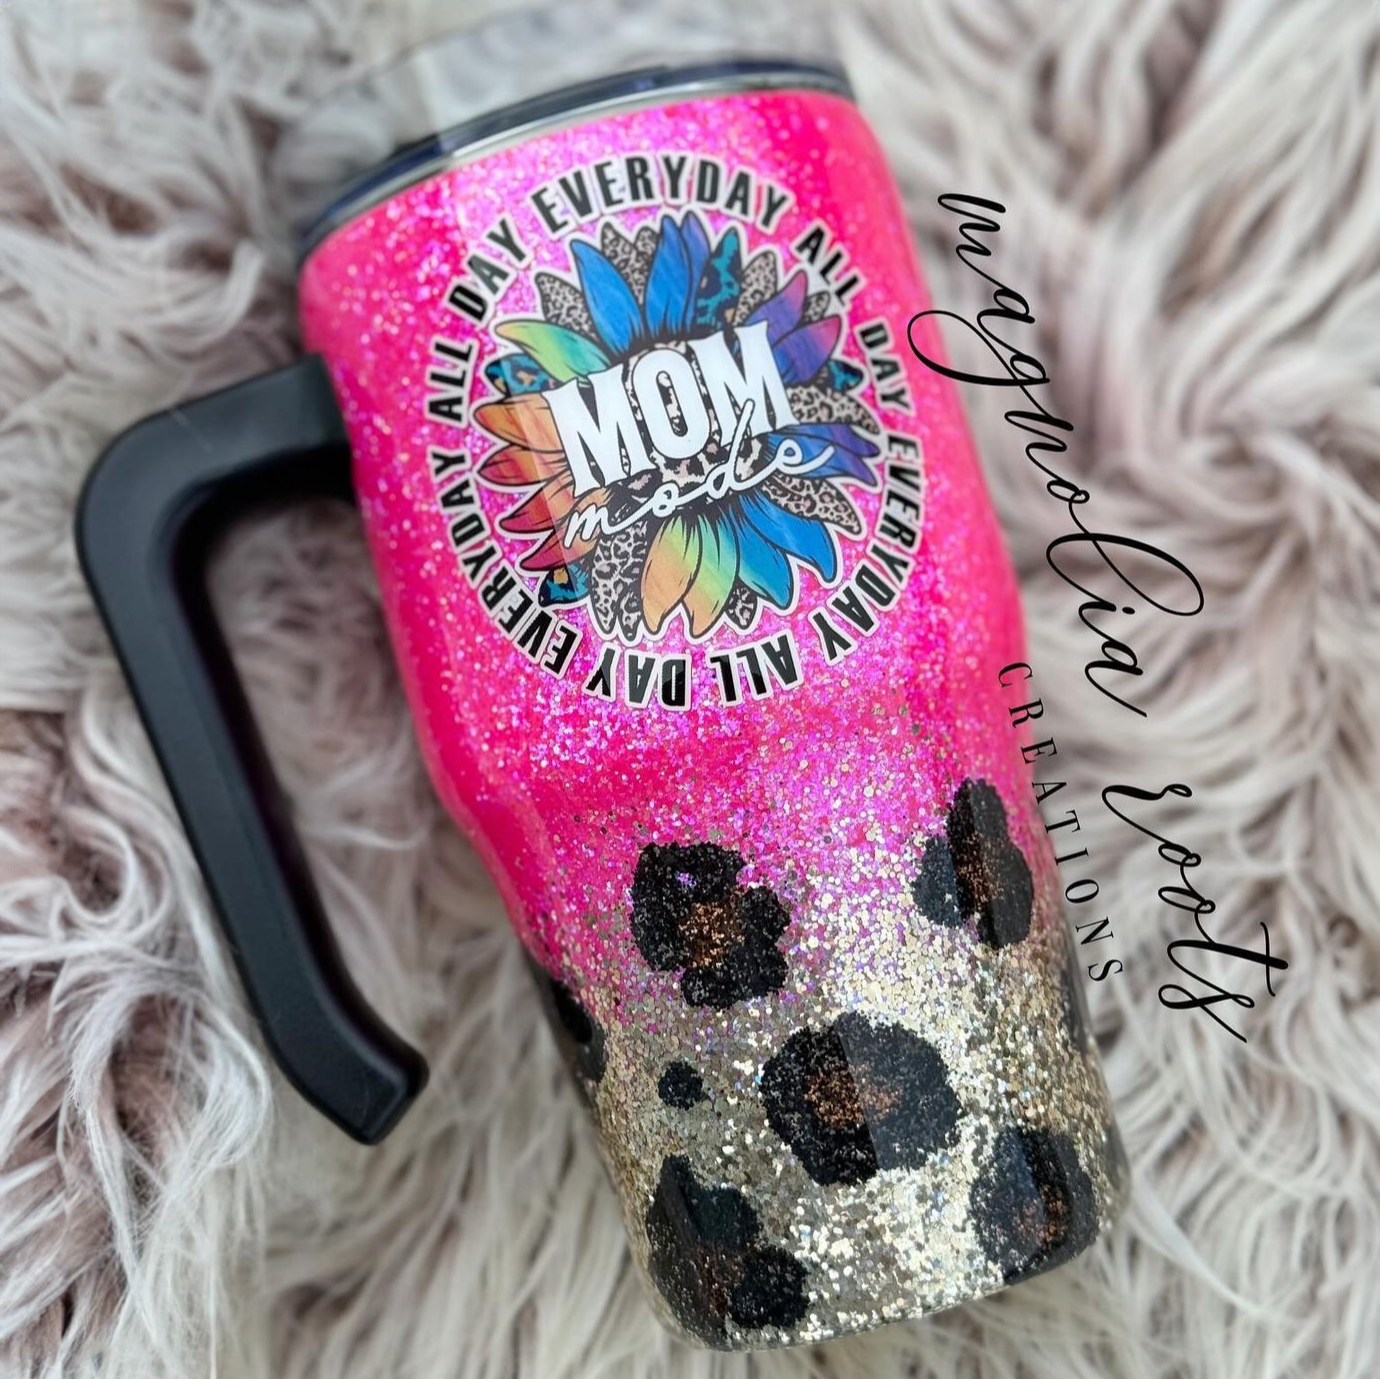
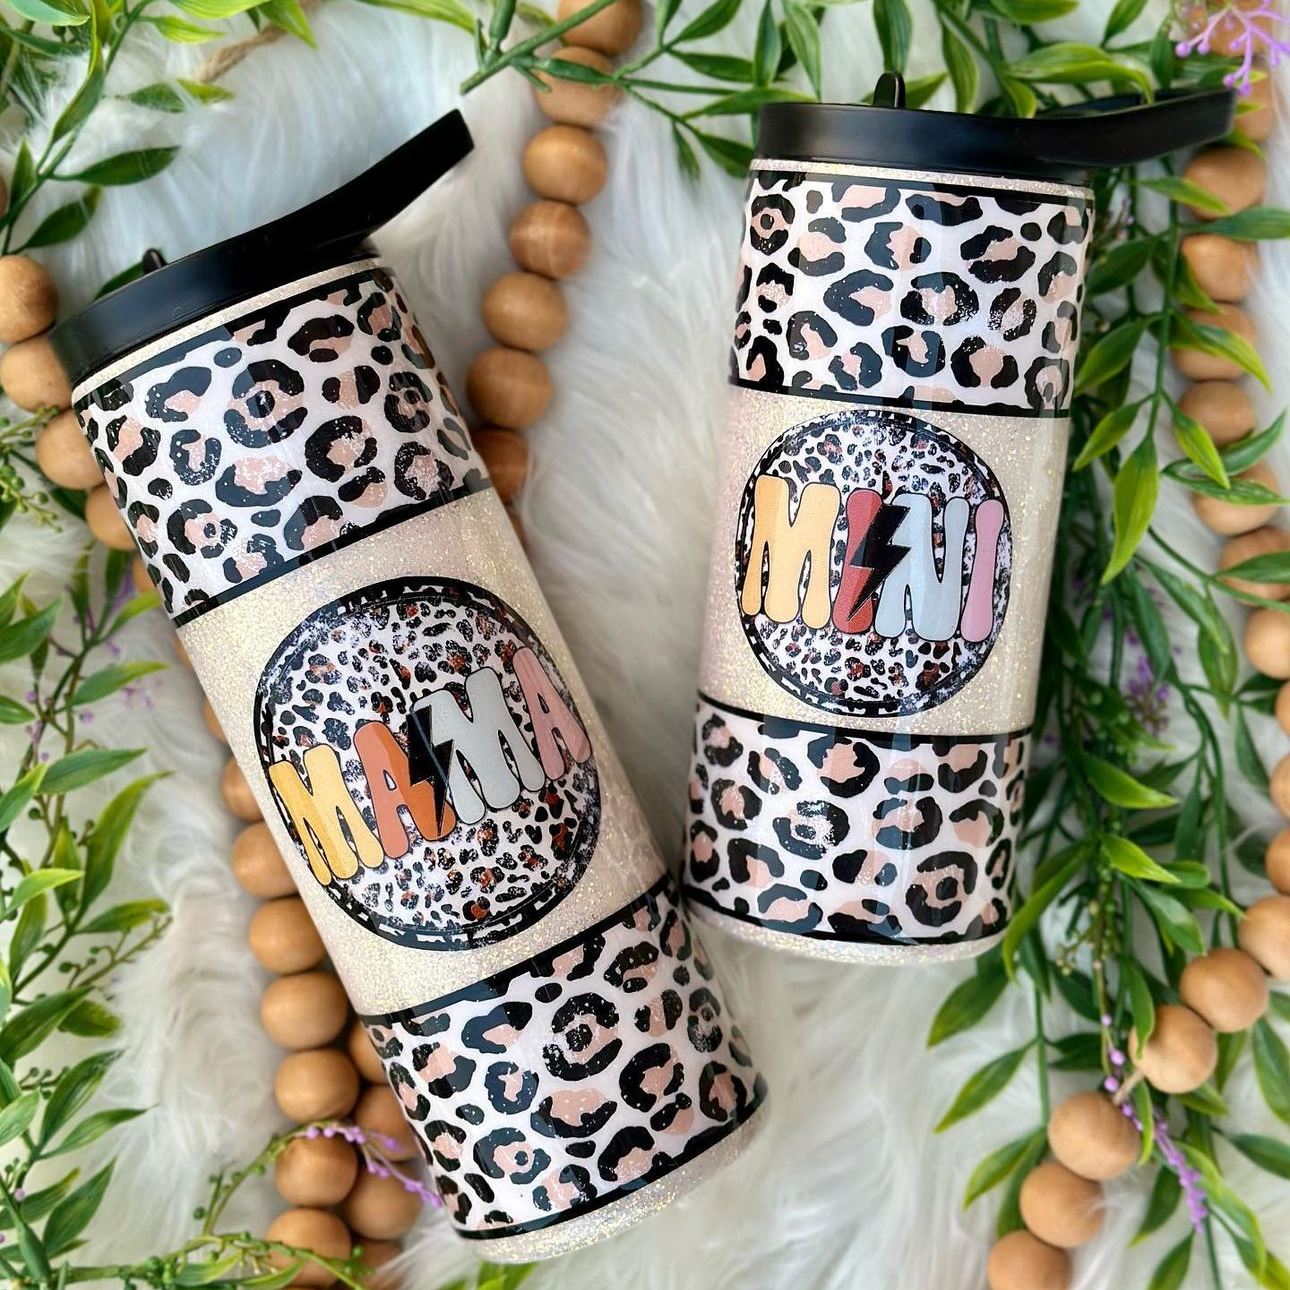
Vinyl decals are one of the easiest and most rewarding ways to customize tumblers.
Whether you are building a small crafting business or creating your first custom tumbler at home, learning how to apply vinyl decals is a valuable skill. With just a few simple tools and the right materials, you can turn a stainless steel tumbler into clean, professional-looking drinkware that stands out.
In this guide, we will walk through how to apply vinyl decals to tumblers. Each step will help you build confidence and get consistent results, whether you are making one tumbler or a full product line.
By the end, you will know how to apply a vinyl decal to a tumbler from start to finish.
Let's dive in and unpack this simple yet effective customization method for your drinkware!
 What Supplies Do I Need to Apply Vinyl Decals to Tumblers?
Before you begin applying decals, it is important to gather the supplies you will need. Having everything ready makes the process smoother and reduces the chance of mistakes once you start working with your design. The right tools and supplies can also make a big difference in achieving clean, professional results.
You will need:
-
A high-quality tumbler with a smooth, coated surface designed for vinyl application
-
Rubbing alcohol and a lint-free cloth for cleaning the tumbler surface
-
A decal made from permanent adhesive vinyl for long-lasting durability on drinkware
-
Transfer tape for vinyl to apply your design cleanly onto the tumbler
-
A squeegee, scraper tool, or firm card for smoothing and securing the vinyl
Once you have all of the necessary supplies, you are ready to use vinyl decals to create professional drinkware.
Step 1: Clean the Tumbler Surface
Before you apply your vinyl decal to your tumbler, make sure the cup surface is completely clean. Even small amounts of dust, oil, or residue can prevent the decal's adhesive vinyl from sticking properly and may cause lifting or peeling over time.
A clean surface helps your vinyl adhesive form a strong bond with the tumbler, which is especially important for crafters who want consistent, professional results.
Start by wiping the tumbler with rubbing alcohol and a lint-free cloth. This removes fingerprints, manufacturing oils, and any debris left on the surface. Let the tumbler fully air dry before moving on to the next step.
For best results:
- Use 70 percent or higher isopropyl alcohol
- Avoid touching the surface after cleaning
- Make sure the tumbler is completely dry before applying vinyl
This step is simple, but it plays a big role in how well your adhesive vinyl performs. Without proper surface preparation, the vinyl decal may not stick properly, or the edges may lift after application.
Taking a moment to properly clean your tumbler ensures your vinyl decal adheres smoothly and provides a strong foundation for the rest of the application process.
Step 2: Prepare the Vinyl Decal with Transfer Tape
Before placing your design on the tumbler, you need to prepare the decal using transfer tape. This step ensures the entire design stays aligned and lifts cleanly from the backing.
Start by laying the vinyl decal flat, then apply transfer tape over the top. Use a squeegee, scraper, or firm card to press the tape onto the vinyl. This allows the vinyl to adhere to the tape so it transfers as a single piece.
Once you apply the transfer tape, flip the decal over and slowly peel away the backing paper. The vinyl should remain attached to the transfer tape. If any parts stay on the backing, press them down again and repeat.
Now that you have prepared your vinyl decal with transfer tape, you can position it onto your tumbler.
Step 3: Position the Vinyl Decal
With the decal now attached to the transfer tape, the next step is to position it on the tumbler. This is where accuracy matters most because tumblers are curved, and even a slight tilt can make the finished design look uneven.
At this stage, do NOT press the decal down fully. Instead, place it lightly on the tumbler to check alignment and adjust it before the adhesive forms a permanent bond. The goal is to preview the placement rather than commit to it.
Take time to ensure your design is centered on the cup. Use the tumbler's rim as a reference point, and make sure the spacing at the top and bottom is even. If your tumbler has a handle or seam, you can use it as a visual guide to keep the design straight.
Here are some other tips for accurate positioning:
- Lightly wrap the design around the tumbler to check spacing
- Use a ruler or tape measure to center the design
- Step back and check alignment from multiple angles
- Use masking tape to hold the decal in place if needed
When everything looks straight, centered, and visually balanced from all angles, you are ready to apply the decal.
Step 4: Apply the Vinyl Decal
Now that you have positioned your design, it is time to apply it to the tumbler. This step is where your project really comes together, so working slowly and evenly will help you avoid blemishes and misalignment.
Begin on one side and gradually press the vinyl onto the tumbler.
Avoid laying the entire design down at once. Instead, work slowly and gradually to reduce air and wrinkles while improving adhesion.
Additionally, use a squeegee, scraper tool, or firm card to apply even pressure as you go to smooth the vinyl onto the surface and push out any trapped air bubbles.
Using the Hinge Method (Optional)
For added control, many crafters use the hinge method when applying vinyl decals to tumblers.
Start by securing one edge of the design with masking tape to create a hinge. This keeps the design in place while allowing you to lift and apply it gradually.
Next, lift the opposite side and apply the vinyl decal section by section. This method gives you more control and precision over the application stage, making it easier to avoid mistakes and air bubbles.
Once you have firmly pressed the decal onto the tumbler, you are ready to burnish the design to ensure a strong, lasting bond.
Step 5: Burnish the Vinyl for Strong Adhesion
Burnishing helps ensure the adhesive fully bonds to the tumbler surface. It is one of the most important parts of the application process, as it directly affects how well your adhesive vinyl holds over time.
Use a squeegee, scraper, or firm card to press across the entire design. Focus on even, consistent pressure rather than speed. This helps push out any remaining air and improves overall adhesion.
Pay close attention to the decal edges and small details, as these areas are more prone to lifting.
It's also helpful to complete multiple passes when burnishing to ensure full contact between the adhesive vinyl and the tumbler surface.
Taking the time to thoroughly burnish the decal can prevent application issues and improve the design's overall durability.
After this stage, you are ready to remove the transfer tape and reveal your decal.
Step 6: Remove the Transfer Tape
Start by slowly peeling the transfer tape back at a 45-degree angle. Pulling it too quickly or straight up can increase the risk of lifting parts of your decal from the tumbler surface.
As you remove the tape, watch how the vinyl decal behaves. The design should stay firmly on the tumbler while you lift the transfer tape. Pay especially close attention to any small details or thin lettering that may lift away with the tape.
If any part of the design begins to lift, stop immediately and press it back down using your squeegee, scraper, or firm card. Then burnish that area again with firm pressure before attempting to remove the tape.
Your vinyl decal should now look smooth and finished, but you need to let it cure before washing or using the cup.
Step 7: Allow the Vinyl to Cure
Once you remove the transfer tape, let the decal fully cure. The vinyl decal may feel secure immediately, but the adhesive continues to strengthen over time.
Allow your custom tumbler to sit undisturbed for at least 24 to 48 hours before handling or washing. For the best results, keep it in a clean, dry area while it cures.
Additionally, do not stack your tumblers while they cure.
Once the vinyl decal has fully cured, your stunning custom tumbler is ready for use. Your one-of-a-kind cup will be perfect for personal use, gifting, and resale.
Now that you know the steps for customizing tumblers with vinyl decals, let's unpack some of the most common application mistakes and how to avoid them.
 Common Mistakes When Applying Vinyl Decals to Tumblers
Small mistakes when applying vinyl decals can lead to disappointing results and wasted materials. Most issues come from skipping steps or moving too quickly through the process.
Here are the most common mistakes crafters make and easy fixes to achieve smoother, more professional results:
-
Skipping Surface Cleaning: Oils, dust, and fingerprints on the tumbler can prevent the vinyl from bonding properly. This can cause the decal's edges to lift, or the design may even peel entirely.
-
Rushing the Alignment Step: Placing the vinyl decal without checking its position from multiple angles can result in a crooked or off-center design that is difficult to fix once applied.
-
Applying Vinyl Too Quickly: Pressing the decal onto the tumbler all at once increases the chance of air bubbles and wrinkles. Gradual application helps create a smoother finish.
-
Not Burnishing Enough: Light pressure is not enough to fully secure the vinyl adhesive. Without firm, even burnishing, parts of the design may not adhere properly.
-
Removing Transfer Tape Too Fast: Pulling transfer tape quickly or straight up can lift parts of the vinyl decal, especially on detailed or thin designs.
-
Ignoring Air Bubbles: Leaving bubbles under the vinyl decal can weaken its adhesion and affect the final look. Smoothing them out during application will improve the design durability and appearance.
Avoiding these common mistakes helps ensure your tumblers look clean, professional, and long-lasting. With careful preparation and steady application, you can achieve consistent, professional results that you or your customers will appreciate.
 Applying Vinyl Decals FAQs
Is It Better to Apply Vinyl Wet or Dry?
For tumblers, the dry method is almost always the better choice. Dry application allows adhesive vinyl to bond immediately to smooth surfaces, such as stainless steel, creating a stronger, more reliable hold. Crafters sometimes use wet application for large flat surfaces, like glass, but it can interfere with adhesion on curved drinkware and increase the risk of shifting or lifting.
What Type of Vinyl Is Best for Tumblers?
Permanent adhesive vinyl is the most reliable option for tumblers because it withstands regular handling and washing when properly applied. It adheres effectively to smooth surfaces and works especially well for drinkware.
Why Is My Vinyl Not Sticking to My Tumbler?
Poor adhesion is usually caused by surface contamination, the wrong type of vinyl, or insufficient pressure during application. Make sure to use decals made from permanent adhesive vinyl, clean the tumbler surface, and burnish the design.
Can I Use Masking Tape to Secure the Design?
While masking tape is useful for positioning and alignment, especially when using the hinge method, it is not a replacement for transfer tape. Masking tape can help hold your design in place while you check placement, but transfer tape is what actually lifts and applies the vinyl decal to the tumbler surface.
Can I Wash a Tumbler with a Vinyl Decal?
Yes, but it is best to hand-wash the tumblers with custom designs. Dishwashers expose vinyl to high heat and strong detergents, which may weaken the adhesive over time. Instead, gently hand-wash the tumbler with cool or lukewarm water and dish soap.
What Vinyl Decal Size Should I Use For a Tumbler?
Vinyl decal size depends on the tumbler style. Most 20-oz tumblers use designs that are roughly 3 to 4 inches tall and wrap around most of the surface area. Testing your vinyl decal placement before applying it helps ensure a balanced and professional look.
Are Vinyl Decals the Most Effective Method for Crafting Tumblers?
No, vinyl decals are not the most effective option for custom tumblers. While they are easy to apply and great for beginners and small businesses, sublimation generally offers a more permanent finish because the design becomes part of the tumbler surface rather than sitting on top of it.
Order High-Quality Tumblers for Crafting Today
Applying vinyl decals to tumblers is a simple and effective way to create custom drinkware with a professional finish. When you follow the correct steps, from cleaning the surface to properly burnishing and curing the design, vinyl decals can produce clean, durable results.
While following these application best practices is crucial for getting professional results, you also need high-quality tumblers. High-quality blanks help ensure smooth application, better adhesion, and more consistent results across every project.
Here at The Stainless Depot Company, we offer the highest-quality tumblers for vinyl decal applications.
Each tumbler is designed with customization and resale in mind, complete with smooth coatings, BPA-free components, double-wall vacuum insulation, and wholesale pricing.
These blanks can help you achieve professional-looking results, whether you want to customize a single tumbler or sell a line of custom drinkware.
We also feature other great supplies and tools for crafting professional drinkware, including sublimation heat presses, epoxy resin, sublimation blanks, engraving tumblers, and more.
With the right techniques and supplies, you can create custom drinkware that looks professional, withstands regular use, and brings your creative ideas to life. Explore The Stainless Depot Company’s selection of high-quality blanks and start building your next project with confidence.