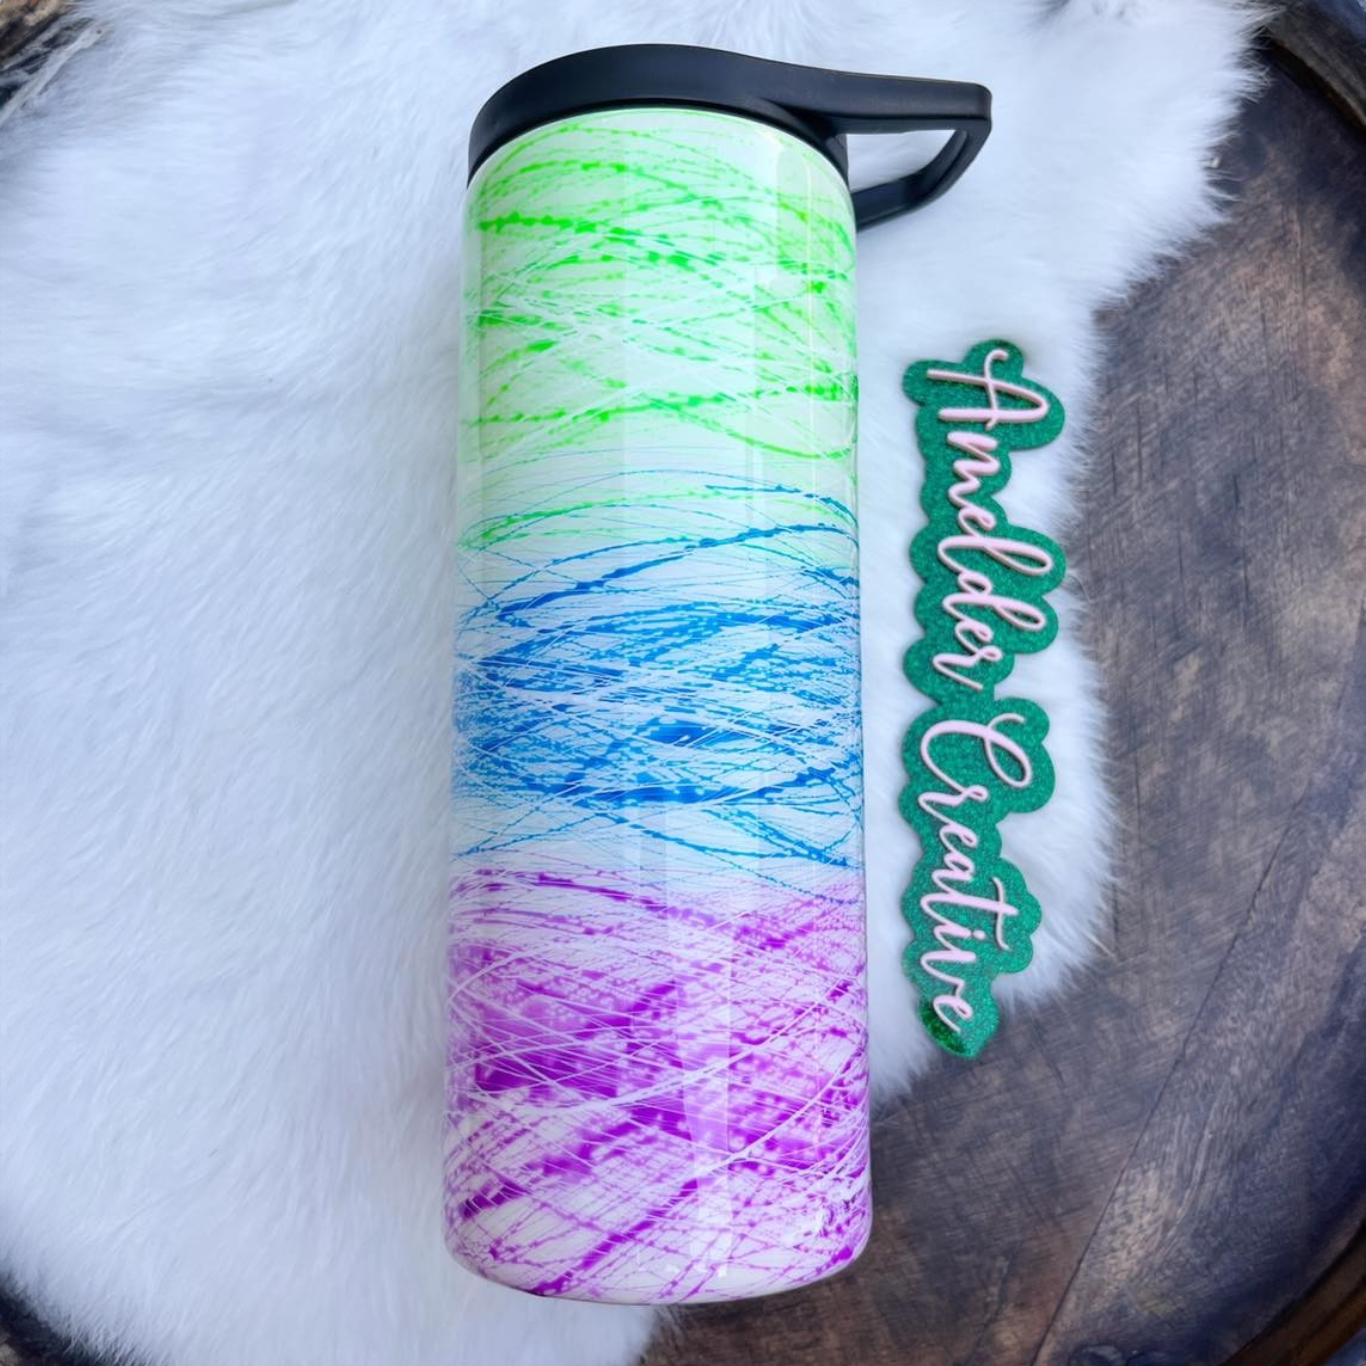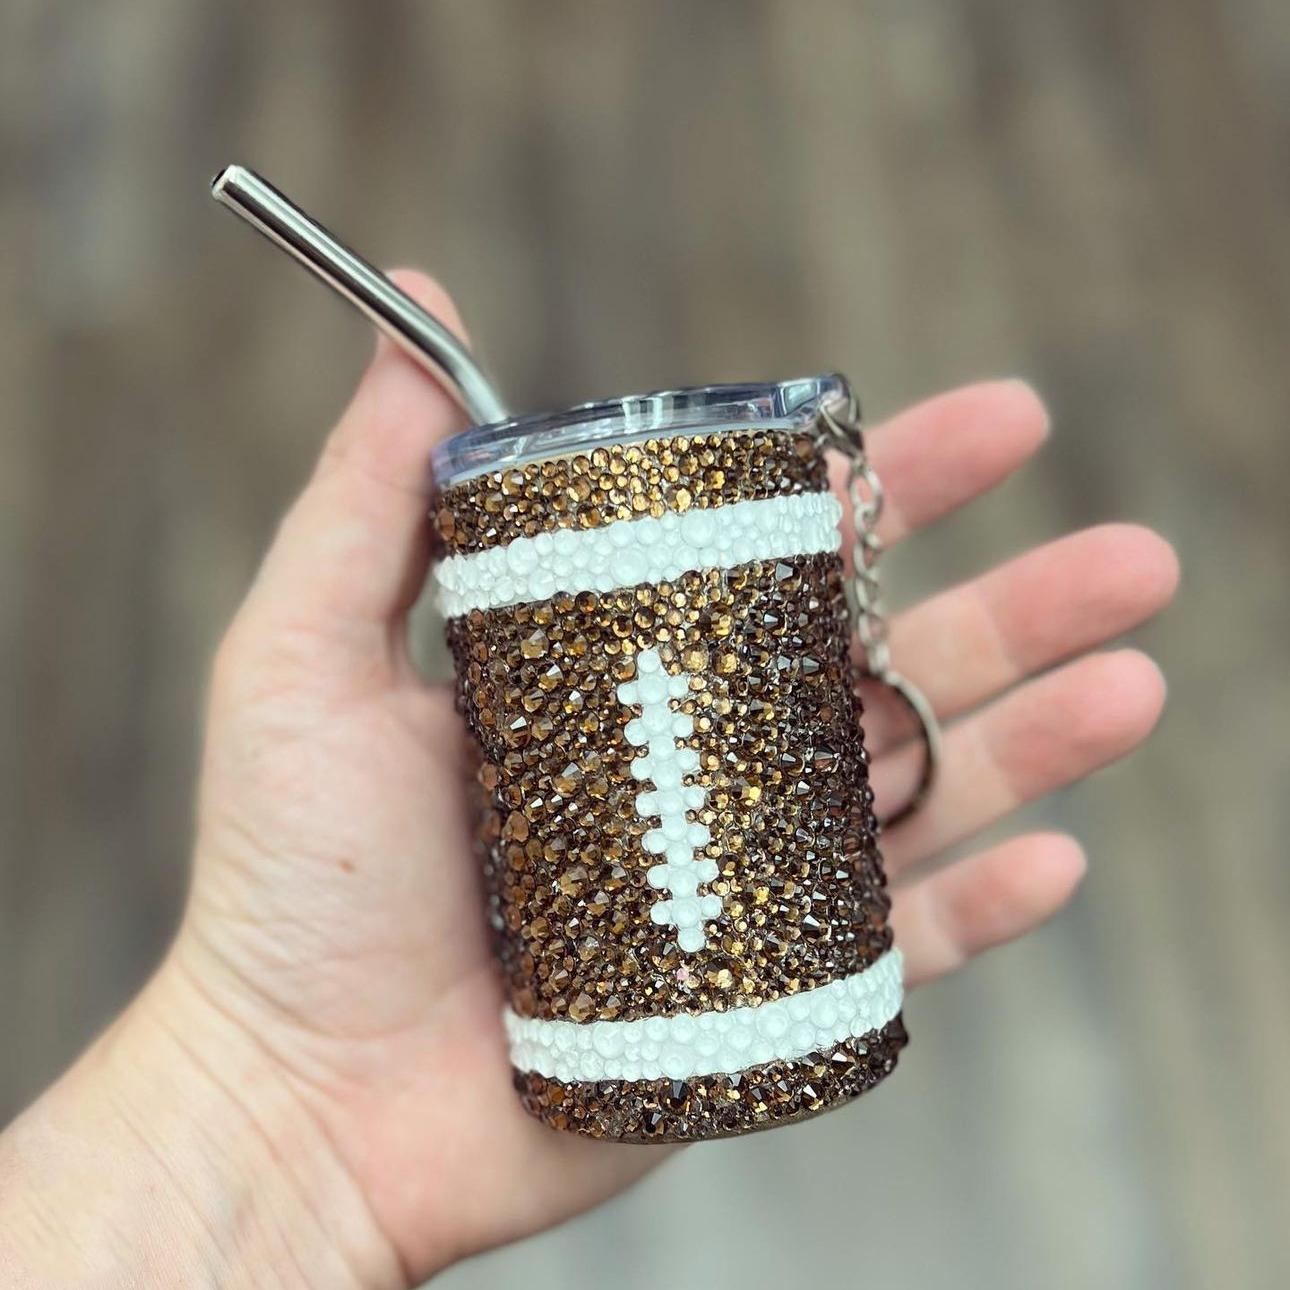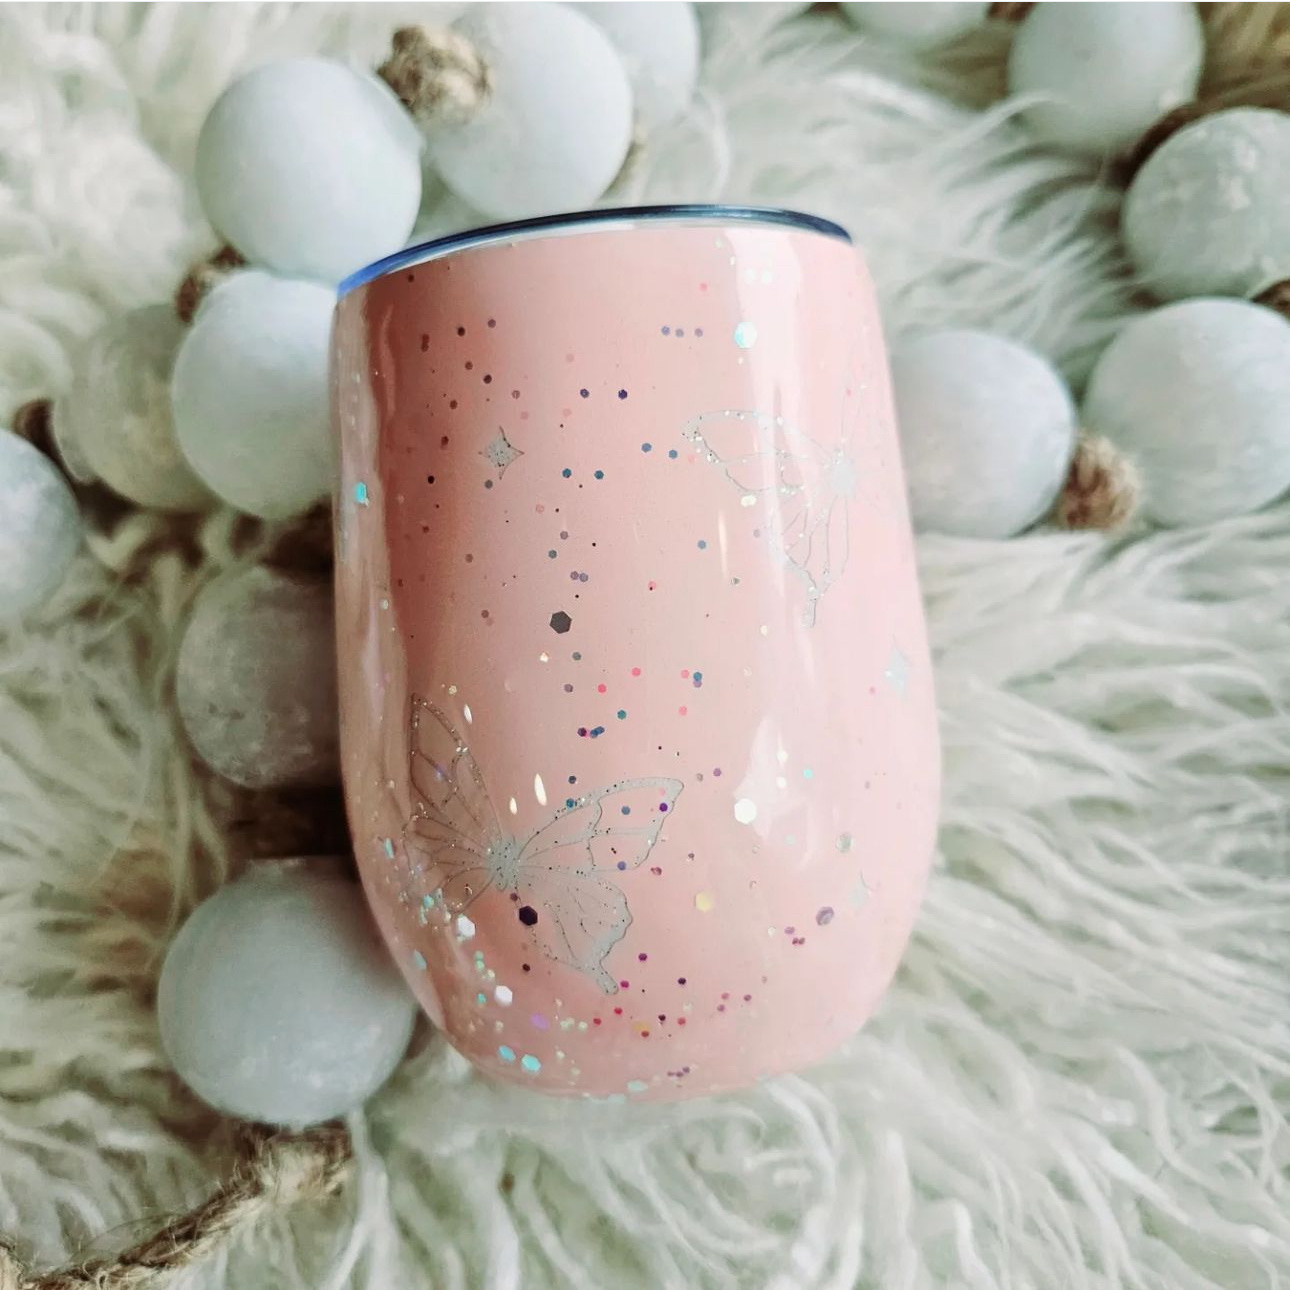
If you’re reading this, you already know that sublimation is a fantastic technique that lets you personalize items, like our top-quality tumblers here at the Stainless Depot Company by HOGG Outfitters. But let’s face it, poor sublimation transfers happen from time to time. Sometimes we get banding, moisture issues, or even ghosting and gassing out.
If you have ever run into any of these issues, we’re here to help you out!
In this article, we’re going to break down each issue, explain what causes it, and give advice on how to fix it. Are you ready to conquer sublimation mistakes and create eye-catching, permanent designs? Let's get to it!
Sublimation Problem #1: Banding
Have you ever looked over your finished sublimation product and noticed weird horizontal or vertical lines across it? That’s what we, in the biz, like to call banding.
Those unwanted lines or stripes that appear on your final sublimated product can be frustrating, and let's be honest, they're not exactly pretty. But fear not — you can fix this problem with some simple troubleshooting.
Common Causes of Banding and How to Fix Them
Banding is caused by a couple of simple issues. A clogged printer nozzle can prevent ink from flowing freely, resulting in pesky lines on your print. Additionally, low-quality sublimation paper or incorrect pressure settings on your heat press can contribute to banding.
If you suspect your printer nozzle might be the culprit (this is very common if you’re not using the printer often), try cleaning it out. Most sublimation printers have a self-cleaning function, so start by giving that a go if it’s an option for you.
However, the process is a little more in depth if you’re rocking an inkjet printer converter to use sublimation ink. Start by running a cleaning procedure and test print via your connected computer. This should fix the issue, but if the test page comes back streaky, you could have contaminated it with dust or dirt when the ink tank was last filled. In that case, clean the tank, carefully fill it with new ink, and give it another go.
If you're still noticing banding after that, it’s time to consider other potential causes, like cheap sublimation paper and improper pressure settings on your heat press.
Cheap sublimation paper is tempting to purchase and might save a few bucks upfront, but low-quality paper can lead to issues, like banding down the line, because it doesn’t transfer the image as well. As for pressure settings, every heat press is different, so it may take a little trial and error to find the sweet spot (If you’re using the HOGG press, check this article out to learn more about our recommended settings).
Remember, the key to mastering sublimation is patience and persistence. You've got this!
Sublimation Problem #2: Moisture Issues
Ready to tackle the next common sublimation snag? Let's talk about moisture issues.
You're not alone if you've ever seen spots or blotches on your finished piece. Those unwelcome imperfections can appear on your final product and can cause your design to look less sharp and clean than you'd like.
Causes of Moisture Issues and How to Resolve Them
So, where do these pesky moisture issues come from? More often than not, they result from residual moisture in your sublimation paper or the item you're sublimating. If your sublimation paper or work area is in a humid environment like a garage or basement, that moisture can sneak into your project.
One simple trick is to pre-press your sublimation paper for a few seconds before applying your design, and it also helps to store your sublimation paper in a dry, cool place. This process can help to evaporate any lingering moisture and keep that sneaky moisture at bay.
When it comes to managing moisture issues, the ultimate solution for your sublimation workshop is using a dehumidifier in your work area, especially if you're working in a particularly humid climate.
Keeping your work area cool and dry will have you saying so long to those moisture issues!
Sublimation Problem #3: Ghosting and Gassing Out
Ghosting and gassing out are two spooky-sounding issues that come from snafus in the pressing process, but they don’t have to haunt your projects!
Ghosting in sublimation is when your design appears faded or has a shadow effect, as if it's been printed twice with a slight offset. Gassing out, on the other hand, is when the sublimation ink spreads outside of the image and causes the color to show up where you don’t want it. Scary stuff, right?
Reasons for Ghosting and Gassing Out and How to Fix the Problem
Ghosting is an extremely common issue that many crafters face. The problem often arises at improperly taped seams or if your pattern isn’t properly secured to your tumbler before pressing it. When this happens, the pattern shifts as it’s pressed, resulting in a double image, or “ghost,” of your image.
As for gassing out, this can happen if your heat press is too hot or the pressure is too high, causing the ink to burst out from the pattern area — the result is an image that looks smeared on the edges rather than crisp and clean.
The key to fixing ghosting, either on the seam or throughout your entire pattern, is to be sure your image is secured tightly to the tumbler. There are a few different ways to make sure you have a tight bond, including using a squeegee to press out all the air from between the tumbler and the image, adding a light mist of adhesive to your image before securing it to your tumbler, or retaping if you notice that things feel a little loose.
It takes a bit of trial and error to get everything perfect. But once you’ve figured out the source of your ghosting issues, you’ll have no more mysterious double images!
And to avoid gassing out, double-check your heat press settings and experiment with your press until everything is dialed in. Keep in mind that every heat press is different, so you might need to experiment to find the right temperature and pressure for your specific model.
Our number one tip for overcoming these ghastly issues is to take your time and be patient. Always double-check your heat tape before putting your project in the press, and start a lower temperature and pressure on your heat press, then gradually increase until you find the sweet spot.
Sublimation is a journey, and every hiccup is another opportunity to learn and grow. So, keep going, and keep creating amazing things!
Sublimation Problem #4: Transfer Lines
Now, let’s move on to another common sublimation issue: transfer lines.
Transfer lines are those unwelcome lines or marks that can appear on your final product where the edge of the sublimation paper was placed. They're like uninvited party guests who show up and try to spoil the fun. But we're not going to let that happen, are we?
Why Transfer Lines Occur and How to Fix Them
Transfer lines usually occur when there's too much pressure applied during the sublimation process, especially at the edges of the paper. This can cause the ink to spread beyond the edge of your design, creating those unsightly lines.
To minimize the appearance of transfer lines, try adjusting the pressure on your heat press. Dialing back the pressure settings should solve your transfer line problems.
You should also be mindful of where you place your design on the sublimation paper. Try to avoid printing your design too close to the edge of the paper, where the heat press might cause it to spread
As always, take your time, adjust as necessary, and remember to have fun along the way!
Sublimation Problem #5: Reversed Image Application
Have you ever pulled a piece from the heat press only to find your design is backward or upside down? That's what is referred to as reversed image application and flipped image application. It's like looking in a funhouse mirror, but the feeling you get about your final product is the opposite of fun.
Don't sweat it — we've all been there!
Causes and Solutions for Reversed and Flipped Image Application
The main cause of reversed image application and upside-down images is, well, simple oversight.
Flipped images occur when your pattern is secured to your tumbler upside down. It’s easy to get in a rush to get your tumblers finished as fast as possible. But if you aren’t careful, you’ll put your image on the wrong way, and the tumbler you pressed for Mom will say Wow instead!
Take your time when applying your image to keep those patterns right side up. If you are ever unsure of how you applied your pattern, take it off before pressing to double-check. You can always reprint your image, but once you press the cup — it’s permanent.
Reversed image application happens when the design needs to be mirrored before printing. In the sublimation process, your design is printed onto paper and then transferred onto the product. If the design isn't mirrored before printing, it will appear reversed on the final product.
The good news is, correcting reversed image application is pretty straightforward. Most graphic design software, such as Adobe Photoshop or Illustrator, has the option to mirror or flip the image before printing. So, always remember to check your design and ensure it's mirrored before hitting that print button.
We’ve found that a great solution to avoid reversed image application is to make flipping or mirroring your design part of your pre-printing checklist. That way, you’ll always have a reminder to reorient your design before smashing that print button.
Sublimation Problem #6: Poor Color Transfer
Color is the life of any design, right? But sometimes, our sublimation projects might not pop with the vibrant colors we expect.
Poor color transfer in sublimation is when the colors in your final product don't match the vibrant hues in your original design. It can result in faded, dull, or inconsistent colors and is like turning down the volume on your favorite song — definitely not what you want!
Factors Contributing to Poor Color Transfer and How to Address Them
So, what causes poor color transfer? It could be a couple of things.
One common cause is closely related to why you experience gassing out in projects: incorrect heat press settings. If your press is too hot or not hot enough, it can affect the vibrancy of your colors. Additionally, the quality of your sublimation ink and paper can also play a part. Lower-quality supplies might not yield the same bright, consistent colors as their higher-quality counterparts.
To turn up the volume on your next sublimation project, start by checking your heat press settings. You might need to adjust the temperature or the pressing time to get those colors just right. Also, consider the quality of your sublimation ink and paper. If you consistently see poor color transfer after adjusting your press, it might be time to invest in higher-quality supplies.
Solve Your Sublimation Problems by Choosing HOGG Outfitters
That's a wrap! We've tackled some of the most common sublimation mistakes and thrown in some pretty nifty solutions. As you prepare to take on your next sublimation project, remember that it’s all about learning, experimenting, and growing.
And the best part is — you’re not alone! At HOGG Outfitters, we're here to help. We offer a wide range of high-quality sublimation supplies, from our easy-to-use HOGG Heat Press to heat-resistant tape and sublimatable tumblers.
Plus, we have a private Facebook Group of sublimation enthusiasts (80k users deep) who want to help you sort out all your sublimation needs.
So, why wait? Dive into the world of sublimation with HOGG Outfitters. You’re bound to create incredible things on your sublimation journey, and we can't wait to see where it takes you!


