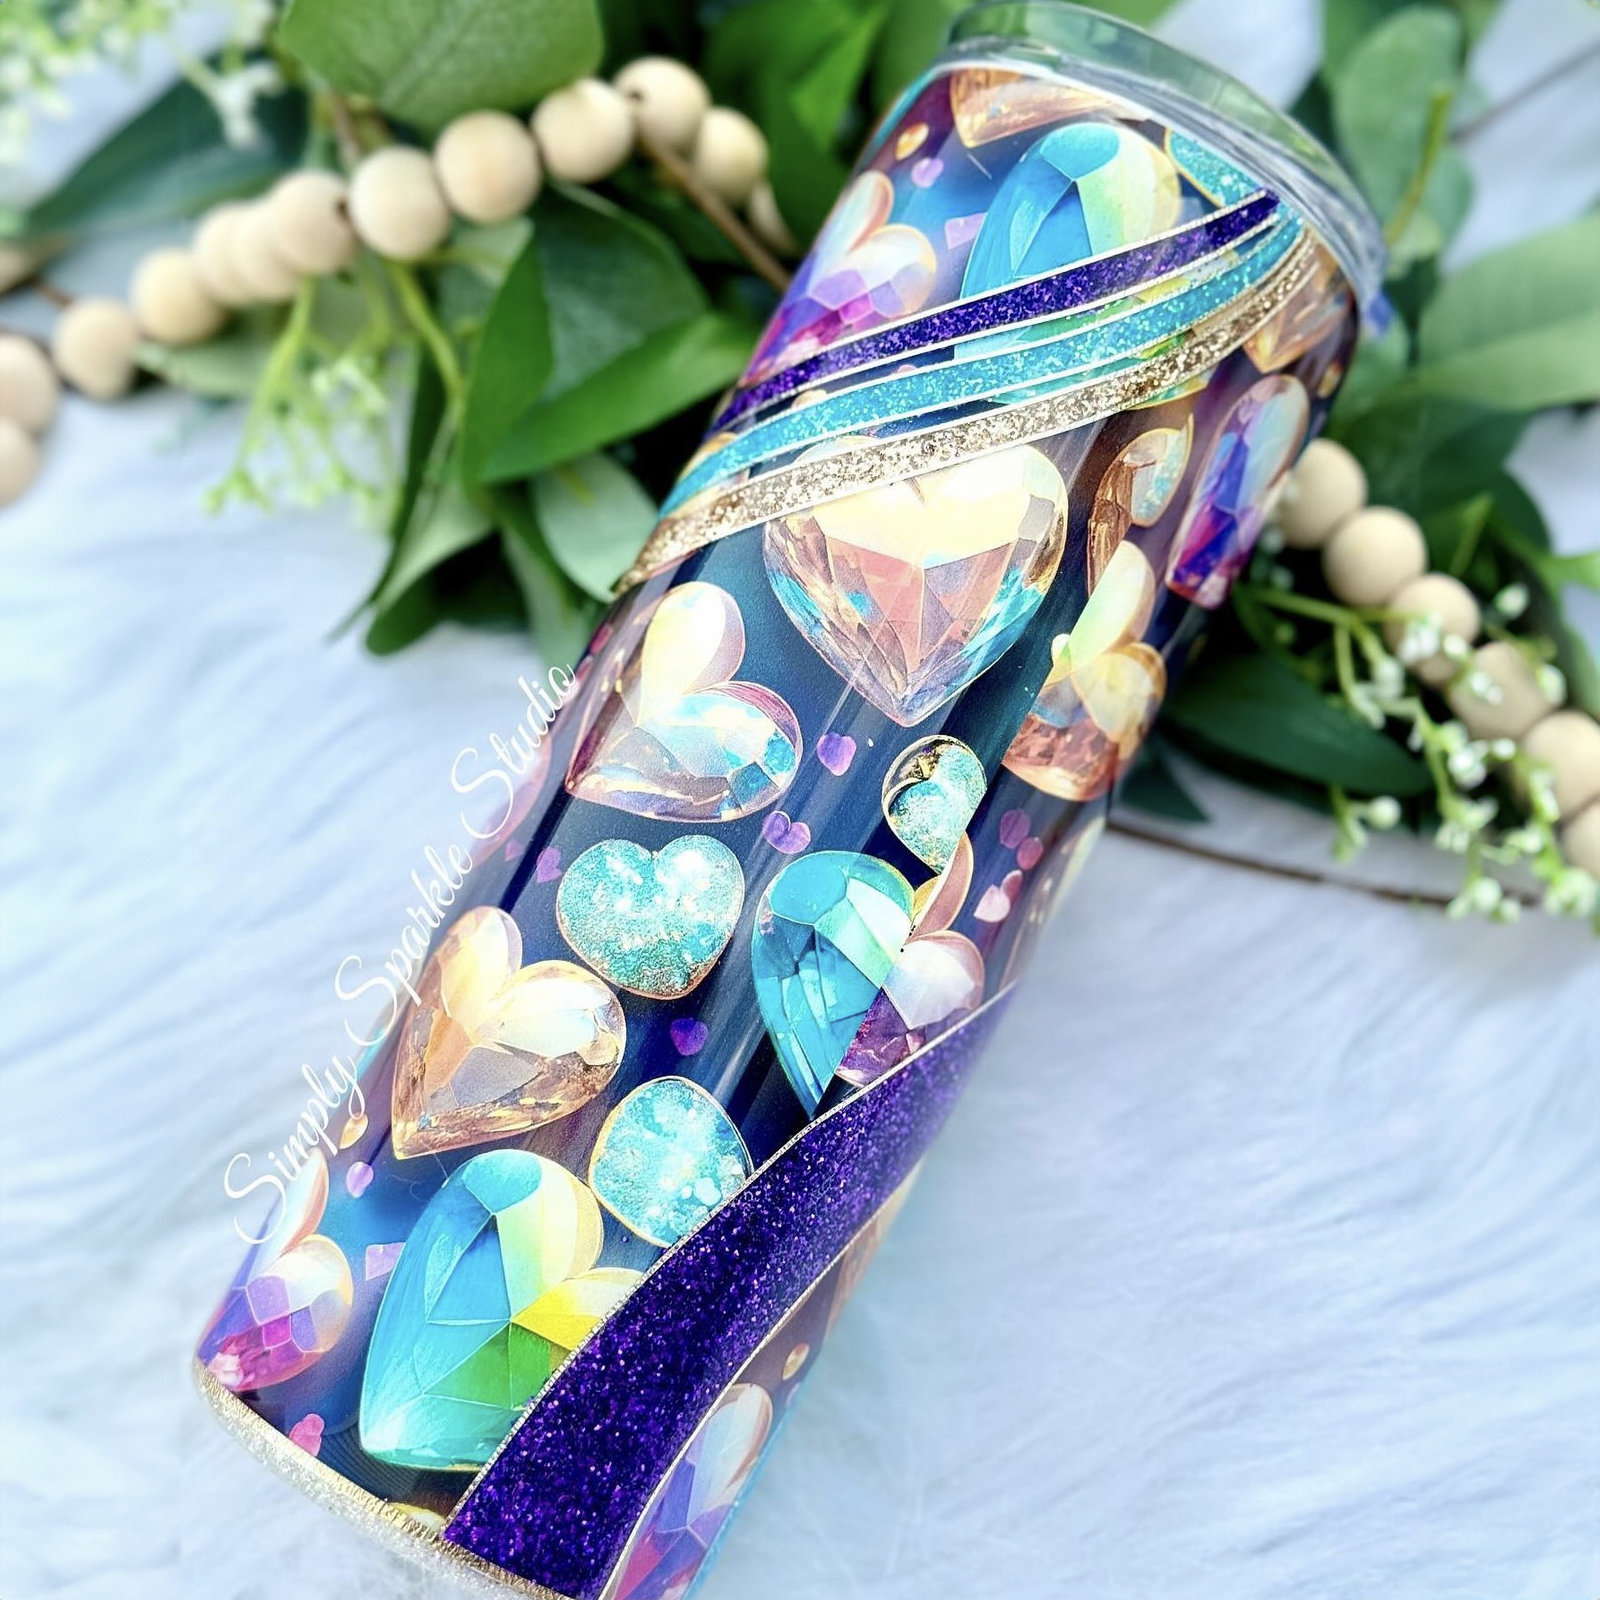
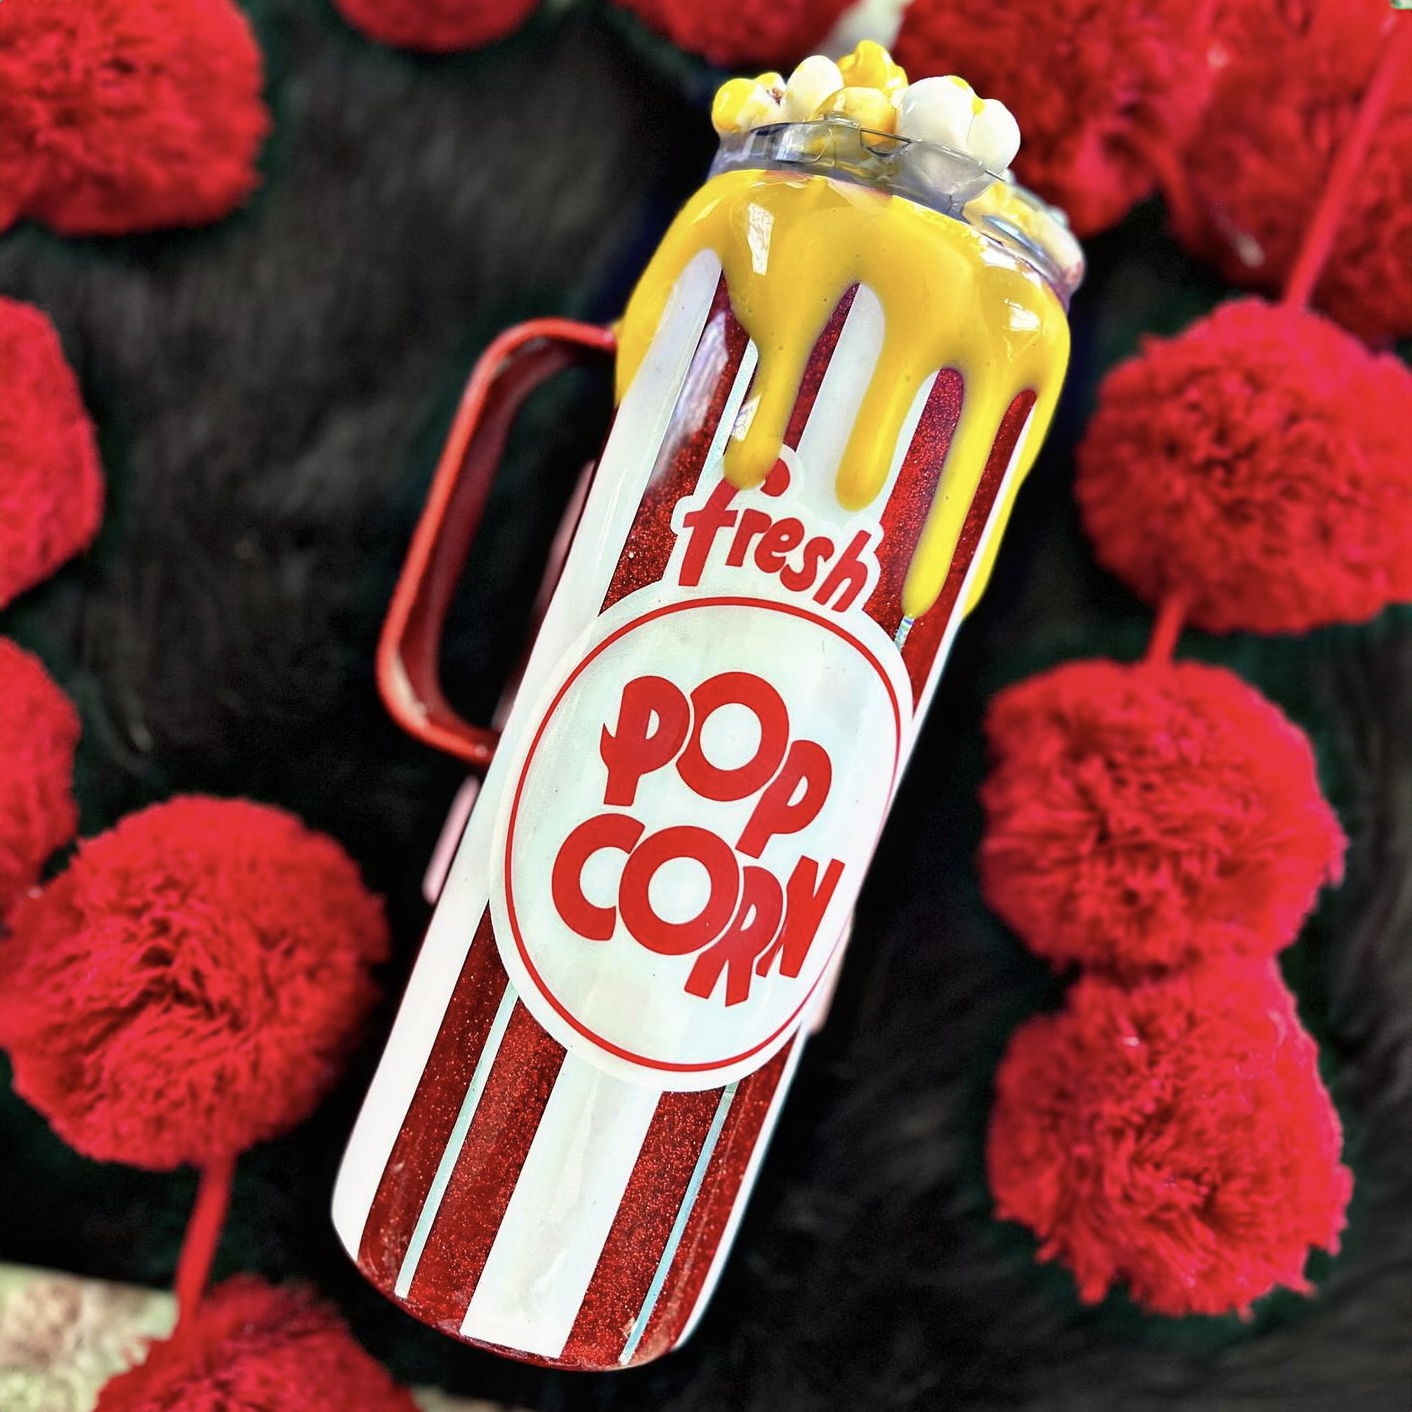
Sublimation is one of the most reliable ways to create custom tumblers that look professional and last. By using heat to bond ink directly to a coated surface, you can produce vibrant, permanent designs that will not peel or fade with normal use.
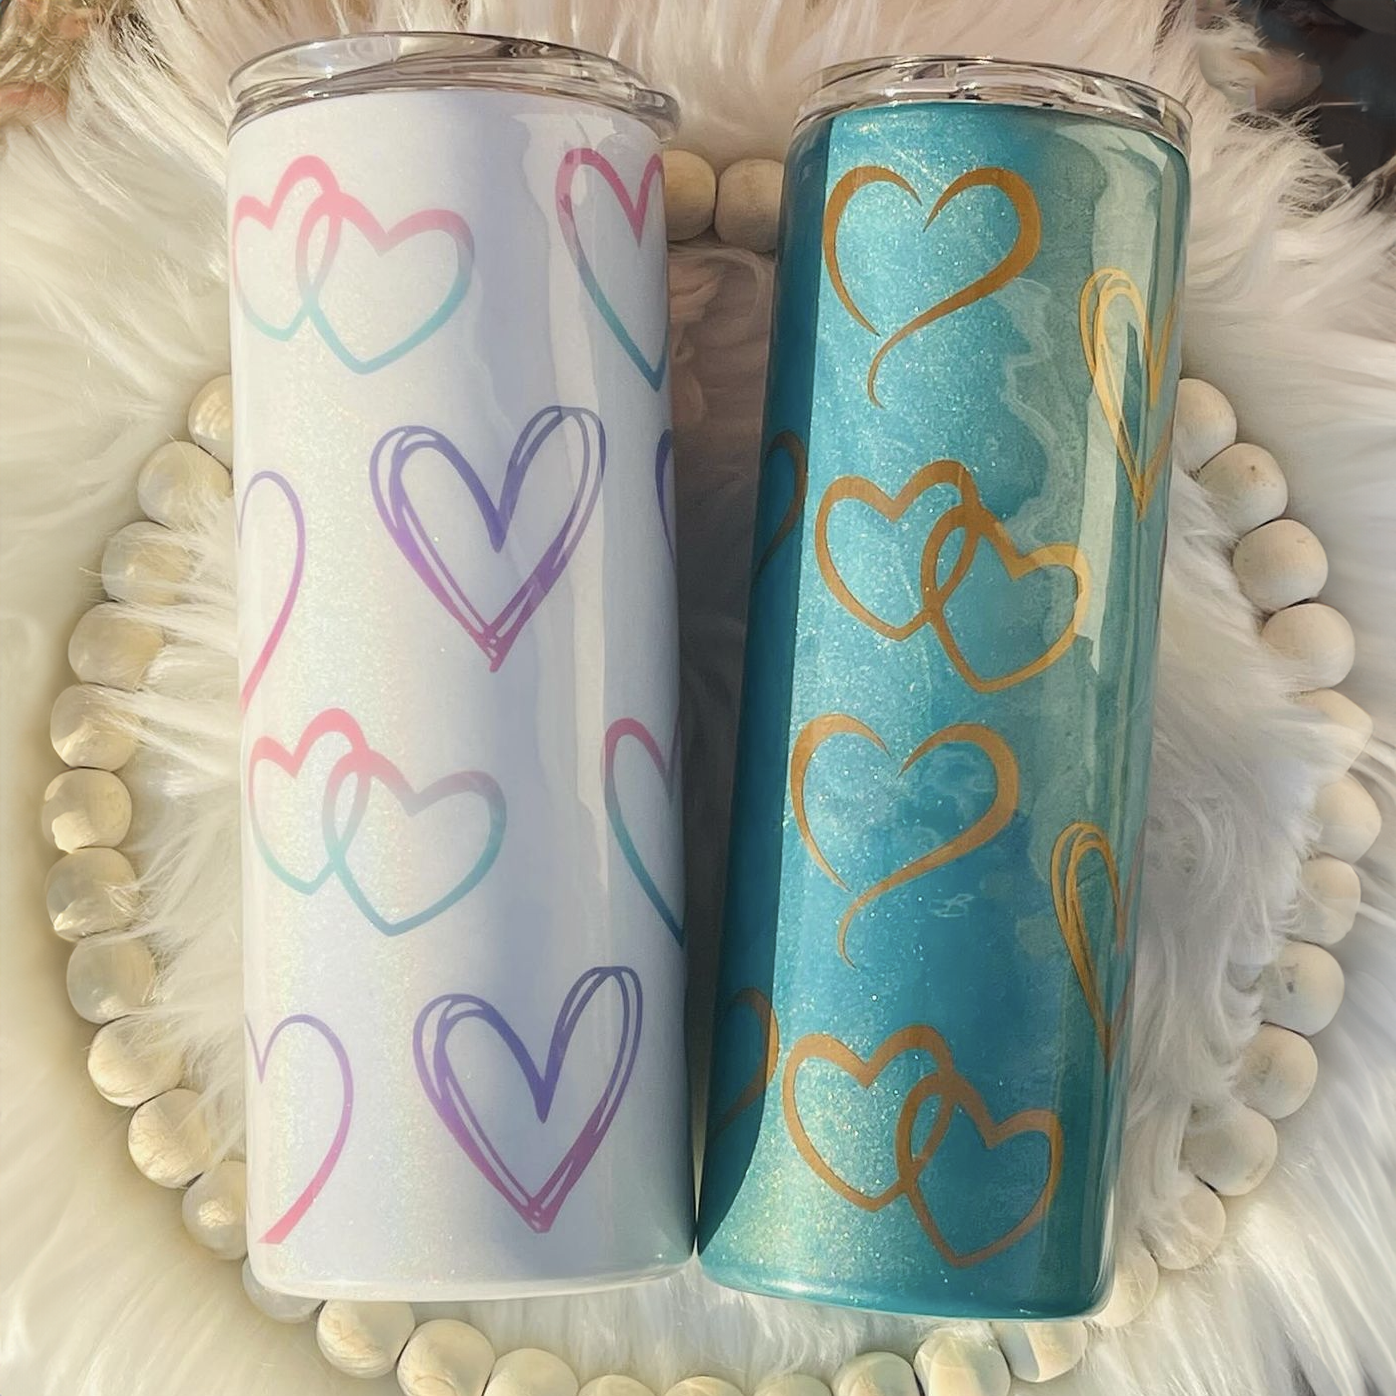
Learning how to sublimate 20-oz tumblers is a key step toward building consistent, high-quality products, as this is a popular size among crafters and consumers.
While many crafters use heat presses for sublimating 20-oz tumblers, sublimation ovens are a solid alternative with their own advantages. They allow you to sublimate multiple tumblers at once, making them a strong option for increasing production and improving workflow efficiency.
In this guide, you will learn the ins and outs of how to sublimate a 20-oz tumbler in an oven. From sizing your design to applying shrink wrap and dialing in the right temperature, each step will help you avoid common mistakes and achieve the best results when using a sublimation oven.
Looking for guidance on sublimating a 20-oz tumbler with a heat press? Check out our related guide "How to Sublimate a 20-Oz Tumbler in a Tumbler Press."
Whether you are just getting started with drinkware crafting or refining your workflow, understanding how to make a 20-oz sublimation tumbler the right way will help you save time, reduce waste, and create vibrant, professional drinkware for personal use or resale.
 20-Oz Tumbler Dimensions and Sublimation Measurements
Getting your tumbler sizing right is one of the most important parts of sublimation, whether you're using a sublimation oven or press. If your measurements are off, even slightly, you can end up with gaps, overlap lines, or a design that does not align correctly.
Understanding 20-oz sublimation tumbler measurements helps you create clean, full-wrap transfers with consistent results.
20-Oz Sublimation Tumbler Measurements Explained
Your 20-oz tumbler measurements can differ based on your drinkware manufacturer. Different manufacturers produce slight variations in height and circumference, even when labeled the same.
The shape of your tumbler also plays a key role in how you approach your design and application. While different 20-oz tumbler shapes are available, crafters usually use skinny tumblers for custom drinkware.
These tumblers feature straight sides, making them easier to customize. Tapered tumblers, on the other hand, require adjusted templates and are less forgiving during application.
Standard 20-Oz Skinny Tumbler Dimensions for Sublimation
Most 20-oz skinny tumbler dimensions for sublimation fall within a predictable range:
-
Height: about 8.25 to 8.5 inches
-
Circumference: about 9.25 to 9.5 inches
These measurements translate into a typical full-wrap design size of:
-
Width: 9.3 to 9.5 inches
-
Height: 8.2 to 8.5 inches
It's important to recognize that these are common measurements, but the dimensions can still vary by manufacturer. You should always measure your specific tumbler before printing. Even a small difference can affect how your design lines up when wrapped.
If you order 20-oz sublimation tumblers from The Stainless Depot Company, you will receive a free wrap template that ensures your design fits perfectly on your blank.
Once you have your measurements and design sizing dialed in, the next step is making sure you have the right supplies to bring that design to life.
 Materials, Supplies, and Equipment You'll Need for Oven Sublimation
Using the right materials, supplies, and equipment is critical in the sublimation process. You will need quality blanks and sublimation tools, as every component will affect your drinkware's final result.
When you choose reliable blanks and tools, it becomes much easier to achieve consistent, professional-quality tumblers.
Choosing the Right Sublimation Blanks
Not every tumbler will work for sublimation. To get clean, vibrant transfers, the cup must feature a premium sublimation coating that is designed to bond sublimation ink to its surface. A poor-quality surface will prevent the ink from transferring correctly.
Look for the following qualities when comparing available sublimation blanks:
- A proper polymer coating that allows ink to bond during heat transfer
- A smooth, even surface with no dents or texture inconsistencies
- A straight body for easier full-wrap application and alignment
- Double-wall vacuum insulation
- BPA-free components
- Available for both individual sale and in bulk
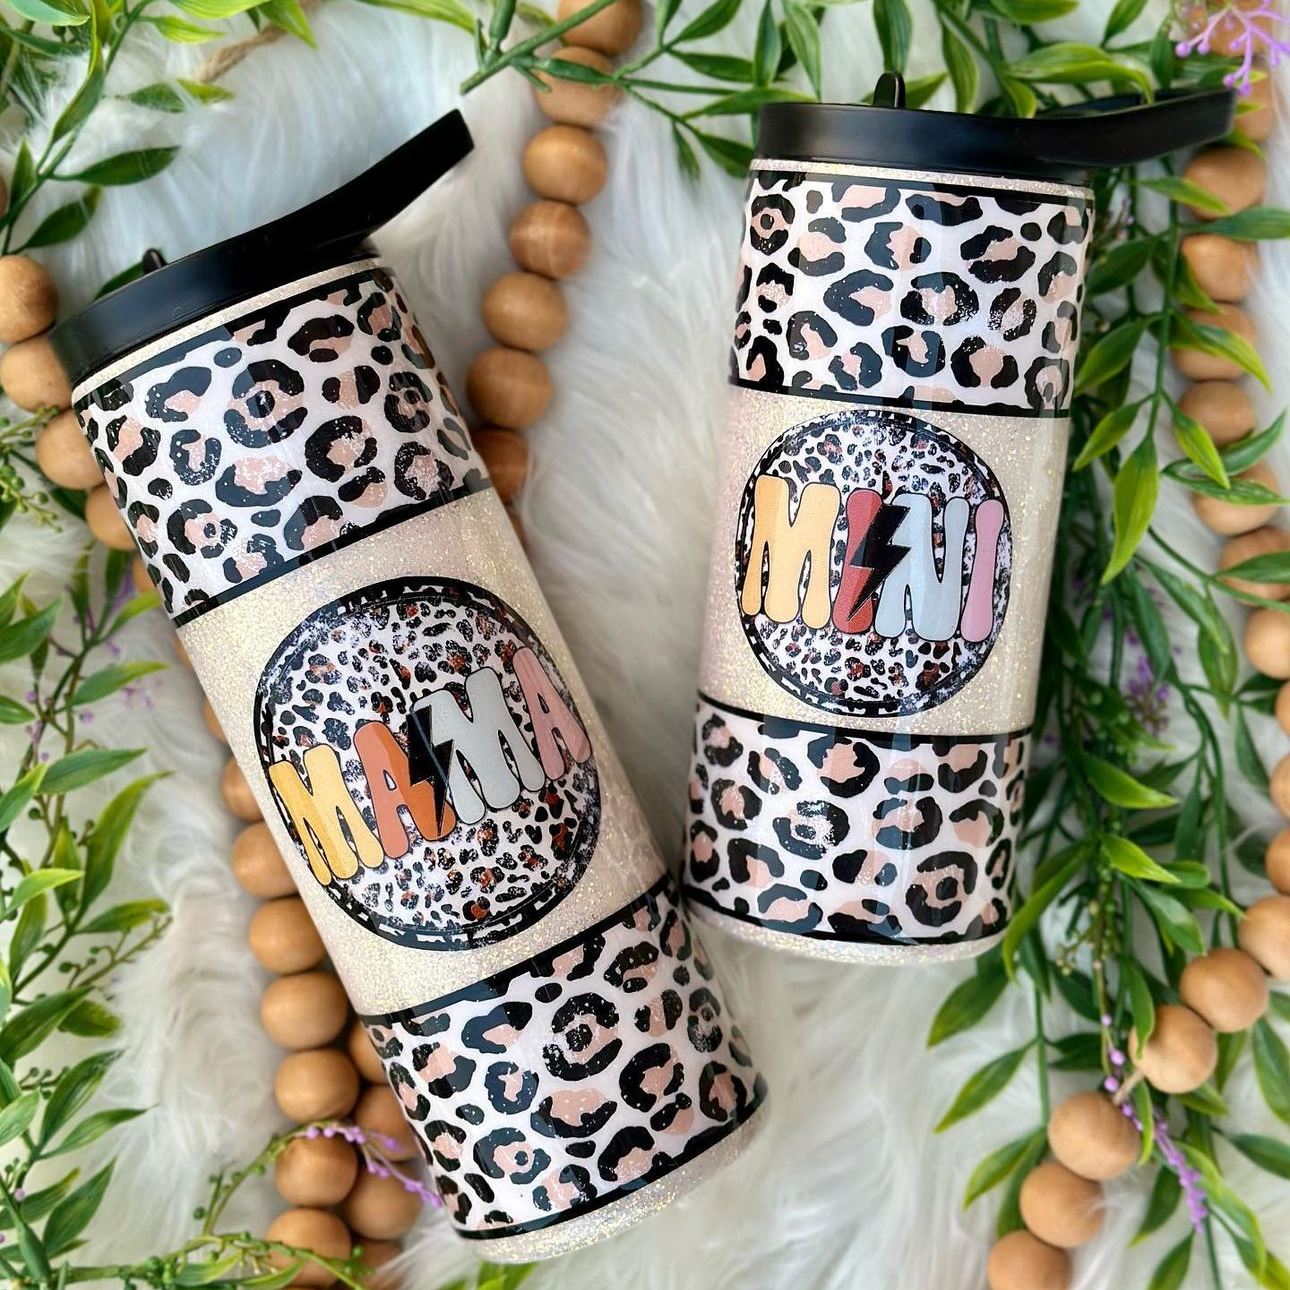
Sublimating a 20-oz tumbler with the best results starts with a high-quality blank.
Once you have the right sublimation blanks, the next step is making sure the rest of your setup is built to deliver professional results.
Essential Equipment and Supplies for the Best Sublimation Results
In addition to the tumbler itself, you need a set of reliable tools to complete the sublimation process. Each item helps ensure your crafting workflow runs smoothly from start to finish.
Here are the essential equipment and supplies you should have:
- Lint-free cloth and isopropyl alcohol for cleaning the tumbler surface
- A sublimation printer with compatible ink
- Sublimation paper sized for your 20-oz tumbler wrap
- A sublimation convection oven designed for consistent heat circulation
- Shrink wrap or a silicone wrap sleeve to apply even pressure across the tumbler surface
- Heat-resistant tape to secure your design in place
- A heat gun to tighten the shrink wrap before baking
- Heat-resistant gloves for safe handling of the tumbler after heating
Having the right supplies and equipment in place will help you achieve consistent and reliable sublimation results. With a professional setup, it will be easier to sublimate a 20-oz tumbler with clean edges, even color, and an eye-catching finish.
Now that you know what you will need for the process, let's unpack each step to help you get clean, professional results on your tumblers.
 Step 1: Prepare Your 20-Oz Tumbler for Sublimation
Preparation is one of the most important parts of the sublimation process. A clean surface helps the ink bond evenly to the coating, directly impacting your custom tumbler's color quality and consistency.
Follow these steps to properly prepare your tumbler before oven sublimation:
Step 1a. Clean the Tumbler Surface: Wipe the entire surface with a lint-free cloth and alcohol to remove dust, fibers, or packaging residue. Even sublimation blanks can carry small particles that interfere with transfer quality.
Step 1b. Allow the Tumbler to Dry Completely: Let the surface air-dry before moving forward. Any moisture left behind can affect heat distribution inside the oven and lead to inconsistent results.
Step 1c. Inspect the Surface Closely: Check for smudges, lint, or coating defects. You'll need a smooth, fully clean surface for the design to transfer correctly.
Once you complete these steps, you are ready to apply the sublimation wrap to your tumbler.
Step 2: Apply the Sublimation Wrap to the Tumbler
Applying your sublimation wrap correctly is essential for achieving a clean, properly aligned tumbler design. If the wrap shifts, overlaps unevenly, or has air gaps, you will likely see ghosting or misalignment after pressing.
Here are the steps to apply your design correctly before oven sublimation:
Step 2a. Position Your Printed Design on the Tumbler: Wrap the printed sublimation paper around the tumbler slowly and carefully. Make sure the printed side faces the tumbler's surface. Align the design so it sits evenly from top to bottom.
Step 2b. Check Alignment Before Securing: Rotate the tumbler and confirm the edges of the design meet evenly. Make adjustments before taping if necessary. Even small misalignments will show after heat transfer.
Step 2c. Secure the Seam with Heat-Resistant Tape: Once the design is aligned, use heat-resistant sublimation tape to secure the seam. Start at one end and work your way down, keeping the paper tight against the tumbler surface.
Step 2d. Smooth Out the Wrap As You Go: Press the paper gently against the tumbler as you tape. This helps reduce air pockets and prevents shifting during the sublimation oven process.
A properly applied wrap is critical for achieving clean, vibrant results when you sublimate a 20-oz tumbler in an oven. Taking time here ensures your design transfers evenly and maintains sharp detail across the entire surface.
Step 3: Apply Shrink Wrap for Even Pressure
Using shrink wrap or a silicone wrap sleeve is an important part of sublimating in an oven. It helps hold the design tightly against the tumbler so that heat transfers the ink evenly across the entire surface.
If the wrap is loose or uneven, you can end up with faded spots, ghosting, or inconsistent color transfer. These steps help prevent those issues:
Step 3a. Slide the Shrink or Silicone Wrap Sleeve Over the Tumbler: Place the tumbler inside the shrink wrap so the entire design area is covered. Make sure the sleeve sits evenly from top to bottom before shrinking.
Step 3b. Position the Wrap for Full Coverage: Adjust the wrap so it sits smoothly over the taped sublimation paper. There should be no large folds or loose sections.
Step 3c. Use a Heat Gun to Shrink the Wrap: Apply heat evenly around the tumbler using a heat gun. Move slowly and consistently so the wrap tightens without overheating one area.
Step 3d. Check for Tight, Even Contact: Once shrunk, the wrap should press firmly against the tumbler surface. Look for air pockets or loose areas and reapply heat if needed.
Step 3e. Confirm the Design Is Fully Secured: Rotate the tumbler and make sure the shrink wrap holds the paper in place with consistent pressure. Nothing should shift or lift at this stage.
A properly applied shrink wrap helps ensure even heat distribution inside the sublimation oven. This step plays a major role in achieving detailed and smooth full-wrap results when sublimating a 20-oz tumbler.
Step 4: Set the Correct Sublimation Oven Temperature and Preheat
Setting the correct temperature is essential for getting consistent, even sublimation results. Using optimal settings is especially important when using an oven; the machine relies heavily on circulating heat to embed the design into the substrate.
If your settings are off, your tumblers may come out with uneven or faded colors.
Follow these steps to ensure you set your sublimation oven settings correctly:
Step 4a. Set the Temperature for Sublimation Tumblers: Adjust your oven to the recommended sublimation range for 20-oz tumblers. Most convection ovens perform best between 375°F and 400°F, depending on the blank and coating quality.
Step 4b. Preheat Your Sublimation Convection Oven: Allow your oven to fully preheat before placing any tumblers inside. A stable temperature ensures consistent heat distribution across the entire surface.
Step 4c. Allow the Oven to Stabilize Before Use: Wait until the temperature remains steady. Fluctuating heat can lead to uneven color transfer, especially on full-wrap designs.
Adjusting your sublimation oven temperature to the correct settings and allowing it to preheat are important for achieving clean, even designs across your tumbler.
Step 5: Bake the 20-Oz Tumbler in the Sublimation Oven
Now that your tumbler and sublimation oven are ready, it's time to start the heating process. Be careful during this step to prevent wrap shifting, which can affect the final result.
Here are the steps you'll need to ensure your tumbler heats correctly within your oven:
Step 5a. Place the Tumbler Inside the Oven Carefully: Use heat-resistant gloves and place the tumbler on a stable rack. Make sure it is positioned upright or laid evenly, depending on your oven setup. Avoid letting it touch heating elements or oven walls.
Step 5b. Maintain Spacing for Even Airflow: Keep space between tumblers if you are baking more than one. Proper airflow ensures consistent heat distribution across the full surface of each tumbler.
Step 5c. Set Your Bake Time Based on Material and Wrap Method: The typical bake time for a 20-oz skinny tumbler is around 5 to 7 minutes, but this will vary depending on your sublimation oven. Additionally, thicker coatings or tighter shrink wrap setups may require slight adjustments.
Step 5d. Monitor the Baking Process Without Opening the Oven: Avoid opening the oven door during the cycle. Heat loss can cause uneven sublimation, leading to faded or patchy areas in the design.
Step 5e. Keep the Tumbler Stable During the Entire Bake Cycle: Do not rotate or adjust the tumbler unless your oven process specifically requires it.
Proper baking is what locks in the design into your sublimation tumblers. When done correctly,
you get sharp, colorful details and full-wrap coverage that looks stunning and consistent across every batch.
Step 6: Remove and Reveal Your Sublimated Tumbler
Once the baking cycle is complete, the tumbler will still be extremely hot. The sublimation process will not be fully settled until it begins cooling.
Removing and handling it correctly at this stage helps protect the final print quality:
Step 6a. Remove the Tumbler Using Heat-Resistant Gloves: Remove the tumbler from the oven immediately after the timer ends. Always use heat-resistant gloves, as both the tumbler and the shrink wrap will retain high heat.
Step 6b. Allow the Tumbler to Cool Slightly Before Unwrapping: Let the tumbler rest for a short period so the surface is safe to handle. This helps prevent burns and reduces the risk of smudging the design while it is still setting.
Step 6c. Remove the Shrink Wrap and Sublimation Paper Carefully: Peel away the shrink wrap first, then remove the sublimation paper. Do this slowly to avoid scratching the surface or disturbing any areas that are still stabilizing.
Step 6d. Inspect the Full Design Reveal: Check the tumbler under good lighting to confirm full coverage and color consistency. A properly sublimated 20-oz tumbler should show sharp detail, even color, and no visible gaps or ghosting.
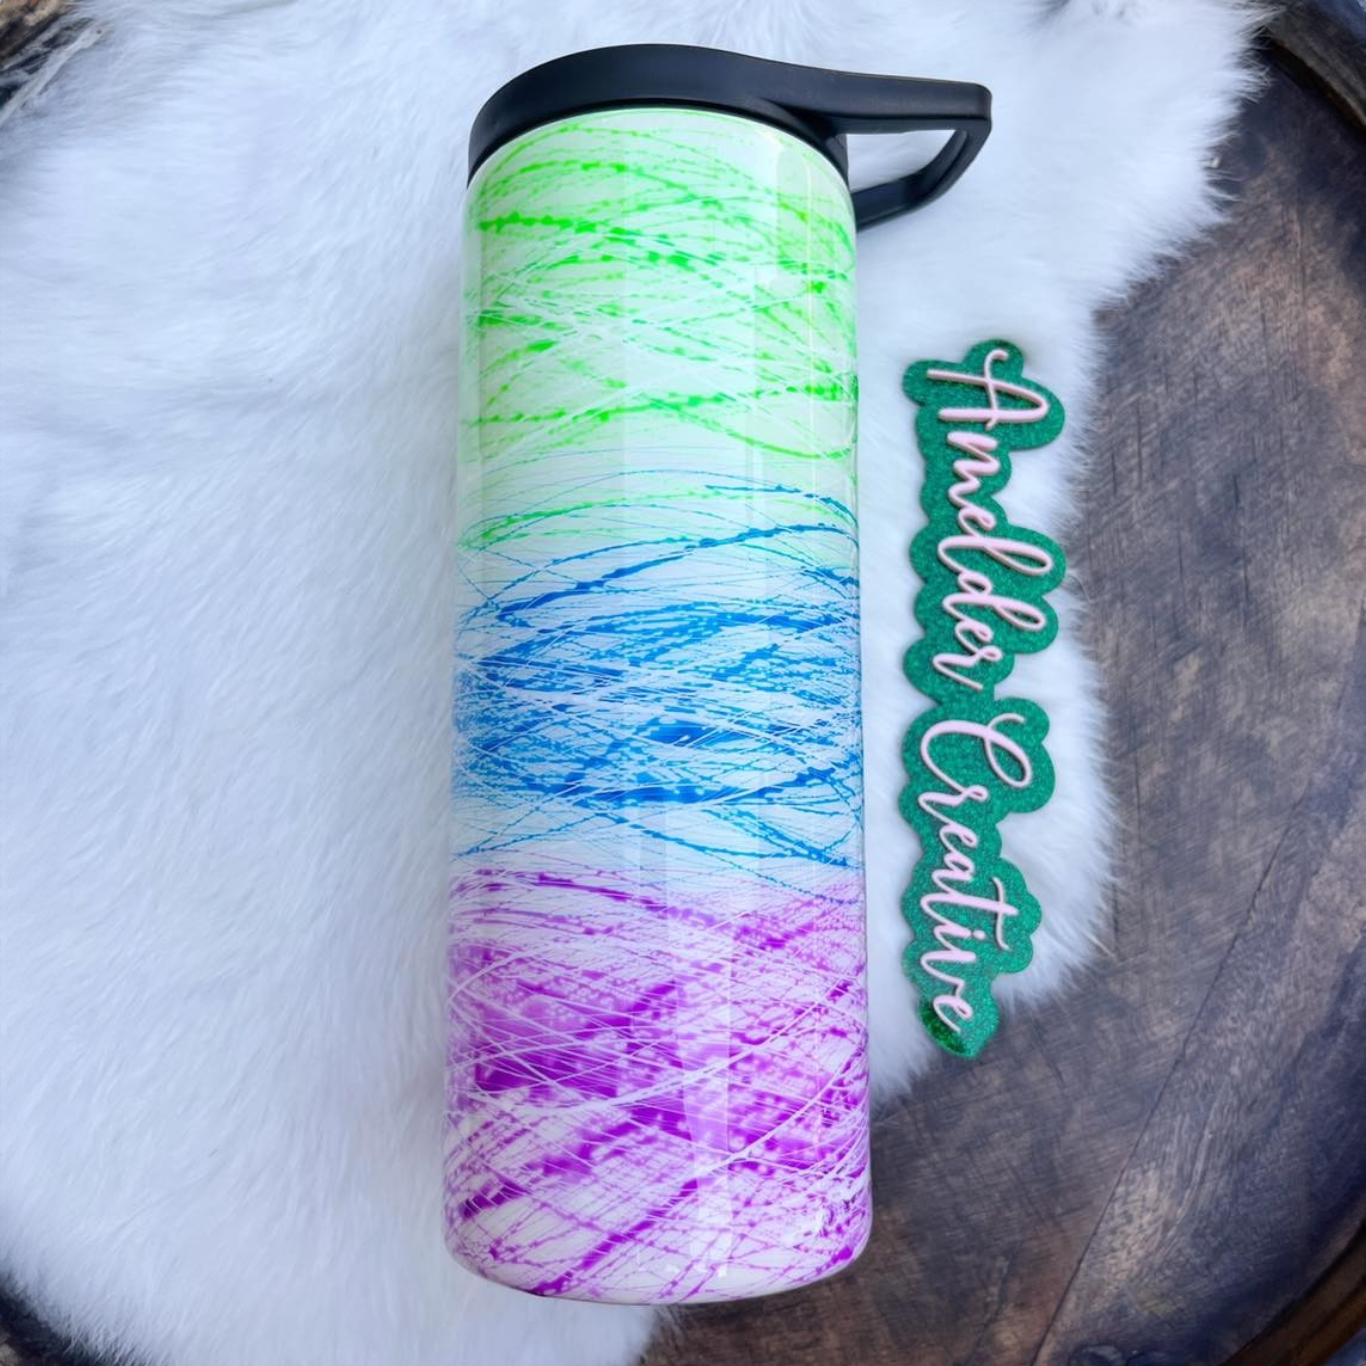
Once fully cooled, the design is permanently bonded to the tumbler surface. Your tumbler should now feature a stunning, durable full-wrap design perfect for personal use, gifting, or resale.
Now that you know the steps to achieve professional results on a 20-oz tumbler with a sublimation oven, let's explore frequently asked questions about the process.
 Sublimate a 20-Oz Tumbler in a Sublimation Oven FAQs
What Size Sublimation Paper for a 20-Oz Tumbler?
The most common sublimation paper sizes are A4, A3, and legal. While you can select a larger size, like A3, A4 sublimation paper will be enough for a full-wrap image on a 20-oz tumbler.
What Size Image for 20-Oz Tumbler Sublimation?
A full-wrap image for a 20-oz tumbler should match the exact printable area of your blank. The standard range is about 9.25 to 9.5 inches wide by 8.25 to 8.5 inches tall, with a small margin for overlap or bleed. This ensures full coverage without white gaps after pressing.
What Size Shrink Wrap for a 20-Oz Tumbler?
Shrink wrap sleeves for 20-oz skinny tumblers typically measure about 5" × 10", with slight variations like 5.25" × 10.25" or 5.5" × 11" depending on the manufacturer.
How Big Is a 20-Oz Tumbler?
A standard 20-oz tumbler is usually around 8.25 to 8.5 inches tall with a diameter that produces a circumference of roughly 9.25 to 9.5 inches. Exact sizing can vary slightly depending on the manufacturer and style.
How Much Does a 20-Oz Tumbler Weigh?
An empty 20-oz stainless steel tumbler typically weighs around 10 to 13 ounces, depending on thickness and design. Double-wall vacuum insulated versions may weigh slightly more due to added material.
What Size Straw for a 20-Oz Tumbler?
A 20-oz tumbler usually fits a straw about 10 inches long. This allows enough length for comfortable sipping while still fitting standard lid openings.
How to Make a 20-Oz Sublimation Tumbler?
To make a custom 20-oz sublimation tumbler, you need a sublimation-ready blank, a printed wrap, and a heat source, such as a sublimation oven or tumbler press. The process involves applying your design, securing it with tape and shrink wrap, then heating it until the ink bonds to the coating. Once cooled, the design becomes permanent and ready for use or resale.
What Is the Best Sublimation Oven for Tumblers?
The best sublimation oven for tumblers is a convection oven that maintains stable, even heat and consistent airflow throughout the entire baking cycle. For 20-oz sublimation tumblers, look for a sublimation oven that maintains a steady temperature in the 375°F to 400°F range with minimal fluctuations, since uneven heat is one of the main causes of faded color, patchy transfers, or ghosting.
Get High-Quality, Affordable Sublimation Supplies Today
Sublimating a 20-oz tumbler in an oven requires attention to detail and consistent technique. From measuring your design to allowing the sublimated tumbler to cool, each step plays a direct role in the final result. When done correctly, you get full-wrap designs with strong colors and a durable finish that will hold up for years.
In addition to following this guide's step-by-step instructions, it's essential to use high-quality blanks in the sublimation process. A properly coated sublimation tumbler will help ensure the sublimation ink bonds correctly to the surface, minimizing the risk of fading and uneven transfers.
For high-quality sublimation blanks built for clean transfers and reliable results, check out The Stainless Depot Company website.
Our tumblers feature double-wall vacuum insulation, BPA-free components, and wholesale pricing, making them the perfect choice for both small businesses and individual crafters.
Plus, we offer excellent equipment for getting started with sublimation printing, including sublimation printers and ink, heat presses, and sublimation ovens, along with other essential tools for custom drinkware production.
Whether you are just getting started or expanding your craft, having a reliable source for sublimation blanks, equipment, and supplies helps you work more efficiently and confidently as you scale. The Stainless Depot Company brings everything together in one place, providing what you need to produce stunning drinkware for personal use or resale.