Welcome to the world of tumbler photography, where your tumblers take center stage. Whether you're a hobbyist eager to showcase your latest designs on Instagram or a small business owner looking to boost product appeal online, outstanding tumbler photography is a must.
A well-executed photo can transform a simple tumbler into a desirable piece of art, showcasing both the product and the story behind it. Good tumbler photography does more than just present your tumbler — it can elevate your brand, engage your customers, and drive sales.
But how do you capture the perfect shot that resonates with your audience? And once you have that winning photo, how can you ensure it reaches the right people?
In this article, we’ll explain and simplify the process of tumbler photography, taking you step by step through the journey of capturing your creations. We’ll unpack everything from understanding the basics of product photography and post-production to showcasing your tumblers online.
By the end of this guide, you'll have the knowledge and inspiration to turn every snapshot of your tumbler into a striking visual narrative that captivates your audience. So, let's dive in and unravel the art and science of tumbler photography.
The Importance of Quality Tumbler Photography
Have you ever browsed an online catalog and found yourself irresistibly drawn to a well-shot product? That's the power of quality photography. When it comes to tumbler designs, photography is critical. After all, your tumbler isn't just a product — it's proof of your craftsmanship, creativity, and attention to detail. Capturing it in the best light, quite literally, is crucial.
Elevating Your Brand
Great photography does more than just show off your product; it elevates your brand. Think of your photographs as the visual language of your brand. They communicate the value of your tumblers, their aesthetics, and the stories they tell.
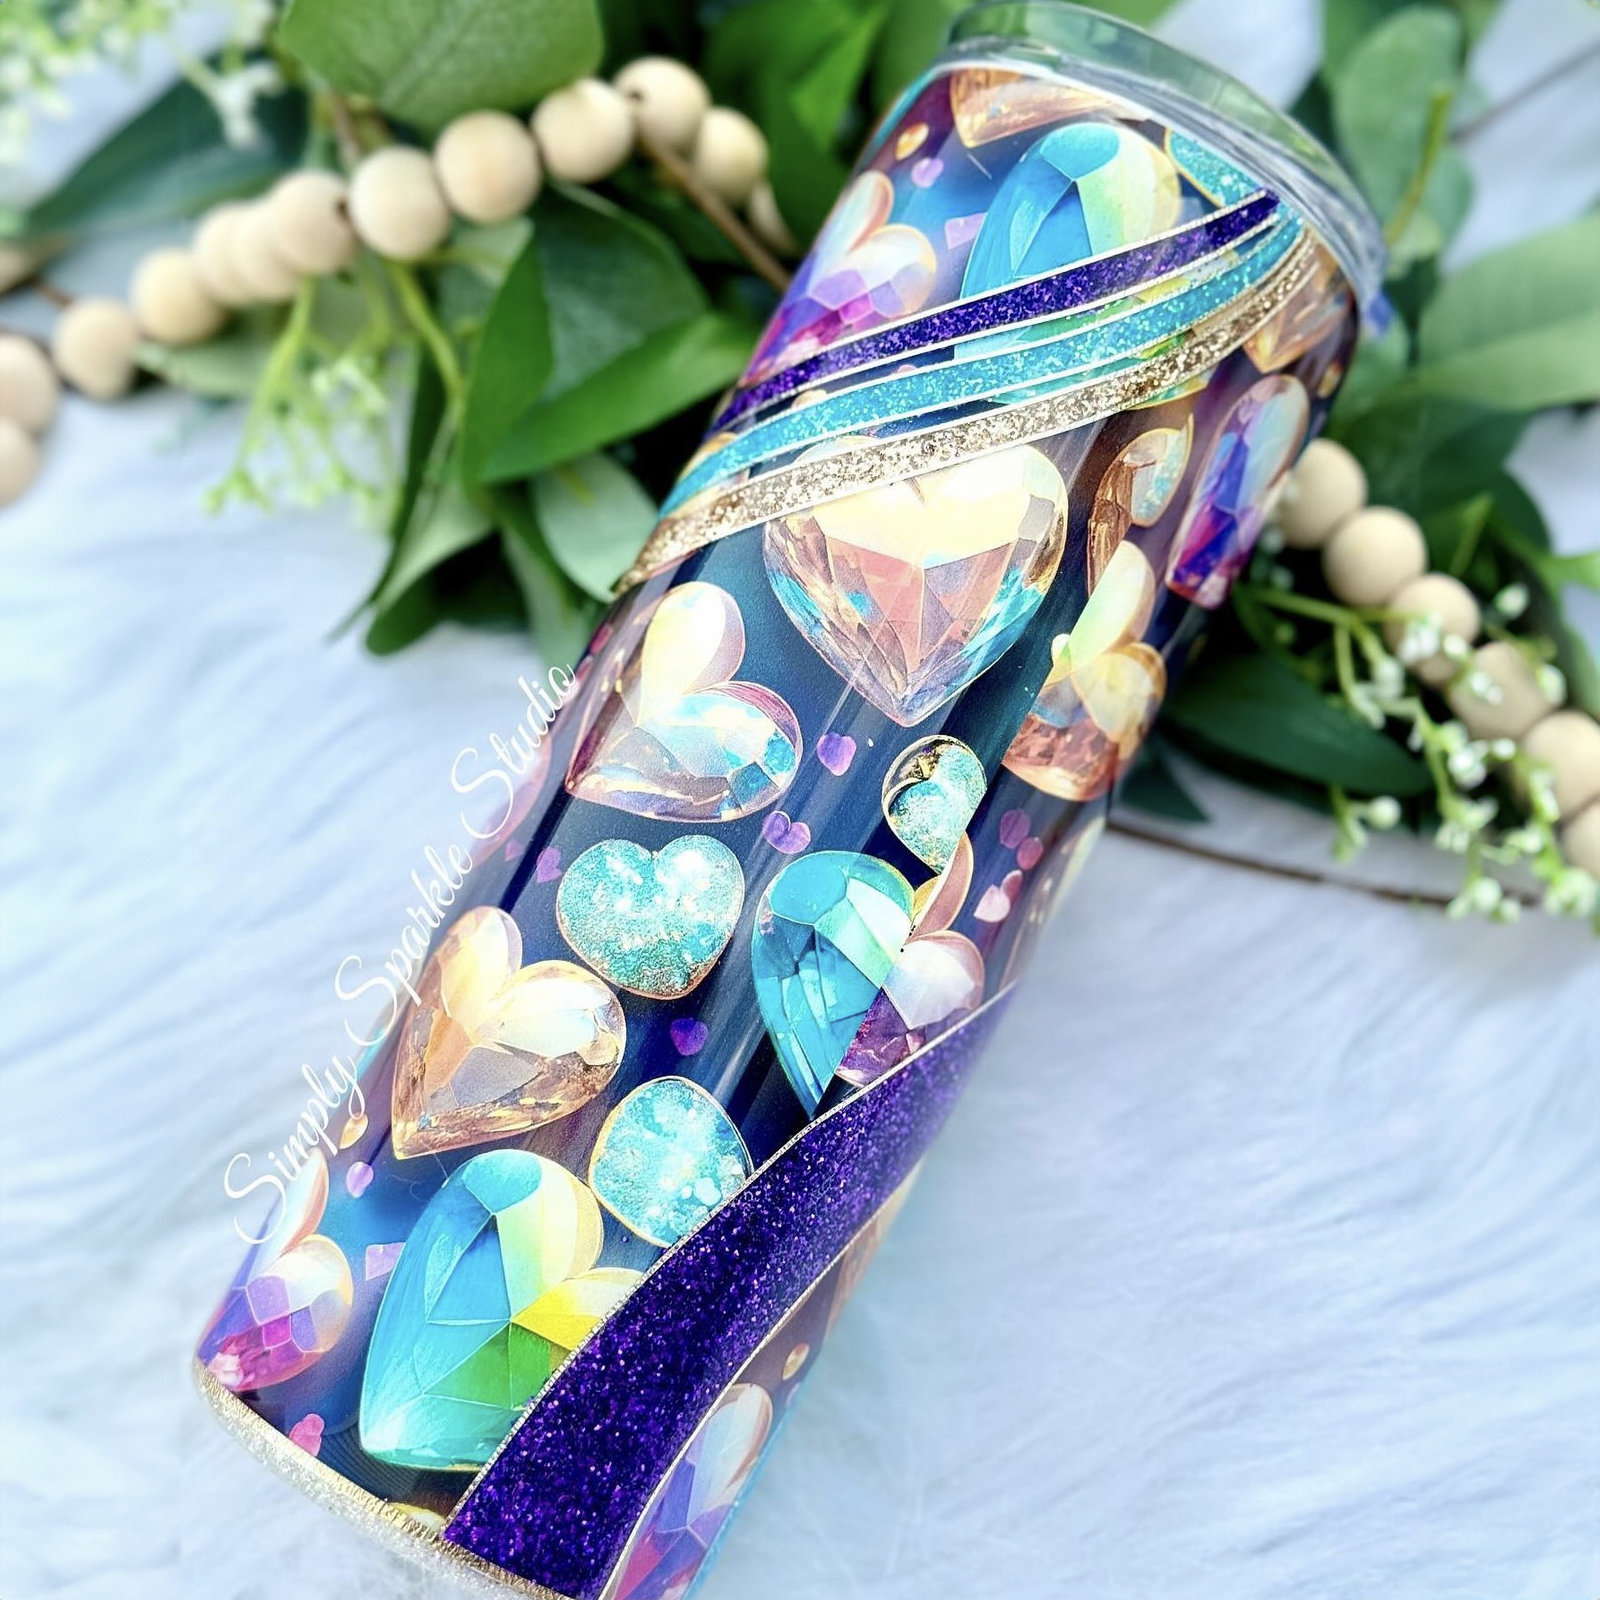
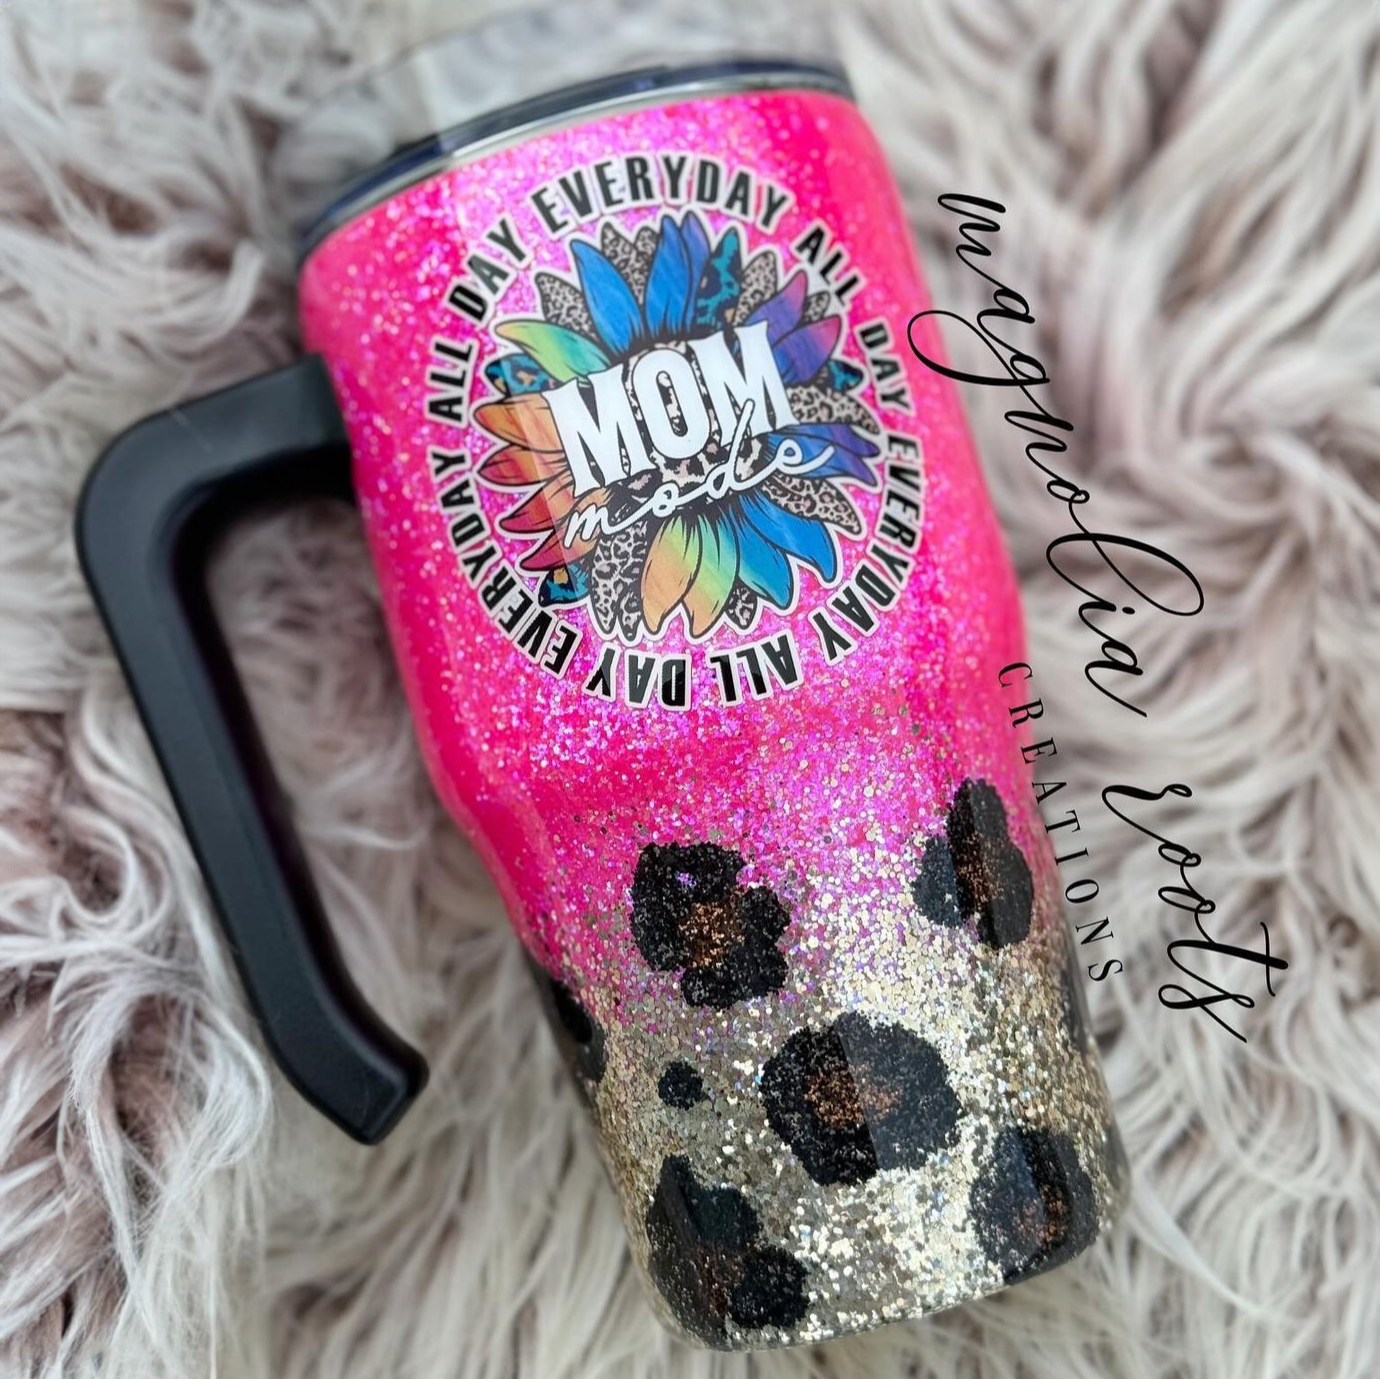
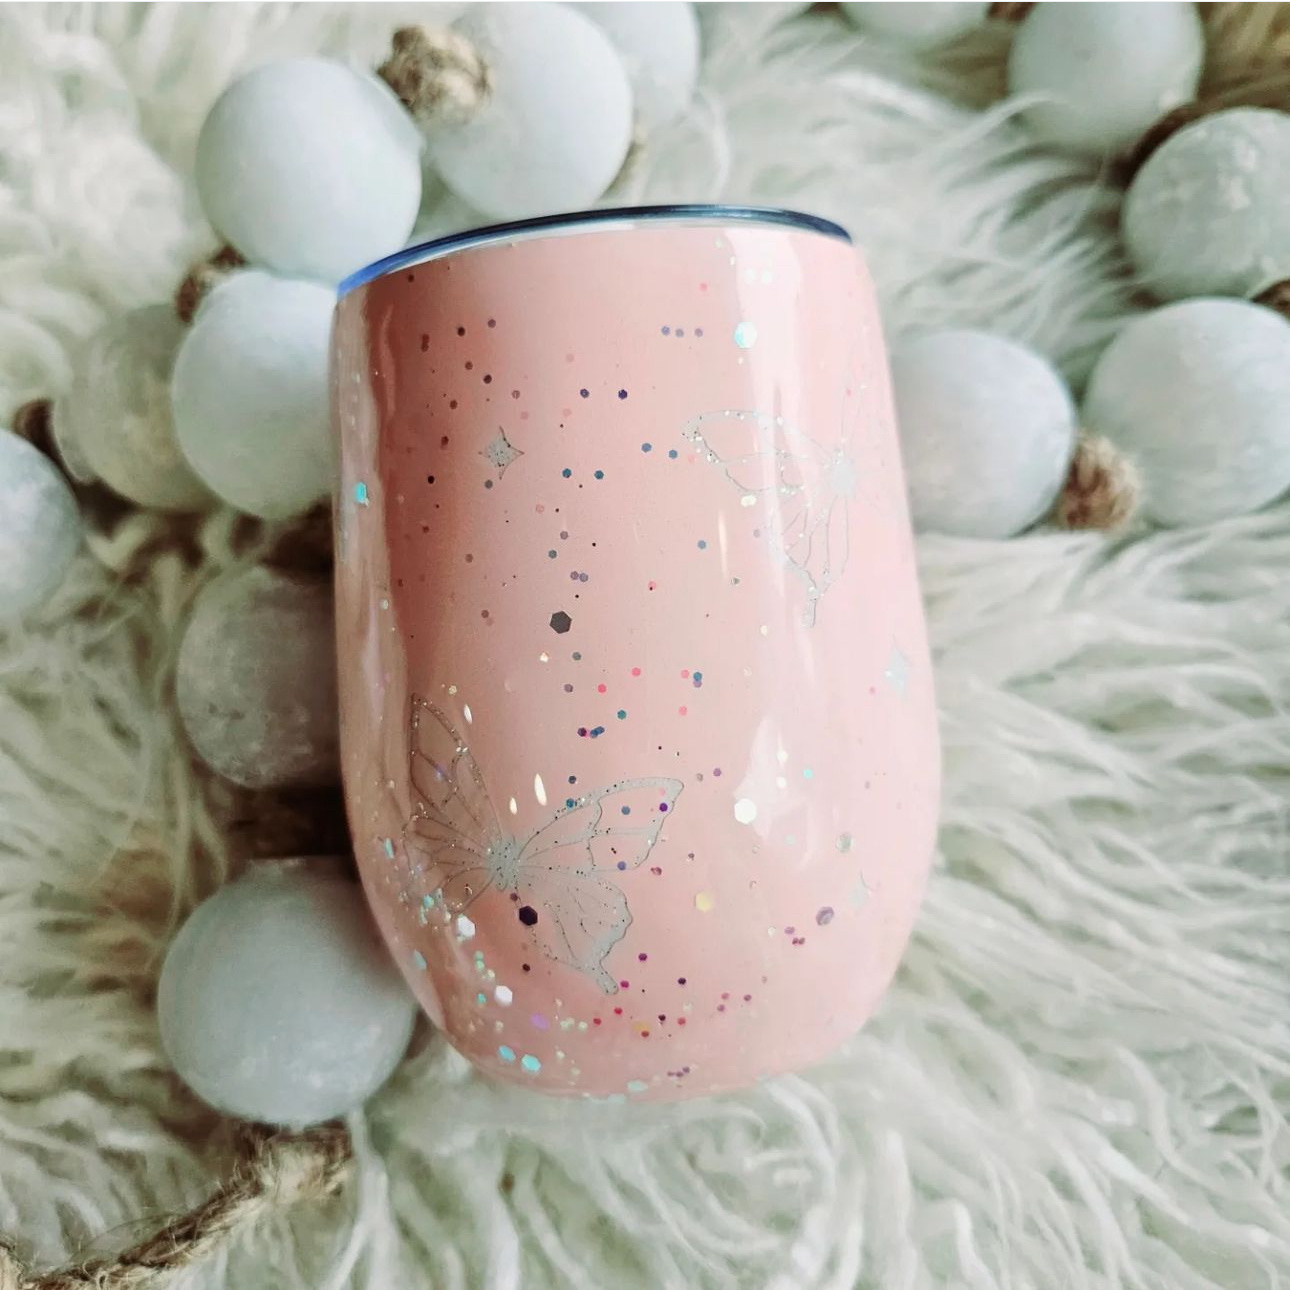
For instance, a well-shot tumbler photo highlights its vibrant colors, unique design elements, and a story of quality, craftsmanship, and attention to detail. It speaks to the viewer that you, as a brand, value quality and artistry. This perception can significantly enhance your brand image, making your offerings desirable to your target audience.
Increasing Sales and Engagement
Beyond brand building, quality tumbler photography directly impacts your bottom line. A tumbler might be well-crafted and have a fantastic design, but if your photos fail to capture its uniqueness and charm, you may lose potential customers.
On the other hand, a visually engaging, high-quality photo can catch a viewer's eye, making them more likely to click through, explore your offerings, and make a purchase.
Additionally, quality photos are more likely to be shared and liked on social media platforms, increasing engagement and driving more traffic to your site.
Investing time and effort into capturing high-quality tumbler photographs isn't just beneficial — it's an essential strategy for building your brand and boosting sales. As we move further into this article, we'll share some practical tips and techniques for striking tumbler photos. So, stay tuned, and let's explore the exciting world of tumbler photography together.
Understanding the Basics of Product Photography
Like any art, quality photography is rooted in essential basics. Once mastered, these core concepts will help you take stunning photos with confidence. As we delve into the realm of tumbler photography, let's first take a moment to discuss the fundamental elements that shape a great product photo and the basic equipment that you’ll need.
Elements of a Great Product Photo
The small details in photography make a massive difference to your final image, meaning you need to pay close attention to seemingly-trivial elements. Here are the critical factors that can elevate your tumbler photography:
- Lighting: This is arguably the most vital aspect of any photograph. Soft, diffused light often works best for product photography as it minimizes harsh shadows and evenly illuminates the product. Experiment with natural light or invest in a softbox or umbrella lights for studio setups. You can also get an inexpensive diffusing alternative, such as a light diffuser panel or a bounce reflector.
- Background: An uncluttered, neutral background helps keep the focus on your tumbler. Light-colored backgrounds are generally preferred as they reflect light back onto the product, but don't shy away from experimenting to see what works best for your designs. You can also purchase an inexpensive backdrop to emphasize your stunning tumblers.
- Composition: How you arrange your product within the frame is crucial. Consider the rule of thirds, where the frame divides into nine equal parts and the product is placed along these lines or at their intersections for a balanced and aesthetically pleasing shot.
- Angles: Different angles can highlight various features of your tumbler. A straight-on shot can showcase the design, while an angled or top-down view can emphasize the shape or lid details.
While we touched on some essential components of a great photo, we’ll cover some of these concepts in greater depth later in the article.
Basic Equipment Needed
Your journey into tumbler photography will become much easier with the right tools. Here's a simple list of equipment to get you started:
- Camera: While professional DSLRs or mirrorless cameras are ideal, don't underestimate the power of a good smartphone camera. They can be more than sufficient, especially with good lighting.
- Tripod: A steady camera is essential for sharp, clear images. A tripod can help ensure stability, particularly for longer exposures.
- Lighting equipment: As mentioned earlier, good lighting is crucial. Natural light is great, but controlling your lighting with softboxes or umbrella lights can be a game-changer.
- Background materials: Investing in background materials like white paper, canvas, or light wooden boards can help create a consistent, professional look.
- Reflectors and diffusers: These can help manipulate your light source to remove harsh shadows or to add more light to specific areas.
Remember, while having quality equipment is a good start, it's how you use it that truly matters. Mastering the art of tumbler photography is less about the tools and more about understanding how to bring out the best in your products through the right composition, lighting, and styling.
Styling Your Tumbler for the Perfect Shot
With a grasp of the basics under your belt, it's time to turn our attention to the star of the show — your tumbler. Styling your tumbler for the perfect shot is where your creativity truly shines. It's about telling a story that resonates with your audience and highlights the unique elements of your design.
Choosing the Right Background
The first step to styling your tumbler is choosing the right background. This plays a crucial role in setting your photograph's mood and accentuating your tumbler's features.
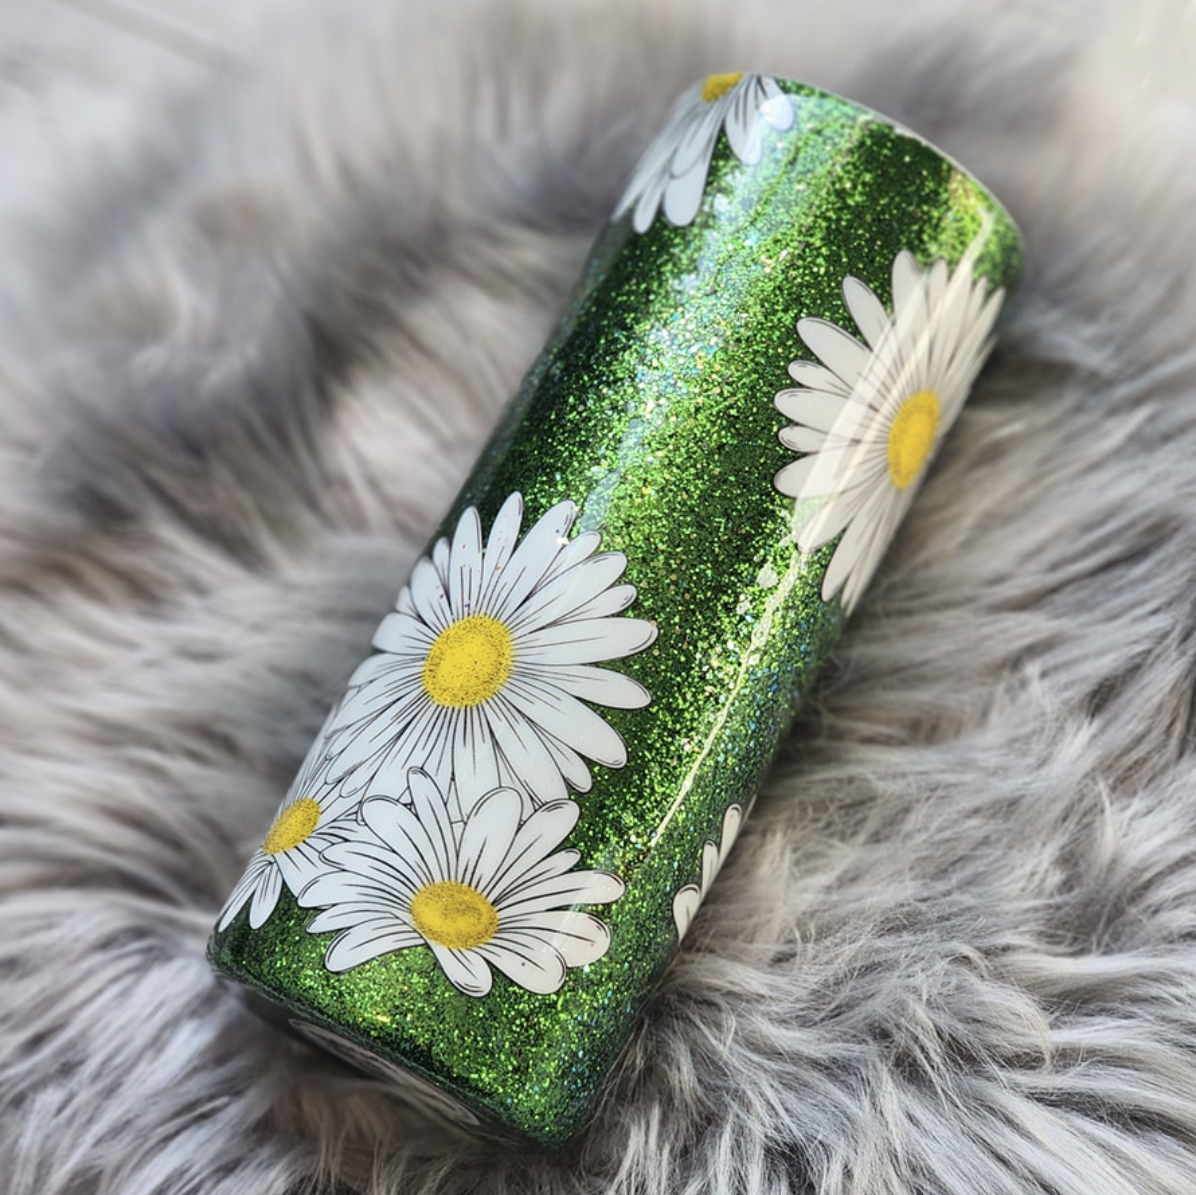
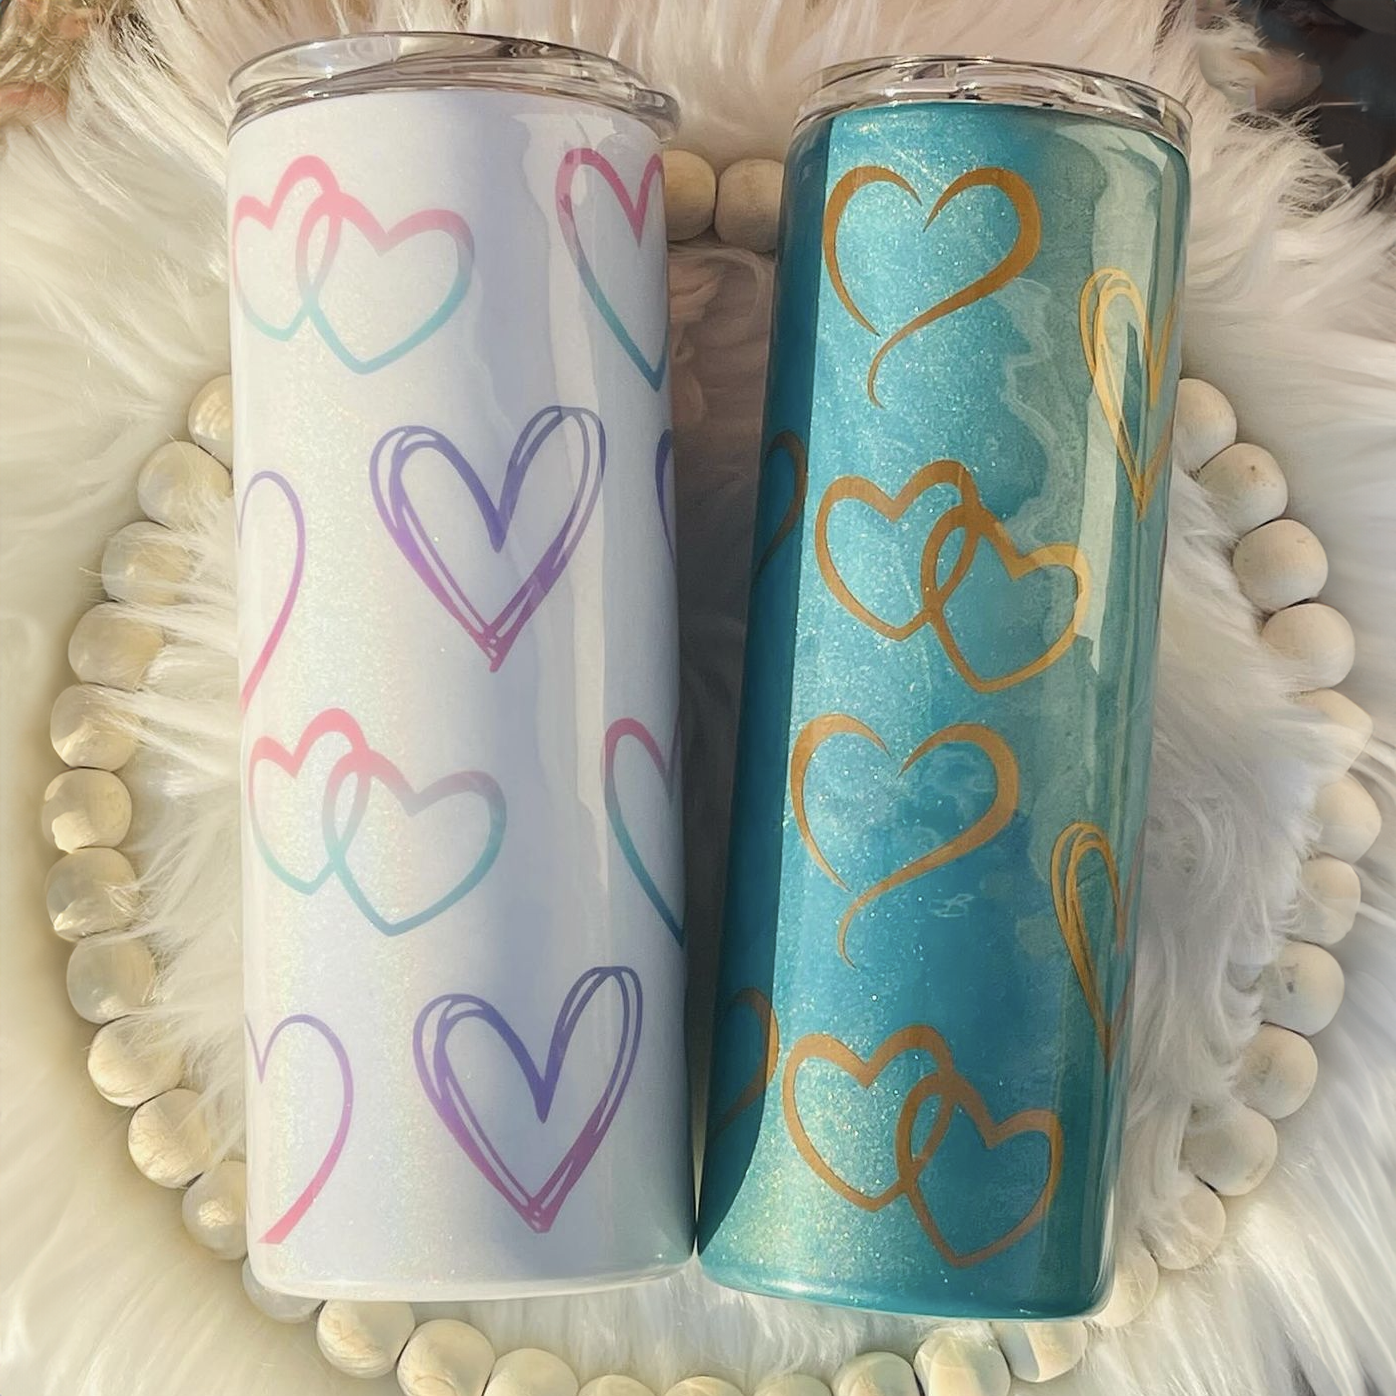
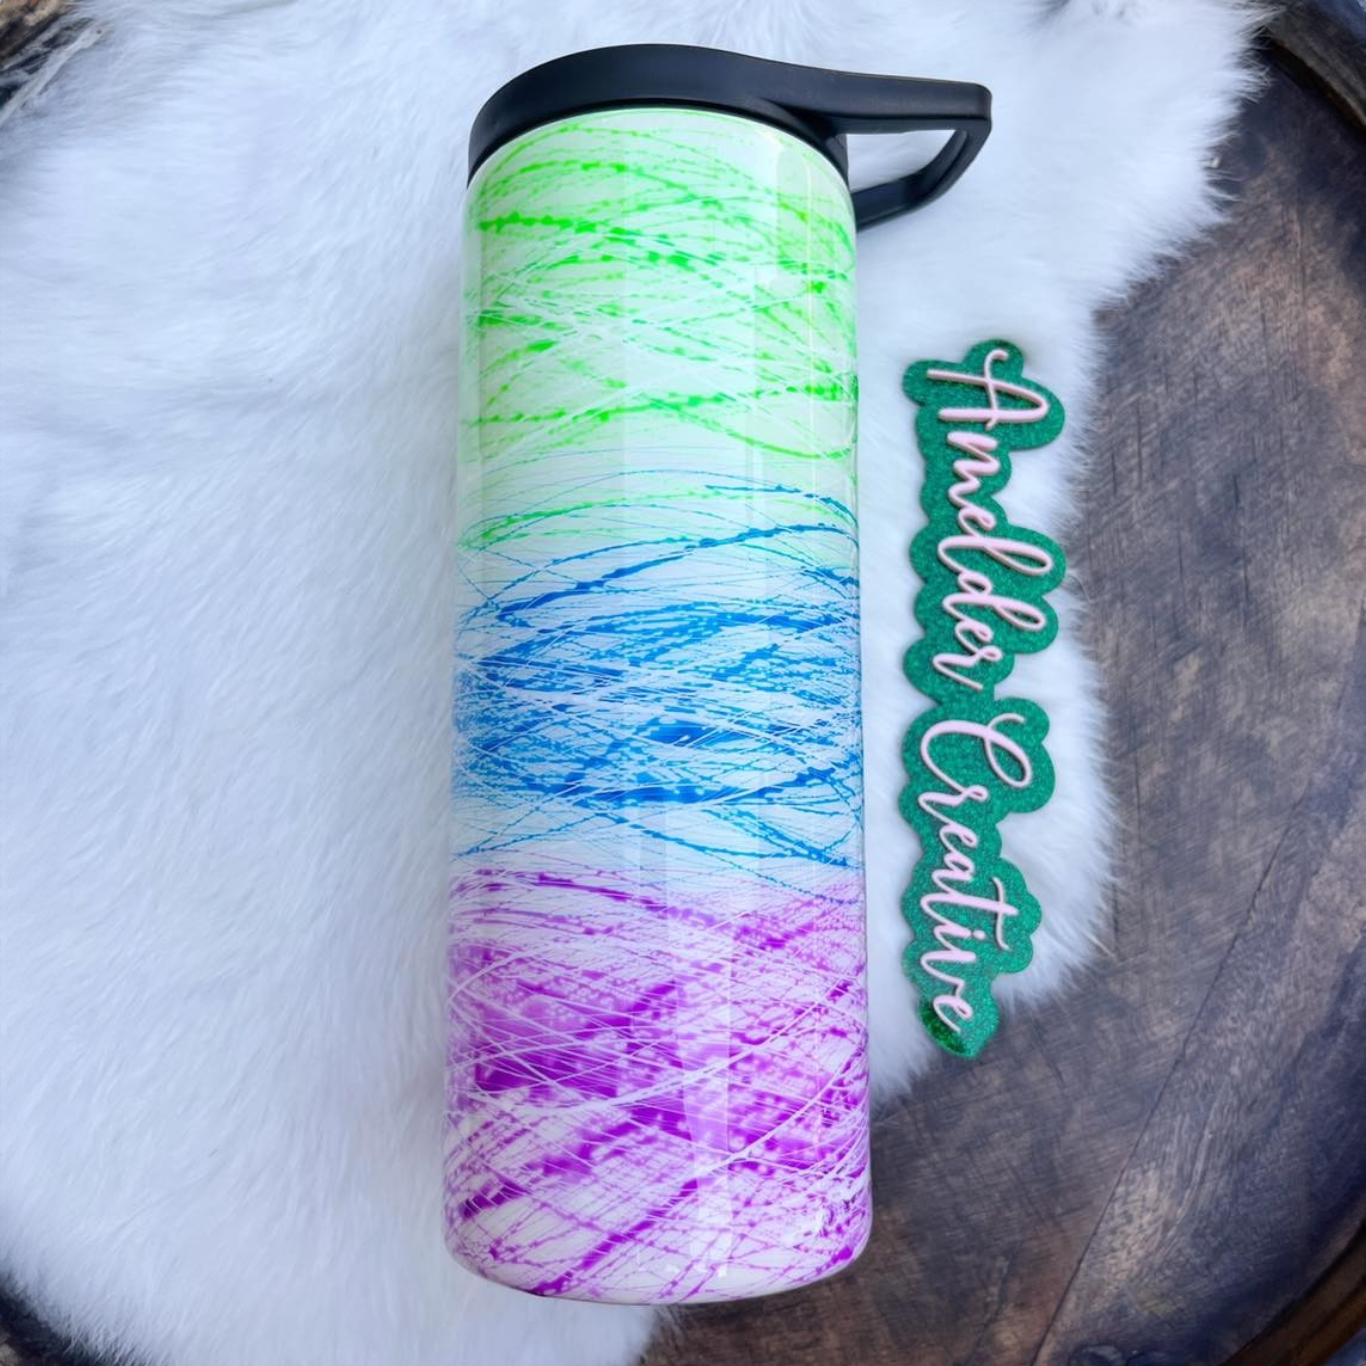
A solid, neutral background is a safe bet for most tumbler designs. It minimizes distractions and draws the viewer's eye straight to the product. Light colors like white or cream are often preferred as they reflect light back onto the tumbler, enhancing its colors and details.
However, don't let conventions limit your creativity. Feel free to experiment with different textures and colors, especially if they complement your design or represent your brand's aesthetic. Just remember to ensure that the background never overshadows the product itself.
Using Props Effectively
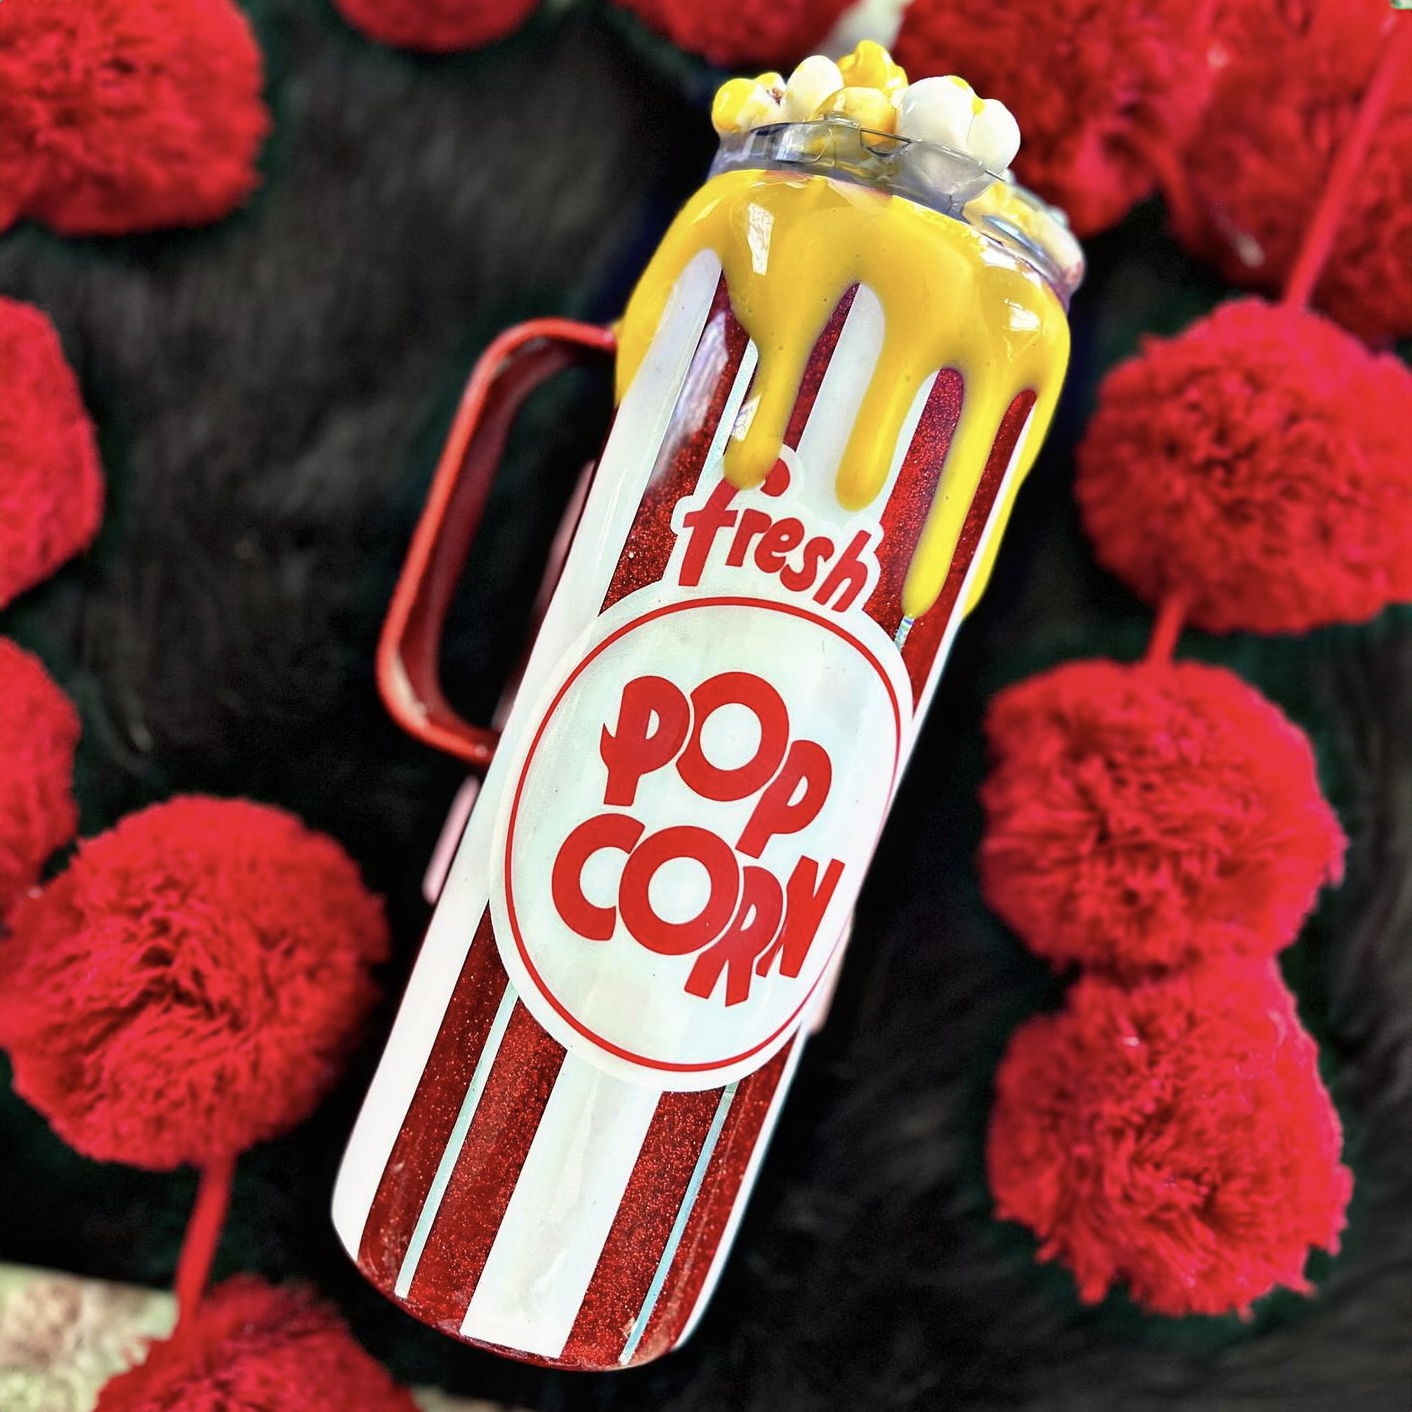
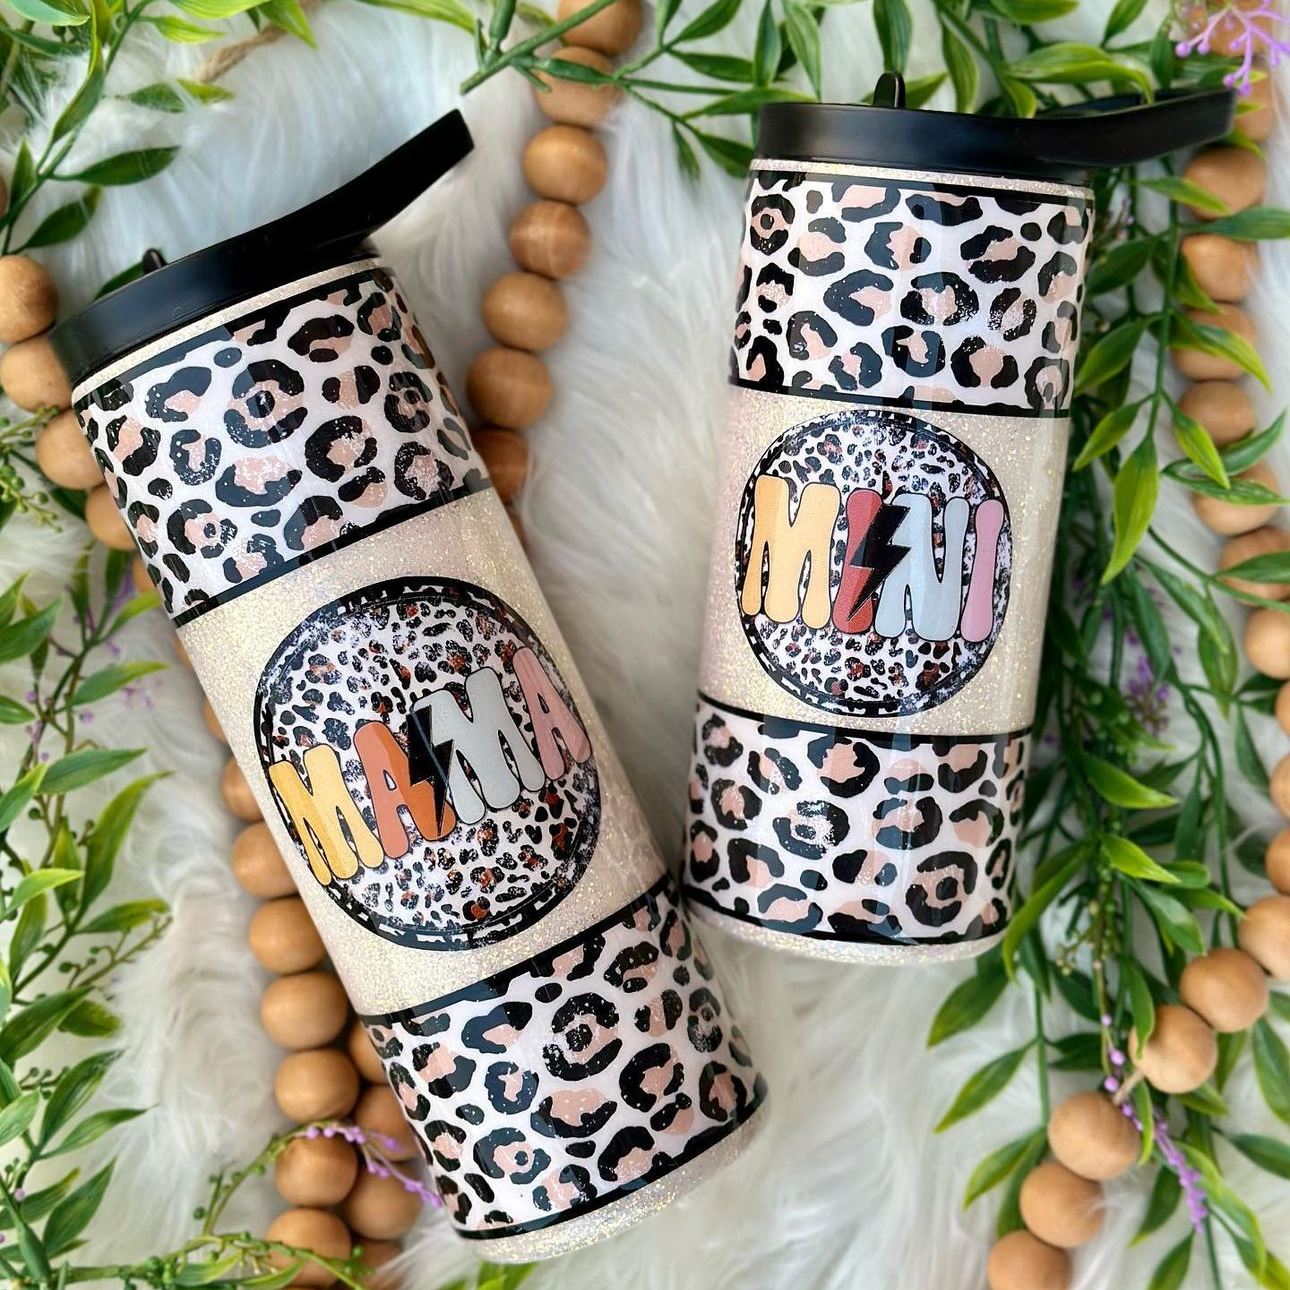
Props can add depth and context to your tumbler photograph. They can convey uses for the tumbler, evoke a particular lifestyle, or simply add a touch of visual interest.
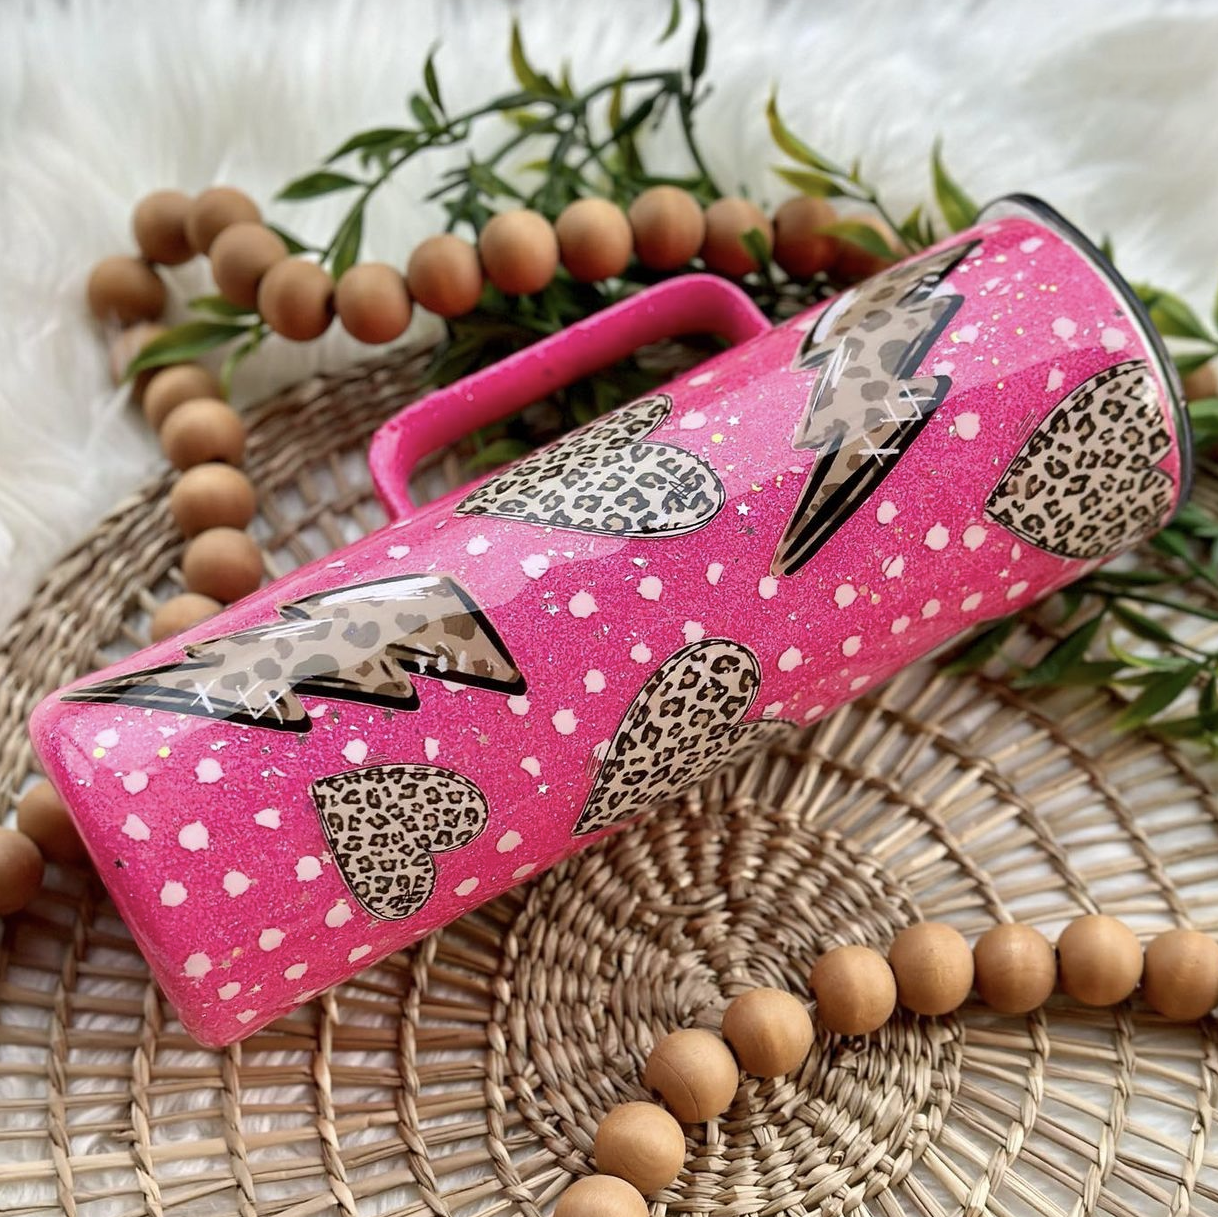
When selecting props, consider elements that are cohesive with your brand and the story you want to tell. This could be coffee beans for a coffee tumbler, a book and a pair of glasses for a reading nook vibe, or even nature elements like plants or wood for an outdoorsy feel. Just be cautious not to clutter the scene and divert attention from your tumbler.
Positioning Your Tumbler
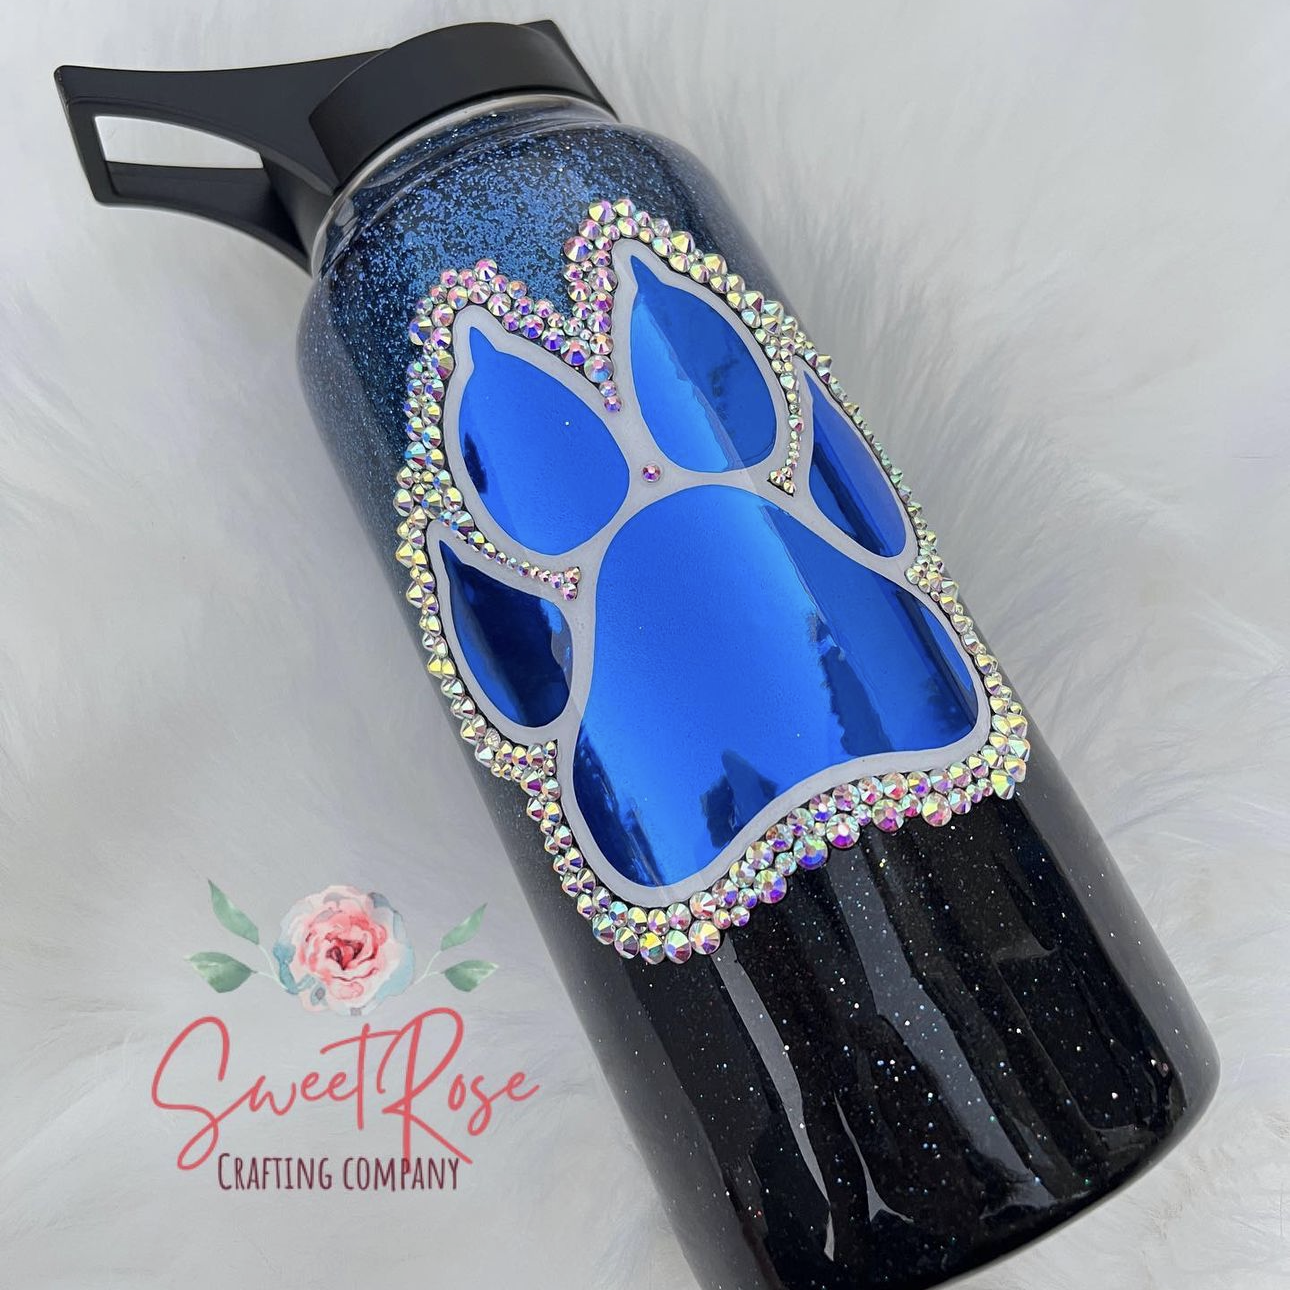
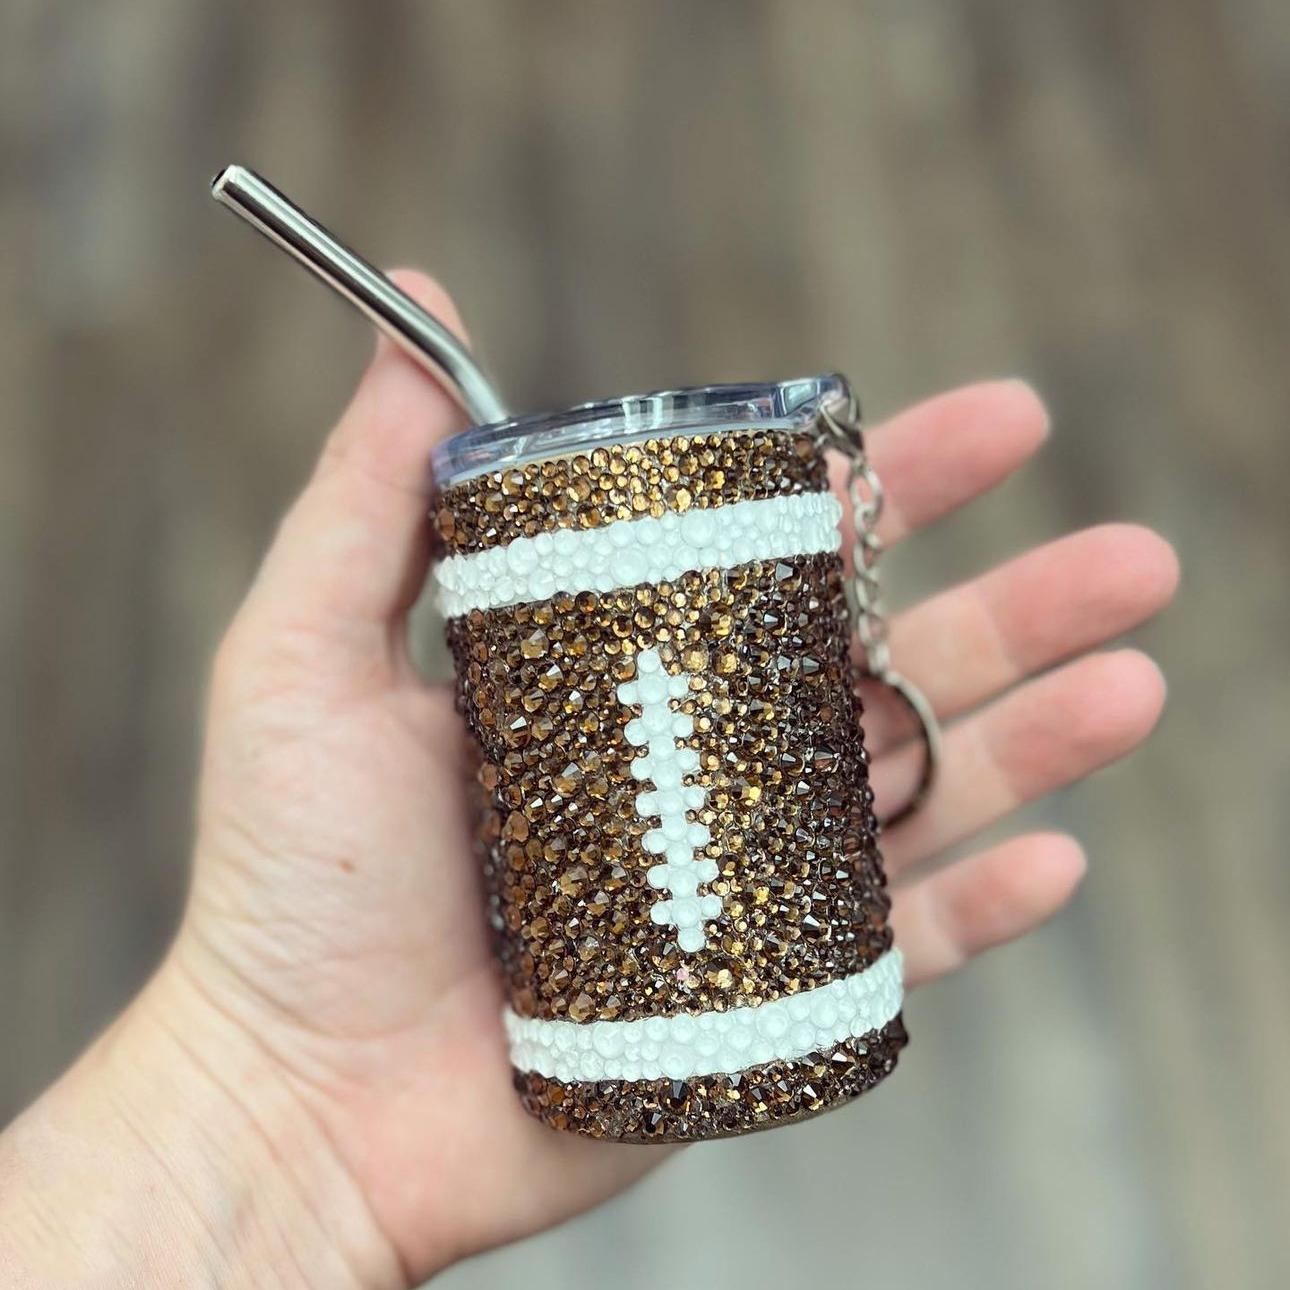
How you position your tumbler in the frame can significantly impact the perception of your product. Centered compositions are classic and straightforward, emphasizing symmetry. If you want a more dynamic composition, consider playing around with the rule of thirds.
Remember to capture multiple angles. Frontal shots are essential for showcasing the design but don't forget to capture the top, sides, and even the bottom. Unique angles can create intrigue and highlight details that a front-facing photo might miss.
The key to excellent tumbler styling lies in striking a balance — a balance between simplicity and interest and between product focus and contextual storytelling. And as with any creative process, experimentation is your best friend. So go ahead, play with different setups, and see your tumbler designs come to life!
Mastering Post-Production Editing
So, you've conceptualized the shot, styled your tumbler, and captured your photographs. Excellent! But the journey doesn't end there. Post-production editing is where you fine-tune your images, transforming a good photo into a great one. In this section, we'll explore some basic editing techniques that can help elevate your tumbler photos to a professional level.
Using the Right Editing Software
For beginners, free tools like Snapseed or Lightroom Mobile can be effective for basic editing. As you grow more comfortable with editing, consider investing in advanced software like Adobe Lightroom or Photoshop, which offer a more extensive range of features.
Remember, the goal of post-production editing is to enhance your photos, not to alter them completely. Here are some tips for letting your creativity shine through!
Adjusting Lighting and Contrast
The first step in post-production often involves correcting the lighting and contrast of your images. Even if you've nailed the lighting during the shoot, slight adjustments in post-production can significantly enhance the final result.
Your goal should be to achieve a well-lit photo where the tumbler design stands out clearly. Use your editing software's brightness, contrast, and exposure sliders to fine-tune the lighting. Don’t overdo it — your photo should look natural and not overly edited.
Balancing Colors
Color balance is crucial in photography, especially in product photography. Your tumbler's colors need to look accurate and vibrant, true to their real-life appearance.
Most editing software allows you to adjust the color temperature, saturation, and vibrancy. Remember that while making your colors pop is essential, they should not appear oversaturated or unnatural.
Cropping and Framing
Last but not least, how you crop and frame your photo in post-production can influence its overall appeal. If your composition during the shoot was slightly off, cropping can help you correct it.
Moreover, framing your photo according to different social media platform recommendations can be beneficial. For instance, square crops work well on Instagram, while a landscape orientation is more suitable for a website or Facebook banner.
Showcasing Your Tumbler Photographs
At last, it's time to take center stage and showcase your finished product — the result of your design talent, styling creativity, and photography skills. This final step ensures that your work gets the attention it deserves. Here are a few key strategies to keep in mind.
Utilizing Social Media
The rise of social media platforms like Instagram, Pinterest, and Facebook has revolutionized how products are discovered and purchased. Sharing high-quality images of your tumblers on these platforms can generate interest and attract potential customers.
However, it's not just about posting a picture and waiting for the likes to roll in. You need to consider elements like the optimal time to post, the use of relevant hashtags, engaging captions, and consistent branding. Remember that building a following takes time, consistency, and engagement with your audience.
Leveraging Customer Testimonials
Never underestimate the power of social proof. If you have happy customers who love your products, ask them to share a photo and a brief review. You can then feature these testimonials on your social media profiles, website, or product listings. This adds authenticity to your brand while showing potential customers the real-world use and quality of your products.
Boost Sales and Engagement with Quality Product Photography
High-quality product photography is an art in itself — a blend of technical skill, creative vision, and strategic marketing. As you navigate this process, remember to enjoy the journey, learn from each experience, and celebrate every success.
Photographing your custom tumbler creations isn't just about pointing a camera and clicking a button. As we've explored in this guide, it's a blend of several elements — understanding your gear, mastering lighting techniques, creating compelling compositions, performing post-production edits, and effectively showcasing your work.
As you hone your photography skills, remember you're not alone in this journey. We invite you to join the HOGG Outfitters private Facebook group, where fellow creators share tips, tricks, and inspirational ideas. Also, be sure to follow us on Instagram.
Here at HOGG Outfitters, we're excited to see the incredible designs and photographs you'll create. So grab your camera and favorite tumbler, and let's start capturing your creations in style!