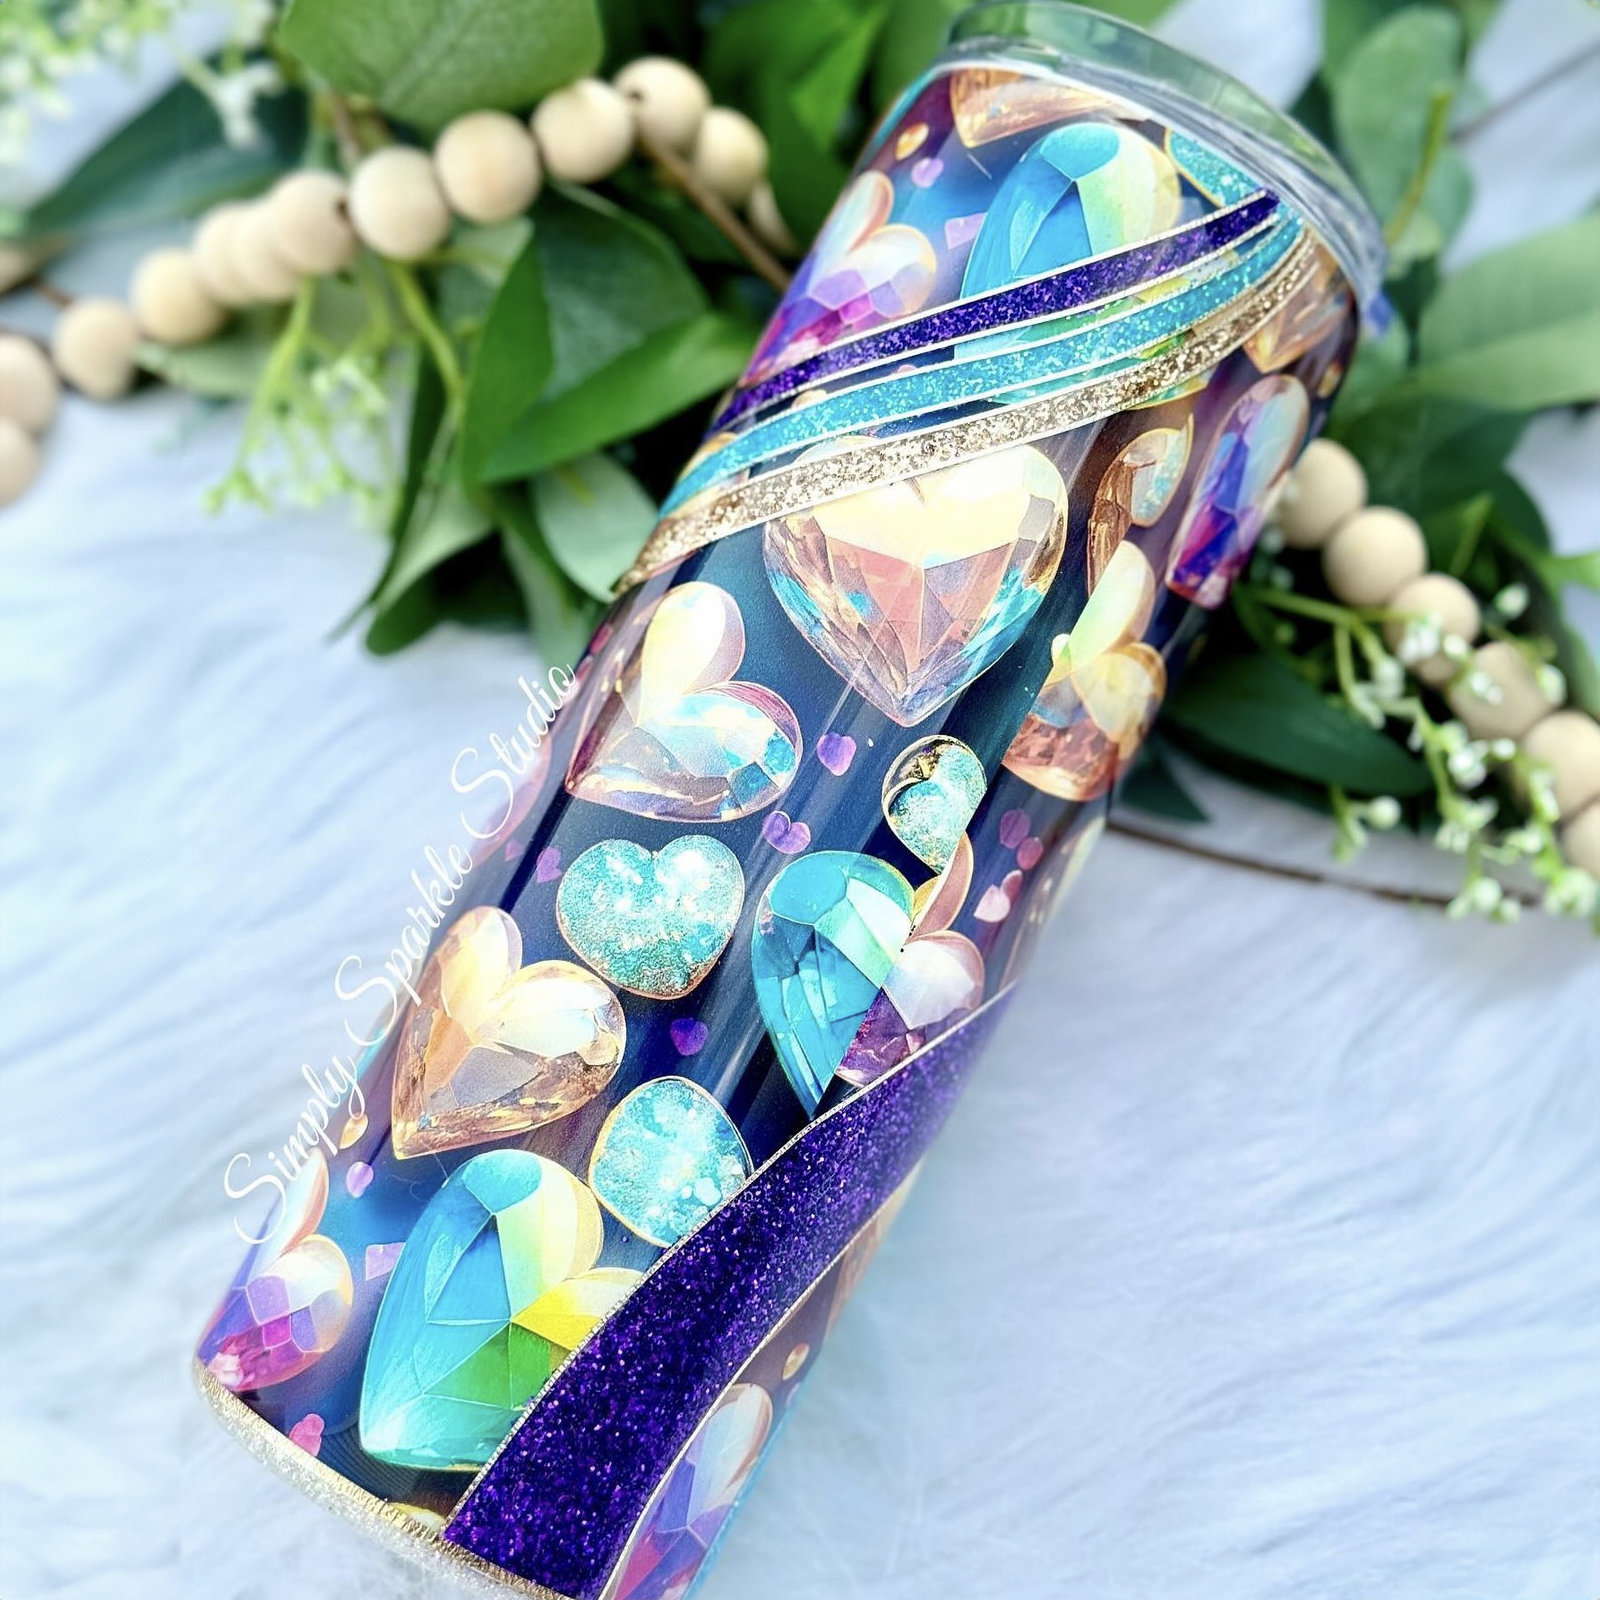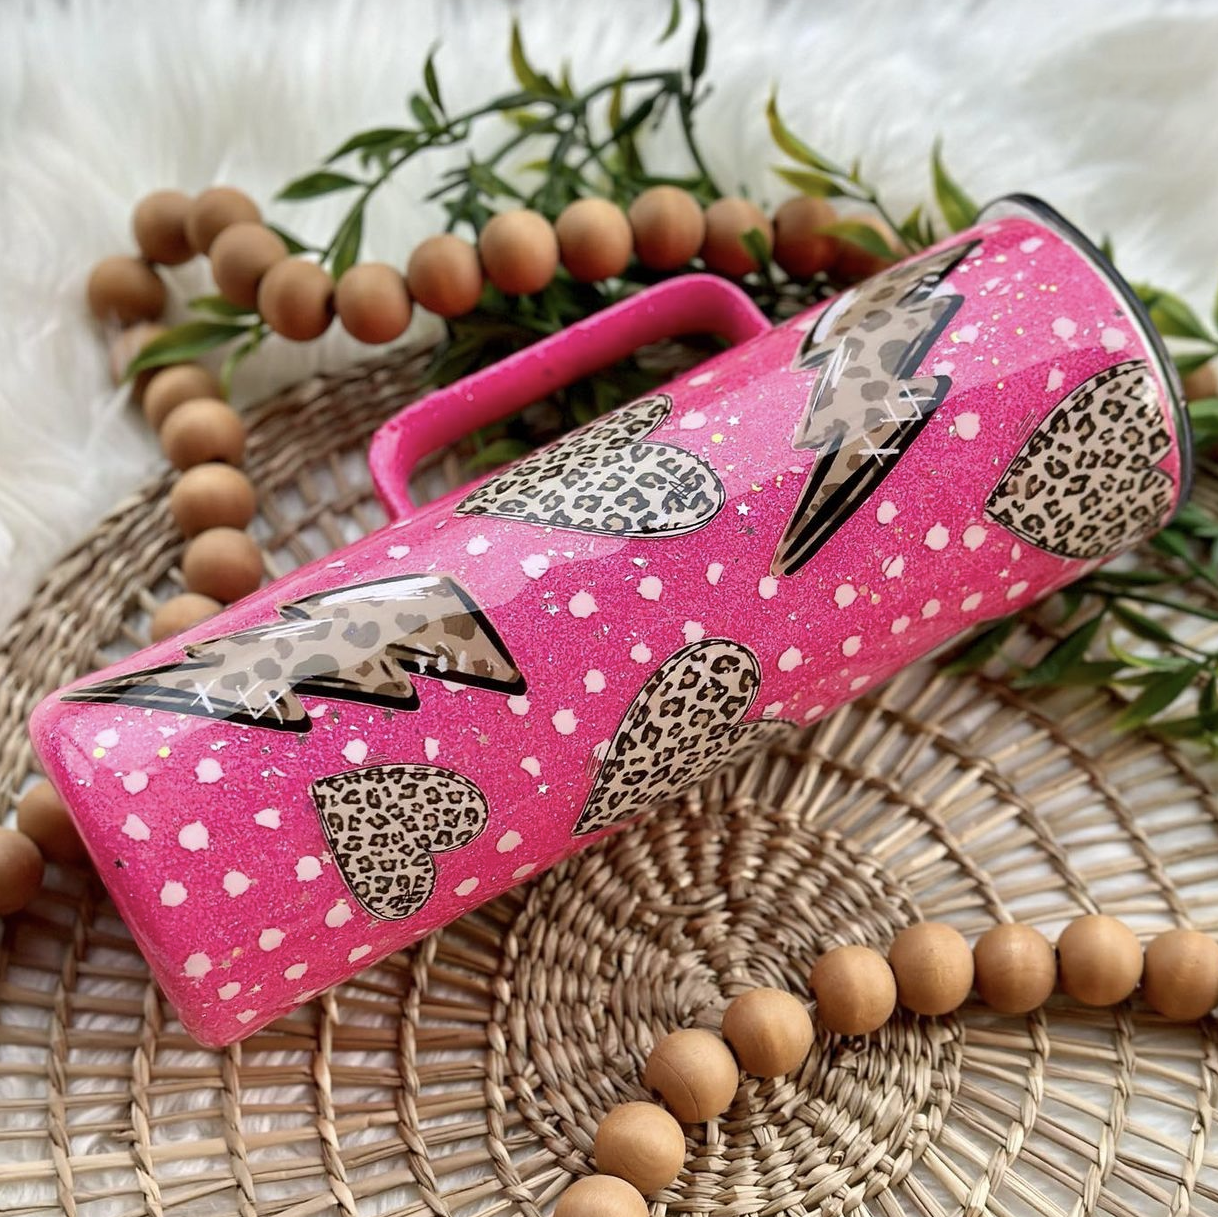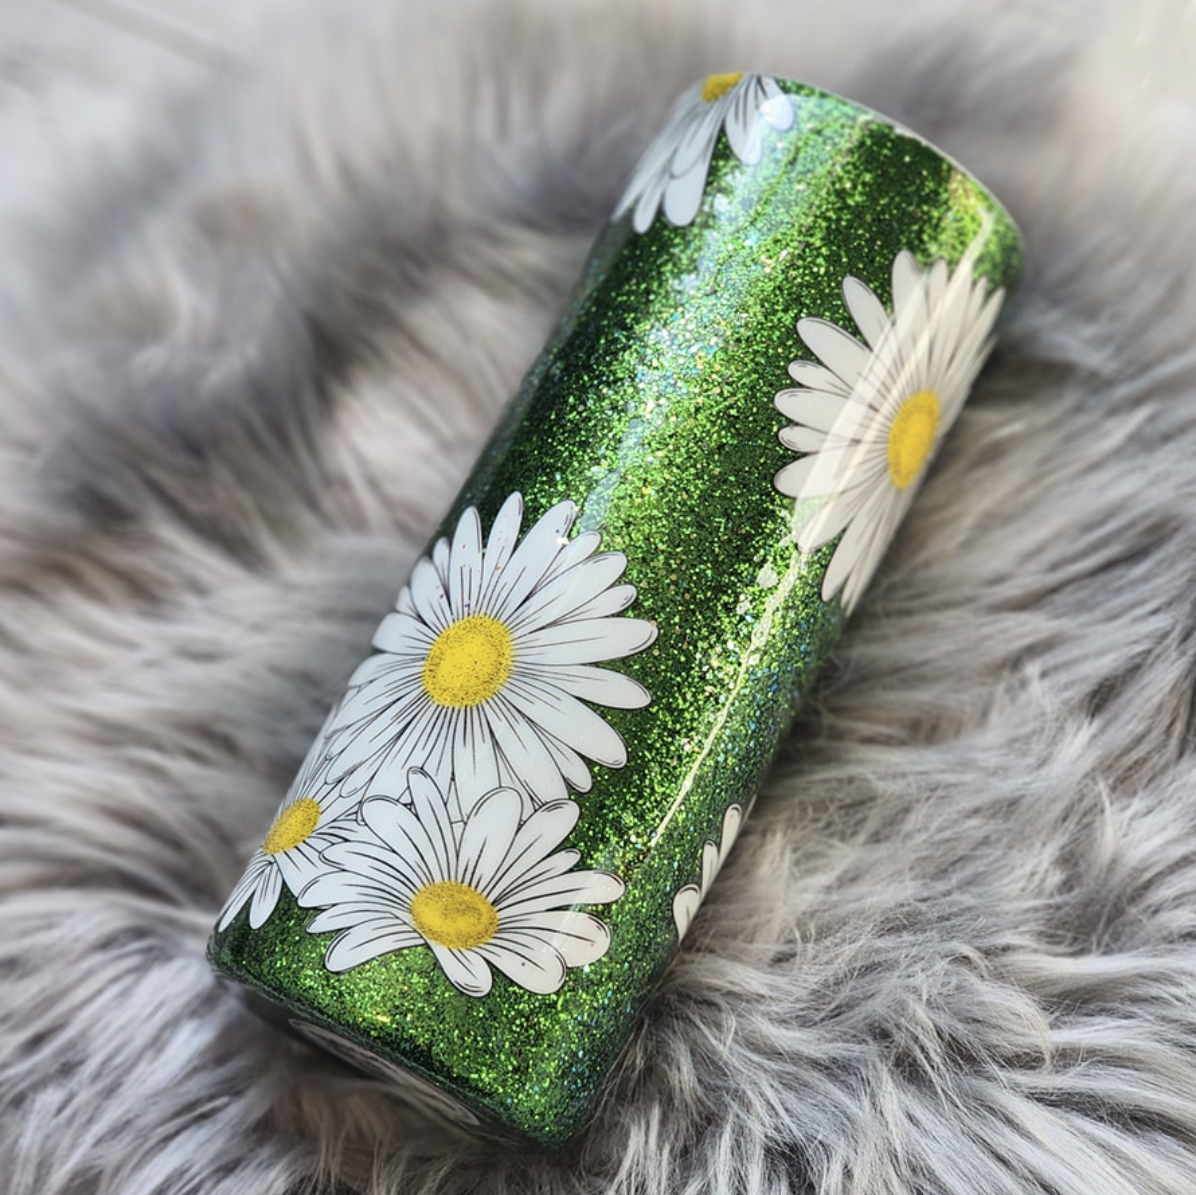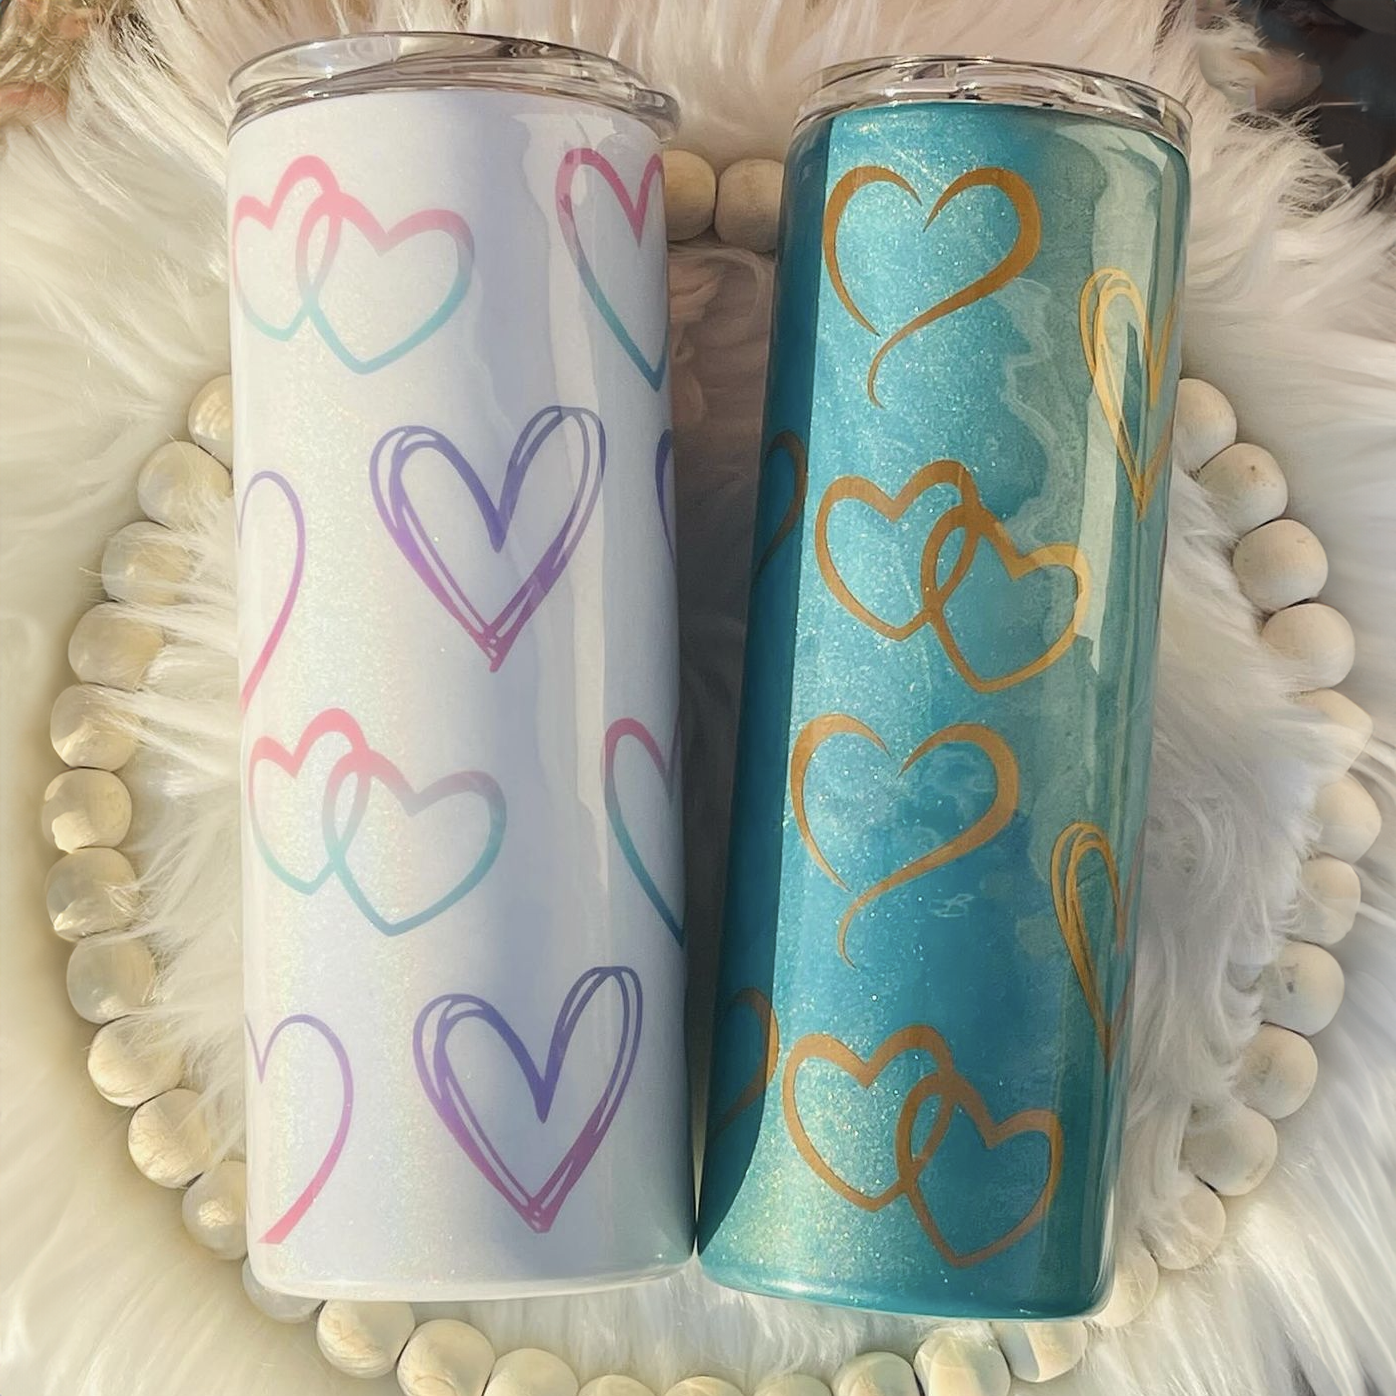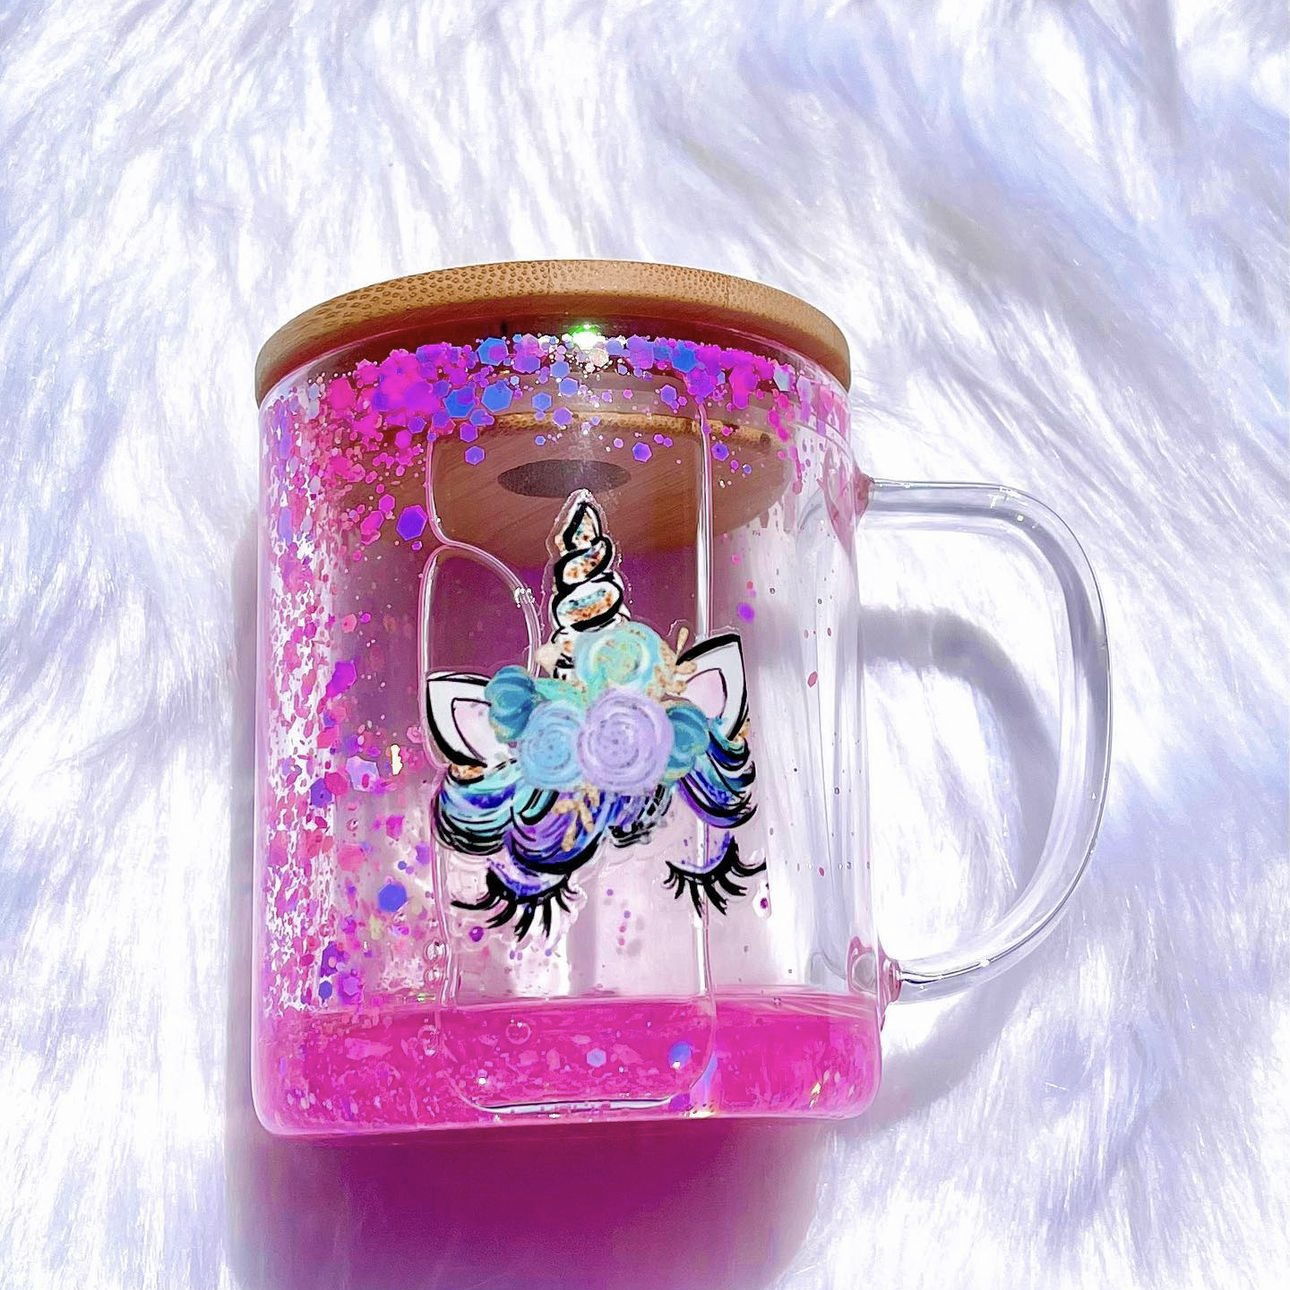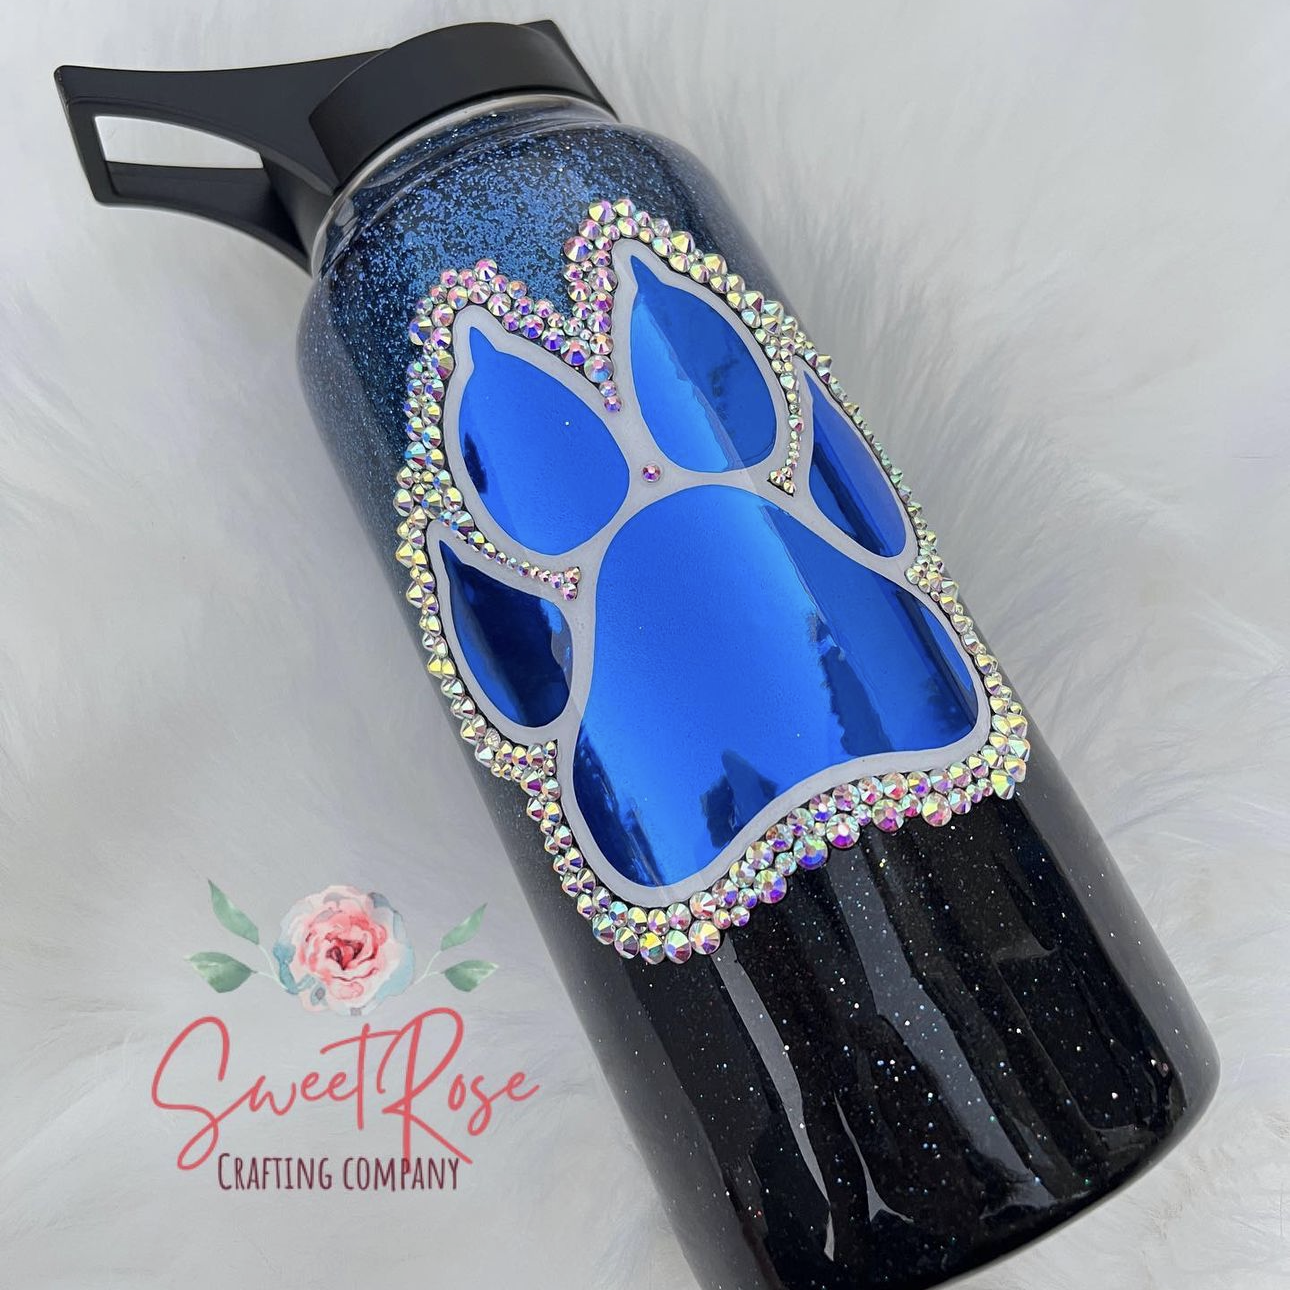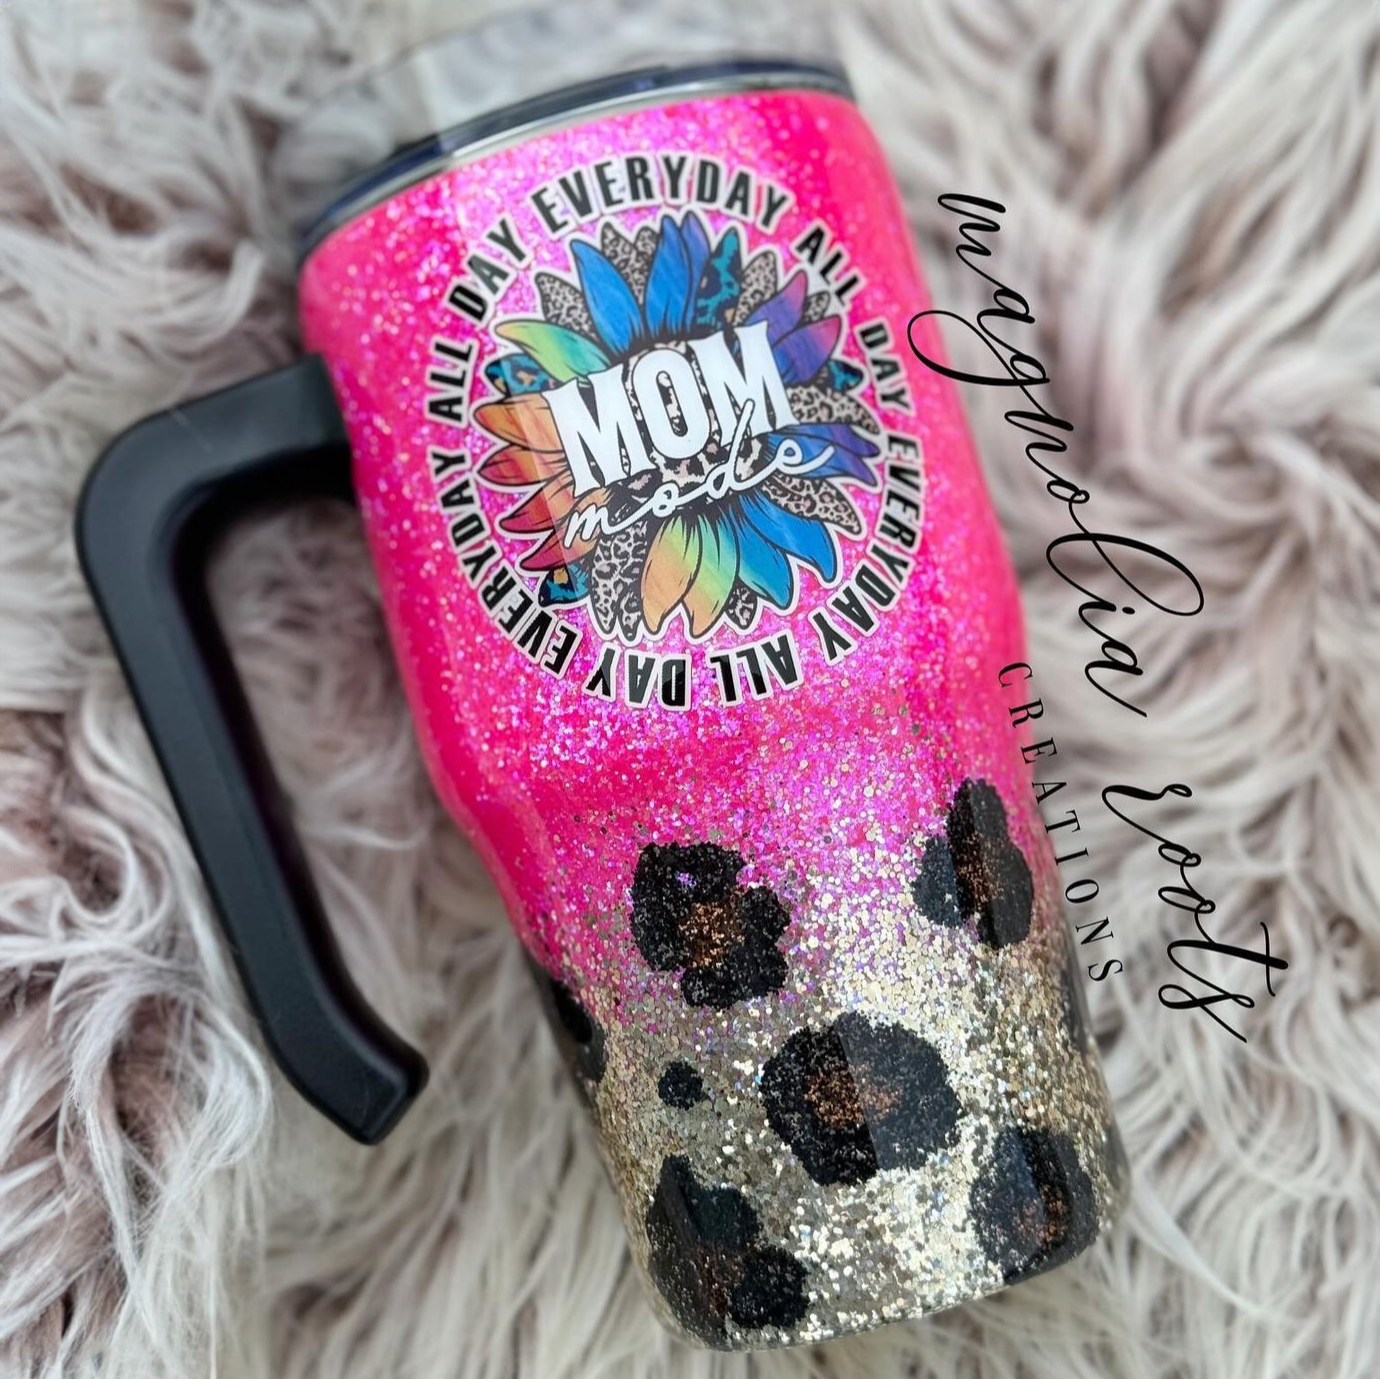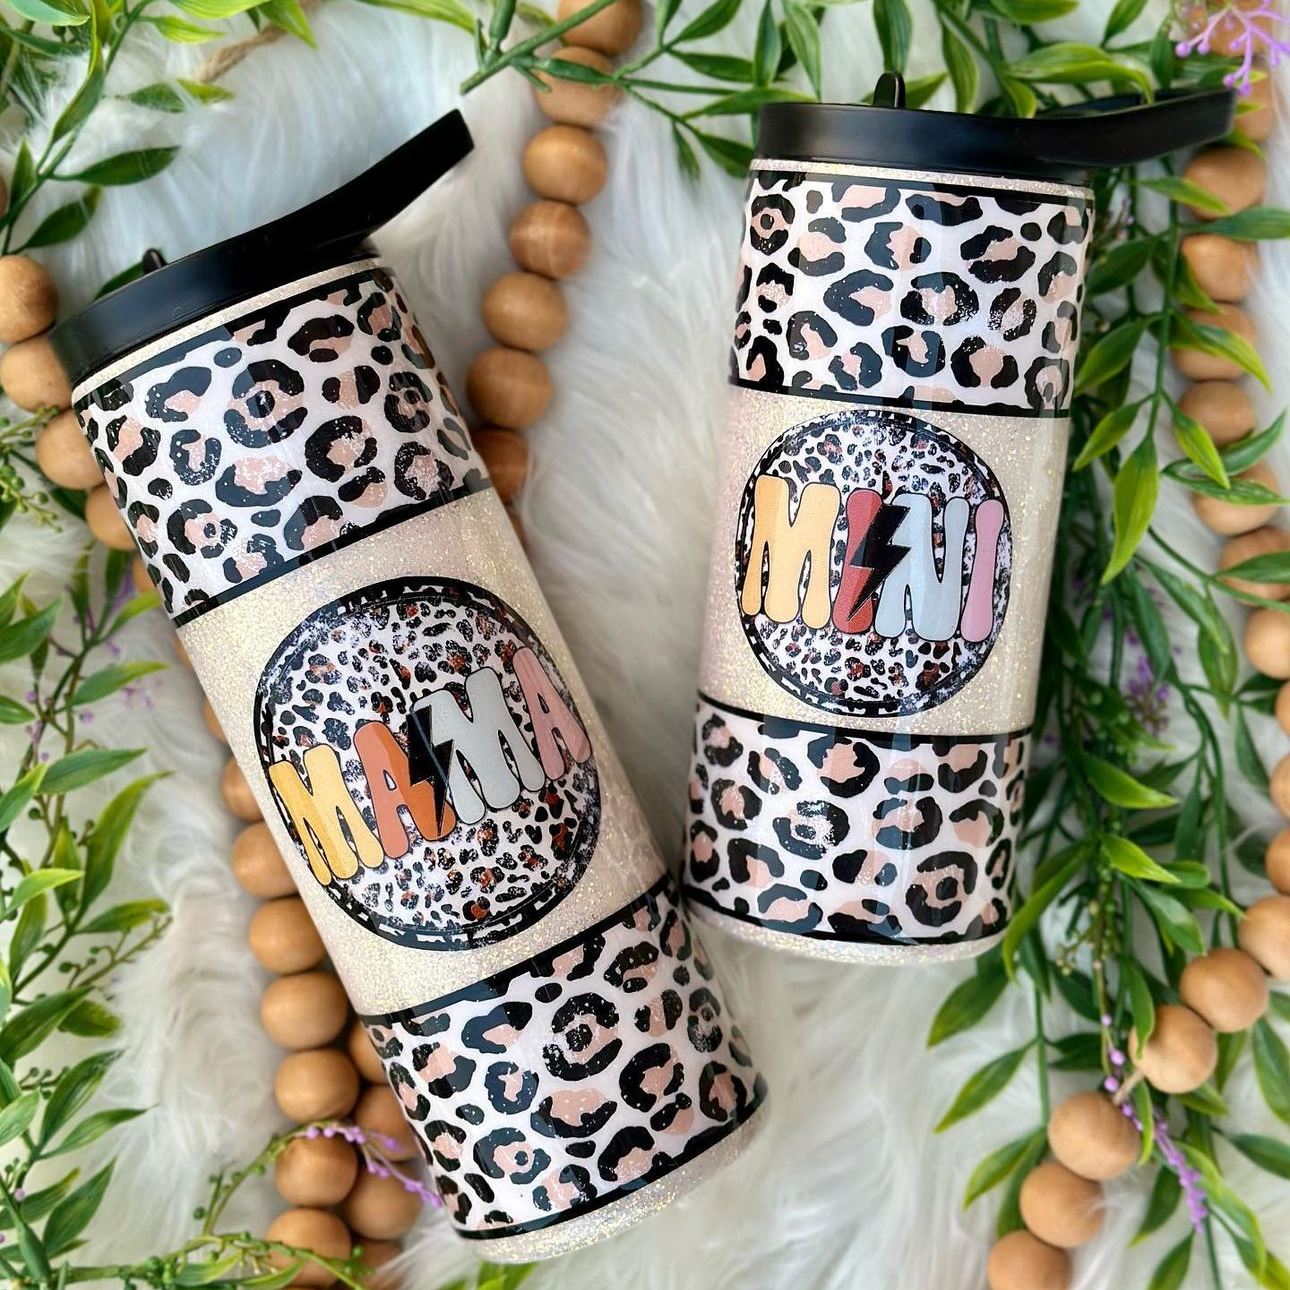
Have you ever looked at your tumbler inventory and crafting supplies, paused, and wondered, "Where should I put all this stuff?"
Enter the world of crafting storage solutions — a sanctuary where every rhinestone, every crafting supply, every tumbler, and every finished project has a place to call home. Having a well-organized crafting space doesn't just mean a tidy workstation. It's the key that unlocks efficiency, nurtures your creativity, and offers a limitless playground of crafting possibilities.
In this article, we'll dive deep into the importance of proper storage in crafting and explore clever storage solutions for your tumbler and crafting inventory. From a plethora of supplies to those cherished finished products, we have some crafty ideas to organize them all. We'll even guide you step-by-step on how to implement these solutions into your crafting space seamlessly.
So, roll up your sleeves and prepare to be inspired to get your crafting studio in the best shape ever. Let's dive in!
The Importance of Proper Craft Storage
Imagine embarking on a crafting project, only to spend what feels like an eternity hunting for that particular shade of glitter or the right tumbler. Sounds frustrating, doesn't it? That's where crafting efficiency comes into play.
With an organized crafting space, every item has its designated spot, so you'll know exactly where to reach when you need something. No more wasting precious crafting time in a hide-and-seek game with your materials. Instead, you'll have more time to bring your creative visions to life. After all, time saved is creativity earned!
Preservation of Materials and Products: Giving Your Crafting Treasures a Longer Shelf Life
Have you ever discovered a scratched tumbler, dried epoxy that you didn’t use, or a bundle of your favorite glitter clumped together? Heartbreaking, we know. But, with the proper storage solutions, these crafting tragedies can be avoided.
Think of your storage solutions as the guardians of your crafting treasures. A well-stored blank tumbler will require less prep work later on, and glitter stored in an airtight container will keep it from escaping into your entire workspace. And in the case of epoxy, you need to ensure your lids are sealed tightly in a cool place that’s high and out of the reach of children.
By safeguarding your materials and finished products, you're not just maintaining their quality — you're also ensuring that you get the maximum use out of every item.
Boosting Creativity: The Magic of an Organized Workspace
Picture your ultimate, well-organized crafting space — it's like a blank canvas, ripe with possibilities. With your materials neatly displayed, you have an overview of all the colors, textures, and shapes at your disposal. It's a visual buffet that can trigger a cascade of fresh project ideas just waiting to be realized.
There's something incredibly liberating about an orderly crafting area. You're not hemmed in by clutter or distracted by disorganization. Instead, you're free to dream, design, and create without any bounds.
Understanding the importance of proper storage in crafting is the first step in a crafting space transformation. With these benefits in mind, let's dive into the clever storage solutions that can revolutionize your tumbler and crafting inventory. After all, you deserve the work studio of your dreams!
Crafting Supply and Tumbler Storage Ideas for Your Workspace
With the whys of proper storage laid out for you, it's time to explore the hows. And if you’re worried that reorganizing your space will be a tedious chore, try to shift your mindset and think about it as a quest to find the best homes for your glitter, tumblers, and finished creations.
Let's explore some clever storage solutions for your tumbler and crafting inventory!
Bulk Tumbler Storage Solutions
When it comes to bulk tumblers, vertical storage is your best friend. The more you build upward with your storage, the more open your workspace will feel. Tall, sturdy shelving units or stackable, clear bins will transform your studio walls into a tumbler haven.
Speaking of plastic bins, they are especially handy because they allow you to see your inventory at a glance, much like a storefront display.
Whether you’re working with stackable bins or assembling shelves from floor to ceiling, you can also add an extra layer of organization by sorting and labeling your tumblers by size, type, or color. This way, finding the right tumbler for your next project is as easy as pie.
Organizing Your Crafting Supplies
Crafting supplies are the colors on your crafting palette, and each has its place. For those sparkly glitters, consider using small airtight jars or containers. This will keep your shimmering supplies from clumping from moisture exposure and prevent glitter from living on every workspace surface!
Meanwhile, your vinyl sheets for decals and other flat materials could find a cozy home in a filing system of folders, magazine racks, or craft paper storage. It's like having a well-organized library where every book (or, in this case, every crafting item) is easy to find.
For smaller items like rhinestones, beads, or sequins, tackle box organizers or pill organizers can work wonders. These solutions keep your tiny crafting components neatly separated and easy to access — allowing you to spend more time crafting your masterpieces and less time looking for supplies.
Safely Storing Your Finished Products
Your finished crafts are your masterpieces, and they deserve a display spot that's both safe and eye-catching. Glass-door cabinets or open shelves can be great options. These display storage solutions protect your finished products and showcase them like stars on a stage, ready for their spotlight moment.
When choosing a storage solution, remember to consider factors like your available space, the type and quantity of your materials, and how often you use them. The more you can efficiently maximize your area, the better organized your studio will be.
How to Implement These Storage Solutions in Your Crafting Space
We've found potential homes for your crafting items, but how do we move them in? Transforming your crafting space shouldn’t feel like a trip to the DMV — it should be a fun project that will bring you one step closer to crafting bliss.
Keep reading to learn how to properly develop a plan of attack to tame even the messiest of workspaces!
Planning Your Storage Solution
Rome wasn't built in a day, and a well-organized crafting space won't be either. But with careful planning, your crafting area can become a haven of creativity and efficiency.
Start by taking stock of your crafting inventory: your tumblers, your glitter, your decals, and those precious finished products.
Next, consider the space you have available. Take some time to visualize your storage setup. Where will the shelves go? Where will you place your bins or cabinets? (Using painter’s tape on the floor is a great way to see your layout before building your storage solutions.)
Remember, your storage should fit your crafting lifestyle. If you frequently use certain items, keep them within easy reach. If you have materials that are used less often, they can be stored away but still organized. It's all about creating a flow that matches your crafting rhythm.
Setting Up Your Storage Solution
Once your plan is in place, it's time to set up your new storage system. Whether it's assembling shelves, arranging bins, or setting up display cabinets, think of it as crafting on a larger scale. And just like crafting, it's all about taking it one step at a time.
As you arrange your materials, consider labeling your containers or shelves. Not only does this make finding things more accessible, but it also simplifies the cleanup process.
Lastly, remember that maintaining organization is a journey, not a one-time event. Over time, you may need to tweak your system or make changes as your crafting inventory evolves. And that's perfectly okay!
Your crafting space is a reflection of you — it's dynamic, creative, and ever-evolving. So, whether you're a seasoned crafter or just starting your journey, remember that a well-organized space is one of your most powerful tools.
Now that you know how to set up your space efficiently, let’s discuss some common mistakes you may encounter when optimizing your studio!
Common Organizing Mistakes to Avoid in Your Crafting Studio
While you're well on your way to crafting organization heaven, there are some common pitfalls that might trip you up along the way. But don't worry — we're here to help you navigate around these crafting obstacles. Let's shed some light on these common mistakes and how to avoid them.
Overcrowding Your Space
When organizing, it's easy to get carried away and squeeze every little thing into your workspace but remember, your crafting area should breathe inspiration, not induce claustrophobia.
Each item, whether a tumbler, a jar of glitter, or a finished project, needs enough space so that you can easily identify your materials without moving things out of the way. Overcrowding not only makes it difficult to find items but can also lead to damage. So, give your crafting items room to breathe!
Neglecting Vertical Space
When it comes to storage, it's easy to focus on the ground level and forget that there's a whole world of potential storage above us. Ignoring your vertical space is like owning a multi-story building but only using the ground floor.
Maximizing vertical space with shelves or stackable bins can dramatically increase your storage capacity. Plus, it keeps your work surface free for actual crafting. Remember, the sky (or, in this case, the ceiling) is the limit!
Skipping the Labeling
You might think you'll remember where everything goes, but trust us, a little help never hurts. Skipping labeling is like trying to find your way in a new city without a map.
Labeling your bins, drawers, and shelves can be a game-changer. Not only does it make finding things a breeze, but it also makes tidying up easier. After all, if every item knows where its home is, it's less likely to end up in the wrong place.
Not Adapting Your System Over Time
Your crafting adventure is a dynamic one — new materials come in, old ones are used up, and your crafting interests might evolve. If your storage system doesn't adapt to these changes, it's like trying to fit a square peg in a round hole.
Don't be afraid to reassess your organization system occasionally and make adjustments as needed. Your crafting space should be as flexible and evolving as your creativity!
Avoiding these common mistakes can make your journey to a well-organized crafting space much smoother. Now that we've navigated around these potential obstacles, let's wrap things up and look at how these clever storage solutions can revolutionize your crafting experience.
We Want to See Your Organized Crafting Space!
Just as a well-crafted tumbler is more than a beverage holder, a well-organized crafting space is more than just a neat room — it's your sanctuary of creativity, your fortress of productivity, and your high-security vault, all rolled into one.
As you start reorganizing your workspace and turning it into the tumbler crafting studio of your dreams, remember that organizing your crafting space is a marathon — not a sprint. It will take time to develop the right organizational strategy for your space, but every step you take towards a well-organized crafting space is a step towards a more enjoyable, efficient, and creative crafting experience.
Once you’ve organized your space, we want you to share it with the entire HOGG family! You can share a post of your crafting studio in the Facebook Group or drop your organizational knowledge in the comments section below.

