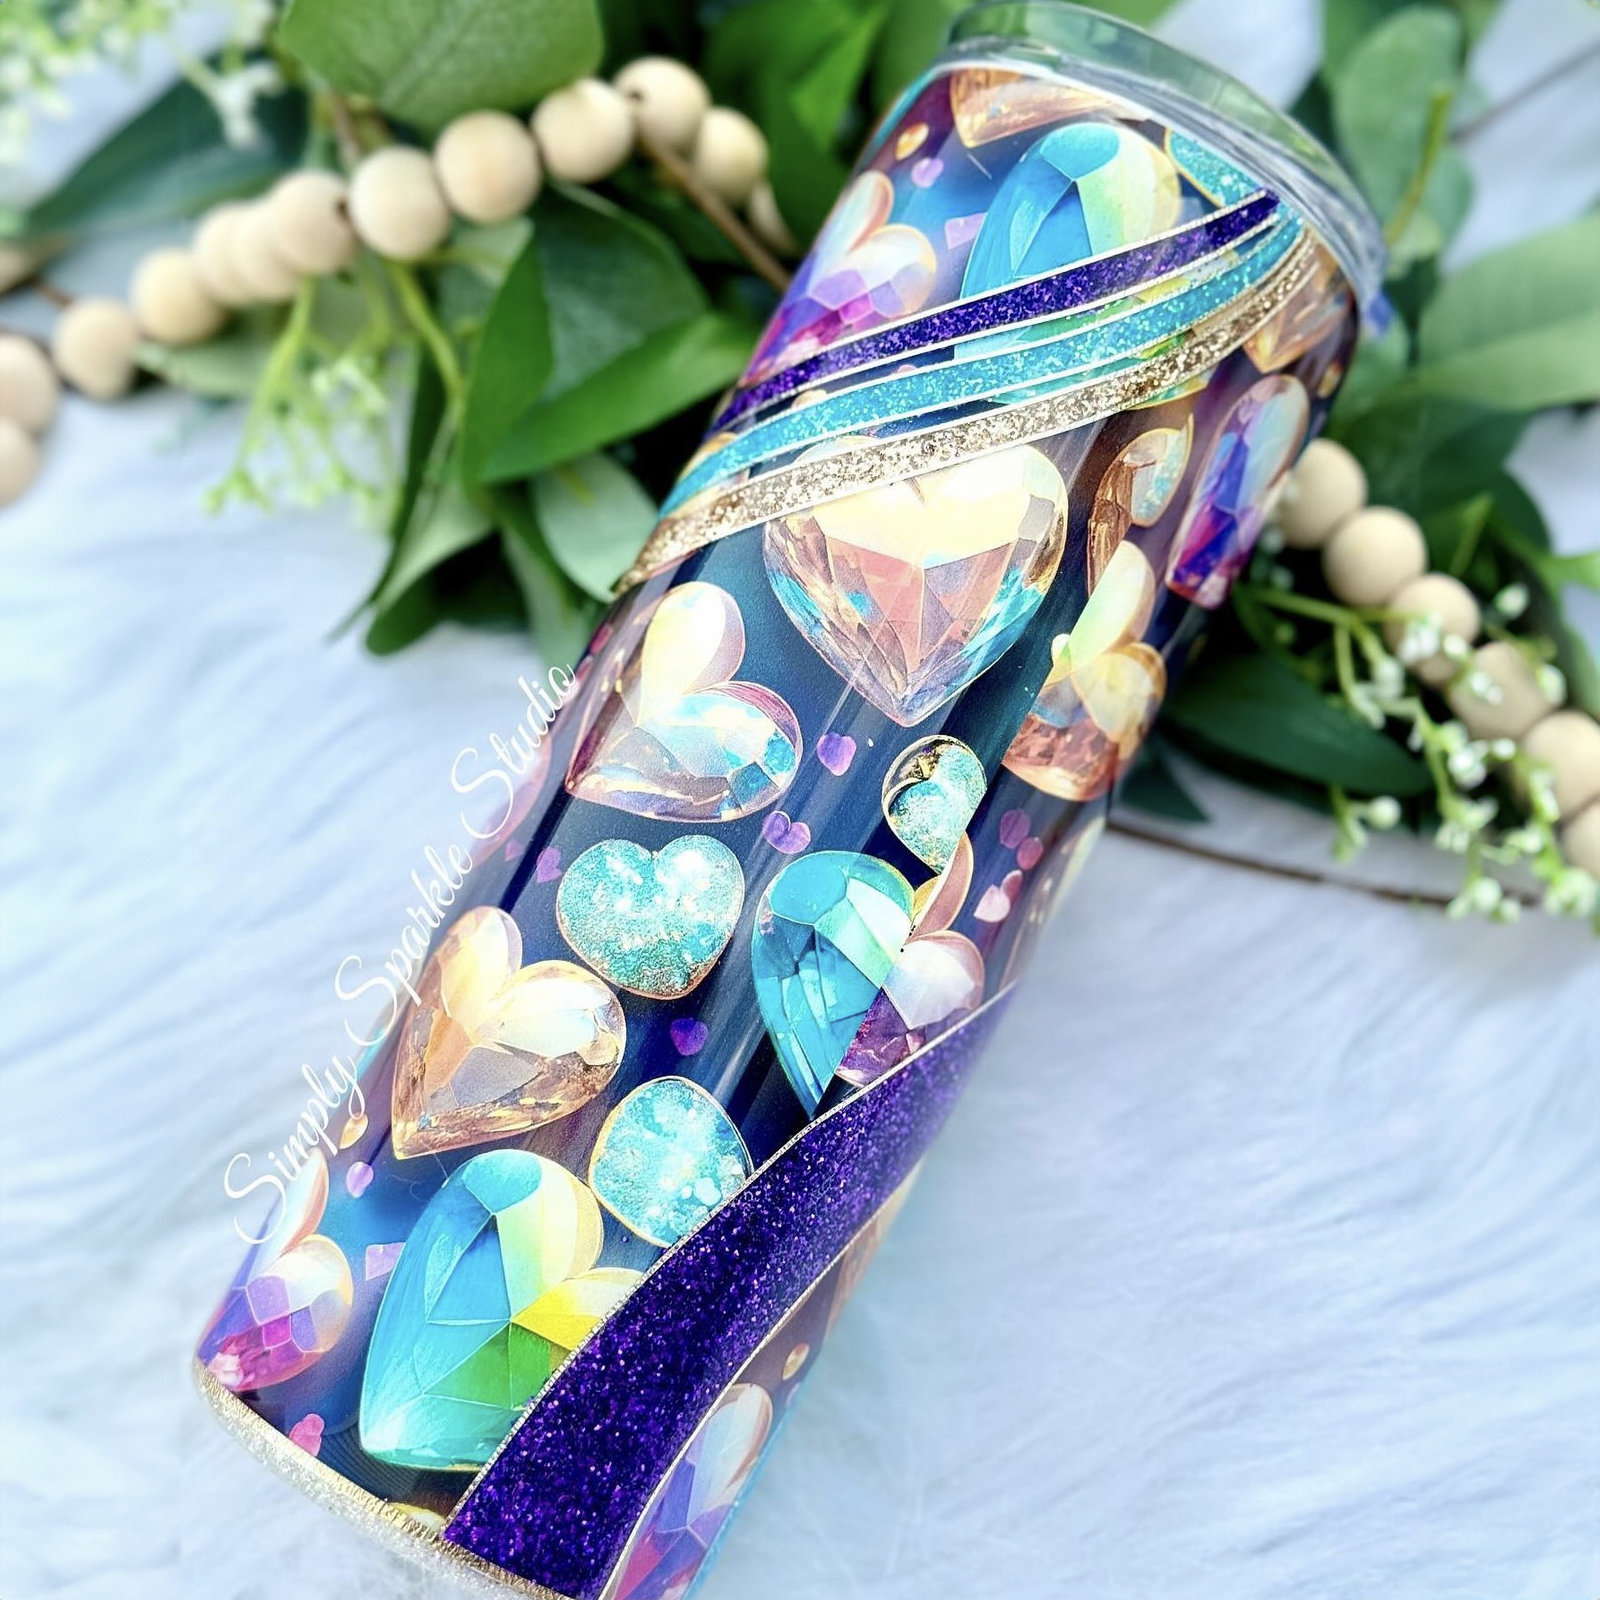
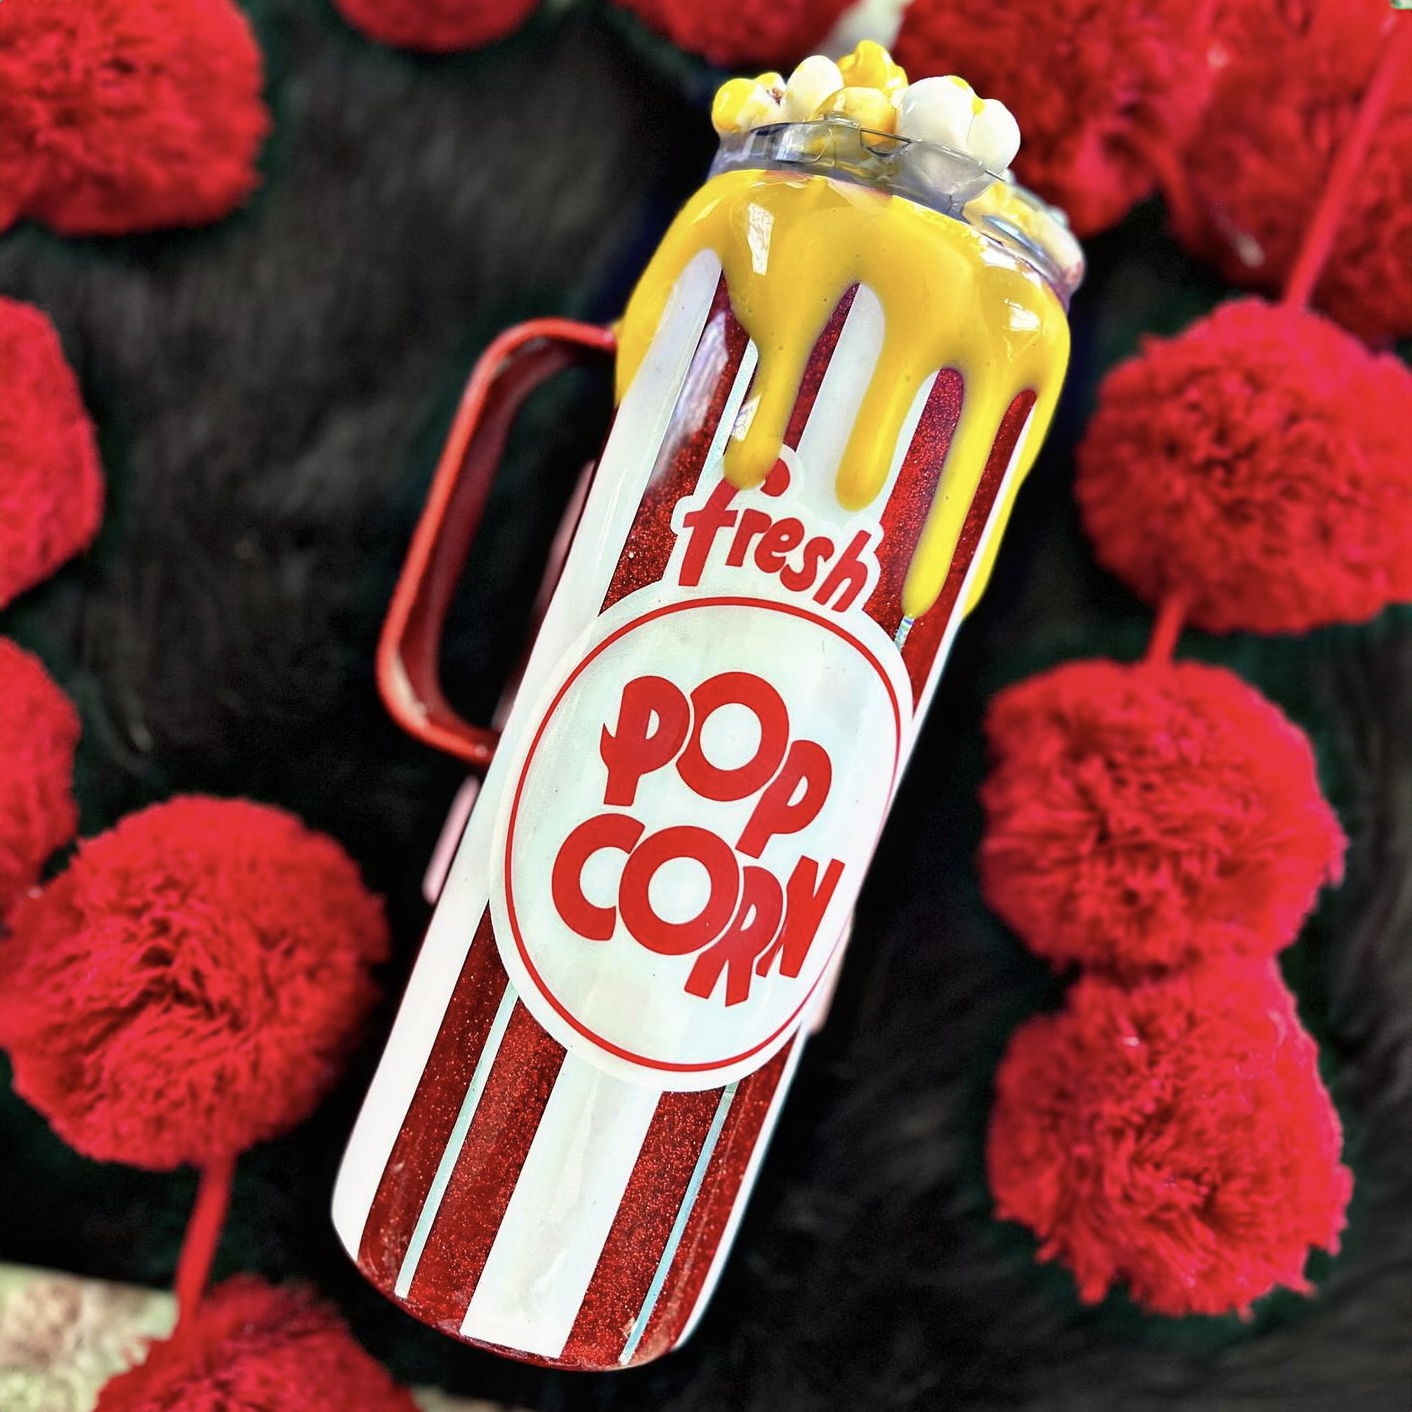
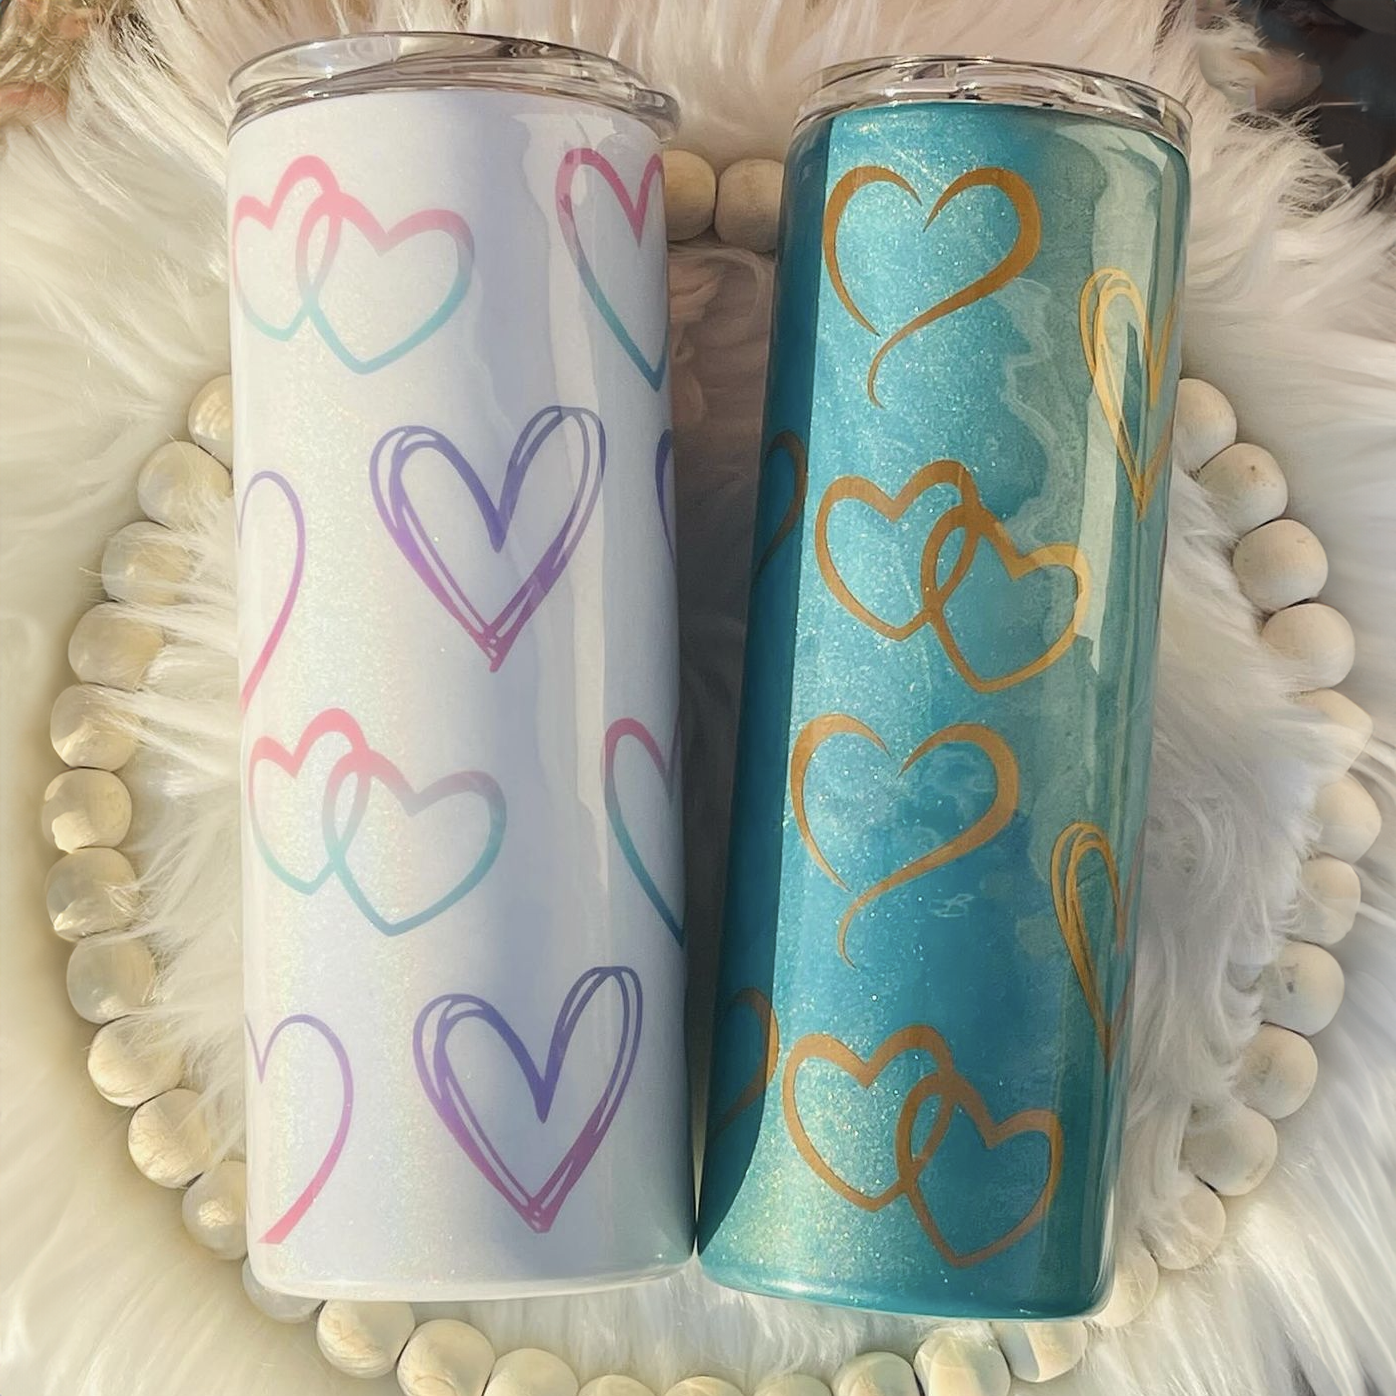
Your vibrant and glittery personalized epoxy tumblers are much more than just drinkware — they're a testament to your creativity and craftsmanship. Whether you're crafting as a hobby or running a thriving business, epoxy tumblers are a beautiful blend of functionality and artistry.
But as with any craft, mastering the process of making epoxy tumblers can come with its share of challenges.
Have you ever experienced fisheyes in your epoxy, decals bleeding color, or epoxy separating post-curing? These issues, while common, can prove to be a hurdle in your tumbler crafting journey. If you've found yourself navigating these problems, you're in the right place.
In this guide, we'll show you how to fix these epoxy mistakes (along with a few more) and offer tried and tested solutions to ensure your projects turn out flawless every time. Once you’re done reading this guide, you’ll have the knowledge and confidence to tackle these challenges head-on, ensuring your epoxy tumbler creation process is smooth and enjoyable.
Remember, each crafting journey comes with its share of bumps along the road, but that's all part of the process. What truly counts is how we learn from these challenges and improve our techniques.
Join us as we dive into the world of epoxy tumblers, beginning with one of the most frequently faced issues — fisheyes in the epoxy. Let's get started!
Problem #1: Fisheyes in the Epoxy
Have you ever noticed tiny, crater-like imperfections on the surface of your epoxy tumbler? These pesky little defects are commonly known as “fisheyes.”' They're essentially small circular depressions that form in the epoxy's surface, and they can be quite a bother for crafters.
Fisheyes occur when the epoxy resin doesn't evenly coat the surface of your tumbler, often because of surface contaminants such as oils, dust, or residues. These contaminants create a barrier that prevents the epoxy from spreading evenly, resulting in those characteristic round blemishes. The first step in preventing fisheyes is ensuring a clean, contaminant-free surface before starting your epoxy application.
Here are some best practices to avoid fisheyes in your epoxy tumbler projects:
- Clean thoroughly: Before applying epoxy, clean your tumbler meticulously. Use an alcohol-based cleaner that can effectively remove any residues, oils, or contaminants.
- Apply primer and thoroughly seal your glitter and decal layer: A good primer can create an ideal surface for your epoxy to adhere to. It helps fill in the tiny pores on the tumbler's surface or gaps in your glitter and promotes an even epoxy application.
- Keep your workspace clean: Make sure your workspace is free of dust and airborne particles. These can easily land on your tumbler and interfere with the epoxy application, causing fisheyes.
How to Solve the Fisheye Problem
If fisheyes have already formed on your tumbler, don't worry! Here's a step-by-step guide to help you fix them:
- Sand the surface: Start by lightly sanding the fisheye areas with a fine-grit sandpaper. This will help remove the top layer of the epoxy, including the fisheye.
- Clean the tumbler: After sanding, clean the tumbler again to remove any dust or particles — you can use an alcohol-based cleaner for this.
- Apply a new layer of epoxy: Once the tumbler is clean and dry, add a fresh coat of epoxy. Make sure to mix your epoxy properly and apply it evenly for a smooth finish.
- Cure and inspect: Allow the epoxy to cure as per the manufacturer's instructions. Once cured, inspect the tumbler to ensure that all fisheyes are fixed.
Remember, patience and attention to detail are just as important as the actual repair process. The more time you allow yourself to refinish your tumbler, the better chance your finished tumbler looks flawless!
Problem #2: Stray Particles in the Epoxy Coat
As an epoxy tumbler enthusiast, you know the importance of a flawless finish. It's the cherry on top of your creative project. But what happens when you find stray particles marring that smooth surface?
This can occur when dust, hair, or other small debris lands on your tumbler while the epoxy is still wet and then becomes embedded as the epoxy cures. If you're frustrated with stray particles ruining your epoxy finishes, try these three things to resolve the issue:
- Work in a clean space: It's essential to ensure your work area is clean and free from dust and debris before you start your epoxy process. Wipe down surfaces and consider using a cover to protect your work area from airborne particles.
- Check your materials: Sometimes, particles can come from your materials themselves. Make sure your epoxy and other supplies are clean before using them.
- Use a cover: Once you've applied the epoxy to your tumbler, consider covering it with a clean, dust-free cover to protect it from airborne particles while it cures.
How to Fix an Epoxy Finish with Stray Particles
Unfortunately, stray particles can still find their way onto your projects. If you're facing this problem, here are some steps to fix the issue:
- Sand it down: If the particles are on the surface of the epoxy, you can gently sand down the area with fine-grit sandpaper until the particle is removed.
- Clean the area: Once you've sanded down the area, clean it to remove any dust created by the sanding process.
- Reapply epoxy: After cleaning, you can reapply a thin layer of epoxy to the area and let it cure according to the manufacturer's instructions.
It’s important to keep in mind that prevention is the ultimate solution for stray particles. You are guaranteed to have a better final product when your workspace is neat, tidy, and free of debris.
Problem #3: Epoxy Separating from Tumbler After Curing
Picture this: you've taken all the necessary steps to create a stunning epoxy tumbler. You've applied the epoxy, let it cure, and just when you're ready to admire your masterpiece, you notice something isn’t right. A patch of epoxy has lifted from the surface of the tumbler, disrupting your once-smooth finish.
Epoxy separation can occur due to a few reasons. One common cause is an improperly prepared surface. The tumbler's surface might have been oily or unclean, causing the epoxy to fail to adhere properly. Another cause can be improper mixing or incorrect ratios of resin and hardener, which can result in an unstable epoxy that doesn't bond as it should.
To avoid this separation situation in your future tumbler projects, take these simple preventative measures:
- Clean meticulously: It's crucial to start with a clean, oil-free tumbler surface before applying epoxy.
- Correct mixing: Ensure that you're mixing the resin and hardener in the correct ratio, as advised by the manufacturer. Too much or too little of either can affect the curing process and lead to separation.
- Apply epoxy evenly: Applying a thick layer of epoxy in one go can also lead to separation. It's better to apply thinner layers and allow each to cure before applying the next.
Here’s How to Fix Epoxy Separation
Are you dealing with epoxy separation issues? Here's how you can resolve them:
- Remove the separated epoxy: Use a plastic scraper or similar tool to gently lift off the separated epoxy without damaging the tumbler surface underneath.
- Clean the area: After you've removed the separated epoxy, clean the area with an alcohol-based cleaner to remove any residual epoxy or dust.
- Reapply epoxy: Once the area is clean and dry, reapply a thin layer of epoxy. Be sure to mix the epoxy properly before application.
- Let it cure: Allow the epoxy to cure fully according to the manufacturer's instructions. Once cured, inspect the tumbler to ensure the issue is resolved.
To be completely honest, you should know that removing lifted epoxy could result in a complete project do-over. But don’t be discouraged! You can always scrape off your finish, sand it down to an unfinished surface, and give it another shot.
Problem #4: Decals Below the Epoxy Are Bleeding Color
There’s nothing worse than applying a stunning decal to your tumbler, carefully covering it with epoxy, and noticing that the colors from your decal are bleeding into the epoxy. The once crisp and vibrant decal is now a blurred, colorful mess.
Color bleeding occurs when the ink from the decal dissolves into the epoxy, often due to the solvents used in the epoxy reacting with the ink. This can be a major issue, especially when your design heavily relies on precise, well-defined lines and patterns.
Here are some steps you can take to prevent your decals from bleeding color into the epoxy:
- Use waterproof decals: Waterproof decals are specifically designed to withstand moisture, making them less likely to bleed when coated with epoxy.
- Seal the decal: Use a clear sealant spray to coat the decal before applying epoxy. This creates a barrier between the decal and the epoxy, preventing any color bleeding.
- Let the decal dry: After applying the decal to your tumbler, let it fully dry before applying epoxy. If the ink hasn't dried completely, it may bleed when you apply the epoxy.
How to Resolve Color Bleeding
If you're currently faced with a color bleeding situation, these are the best practices for fixing the problem:
- Remove the epoxy: Just like with epoxy separation, use a plastic scraper to remove the epoxy layer gently.
- Replace the decal: After the epoxy is removed, you'll need to replace the decal. Remove the old decal, clean the surface, and apply a new decal.
- Seal and epoxy: Once the new decal is dry, seal it with a clear sealant spray and let it dry. Then apply a fresh layer of epoxy.
If at first you don’t succeed in salvaging your decals, try, try again! Removing the epoxy and decal may not be the most fun, but you can perfect your decal application process by learning from your mistakes.
Problem #5: Clumping and Imperfections in Your Glitter Layer
The dazzling sparkle of glitter on your tumbler adds an extra layer of personality and charm to your creation. However, when that glitter layer clumps together or shows imperfections, it can leave your tumbler looking less than stellar. This issue can arise due to uneven application, excess glitter, or insufficient drying time before adding sealant to your glitter.
To achieve that perfect, flawless glitter layer, try employing these preventive measures:
- Gradual application: Instead of trying to apply all the glitter at once, do it gradually. This will give you more control over the application and help prevent clumping.
- Brush off excess: Once the glitter layer has dried, gently brush off any excess glitter. This helps create an even layer and reduces the chances of imperfections.
- Seal the glitter properly: After applying the glitter, seal your glitter with a clear coat before moving on to the epoxy stage. This can help prevent the glitter from moving or clumping together when the epoxy is applied.
How to Correct Glitter Clumping and Imperfections
If you're currently dealing with clumping or imperfections in your glitter layer, fear not. Here are some strategies to fix it:
- Sand the surface: If the clumps are small, try gently sanding the surface with a fine-grit sandpaper. Be careful not to sand too hard, or you may remove too much glitter.
- Reapply glitter: If sanding doesn't solve the problem, you may need to apply another layer of glitter. Remember to apply it gradually, let it dry completely, and brush off the excess before proceeding to epoxy.
- Reapply epoxy: After fixing the glitter layer, you can proceed with applying a new layer of epoxy. Ensure it's applied evenly for a smooth finish.
By taking these steps, you can ensure that your glitter layer adds to the beauty of your tumbler instead of detracting from it. Now, get back to creating those sparkling masterpieces!
Wrapping Up: Mastering Your Epoxy Tumbler Journey
Just like crafting itself, overcoming these epoxy problems is part of the creative process. As you grow in your craft, you'll find these obstacles becoming less of a hurdle and more of an opportunity to hone your skills.
After all, the journey to mastery isn't a straight road — it's a winding path with ups and downs, twists and turns. Every challenge you face and overcome is just another milestone on your road to becoming an epoxy tumbler pro!
We want to see your epoxy before and after photos! Join our private Facebook Group today and share your epoxy problem fixes.